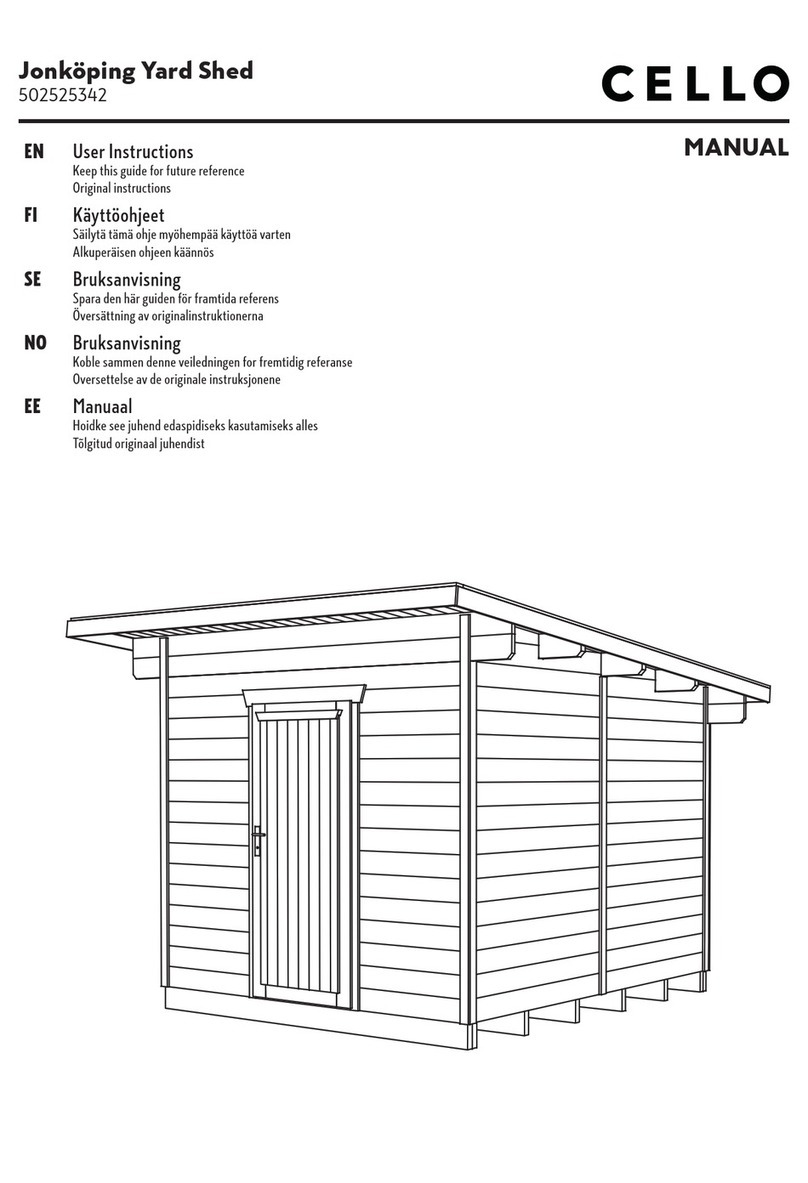
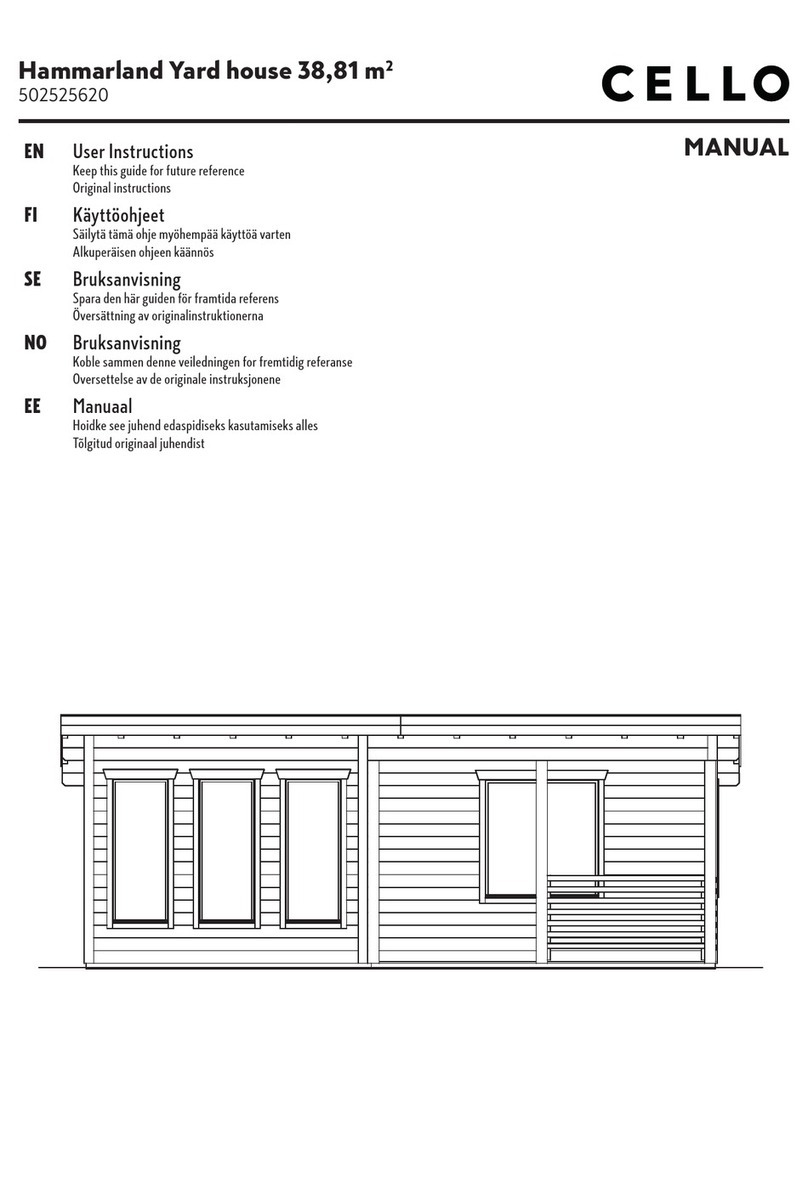
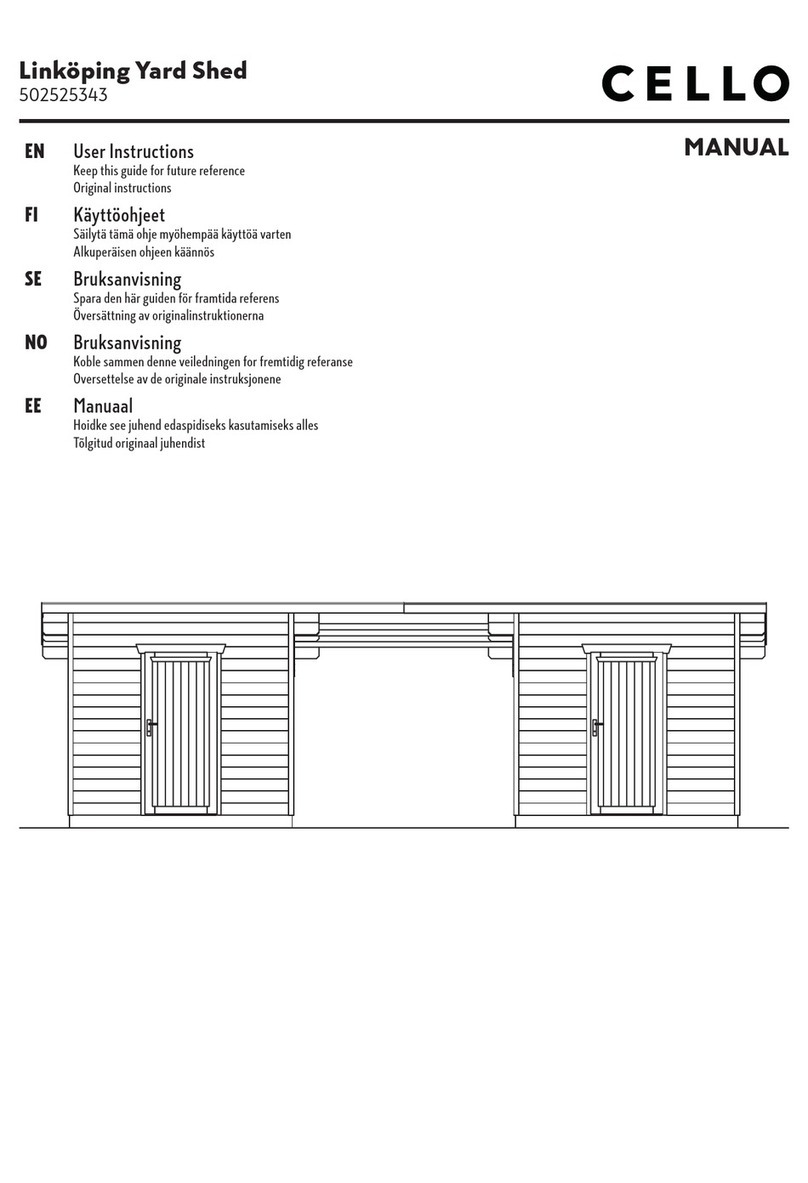
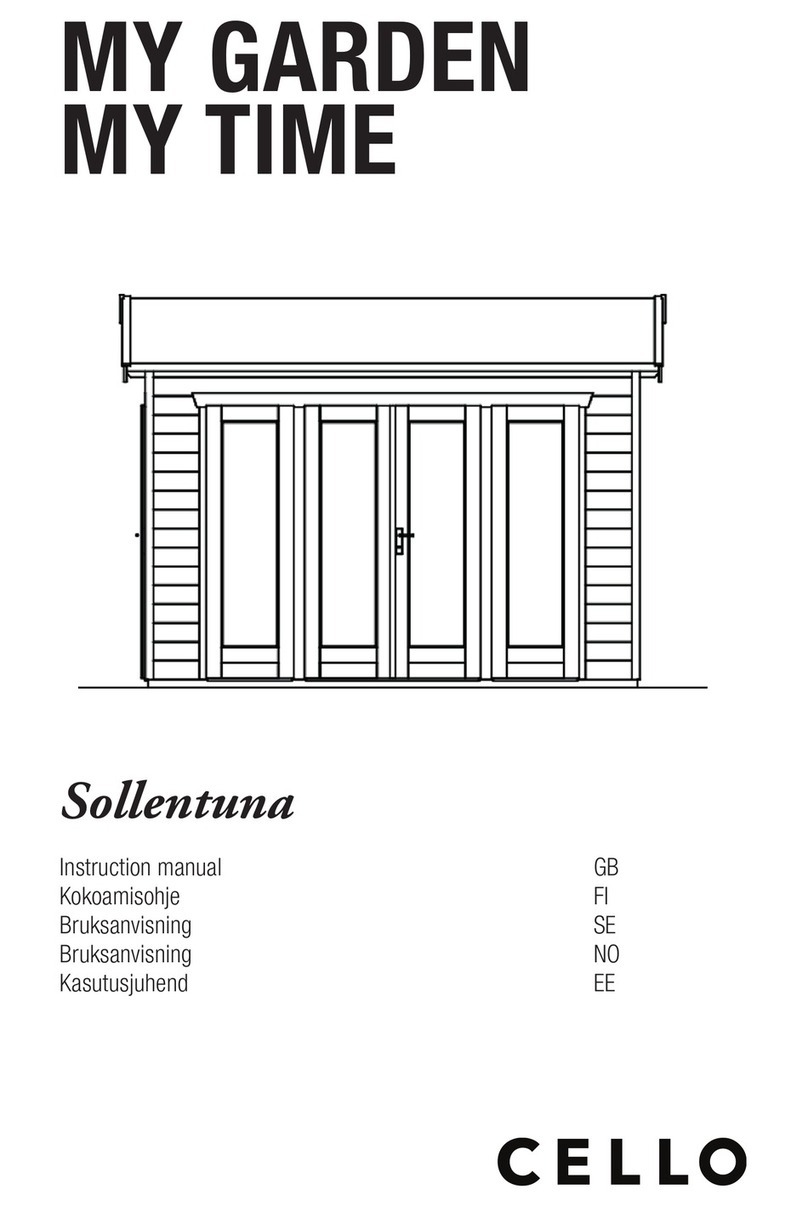
Cello Nyborg User manual

MANUAL
EN User Instructions
Keep this guide for future reference
Original instructions
FI Käyttöohjeet
Säilytä tämä ohje myöhempää käyttöä varten
Alkuperäisen ohjeen käännös
SE Bruksanvisning
Spara den här guiden för framtida referens
Översättning av originalinstruktionerna
NO Bruksanvisning
Koble sammen denne veiledningen for fremtidig referanse
Oversettelse av de originale instruksjonene
EE Manuaal
Hoidke see juhend edaspidiseks kasutamiseks alles
Tõlgitud originaal juhendist
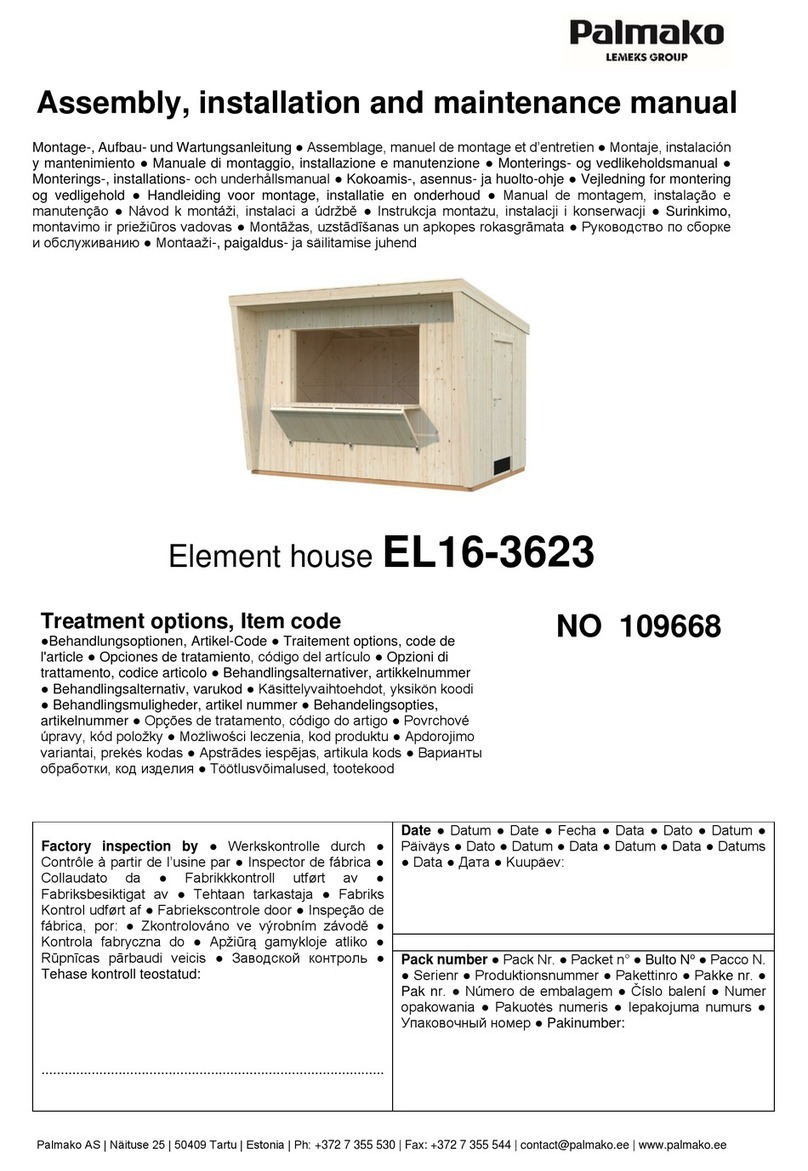
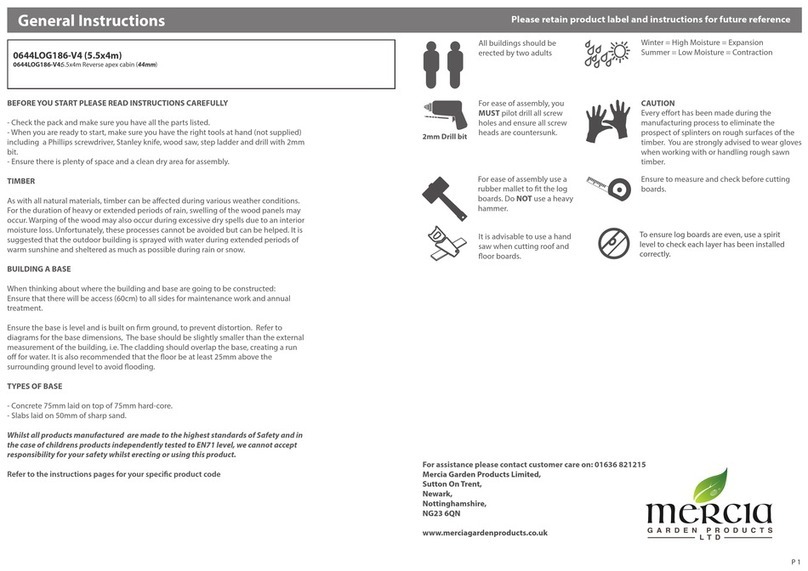
Nyborg Yard house 6,5 m2
502525620

2
2
230 x B115-050 50mm
40 x B105-020 20mm
90 x B105-030 30mm
530 x B105-040 40mm
305 x B105-050 50mm
20 x B105-060 60mm
28 x B105-080 80mm
10 x B100
2 x B100-L
1 x 19-DT-01
20 x 20mm
16 x 58mm
20 x 37mm
19 x 120mm
16 x 96mm
58 x 58mm
58 x 58mm
19 x 121mm
19 x 119mm
19 x 120mm
Nyborg 250 x 260cm
1 x
502525620
Additional / Lisaksi / Tillagg / I tillegg trenges / Lisaks:
Overview / Översikt / Oversikt / Yleiskatsaus / Ülevaadet:
200 x B510 5 x 12x17x1300mm 1 x 640x1165mm

3
3
250 x 300cm
4 x 19x120x200mm
2 x 16x58x1995mm
Parts of the building set / Rakennuksen rungon osat / Delar av byggsatsen /
Deler av byggesette/ Ehituskomplekti osad 502525620
2 x 16x58x1995mm
6 x 16x58x1995mm 4 x 58x58x1970mm
6 x 20x20x2000mm
1 x 16x58x1500mm
22 x 19x121x2555mm 1 x 20x37x1176mm
5 x 58x58x2495mm
2 x 19x120x200mm
4 x 19x120x1565mm
2 x 16x58x3100mm
4 x 16x58x1565mm
2 x
19x120x360mm
72 x 16x96x680mm
72 x 16x96x805mm
1 x 43x120x3100mm
1 x 43x120x3100mm
1 x
43x120x3100mm

4
250 x 260cm
4
1 x 3100mm
1 x 2785mm
16 x 2600mm
2 x 288mm
1 x 1236mm
2 x 266mm
1 x 2462mm
1 x 2462mm
34 x 594mm
1 x 1236mm
2 x 288mm
1 x 1236mm
2 x 266mm
1 x 2462mm
4 x 828mm
1 x 2462mm
15 x 2462mm
1 x 1236mm
1 x 3100mm
1 x 2785mm
10 x 400mm
5 x 2600mm
1 x 2600mm
10 x 1530mm
28mm walls / 28mm väggar / 28mm seinat / 28mm vegger / 28mm seinad
502525620

5
5
1
2
2.2
11
2.2
4 x B105-020
20mm
4 x B105-040
40mm
1 x B105-050
50mm
2,5mm
3600mm
3600mm
3605mm
3605mm
*
*
2.1A
2.1
2
1
2,5mm
A
B
2.1B
1 x B105-040
40mm
o
o
o
o
2.3 2.3
o
2.1
10mm
2495mm
250 x 260cm
*
*
*
*
*
*
*
*
*
502525620
1
- f.ex. pavement-flag
- t. ex. gångbaneplattor
- esimerkiksi käytävälaatat
- fortau fliser
- nt. Betoonplaadid
- Splash protection (eg: 300mm wide gravel strip all round)
- Stänkskydd (en sträng av grus hela vägen runt, 300mm)
- Roiskesuoja (esim. ympäri kulkeva sorakaistale, 300mm)
- Sprutbeskyttelse (f.eks.: 300mm bred grus hele veien rundt)
-Pritsimiskaitse (nt. 300mm laiune killustikuriba)
2

6
6
3
3.1
3.1
4 x B105-040
40mm
4 x B105-040
40mm
58x58x1970mm+
B100 +
4 x B105-040+
40mm
+
4 x B105-040
40mm
58x58x1970mm+
B100 +
4 x B105-040+
40mm
+
4 x B105-040
40mm
58x58x1970mm+
B100 +
4 x B105-040+
40mm
+
4 x B105-040
40mm
250 x 260cm
58x58x1970mm+
B100 +
4 x B105-040+
40mm
+
4 x B105-040
40mm
502525620

7
7
4
4.1
4.1
~ 35mm
~ 45mm
B105-050
50mm
~20°
1mm
1mm
58x58x1970mm+
72 x B105-050
50mm
B105-050
50mm
B105-050
50mm
~45mm
~35mm
2
250 x 260cm
58x58x1970mm+
72 x B105-050
50mm
58x58x1970mm+
72 x B105-050
50mm
58x58x1970mm+
72 x B105-050
50mm
502525620
1mm
- Pre drill screw holes!
- Poraa ruuvien reiät etukäteen!
- Förborra skruvhal!
- Forbor skruehull!
- Puurige kruvi augud ette!
58x58mm

8
8
5
5.1
12x17x1300mm+
10 x B105-040
40mm
5.2
B100-L+
4 x B105-030
30mm
5.2a
B105-060
60mm
20x37x1176mm
5.2a
20x37x1176mm+
3 x B105-040
40mm
5.3
B105-050
50mm
5.1
#
*
*
*
#
12x17x1300mm+
6 x B105-040
40mm
B105-060
60mm
10mm
5.3 #
250 x 260cm
*
#
*
#
5.2
12 x B105-040
40mm
5.4
5.4
*
502525620
- Türblatt nach Rahmeneinschub einhängen
- Hang the doorleaf on the hinges after pushing the frame into position
- Asenna ovenpuolisko karmin asennuksen jälkeen
- Häng dörrbladet på gångjärnen efter att karmen har skjutits på plats
- Aseta ukseleht hingedele peale uksekasti paigaldust.
- innen
- inside
- sisällä
- invändigt
- sees
12x17x1130mm+
6 x B105-040
40mm

9
9
6
2x 2x1x 1x 1x 3x
2x
1x
1x
*
B
*
*
*
*
A
B
18x
2x
#
#
4 x
*
*
1x
1.
2.
A
4 x
4 x
1.
2.
#
3
250 x 260cm 502525620
- innen
- inside
- sisällä
- invändigt
- sees

10
7
o
10.1
10.2 + 10.3
16x58x1500mm+
14 x B105-030
30mm
16x58x1995mm+
18 x B105-030
30mm
10
10.1 10.2 10.3
*
~
2 x B105-080
80mm
3 x B105-080
80mm
1 x B105-060
60mm
4 x B105-080
80mm
19x120x360mm+
8 x B105-030
30mm
250 x 260cm
2 x B105-050
50mm
2 x B105-050
50mm
1 x B105-060
60mm
16x58x1995mm+
18 x B105-030
30mm
X
X
19x120x200mm+
4 x B105-030
30mm
o
o
o
*
o
*
~
~~
~
~~
X = X
2 x B105-050
50mm
2 x B105-050
50mm
502525620
- Pre drill screw holes!
- Poraa ruuvien reiät etukäteen!
- Förborra skruvhal!
- Forbor skruehull!
- Puurige kruvi augud ette!

11
8
8.1
16x96x805mm+
2 x B105-040
40mm
11
8.1
1 x B105-040
40mm
1 x B105-040
40mm
16x96x680mm+
2 x B105-040
40mm
250 x 260cm
1 x B105-040
40mm
1 x B105-040
40mm
~1-2mm
~1-2mm
502525620

12
9
16x58x1995mm+
4 x B105-040
40mm
16x58x1995mm+
4 x B105-040
40mm
16x58x1995mm+
4 x B105-040
40mm
9.1
12
9.1
16x58x1995mm+
4 x B105-040
40mm
ggf.
250 x 260cm 502525620

13
10.1
13
10
19x120x200mm+
2 x B105-040
40mm
10.310.2
20mm
16x58x3100mm+
7 x B105-040
40mm
19x120x1565mm+
4 x B105-060
60mm
16x58x1565mm+
4 x B105-040
40mm
10.3
10.1
16x58x3100mm+
7 x B105-040
40mm
10mm
10.2
250 x 260cm 502525620
- Suggestion! Not included!
- Förslag! Ingår inte!
- Forslag! Ikke inkludert!
- Ehdotus! Ei mukana!
- Soovitus! Ei kuulu tarnekomplekti!

14
14
11
11.2
B115-050
2 x pro 58x58x2495mm
~4mm
11.3
11.2
11.3 + 11.3a
11.3a
11.1
11.1
250 x 260cm 502525620
20x20x2000mm+
B105-040
40mm
20x20x2000mm+
B105-040
40mm
20x20x2000mm+
B105-040
40mm
20x20x2000mm+
B105-040
40mm
19x121x2555mm+
10 x B115-050
20x20x2000mm+
B105-040
40mm
19x121x2555mm
19x121x2555mm
20x20x2000mm+
B105-040
40mm
~500mm
~500mm

15
Instructions for maintenance/colour treatment
Subject to technical changes. Updated: 04/22
Care instructions for articles made of:
- Solid structural timber, softwood and laminated wood, untreated
The wooden parts of the kit are untreated, so a regular protective coating is absolutely essential.
Recommendation:
An initial coat on all sides with a wood primer (protection against fungi and insects), and then one coat each of intermediate
and top coat with a high-quality wood-preserving varnish (colour tones, UV protection, protection against weathering).
The following applies to wood panel cabins:
The initial and intermediate coats must be applied prior to assembly. Please ensure that the wood panels have dried prior to
construction. The top coat is applied after construction.
Regular varnishing is necessary to maintain the wood. Make sure the products are given good UV protection and
that the working guidelines of the varnish manufacturer are observed.
- Softwood, impregnated
The wood has already received an initial immersion treatment with a water-based impregnation.
This protects the wood against fungal and insect infestation.
Recommendation:
The surface should be treated again after 2–3 sunny months at the earliest and should feel dry. Clean the surface before
treating. We then recommend one coat each of intermediate and top coat with a high-quality wood preserving varnish.
Regular varnishing is necessary to maintain the wood.
Make sure the products are given good UV protection and that the working guidelines of the varnish manufacturer are
observed.

16
Hoito-ohjeet / maalaus
Oikeus teknisiin muutoksiin pidätetään. Julkaistu 04/22
Tuotteiden hoito-ohjeet:
– Rakennuspuutavara, havupuu ja liimapuu, käsittelemätön
Rakennussarjan puuosat ovat käsittelemättömiä. Säännöllinen suojamaalaus on siksi välttämätön.
Suositus:
Pohjamaalaus kannattaa tehdä kyllästysaineella (sieni- ja hyönteistuhoja vastaan) ja sitten väli- ja pintamaalaus puuta
suojaavalla korkealaatuisella kuultomaalilla (värjäytymät, UV-suoja, hilseilysuoja).
Hirsitaloja koskevat seuraavat asiat:
Pohja- ja välimaali on levitettävä ennen kokoamista. Varmista ennen kokoamista, että hirret ovat kuivuneet. Pintamaali
sivellään pystytyksen jälkeen.
Säännöllinen suojamaalaus on välttämätöntä! Varmista aina, että maalissa on hyvä UV-suoja, ja noudata
valmistajan ohjeita.
– Havupuu, kyllästetty
Puu on jo esikäsitelty upotuskyllästämällä.
Käsittely suojaa puuta sieni- ja hyönteistuhoilta.
Suositus:
Pinta on käsiteltävä uudelleen aikaisintaan 2–3 aurinkoisen kuukauden jälkeen, ja sen pitää tuntua kuivalta. Puhdista pinta
ennen käsittelyä. Väli- ja pintamaalina kannattaa käyttää puuta suojaavaa laadukasta kuultomaalia. Säännöllinen
suojamaalaus on välttämätöntä!
Varmista aina, että maalissa on hyvä UV-suoja, ja noudata valmistajan ohjeita.

17
Skötselanvisning / färgbehandling
Tekniska ändringar förbehålles. Version 04/22
Skötselanvisning för artiklar av:
- massivt trä, barrträ och limträ, obehandlat)
Trädelarna i byggsatsen är obehandlade och därför krävs ovillkorligen en regelbunden skyddspåstrykning,
Rekommendation:
Vi rekommenderar en första påstrykning på alla sidor med en träskyddsgrund (skydd mot svamp- och insektsangrepp) såväl
som därefter en mellan- och täckbeläggning med en högvärdig träskyddslasyr (färg, UV-skydd, skydd mot förvittring).
För timmerhus gäller:
Den första och mellanliggande påstrykningen måste ske före monteringen. Beakta att timret ska vara torrt innan byggandet.
Efter färdigställandet sker täckpåstrykningen.
En regelbunden skötselpåstrykning är nödvändig! Beakta alltid ett bra UV-skydd på produkten såväl som
bearbetningsriktlinjerna från lasyrtillverkaren.
- Barrträd, impregnerat
Träet har redan fått en första behandling med en doppimpregnering på vattenbasis.
Detta skyddar träet mot svamp- och insektsangrepp.
Rekommendation:
Ytan ska återbehandlas tidigast efter 2-3 solmånader och ska kännas torr. Du ska rengöra ytan före påstrykningen. Nu
rekommenderas en påstrykning med en mellan- och täckpåstrykning med en högvärdig träskyddslasyr. En regelbunden
skötselpåstrykning är nödvändig!
Beakta alltid ett gott UV-skydd på produkten såväl som bearbetningsriktlinjerna från lasyrtillverkaren.

18
Vedlikeholdsanvisning / fargebehandling
Det tas forbehold om tekniske endringer. Versjon 01/23
Vedlikeholdsinstruksjoner for artikler av:
- heltre, bartre og limtre, ubehandlet
Tredelene i settet er ubehandlet og derfor er et vanlig beskyttende belegg absolutt nødvendig,
Anbefaling:
Vi anbefaler et innledende belegg på alle sider med en trebeskyttelsesgrunning (beskyttelse mot sopp- og insektangrep)
samt et mellom- og toppbelegg med høykvalitets trebeskyttelsesglasur (maling, UV-beskyttelse, beskyttelse mot forvitring).
For tømmerhus:
Første og mellomliggende påføring må skje før montering. Merk at tømmeret må være tørt før bygging. Etter ferdigstillelse
strykes trekket på.
En regelmessig vedlikeholdsapplikasjon er nødvendig! Vurder alltid en god UV-beskyttelse av produktet samt
behandlingsretningslinjene til glasurprodusenten.
Bartre, impregnert
Treverket har allerede fått en første behandling med en vannbasert dipimpregnering.
Dette beskytter treverket mot sopp- og insektangrep.
Anbefaling:
Overflaten må tidligst etterbehandles etter 2-3 måneder i sol og skal føles tørr. Du må rengjøre overflaten før du stryker. Nå
anbefales det å påføre et mellom- og toppstrøk med en trebeskyttelsesglasur av høy kvalitet. En regelmessig
vedlikeholdsapplikasjon er nødvendig!
Vurder alltid god UV-beskyttelse på produktet samt behandlingsveiledningene fra glasurprodusenten.

19
Majade hooldusjuhend
Tehnilised muudatused lubatud. 04/22
Kõik tarnekomplekti puitdetailid on töötlemata ning tuleb kindlasti kaitsta puidukaitsevahenditega.
Soovitus:
Ilmastikukindluse saavutamiseks tuleb toode katta puidukaitsevahendiga! Parima tulemuse saavutamiseks on
soovitatav kanda 2 kihti puidukaitse vahendit. Esimene kiht kruntvärvi, mis peaks sisaldama kaitsevahendit ka
puidumädanike ja putukate vastu ning teine kiht soovitavalt mõni paksema kaitsekihi loov värk tagamaks parem
kaitse UV, mehaaniliste vigastuste vastu.
Kruntvärviga tuleb detailid töödelda enne paigaldust. Palun veendu, et puidukaitsevahend on kuivanud enne
Puitdetailide paigaldust. Viimane kaitsev kiht tuleks kanda puidule peale paigaldust.
Regulaarne puidukaisevahendi uuendamine on äärmiselt vajalik tagamaks puidu pikaealisuse. Lisaks palun veendu,
et puidukaitsevahendil oleks hea kaitse UV vastu ning jälgi tootja kasutusjuhendit!
Maja põrandatalad on juba immutatud veepõhise puidukaitsevahendiga kaitsmaks neid putuka- ja seenkahjustuste
vastu. Soovitame ka juba immutatud põrandatalad ikkagi mõne aja möödudes katta puidukaitseahendiga!

20
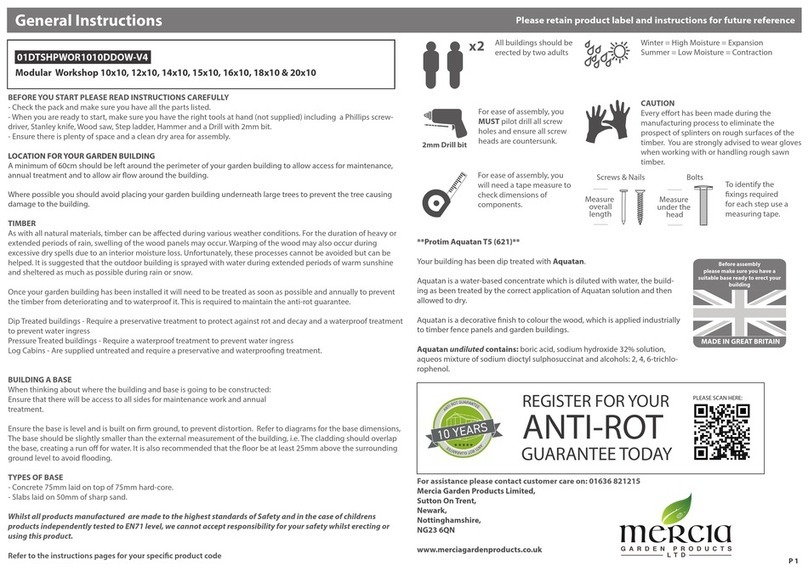
IMPORTANT INFORMATION
Please check the construction set for completeness using the position
list in good time before starting construction or commissioning your
constructionteam.Ifindividualpartsaredefectiveormissing,wewill
deliver these as quickly as possible. However, we cannot refund the
costsforanyresultingconstructiondelaystoaconstructioncompany.
PLEASEUNDERSTANDTHATWECANNOT
ASSUMEANYGUARANTEEFORTHEFOLLO-
WINGDEFECTS:
• incorrect storage before assembly
• incorrect anchoring with the ground or inadequate foundation (foundation
according to statics)
• damageduetoerectionerrors,e.g.thehouse is not levelor not right-angled
• damagethroughahigher level of snow burden than staticallyenvisaged.Re-
commendation: lad relief of the roof by removing the snow layer
• storm damage (insurance cases) or violent destruction
• damage through any alteration to the design by the client
• natural formation of cracks, branch holes, twisting, decolouration or similar
modication (natural process; has no inuence on the statics)
STORAGEINFORMATION UNTILCONSTRUC-
TION:
• Store pallet on a level and dry surface.
• Protect from exposure to sunlight and the inuences of weather; wood can
warp drastically in a loose condition!
GENERALTIPSANDREFERSTO:
When using roong felt, we recommend using two layers; rst the underlay
onthebottom,andthenthebitumenfeltontop.Wedonotrecommendusing
a tiled roof because of its weight.
TIPSFORASSEMBLY:
• Make sure that the foundation is even and frost proof.
• The foundation timbers of the building are proofed, but we still recommend
installing a strip of roong felt between the foundation timbers and the
foundation itself to prevent moisture risingfrom the soil into the timber(felt
not included).
• If you are installing a composting seat that rises through the oor of the buil-
ding, design the foundation of the building so that the composting seat is at
a suitable height.
• To start assembly, arrange the parts in numerical order next to the assembly
site. You can identify the parts needed for each step of the assembly process
by their measurements (please see the list of parts).
• Keep the small parts (screws, nails, ttings, etc.) in their bags during the
assembly process to stop them from getting lost.
• We recommend that you use protective gloves and eyewear during the as-
sembly process.
• Reserve 1–3 days for the assembly process.
• Some steps of the assembly require two people.
EN
• Paint the wooden surfaces of the structure soon after assembly to protect it,
and install roong cover or sheeting onto its roof (e.g. roong felt).
• You will need the following tools during the assembly process:
INSTRUCTIONSFORMAINTENANCE/COLOUR
TREATMENT
Except for foundation beams and stair, all wooden parts are untreated. Woo-
den parts that are not treated, must be protected with wood paint.
RECOMMENDATION:
An initial coat on all sides with a wood primer (protection against fungi
and insects), and then one coat each of intermediate and top coat with a
high-quality wood-preserving varnish (colour tones, UV protection, prote-
ction against weathering).
Regular varnishing is necessary to maintain the wood. Make sure the pro-
ducts are given good UV protection and that the working guidelines of the
varnish manufacturer are observed.
* Technical modifications reserved. All dimensions are approximate
dimensions.Stand 11/22
This manual suits for next models
1
Table of contents
Other Cello Garden House manuals

Cello
Cello Sollentuna User manual

Cello
Cello Lemland 502525340 User manual

Cello
Cello Linkoping User manual

Cello
Cello Jonkoping User manual

Cello
Cello Solna User manual

Cello
Cello Halland 502395046 User manual

Cello
Cello Vimmerby 502253103 User manual

Cello
Cello Hammarland User manual
Cello
Cello Vetlanda 502256881 User manual
Popular Garden House manuals by other brands

total sheds
total sheds Pent Shed 7ft x 5ft Assembly manual

Palmako
Palmako Sally installation manual

Riverlea
Riverlea Duratuf TAMAHERE Assembly instructions

Palmako
Palmako Ralf installation manual

Bear County
Bear County Infinity 4005 manual

Lemeks
Lemeks Palmako PM70-7942 Assembly, installation and maintenance manual