Chef's Supreme CM-PO2 User manual

1
Pour Over Coffee Maker
User’s Manual
Models CM-PO2 & CM-POAP
RETAIN THIS MANUAL FOR FUTURE USE
2
IMPORTANT: DO NOT DISCARD THIS MANUAL
This manual is considered to be part of the appliance and is to be given to the
owner or manager of the hotel or restaurant, or to the person responsible for
training operators of this appliance. It should be retained for future reference.
WARNING
This product produces very hot liquids. Extreme caution should be used to avoid
spilling the liquid thus causing burn injuries
IMPORTANT SAFEGUARDS
Basic safety precautions should always be followed when using electrical appliances, including the following:
Read all instructions carefully before use.
DO NOT touch hot surfaces. Use handles and knobs when touching this appliance.
NEVER pour hot water into the reservoir.
To prevent electrical hazards, do not immerse cord, plug or appliance in water or any other liquid.
NEVER allow the power cord to touch hot parts of the coffee maker.
Unplug appliance from the wall outlet when not in use and before cleaning. Allow appliance to
completely cool before putting on or taking off parts.
DO NOT operate the appliance if the cord has been damaged or if the appliance malfunctions or is
damaged in any way.
Any use of accessories or attachments not supplied by the manufacturer may cause hazards.
DO NOT use outdoors.
DO NOT let cord dangle or hang over the edge of the countertop or allow it to touch hot surfaces.
DO NOT place this appliance on or near gas or electrical burners, on a stovetop or in an oven.
DO NOT use this appliance for other than the intended use.
ALWAYS UNPLUG WHEN NOT IN USE.
DISCLAIMER – The manufacturer and seller will accept no liability for any injury or damage caused
by incorrect usage of the machine or by improper operations contrary to the information given with in this
manual.

3
PART IDENTIFICATION
1 Power Switch
2 Pour Over Area
3 Brewing Indicator Light
4 Filter Basket
5 Decanter / Airpot
6 Lower Hot Plate
7 Switch for Upper Hot Plate
8 Upper Hot Plate
PRODUCT SPECIFICATIONS
Model CHEFCM-PO2 CHEFCM-POAP
Decanter Brewer Yes -
Airpot Brewer - Yes
Warming Plates 2 -
Cups per hour 100 100

4
INSTALLATION
WARNING NEVER pour hot water into the reservoir.
WARNING This appliance and its parts are hot when in use. Use caution when operating or cleaning.
IMPORTANT STEP
PRIMING THE COFFEE MAKER
1. Place the appliance on a firm and stable surface
2. BEFORE plugging the appliance into a receptacle, place an empty decanter under the brew head.
3. Pour tap water into the pour-over opening until water starts to flow from the brew head. This will
indicate that the tank is full.
4. Discard water that may have flowed into the decanter.
INITIAL USE
1. Slide the filter basket into position
2. Pour cold water into the reservoir (no more than 2.2 liters)
3. Place an empty decanter or airpot (depending on the model) in position under the filter
basket
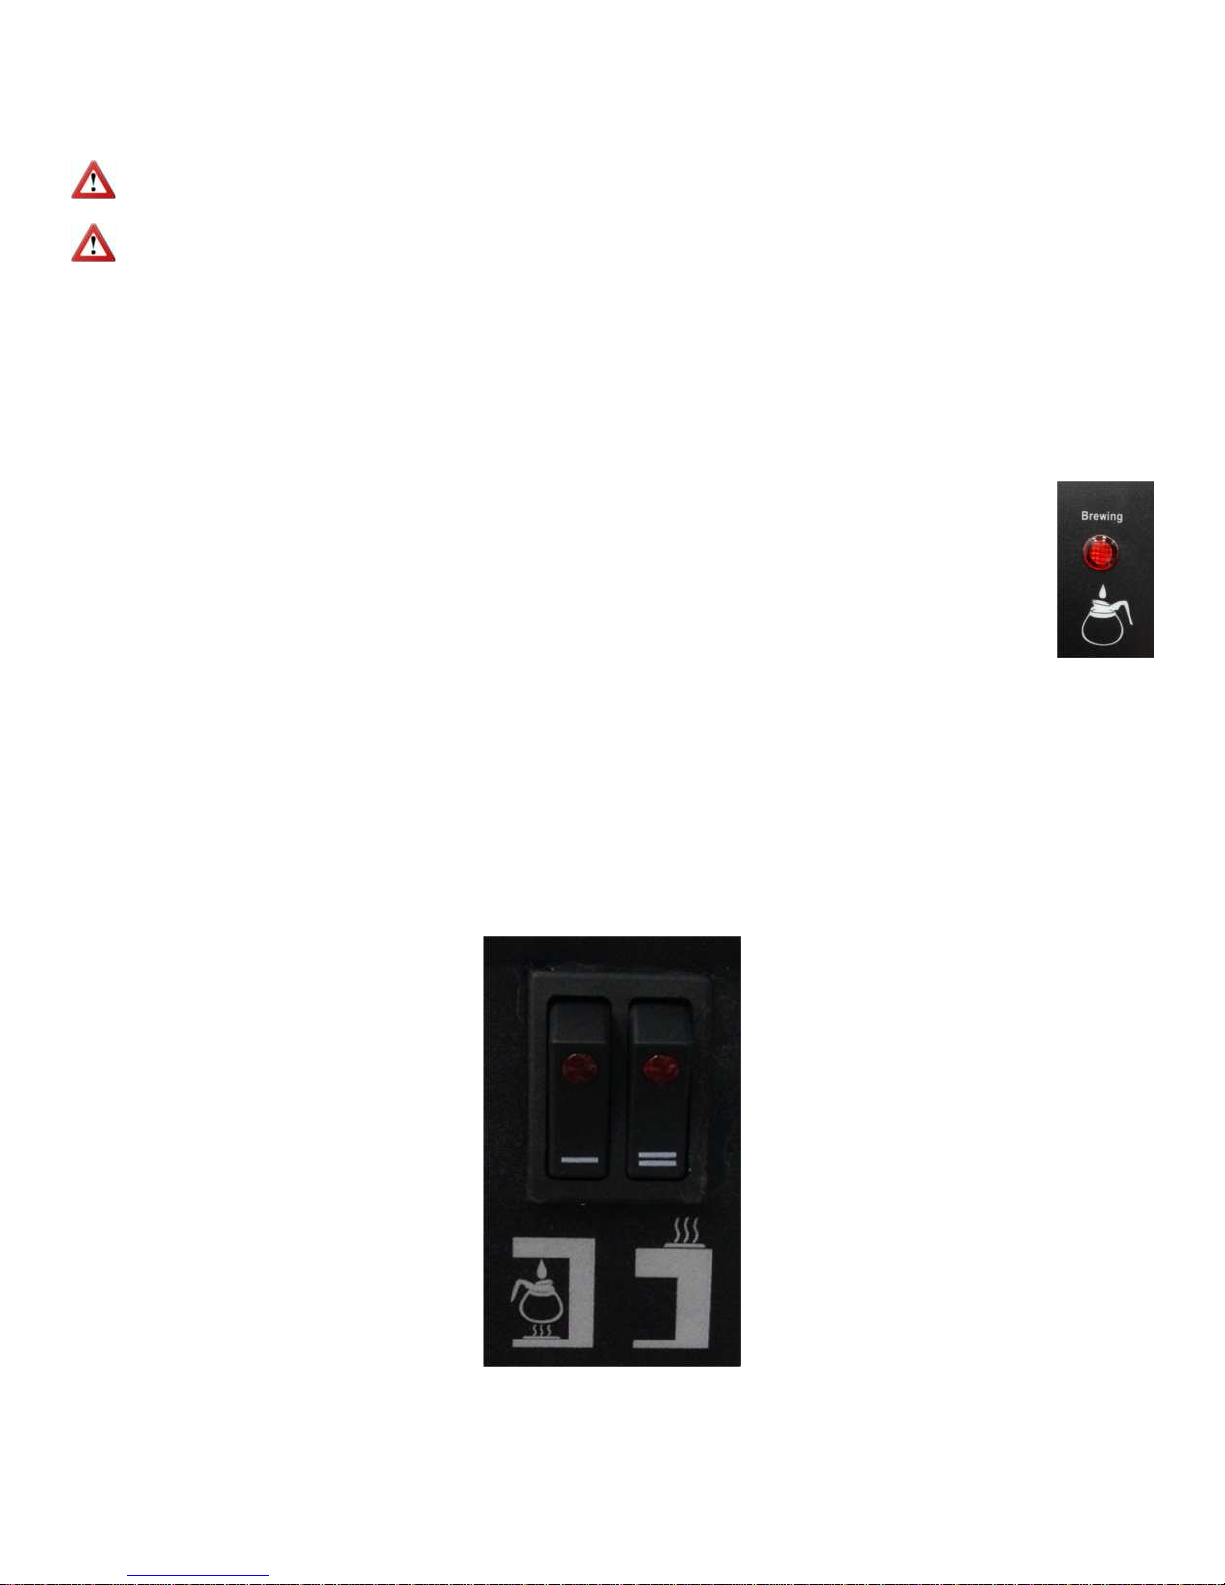
4. Turn the switch ON and the Brewing light will illuminate.
5. When the brewing light goes out, the brewing cycle is complete.
6. Repeat this 3 or 4 times upon first use to flush the system of any dust and debris.
WARNING NEVER keep an empty decanter on a warming plate. This could cause the glass to crack or
shatter.
5
OPERATION
WARNING NEVER pour hot water into the reservoir.
WARNING This appliance and its parts are hot when in use. Use caution when operating or cleaning.
BREWING COFFEE
1. Assemble the filter basket with filter paper and then add the appropriate amount of coffee (depending
on your taste).
2. Slide the filer basket into position.
3. Place an empty decanter or airpot (depending on the model) in position under the filter
basket
4. Pour 1.6 - 1.8 Liters of cold water into the water reservoir.
5. Turn the switch ON and the Brewing light will illuminate.
6. Coffee will start to flow into the decanter or airpot (depending on your model).
7. The Brewing light will go out when the brewing cycle has completed.
There will always be some water remaining in the hoses, boiler tank, etc. of the appliance. If the appliance
will not be used for some time or if your appliance needs to be moved, you should pour out the remaining
water and clean the appliance.
WARMING PLATES
Press the switch to the ON position. The light will illuminate. Press the switch to the OFF position when not
in use.
6
CLEANING
WARNING This appliance and its parts are hot when in use. Use caution when operating or cleaning.
1. Unplug the unit from its electrical source and allow to cool.
2. Wipe all external surfaces including the warming plates with a damp cloth and dry thoroughly.
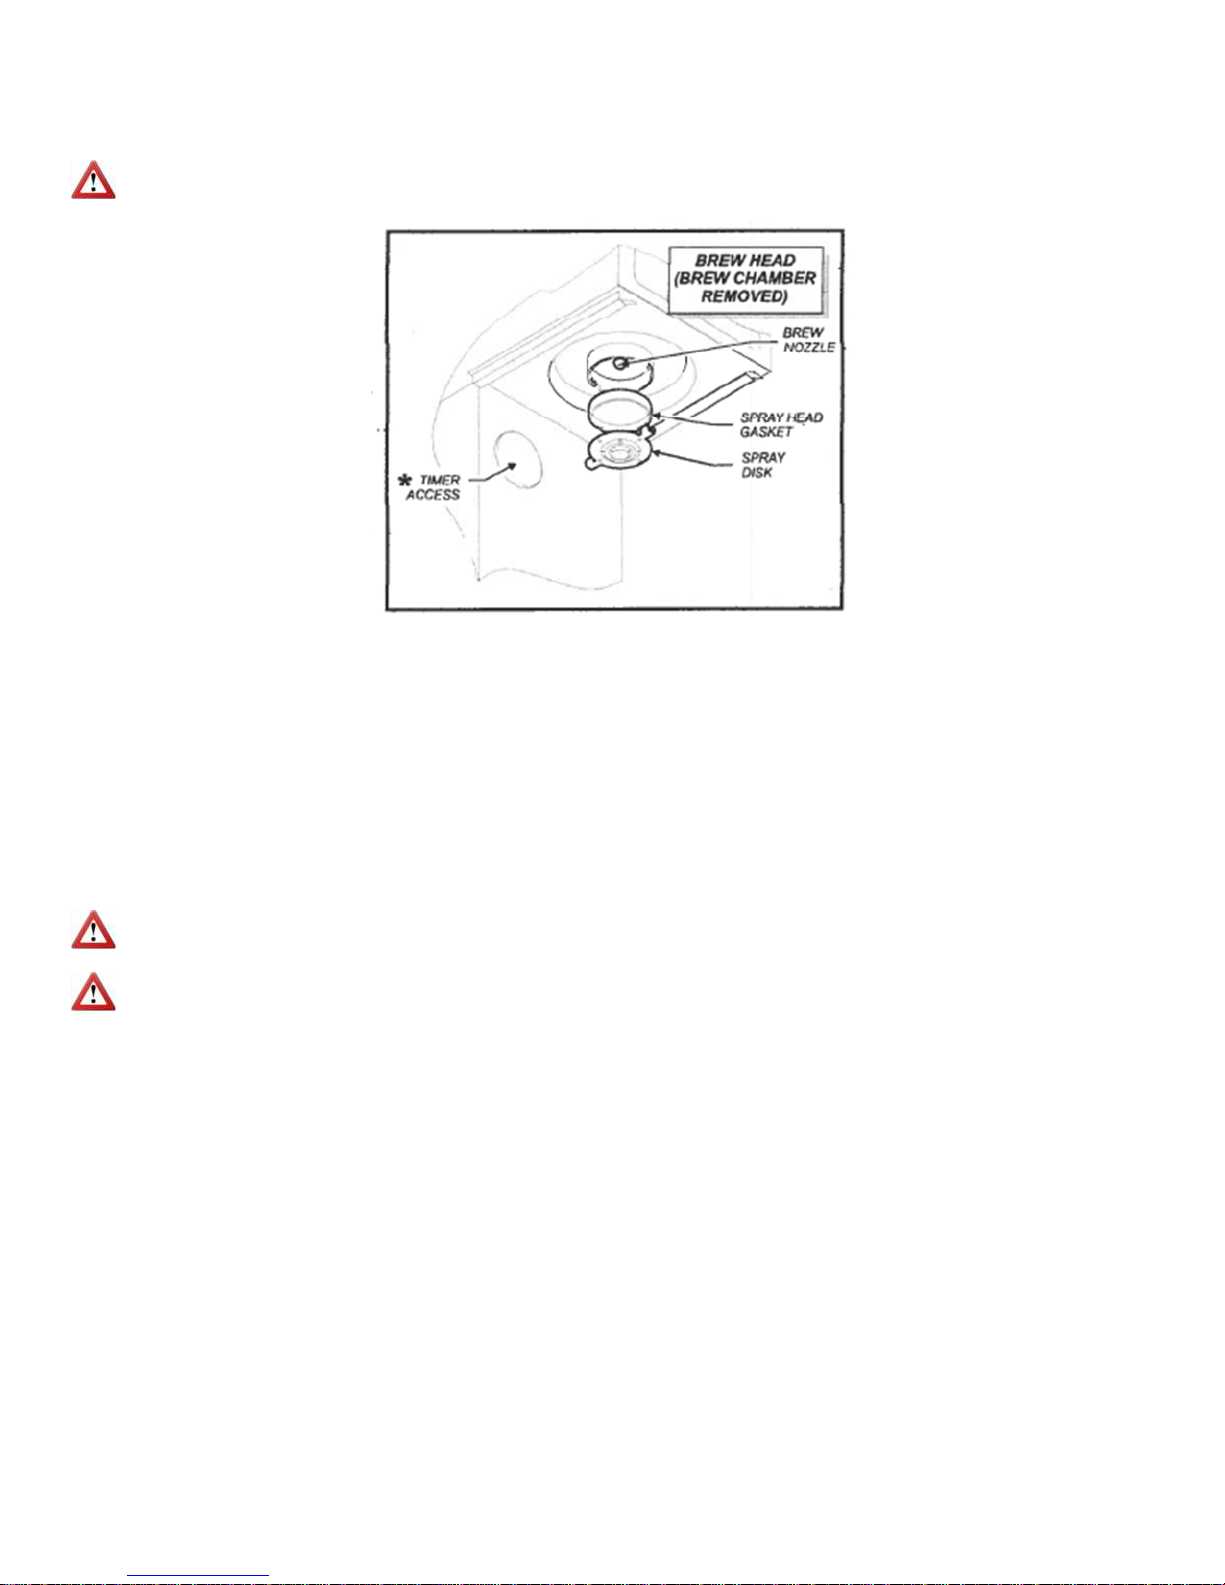
3. Remove the spray disk from the brew head by pressing up on the spray disk tabs and turning to the left.
4. Remove the gasket from inside the brew head.
5. Wipe inside of brew head and area around the brew head with a clean damp cloth.
6. Wash the spray disk and filter basket in a sink with warm soapy water and rinse thoroughly. Remove
any debris from spray holes.
7. Reinstall the gasket in the brew head and then reinstall the spray disk.
NO PARTS OF THIS APPLIANCE ARE SUITABLE FOR CLEANING IN A DISHWASHER.
NEVER USE HARSH OR ABRASIVE CLEANERS.
DE-LIMING/DE-SCALING
If you operate in a hard water area, we recommend that your coffee maker is de-limed/de-scaled every 3
months. If the water flows through your coffee maker slower than usual, it is a sign that the
de-liming/de-scaling is necessary.
1. Clear filter basket of old filter and coffee and reinstall empty basket
2. Place an empty decanter in position under the filter basket.
3. Pour white vinegar into the “over pour” area until water/ vinegar starts to flow from the brew head.
4. Repeat this 3-4 times so that the vinegar has completely made its way through the system.
5. Run the brew cycle 3 or 4 times without coffee to flush out the vinegar. Continue to do this until you
no long smell the vinegar coming out of the coffee maker.
6. Repeat the CLEANING directions before brewing coffee.
This manual suits for next models
1
Table of contents
Popular Coffee Maker manuals by other brands


Menuett
Menuett 009029 operating instructions

Nespresso
Nespresso Krups MY MACHINE PRODIGIO&MILK instruction manual

Caffitaly System
Caffitaly System S05 Instruction book

DeLonghi
DeLonghi Nespresso LATTISSIMA PRO EN 750.MB manual

Saeco
Saeco Via Venezia RI9366/47 Specifications

Coffee Queen
Coffee Queen CAFELINO TRIO user manual