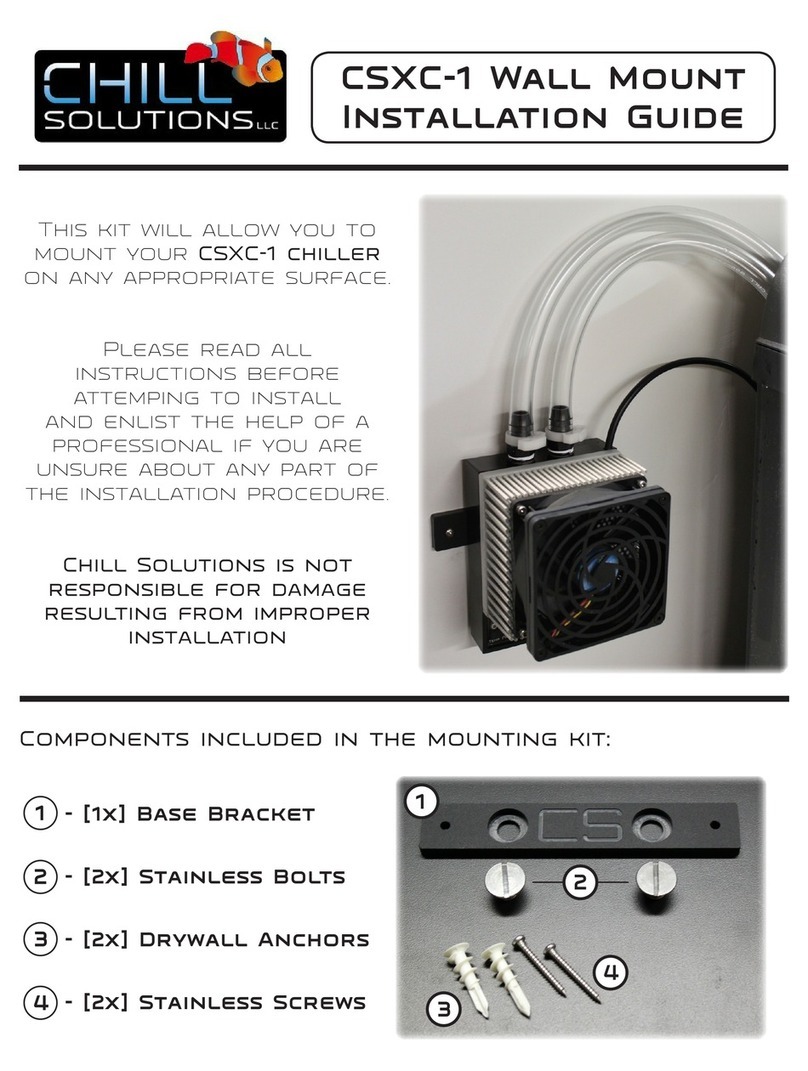
Chill Solutions CSXC-1 User manual

THERMOELECTRIC CHILLER
OWNER’S MANUAL
SPECIFICATIONS:
Chill Solutions Thermoelectric Chiller
Power Supply: 90 - 240 VAC, 50 - 60 Hz (worldwide)
Ceramic Thermoelectric Element - CFC/Refrigerant Free
www.chillsolutions.com

INTRODUCTION
1
The CSXC-1 chiller uses thermoelectric technology to cool liquid passing through the
unit. The ceramic thermoelectric element inside transfers heat from the water to the
external heatsink which is then dissipated by the fan. This technology allows for very
precise and stable temperature control that is not available with standard compressor
and refrigerant based chillers.
After installing and powering up the unit, allow 24 hours for the water temperature to
stabilize before assessing performance.
TABLE OF CONTENTS
IMPORTANT SAFETY PRECAUTIONS 2
INSTALLATION 3
GETTING STARTED 4
MAINTENANCE 5
WARRANTY/SUPPORT 6

SAFETY PRECAUTIONS
1. Read all instructions.
2. For indoor use only.
3. Do not use for other than intended use.
4. Before the chiller is supplied with power, the water inlet/outlet piping and water circulation system
must be activated and tested. This ensures that the chiller connections are water tight, and the chiller
has sufficient water circulation.
5. To protect against electrical shock, do not place cord, plugs or the chiller in water or other liquid.
6. Do not operate this chiller with a damaged cord or plug, or if the chiller malfunctions. Return the unit to
Chill Solutions for inspection, repair or adjustment. See warranty section for further details.
7. To avoid the possibility of the AC power plug, power supply transformer, or the chiller getting wet,
position the aquarium and the chiller components in such a way to allow a “drip loop” to be formed similar
to the figure shown. This “drip loop” will prevent water from traveling along the power cord and coming
into contact with appliance plug. If the power plug becomes wet, DO NOT unplug the cord.
Disconnect the fuse, or circuit breaker that supplies power to the plug first. Then proceed to unplug the
chiller power cord, and check for the presence of water in the AC power receptacle.
.
8. If an extension cord is necessary, an extension cord with the proper amperage rating should be incorporated.
An extension cord rated for less amperage, or power than the transformer requires may cause the extension
cord to overheat. The extension cord must be a cord which incorporates a polarized connection arrangement
and has a ground plug.
9. Do not install in a sealed location. Provide four to six inches of air space around the fan and heat
sink for proper air circulation.
10
.Do not install or store the chiller where it will be exposed to external weather or temperatures below freezing.
11
. Do not attempt to repair this product. Repairs should only be executed by authorized service personnel.
12
. Failure to abide by the above instructions will void the chiller’s warranty.
TANK
CHILLER
TRANSFORMER/
POWER SUPPLY
DRIP LOOP
2

INSTALLATION
(Shown with optional Installation Kit)
No set in/out. Either configuration is acceptable.
Place chiller in ventilated location, ensuring adequate space (four to six inches) for air flow.
DO NOT PLACE CHILLER IN CABINET OR OTHER ENCLOSURE.
read entire manual
before installing
chiller
Place chiller in desired location ensuring
adequate space for air movement.
Determine pump location and cut
a piece of tubing to appropriate length.
Attach clear PVC u-bend barb fitting to
end of cut tubing. Attach other end of
tubing to pump. Secure with hose clamps.
Cut second length of tubing to connect
the other end of barb fitting to the chiller.
Secure both ends with a hose clamp.
Cut another piece of tubing to connect
chiller and second U-bend. Secure with
hose clamp.
U-bends should now be connected as
shown.
Tubing should now be connected to
chiller as shown.
Installation complete.
123
456
78
3

GETTING STARTED
4
1. Plug in power cords. Digital display will light up on the cooling unit.
2. To switch display temperatures from Fahrenheit to Celsius press and hold the (+) and (-) at the
same time until the display changes to desired temperature scale.
3. Upon start up the unit will display the unit’s internal temperature sensor value.
4. Press the (+) up, or (-) down buttons to set the desired temperature.
Note that a continuous press / hold during this step will increase the selection speed.
5. If the desired set temperature is less that than the actual temperature flowing within the unit the
status LED will illuminate blue and the fan turn on which indicates the unit is cooling.
6. Once the set temperature is reached the unit will turn on and off as necessary to maintain the
desired temperature set point. It is normal for the LED to change from blue to green and back to blue.
Error Display
If the unit’s digital readout displays a code as listed below, the unit is not functioning as
designed. The following list of codes can be used to troubleshoot the problem:
ERR1 – Unit is overheating. Unplug chiller until heatsink is cool to touch.
ERR2 – Fan failure. Check to make sure fan is not blocked.
ERR3 – Thermal electric element is out of spec.
Normal Display
• LED displays cycles from green to blue
• LED display colors:
GREEN LED – unit in standby mode
BLUE LED – unit in cooling mode
RED LED – ERROR (see below)

MAINTENANCE
WARNING
Unplug chiller from electrical outlet before performing any
maintenance procedures
The CSXC-1 is an aquarium chiller made with high-performance corrosion-resistant
parts. Although the unit has been designed to be as maintenance free as possible,
there is a small amount of maintenance required.
Recommended Maintenance
(should be performed every 3 months to maintain maximum efficiency)
Heatsink / Fan Cleaning – Depending on environmental conditions, the fan blades or
heatsink may accumulate dust.This should be removed by either compressed air or a
vacuum, taking care to not damage the heatsink fins or fan blades and allow free air
movement though the unit.
It is important to keep the chiller assembly clean. Care must be taken when removing
dust and minor accumulations from around the fan assembly and heat sink. NEVER
submerge the unit in any liquid or cleaning product to clean it.
5

WARRANTY
6
One Year Limited Warranty
Chill Solutions LLC warrantees this product for one year from the date of purchase. We
certify that this product is free from any manufacturing or workmanship defects. If any
defect is found, Chill Solutions LLC will, at its discretion, replace or repair the defects at
no charge to the customer excluding shipping and handling.
This warranty does not cover intentional or accidental damage to the unit as a result of
user misuse.
Loss of livestock is not covered by this warranty.
number and for further instructions on warranty replacement.
CONTACT INFO
Table of contents
Other Chill Solutions Chiller manuals
Popular Chiller manuals by other brands

Mueller
Mueller 9843514 Installation and operation manual
Quantech
Quantech QTC3040T Installation operation & maintenance
Daikin
Daikin EWAT_B operating manual
SMC Networks
SMC Networks HRL100-A Operation manual
Hitecsa
Hitecsa EKWXA 7002.4 Installation, operation & maintenance manual

Thermal Care
Thermal Care Accuchiller TCFW375 Operation, installation, and maintenance manual
