2. Brightness -To adjust the brightness of the screen.
3. Sound -You can turn sound on and off.
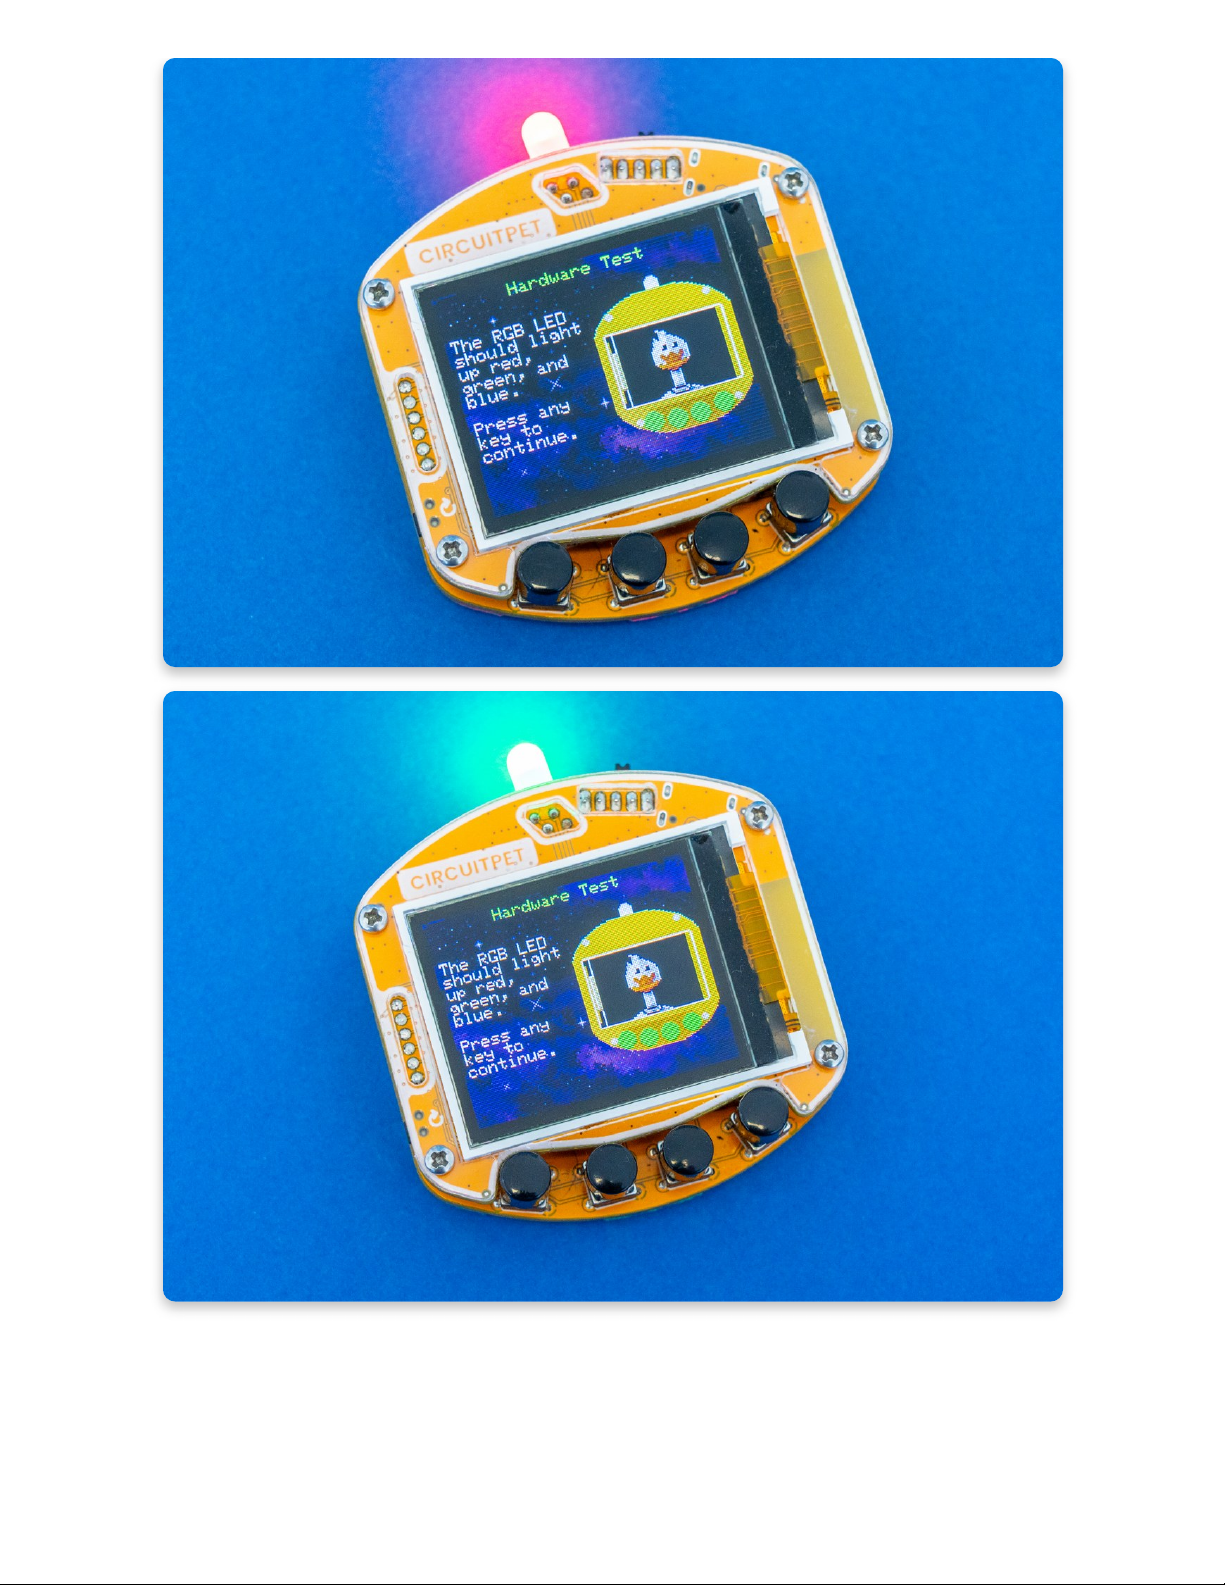
4. RGB brightness -To adjust the brightness of the LED.
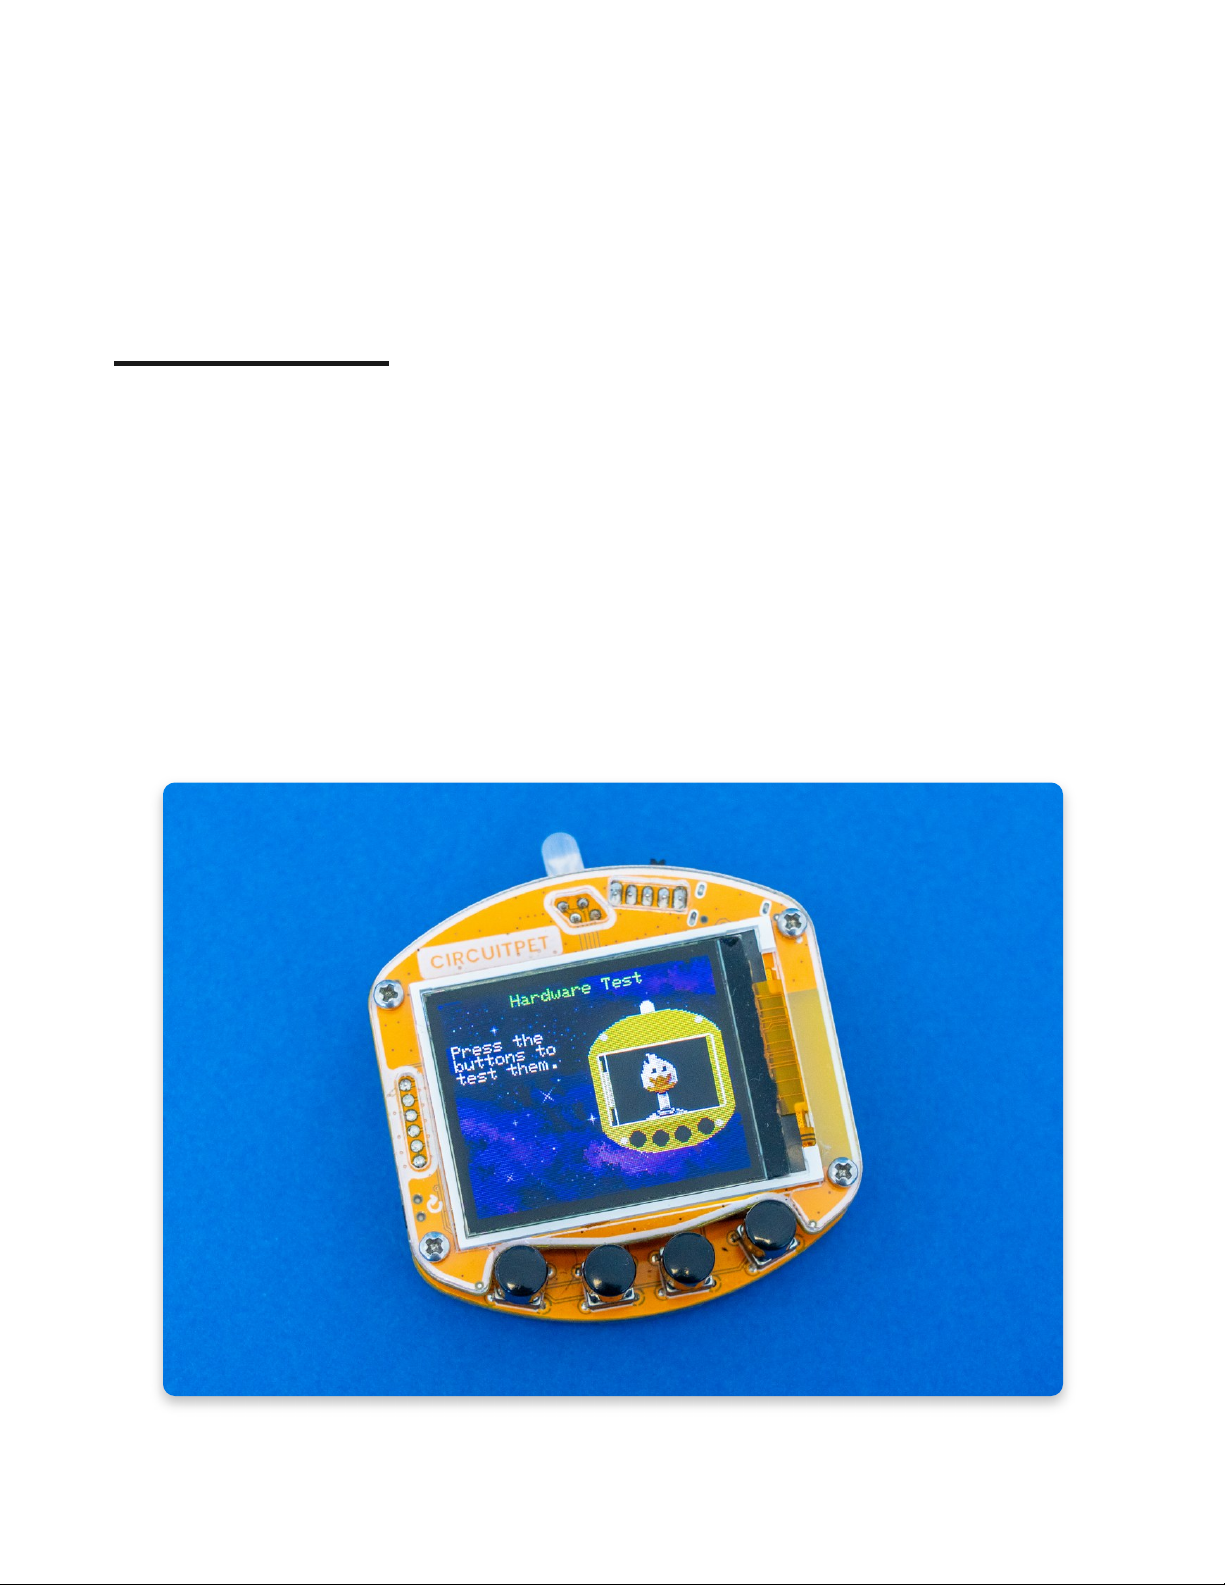
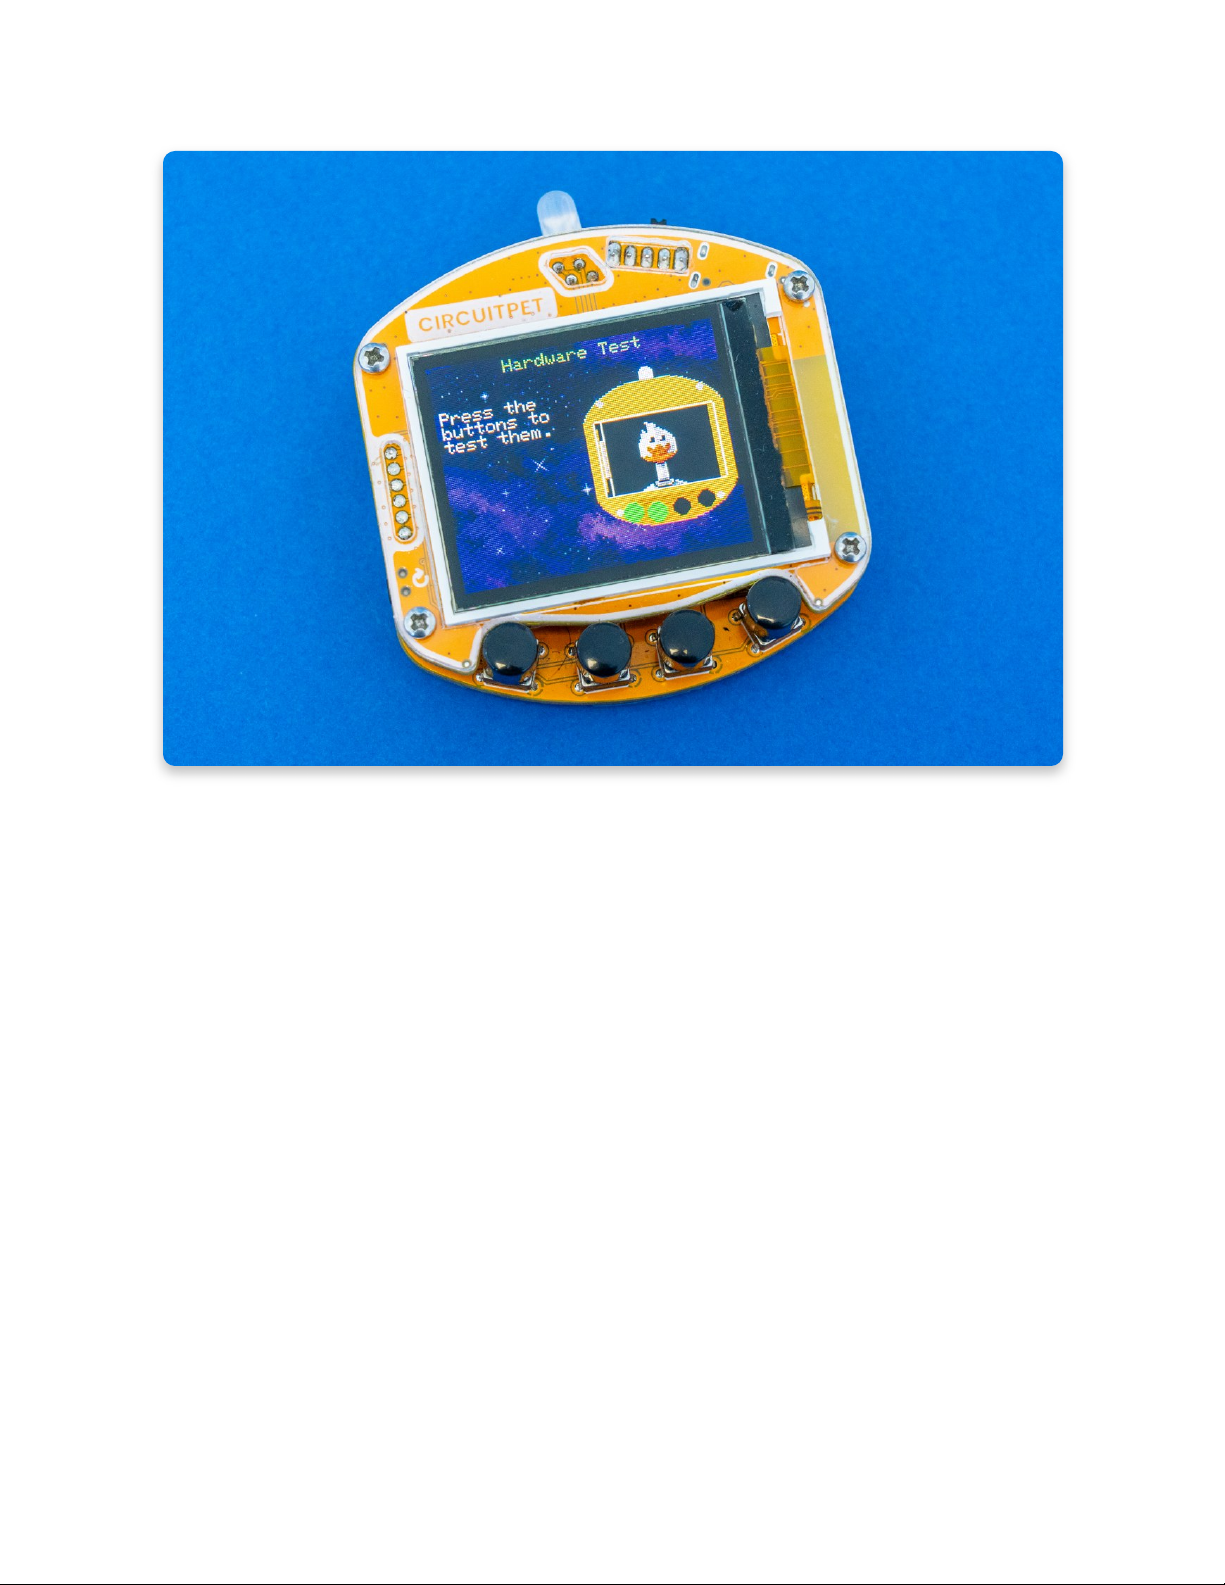
5. Hardware test -Perform this test if you suspect that any component is not
working properly. If you are unable to complete the test, you should check your
soldering joints. If you need assistance with making your CircuitPet work, please
6. Factory reset -Like on your phone, use this setting to delete everything from the
device.
7. Save - To save the changes.
Let the games begin!
Take care of CircuitPet!
CircuitPet, like any other pet, needs to be fed, oiled to keep it rust-free, and played
with.
On your CircuitPet, you'll find six pre-loaded minigames that will help you earn
much-needed XP. XP will help keep your CircuitPet happy and fed. You'll also be
able to level up your character and unlock new games.
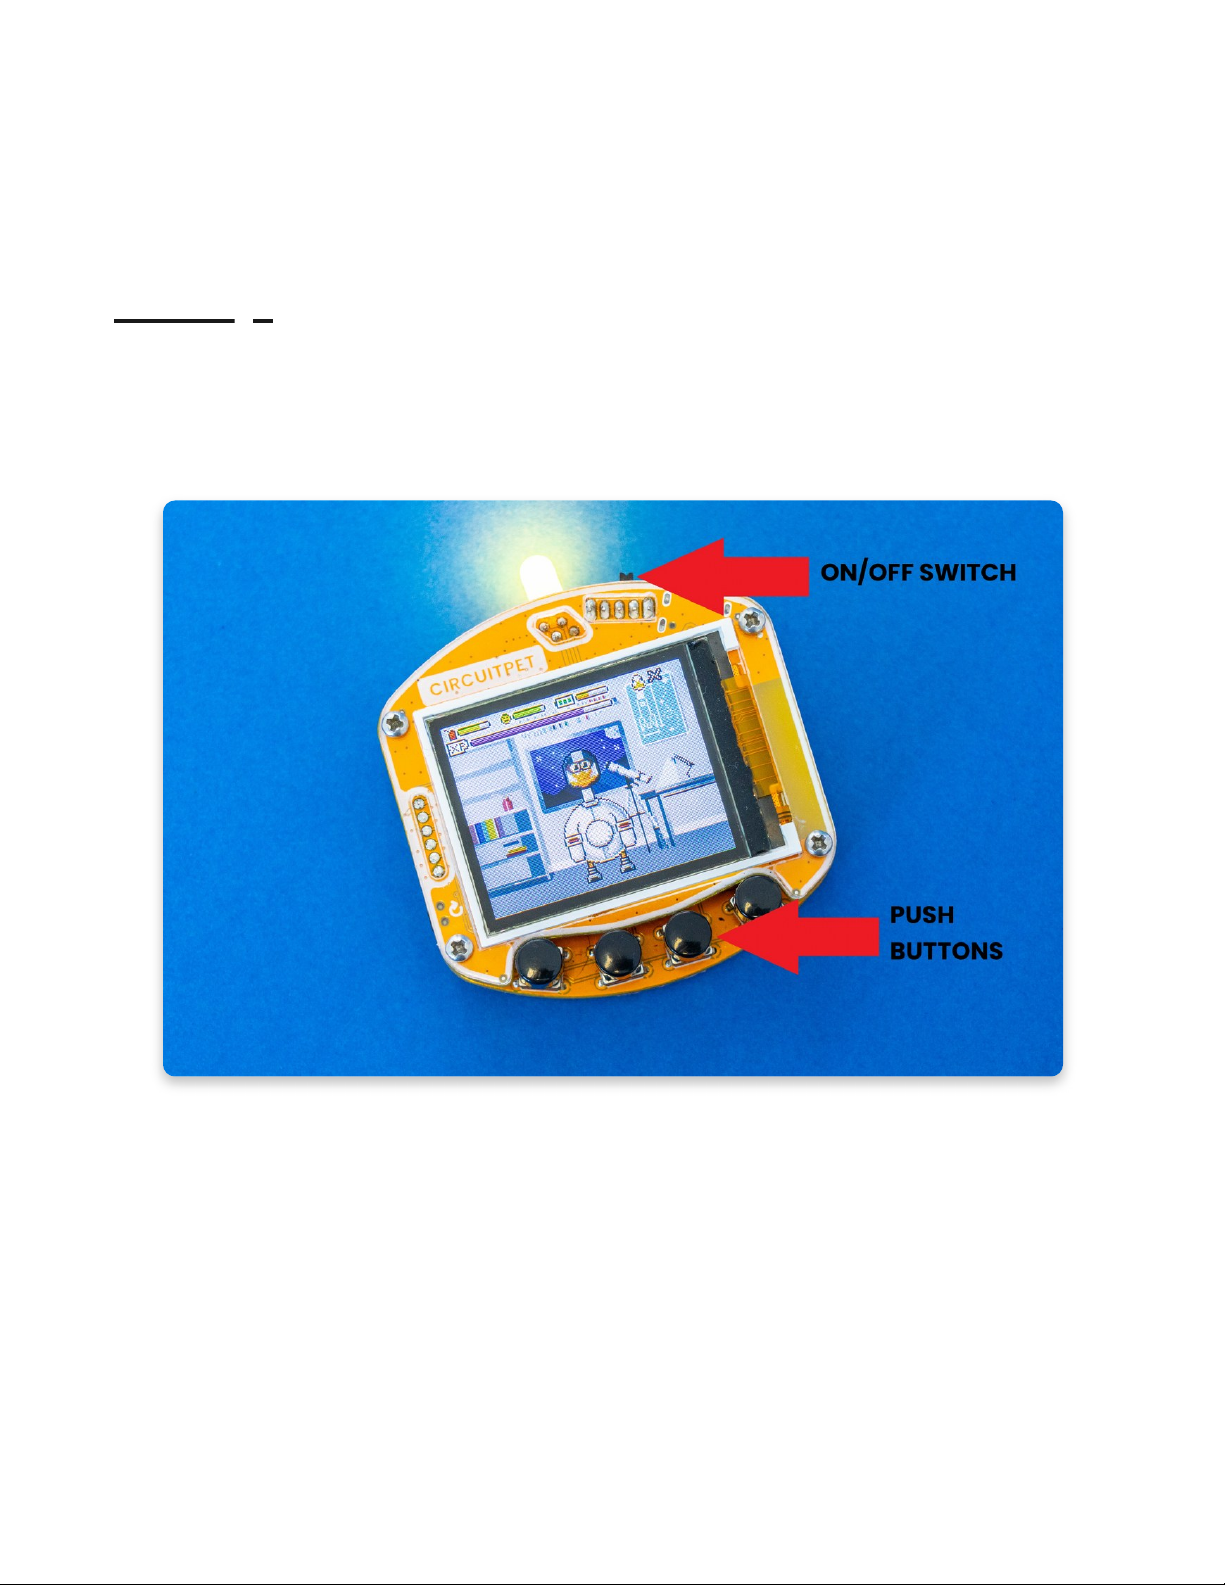
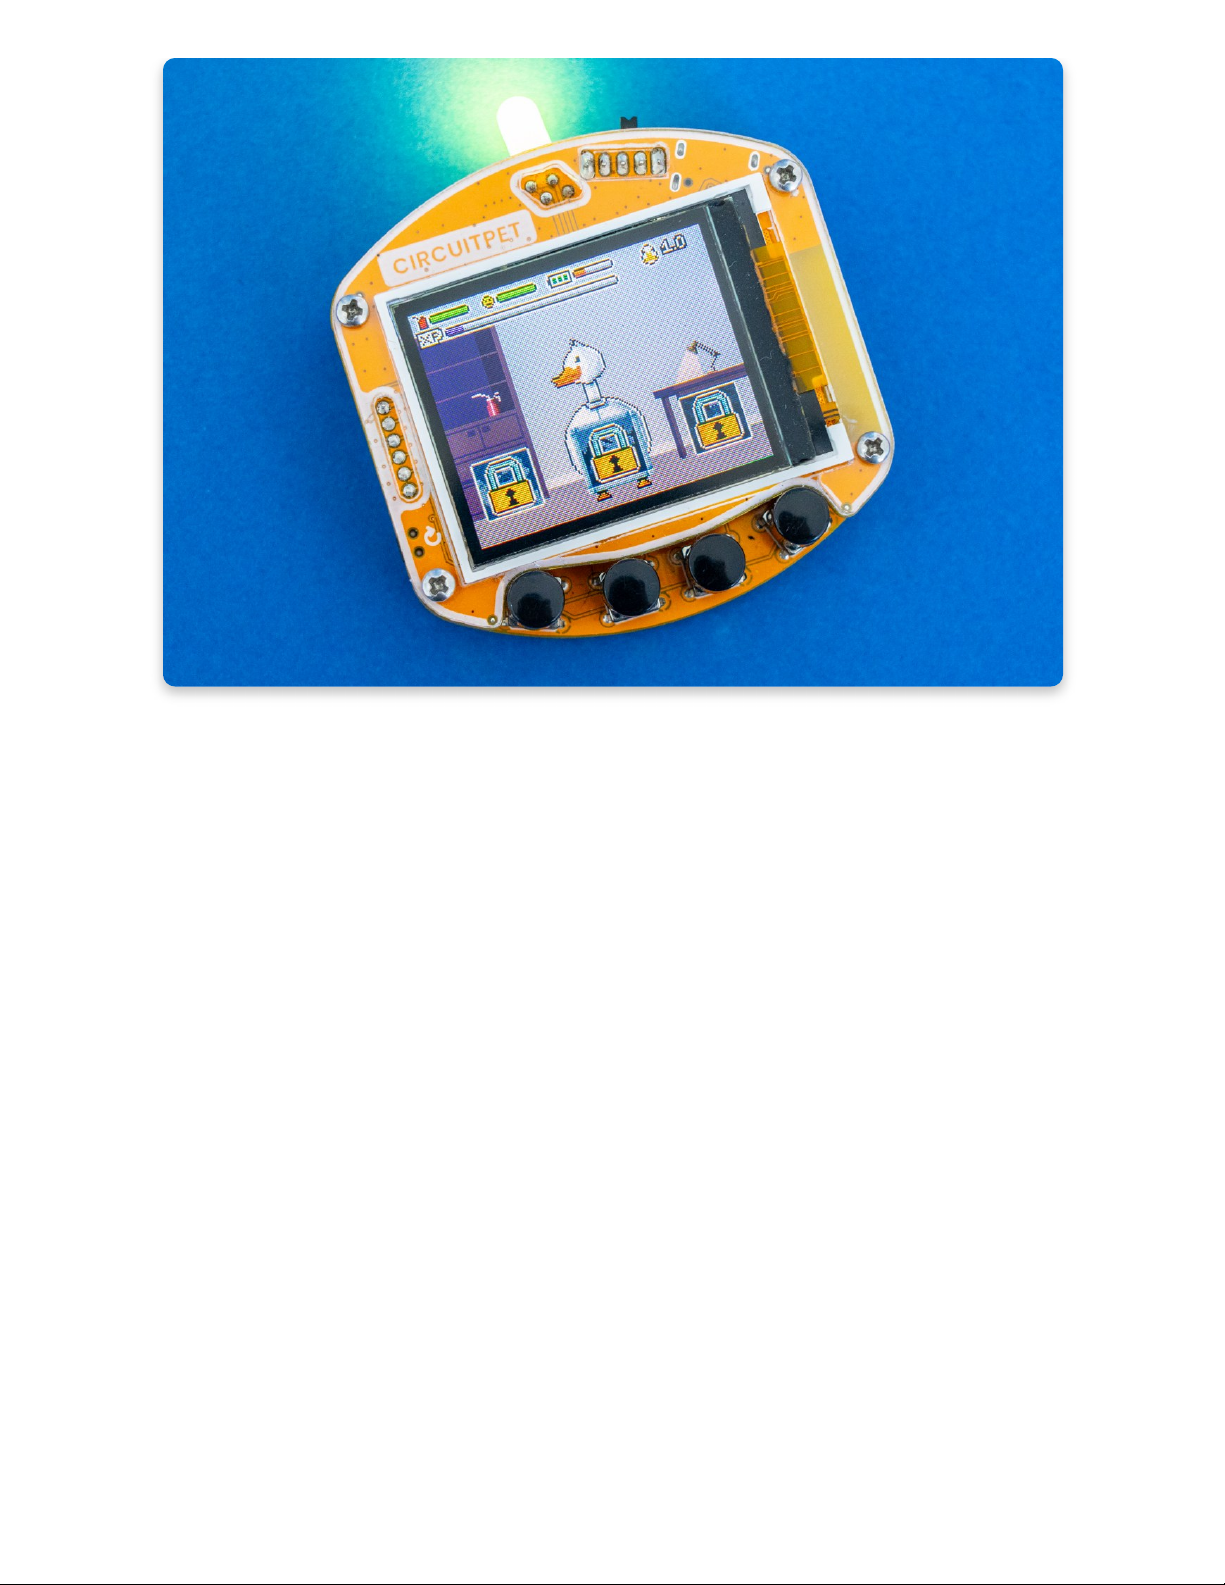
When you first turn on your CircuitPet, all of the games will be locked, and you will
see the following: