manuals.online logo
Brands
  1. Home
  2. •
  3. Brands
  4. •
  5. Clarion
  6. •
  7. Car Receiver
  8. •
  9. Clarion DB568RUSB User manual

Clarion DB568RUSB User manual

Other manuals for DB568RUSB

3

Other Clarion Car Receiver manuals

Clarion PN-2280D-A User manual

Clarion

Clarion PN-2280D-A User manual

Clarion RG-9451S User manual

Clarion

Clarion RG-9451S User manual

Clarion DB165 User manual

Clarion

Clarion DB165 User manual

Clarion DXZ275MP User manual

Clarion

Clarion DXZ275MP User manual

Clarion DVH943 User manual

Clarion

Clarion DVH943 User manual

Clarion CX400 User manual

Clarion

Clarion CX400 User manual

Clarion DB345MP User manual

Clarion

Clarion DB345MP User manual

Clarion CZ301 Repair manual

Clarion

Clarion CZ301 Repair manual

Clarion PN-2165M-A User manual

Clarion

Clarion PN-2165M-A User manual

Clarion AXZ610 User manual

Clarion

Clarion AXZ610 User manual

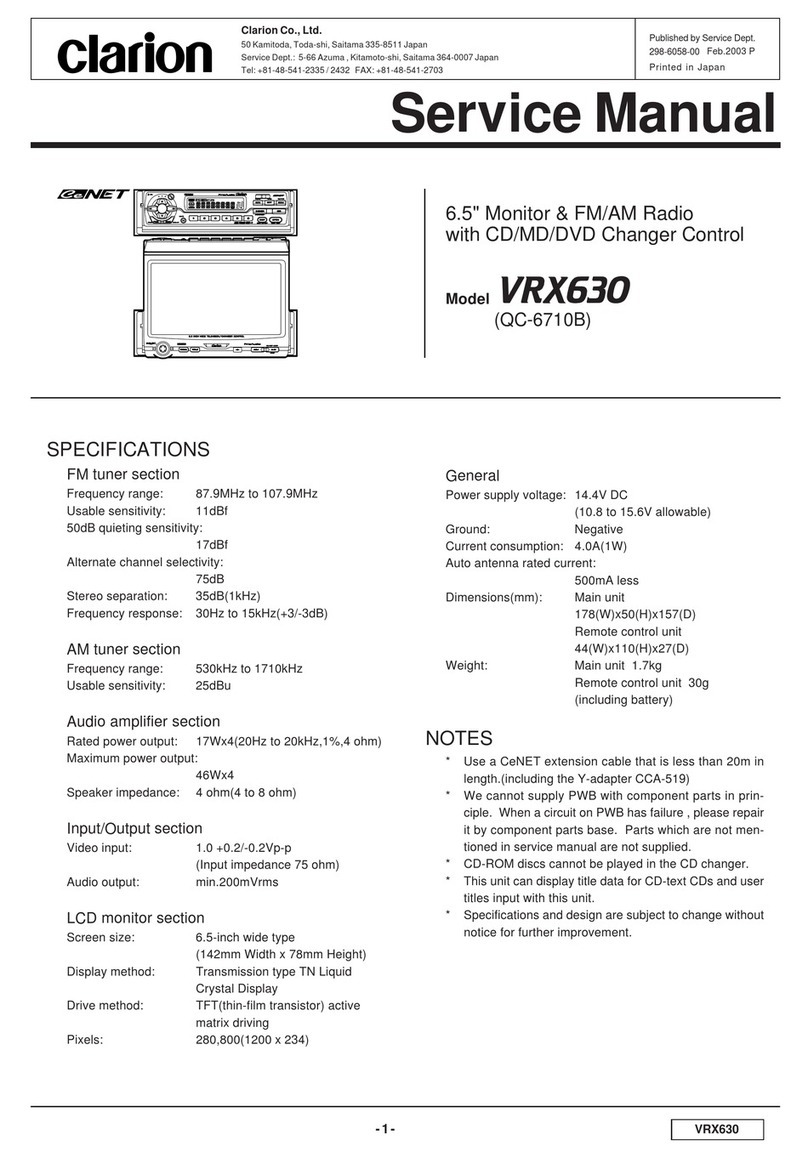
Clarion pro audio vrx 630 User manual

Clarion

Clarion pro audio vrx 630 User manual

Clarion DB568RUSB User manual

Clarion

Clarion DB568RUSB User manual

Clarion DXZ578RUSB User manual

Clarion

Clarion DXZ578RUSB User manual

Clarion ADB340MP  ADB340MP ADB340MP User manual

Clarion

Clarion ADB340MP ADB340MP ADB340MP User manual

Clarion DB248R User manual

Clarion

Clarion DB248R User manual

Clarion VRX835 Instruction manual

Clarion

Clarion VRX835 Instruction manual

Clarion VRX765VD User manual

Clarion

Clarion VRX765VD User manual

Clarion VZ401E User manual

Clarion

Clarion VZ401E User manual

Clarion RDX655DZ User manual

Clarion

Clarion RDX655DZ User manual

Clarion DXZ758RMC User manual

Clarion

Clarion DXZ758RMC User manual

Clarion Automobile Accessories User manual

Clarion

Clarion Automobile Accessories User manual

Clarion VRX815 Instruction manual

Clarion

Clarion VRX815 Instruction manual

Clarion BD239R/BD239RG User manual

Clarion

Clarion BD239R/BD239RG User manual

Clarion DXZ555MP User manual

Clarion

Clarion DXZ555MP User manual

Popular Car Receiver manuals by other brands

Linear Series LS5050 Operation and installation manual

Linear Series

Linear Series LS5050 Operation and installation manual

Kenwood KRC-160 instruction manual

Kenwood

Kenwood KRC-160 instruction manual

Sony XR-CA430X Service manual

Sony

Sony XR-CA430X Service manual

T+A Elektroakustik K1 CD-RECEIVER operating instructions

T+A Elektroakustik

T+A Elektroakustik K1 CD-RECEIVER operating instructions

SoundMax SM-CDM1052 instruction manual

SoundMax

SoundMax SM-CDM1052 instruction manual

Xtrons HD107HD user manual

Xtrons

Xtrons HD107HD user manual

Mopar RB3 manual

Mopar

Mopar RB3 manual

Sony XAV-601BT Specifications

Sony

Sony XAV-601BT Specifications

PIE GM12-POD/S Operation manual

PIE

PIE GM12-POD/S Operation manual

Hyundai H-910H instruction manual

Hyundai

Hyundai H-910H instruction manual

Sony XR-C6100 Service manual

Sony

Sony XR-C6100 Service manual

Sony CDX-L600X - Fm/am Compact Disc Player Installation/connections

Sony

Sony CDX-L600X - Fm/am Compact Disc Player Installation/connections

Motorola VWA63 Service manual

Motorola

Motorola VWA63 Service manual

Sound Storm STM93R user manual

Sound Storm

Sound Storm STM93R user manual

Nextar D3201 instruction manual

Nextar

Nextar D3201 instruction manual

Alpine CDE-163BT owner's manual

Alpine

Alpine CDE-163BT owner's manual

Kenwood KDC-X303 quick start guide

Kenwood

Kenwood KDC-X303 quick start guide

Axxera XDMA7600 Installation & owner's manual

Axxera

Axxera XDMA7600 Installation & owner's manual

manuals.online logo
manuals.online logoBrands
  • About & Mission
  • Contact us
  • Privacy Policy
  • Terms and Conditions

Copyright 2025 Manuals.Online. All Rights Reserved.

1. During extreme cold temperatures, condensa-
tion may form on the disc and/or the optical part
of the player. If the disc exhibits condensation,
carefully wipe off the disc with a soft cloth. In
the event the disc still does not play properly,
eject the disc and allow the condensation to
disappear naturally from the optical parts of the
player. Radio, Auxiliary and USB functions can
still be used during this time which may take
up to an hour.
Be sure to unfold and read the next page. / Veuillez déplier et vous référer à la page suivante.
Bitte ausbreiten und die nächste Seite lesen. / Assicurarsi di aprire e leggere la pagina successiva.
Volgende pagina uitvouwen en doorlezen a.u.b. / Cerciórese de desplegar y de leer la página siguiente.
Glöm inte att vika ut och läsa nästa sida. / Não deixe de abrir e ler a próxima página.
English
1. PRECAUTIONS
1. PRECAUTIONS ..............................................................................................................................3
Handling Compact Discs .................................................................................................................4
2. CONTROLS .................................................................................................................................... 5
3. NOMENCLATURE ..........................................................................................................................6
Names of the Buttons and Their Functions ......................................................................................6
Display Items ...................................................................................................................................8
LCD Screen .....................................................................................................................................8
4. REMOTE CONTROL ...................................................................................................................... 9
Inserting the Battery ......................................................................................................................... 9
Functions of Remote Control Unit Buttons .....................................................................................10
5. DCP ...............................................................................................................................................11
6. OPERATIONS ...............................................................................................................................12
Basic Operations ...........................................................................................................................12
Radio Mode Operations ................................................................................................................. 14
RDS Operations ............................................................................................................................ 15
CD/MP3/WMA Mode Operations ................................................................................................... 19
USB Mode Operation ..................................................................................................................... 21
Operation Common to CD and USB Drive .....................................................................................22
Operations Common to Each Mode ...............................................................................................25
7. TROUBLESHOOTING ..................................................................................................................27
8. ERROR DISPLAYS ...................................................................................................................... 29
9. SPECIFICATIONS ........................................................................................................................29
2. Driving on extremely bumpy roads may cause
the CD to skip.
3. This unit is applicable for on-road 4 wheel ve-
hicle purpose only. Use for tractor, fork truck,
bulldozer, off road vehicle, 2 or 3 wheel motor
bicycle, marine boat or other special purpose
vehicle is not appropriate.
84
3
DB568RUSB DB568RUSB DB568RUSB
Contents
CHANGES OR MODIFICATIONS TO THIS PRODUCT NOT APPROVED BY THE MANUFAC-
TURER WILL VOID THE WARRANTY.
INFORMATION FOR USERS:
English
Handling Compact Discs
This unit has been designed specifically for play-
back of compact discs bearing the mark.
No other discs can be played.
To remove the compact disc from its storage
case, press down on the center of the case
and lift the disc out, holding it carefully by the
edges.
Note:
Do not use commercially available CD protection sheets or discs equipped with stabilizers, etc. These
may get caught in the internal mechanism and damage the disc.
Never stick labels on the surface of the compact
disc or mark the surface with a pencil or pen.
Always handle the compact disc by the edges.
Never touch the surface.
To remove fingermarks and dust, use a soft
cloth, and wipe in a straight line from the center
of the compact disc to the circumference.
New discs may have some roughness around
the edges. The unit may not work or the sound
may skip if such discs are used. Use a ball-point
pen, etc. to remove roughness from the edge
of the disc.
Do not use any solvents such as commercially
available cleaners, anti-static spray, or thinner
to clean compact discs.
Do not use compact discs that have large
scratches, are misshapen, or cracked, etc.
Use of such discs will cause misoperation or
damage.
Do not expose compact discs to direct sunlight
or any heat source.
Note on compact discs
In extreme cold, the screen movement may slow down and the screen may darken, but this is normal.
The screen will recover when it returns to normal temperature.
Display Items
LCD Screen
[SENSOR]
Receiver for remote control unit.
Operating range: 30° in all directions.
[CD SLOT]
CD insertion slot.
MAIN UNIT / APPAREIL PRINCIPAL / HAUPTGERÄT
/ APPARECCHIO PRINCIPALE / HOOFDTOESTEL
/ UNIDAD PRINCIPAL / HUVUDENHET / UNIDADE PRINCIPAL
Note: Be sure to unfold this page and refer to the front diagrams as you read each chapter.
Remarque: Veuillez déplier cette page et vous référer aux schémas quand vous lisez chaque chapitre.
Hinweis: Bitte diese Seite ausfalten und beim Lesen der einzelnen Kapital die Frontdiagramme beachten.
Nota: Assicurarsi di aprire questa pagina e fare riferimento a questi diagrammi quando si legge ciascun capitolo.
Opmerking: Vouw deze pagina uit en zie tevens de afbeeldingen van het voorpaneel tijdens het doorlezen van de volgende hoofdstukken.
Nota: Cuando lea los capítulos, despliegue esta página y consulte los diagramas.
Observera: Vik ut denna sida för att kunna se figurerna över bilstereons framsida medan du läser de olika kapitlen.
Nota: Certifique-se de abrir esta página e consulte os diagramas frontais conforme realiza a leitura de cada capítulo.
Note:
Be sure to read this chapter referring to the front diagrams of chapter “2. CONTROLS” on page 5 (unfold).
CONTROLS / LES COMMANDES / REGLER / CONTROLLI
REGELAARS / CONTROLES / KONTROLLER / CONTROLOS
English
3. NOMENCLATURE
English
6 7
DB568RUSBDB568RUSB
5DB568RUSB
English Français Deutsch Italiano
Nederlands
Español Svenska
Português
2.
Names of the Buttons and Their Functions
[RELEASE] button
Press the [RELEASE] button to unlock the
detachable panel.
[A] button
Press the button to switch to the ADJ mode.
Press and hold the button for 1 second or longer
to enter RDS ADJ mode.
[ , ] buttons
Select a station while in the Radio mode or
select a track when listening to a CD/USB.
These buttons are used to make various
settings.
Press and hold the button for 1 second or longer
to enter the fast-forward or fast-backward in
CD/USB mode.
[A-M] button
Press the button to switch to the Audio mode
(Bass, Treble, Balance, Fader).
Press and hold for 1 second or longer to turn on
or off the M-B EX mode.
[BND] button
Switch the band, seek tuning or manual tuning
while in the Radio mode.
Play the first track while in the CD/MP3/WMA or
USB mode.
[TA] button
Use the button to set the TA (Tra ffi c
Announcement) standby mode.
[SRC] button
Press the button to turn on the power.
Press and hold the button for 1 second or longer
to turn off the power.
Switch the Operation mode among the Radio
mode, etc.
[D] button
During Radio/CD mode, switch the display
indication (Main display, Clock display).
During MP3/WMA/USB mode, switch the display
indication in the following order:
Track No./Play time Folder No./Track No.
Title Display Clock Display Track No./
Play time...
[Z] button
Press the button to select one of the 3 types
of sound characteristics already stored in
memory.
[T] button
Press the button to switch the track titles, while
in the MP3/WMA/USB mode.
Press and hold the button for 1 second or longer
to scroll the title during title display, while in the
MP3/WMA or USB mode.
[UP], [DN] buttons
Select the Folder (MP3/WMA disc or USB
drive).
Press the button to select CD-DA or MP3/WMA
on a multi-session disc.
[RDM] button
Perform random play while in the CD/MP3/WMA
or USB mode.
Press and hold the button for 1 second or longer
to perform folder random play while in the MP3/
WMA or USB mode.
[ ] button
Eject a CD when it is loaded in the unit.
Names of the Buttons and Their
Functions
[USB PORT]
USB drive insertion port.
[SCN] button
Perform scan play for 10 seconds of each track
while in the CD/MP3/WMA or USB mode.
Press and hold the button for 1 second or
longer to perform folder scan play while in the
MP3/WMA or USB mode.
[RPT] button
Repeat play while in the CD/MP3/WMA or USB
mode.
Press and hold the button for 1 second or longer
to perform folder repeat play while in the MP3/
WMA or USB mode.
[DIRECT] buttons
Store a station into memory or recall it directly
while in the Radio mode.
[ ] button
Perform preset scan while in the Radio mode.
Press and hold the button for 2 seconds or
longer to perform auto store.
Play or pause a track while in the CD/MP3/WMA
or USB mode.
[ROTARY] knob
Adjust the volume by turning the knob clockwise
or counterclockwise.
Use the knob to perform various settings.