Clear Digital EVO 401 User manual

Evo™
USER MANUAL
Model: EVO-401
Part No: AAWA016, AAWA009
All images in this user guide are for reference only.

Contents
Package Contents 1
Safety Instructions 2
Mounting Instructions 3
Powering and Charging Evo 7
Locking and Unlocking Wheels 8
Loading Contents to the Screen 9

1
Package Contents
Display Unit Serial Number
Battery Unit Serial Number
1x AAWA016 Evo Display Unit 1x AAWA009 Evo Battery Unit
TOOL REQUIRED
Hex Head Allen Key 5mm
2
Package Contents
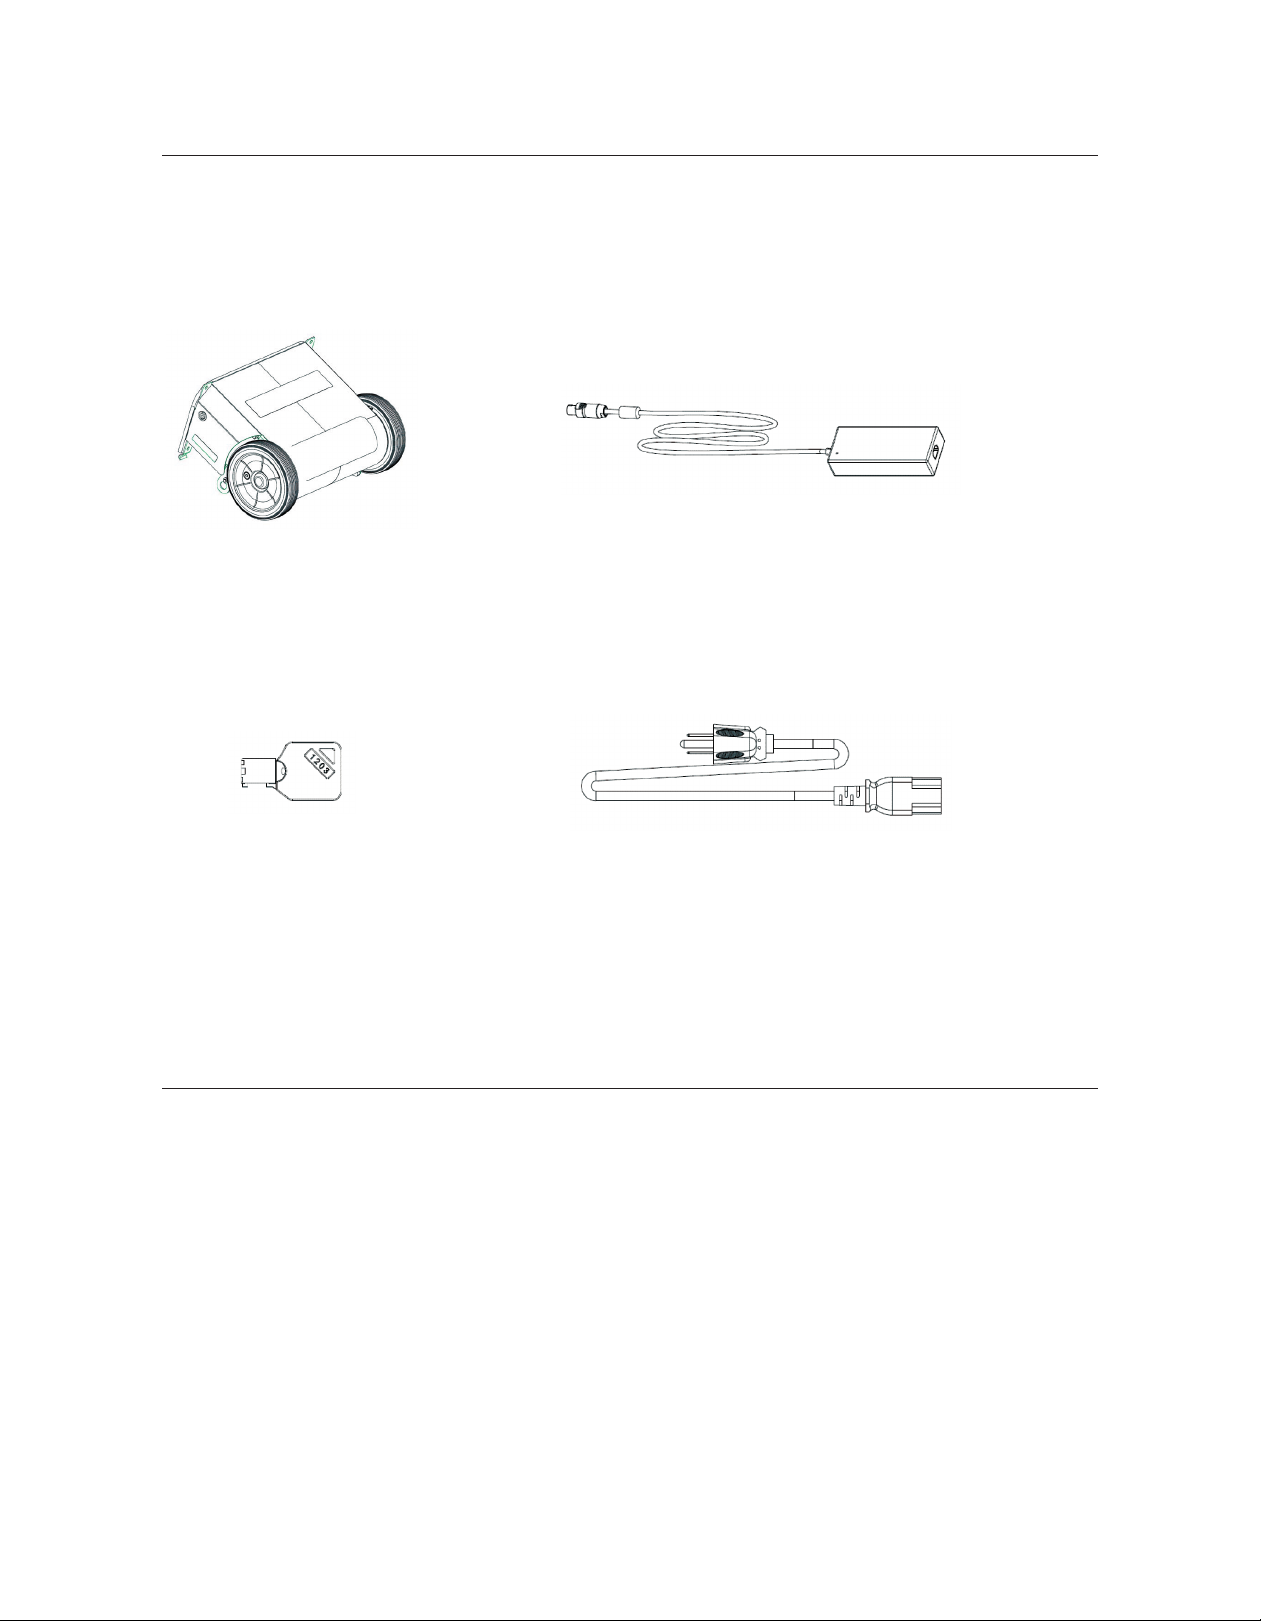
What’s in the Battery Unit Box?
Please make sure the following items are included with your battery unit box.
AAWA009 Battery Box
Wheel Key x 2 Power Cord
AAWA020 Charger
Plug Pack 36V 160W
Safety Instructions
• Evo is semi-outdoor mobile digital signage. Please place Evo in shaded areas. Evo is not designed to
use in direct sunlight. Please keep Evo away from any heat sources.
• Evo is water-resistant, it protects your device from sudden acts of water splashing on your device
such as when it suddenly starts raining or when washing with water (keep the pressure below 0.5 bar).
• Rapid temperature changes can cause condensation on the front glass. If condensation appears on
the front glass, place your Evo in a safe and dry place, turn ON the Evo and wait. As the heat generated
from the display unit operating, the condensation will usually disappear.
• When Evo is placed in a beach area, ensure the unit is placed where seawater is not accessible.

3
Step 1
• Place the Display Unit upon a soft curved cushion or any material that will prevent damage to
the screen.
• Remove 4 x screws with 5mm hex head Allen key.
Mounting Instructions
Step 2
• Before working on the Battery Unit, ensure the locking pin of both wheels are in LOCK position.
How to lock? Use your thumb to push the
locking pin in until you hear a click sound.
You might have to turn the wheel a little bit.
UNLOCK POSITION LOCK POSITION

4
Mounting Instructions
Step 2 (continued)
• Connect the Battery Unit to the Display Unit by hooking the two brackets to the slot holes of the
display outer panel.

5
Mounting Instructions
Step 2 (continued)
• Connect the wiring harness cable.
• Make sure the you hear a “click” sound when the plug is properly inserted.

6
Mounting Instructions
Step 3
• Tighten 4 x screws with 5mm hex head Allen key.
Step 4
• Hold the handle of the device, lift the device up so it sits upright.

7
ON/OFF Button
Battery Isolation Switch
Powering and Charging the Evo
Power On
• Place the battery isolation switch to the On position(located on the side of the Battery Unit).
• Press and hold the On/O button until the button color changes from red to blue. (located on the top
of the Display Unit).
Power O
• Press and hold the power button on the Supervisor module for 2 seconds and then release.
• Press and hold the power button a second time until the button’s color changes from blue to red
and then release.
• Place the battery isolation switch in the O position while storing and/or transporting.
Charging
• The Evo can be charged if necessary while the display is on and being used.
• Charging time for full charge is 6 hours.
• Run time is 14+ hours on a full charge.

8
Locking and Unlocking Wheels
Step 4 (continued)
• Unlock the wheel locking pins
1. Insert the lock key. 2. Turn the lock key 90 degree to unlock
the locking pin. The locking pin should
be pushed out.
3. Turn the lock key 90 degree back. 4. Remove the lock key.

9
Loading Contents to the Screen
Step 1
• Turn the Battery Isolation Switch ON (located on the side of the Battery Unit).
• Press the ON/OFF button on the control panel (located on the top of the Display Unit).
Step 2
• On a computer, copy the contents (images, videos) you wish to display to a ashdrive, ensure
they are supported by the unit, and they are stored in the root directory of the ash drive (without
putting them into a folder).
Step 3
• Insert the ash drive into the USB port at the back of the display.
• Follow instructions on the screen, the screen should indicate how many les are copied onto
the unit. Please note that all les currently stored in the unit will be deleted.
• Once completed, the screen will reboot and play the stored les in a loop.
• Remove the ash drive.
This manual suits for next models
2
Table of contents


