Clinton VFCD954 User manual

Sales: 1-800-447-3306 Support: 1-800-549-6393 www.clintonelectronics.com
The lightning ash with an arrowhead symbol, within an equilateral
triangle is intended to alert the user to the presence of uninsulated
dangerous voltage within the product’s enclosure that may be of
sucient magnitude to constitute a risk of electric shock to persons.
The exclamation point within an equilateral triangle is intended to alert
the user to the presence of important operating and maintenance
(servicing) instructions in the literature accompanying the appliance.
INFORMATION - This equipment has been tested and found to comply
with limits for a Class A digital device, pursuant to part 15 of the FCC Rules.
These limits are designed to provide reasonable protection against harmful
interference when the equipment is operated in a commercial environment.
This equipment generates, uses, and can radiate radio frequency energy
and, if not installed and used in accordance with the instruction manual, may
cause harmful interference to radio communications.
Operation of this equipment in a residential area is likely to cause harmful
interference in which case the user will be required to correct the interfer‑
ence at his own expense.
WARNING - Changes or modications not expressly approved by the
manufacturer could void the user’s authority to operate the equipment.
CAUTION : To prevent electric shock and risk of re hazards:
u Do NOT use power sources other than that specied.
u Do NOT expose this appliance to rain or moisture.
This installation should be made by a qualied service person and
should conform to all local codes.

Table of Contents
Warning 1
Precautions 2
Components 4
Installation 5
nBracket & Camera Mounting
nPower Connector & Monitor Impedance
nViewing Angle & Focus Adjustment
On Screen Display (OSD) Menu 6
Accessing the OSD Menu Settings 7
Lens• 9
Exposure• 10
‑ Shutter
‑ AGC (Auto Gain Control)
‑ Sens‑Up
‑ Return
Backlight• 12
D‑WDR (Digital WDR)• 15
White Balance 16•
Day / Night• 17
3DNR• 18
Special 19
Camera Title 20•
D‑Eect 22•
Motion Detection 24•
Privacy 25•
Adjust 26
Reset 27
Exit 27
Troubleshooting 28
Specications 29
Dimension (inches) 30
Sales: 1-800-447-3306 Support: 1-800-549-6393 www.clintonelectronics.com

Contact an authorised technician to carry out the inspection.
If the camera emits smoke or is unusually hot for a long period, a re may be
caused.
If the camera is installed on an inappropriate surface, it may fall and cause
injury.
It could cause an electric shock.
It may result in an electric shock or other hazards.
It may result in a re or other hazards.
Warning
The camera requires periodic inspection.
Stop using your camera when you nd it malfunctioning.
Do not install the camera on a surface that can not support it.
Do not hold plug with wet hands.
Do not dis-assemble the camera.
Do not use the camera close to a gas or oil leak.
Sales: 1-800-447-3306 Support: 1-800-549-6393 www.clintonelectronics.com
1
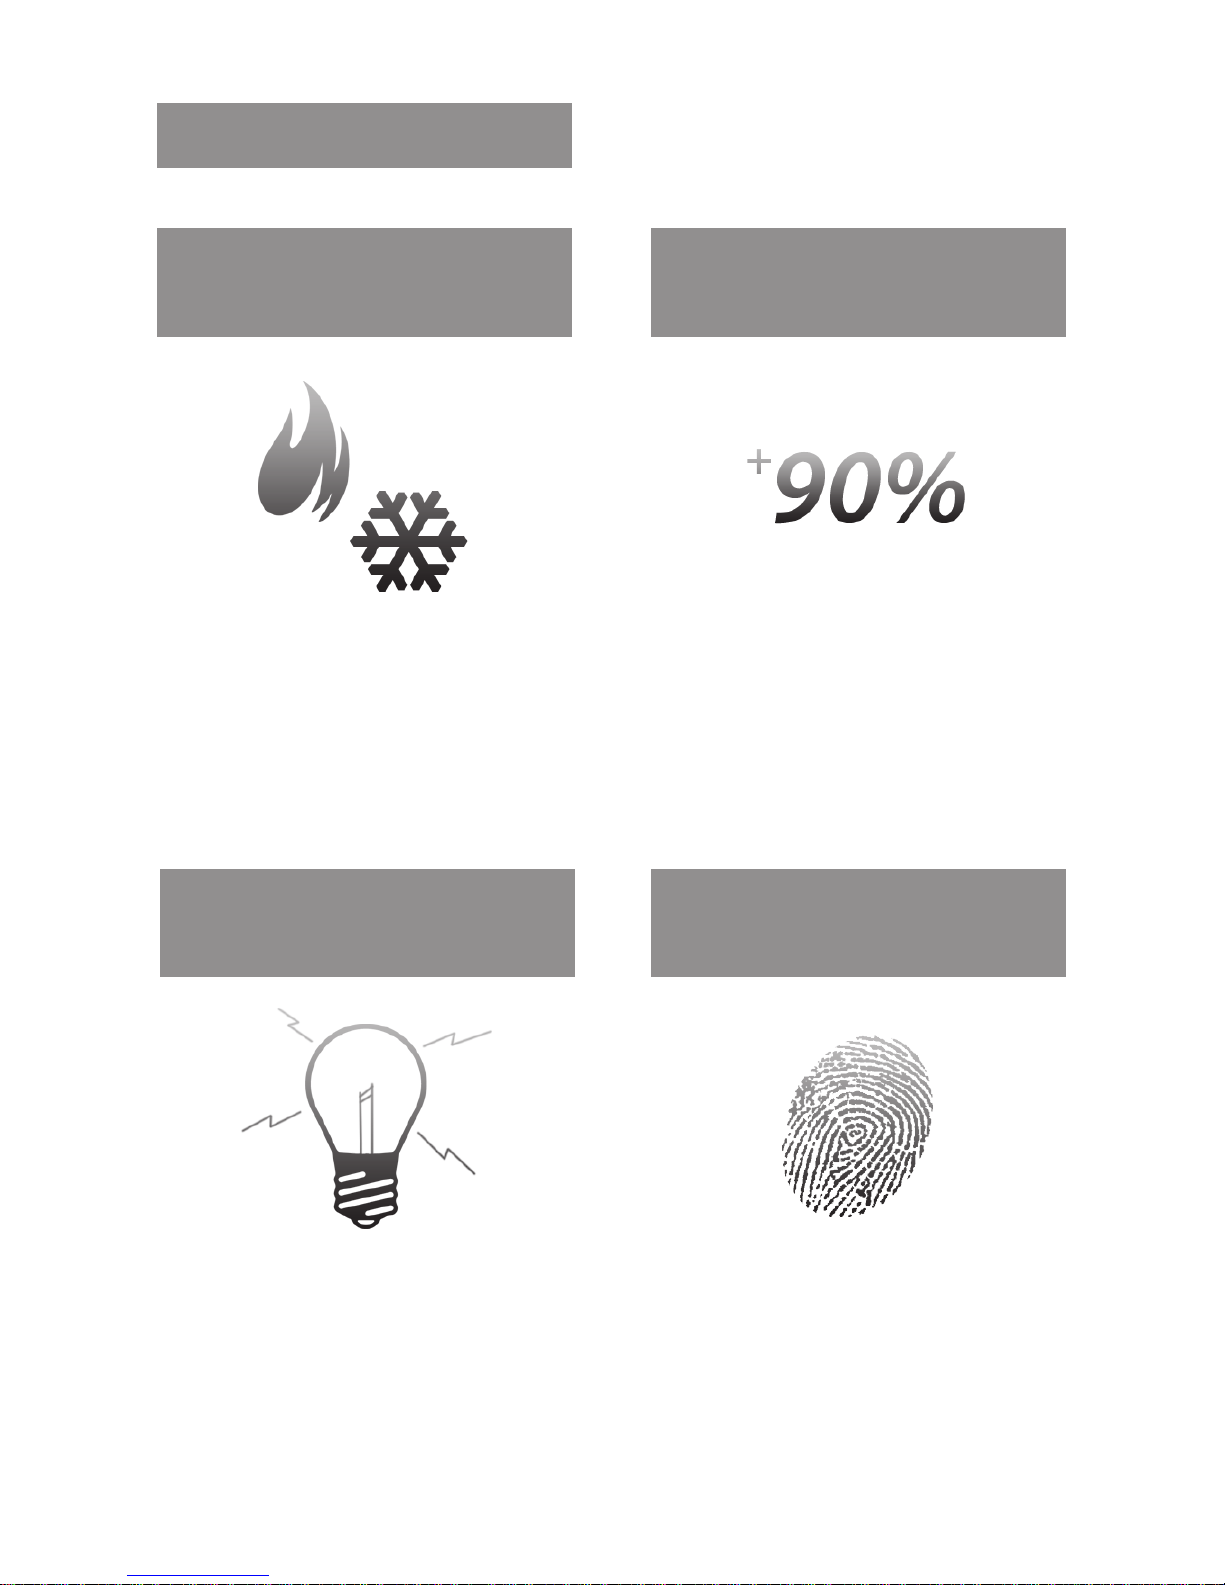
Only use the camera under conditions It can cause the image quality to be
where temperatures are between poor.
32°F ~ 113°F. Be especially careful to
provide ventilation when operating
under high temperatures.
Severe lighting change or icker can This is one of the most important
cause the camera to work improperly. parts of the camera. Be careful not to
leave ngerprints on the lens cover.
Do not install the camera in
extreme temperature conditions.
Do not install the camera under
unstable lighting conditions.
Do not touch the front lens of the
camera.
Precautions
Sales: 1-800-447-3306 Support: 1-800-549-6393 www.clintonelectronics.com
Do not install or use the camera
in an environment where the
humidity is high.
2

It can cause malfunctions to occur. It can damage the CCD.
If it gets wet, wipe it dry immediately. If exposed to radioactivity the CCD
Liquids can contain minerals that will fail.
corrode the electronic components.
Never keep the camera pointed
directly at strong light.
Do not drop the camera or subject
it to physical shocks.
Do not expose the camera to
radioactivity.
Notes
If the camera is exposed to spotlight or object reecting strong light, smear•
or blooming may occur.
Check that the power satises the normal specication before connecting•
the camera.
Sales: 1-800-447-3306 Support: 1-800-549-6393 www.clintonelectronics.com
Do not expose the camera to rain
or spill beverage on it.
3

Components
Sales: 1-800-447-3306 Support: 1-800-549-6393 www.clintonelectronics.com 4

Sales: 1-800-447-3306 Support: 1-800-549-6393 www.clintonelectronics.com
Installation
1. Bracket & Camera Mounting
‑ Use the supplied screws to attach the camera to the mounting surface.
2. Power Connector & Monitor Impedance
‑ Use a DC12V or AC24V (500mA or 1A regulated PSU).
‑ To avoid re or shock hazards, always use a CE marked PSU.
‑ Set the monitor impedance switch to 75Ω. Check the impedance switch if
the screen is blurred.
3. Viewing Angle & Focus Adjustment
‑ To widen the viewing angle, rotate the Zoom Lever to the Left, and to the
right to narrow the viewing angle.
‑ Rotate the Focus Lever Left or Right to focus the Lens.
5

On Screen Display (OSD) Menu
Sales: 1-800-447-3306 Support: 1-800-549-6393 www.clintonelectronics.com
On Screen Display (OSD) Menu•
Camera functions and settings can be adjusted or changed by activating the
OSD menu. When the OSD menu is activated text will display on the monitor.
The user can then move the cursor to the desired function to change the setting.
Setup Menu
LENS •DC
SHUTTER •FLK
BRIGHTNESS ‑ ‑ ‑ ‑
AGC •OFF •LOW •MIDDLE •HIGH
SENS-UP •OFF •AUTO(x2~x258)
BLC •OFF •LOW •MIDDLE •HIGH
D-WDR •OFF •INDOOR •OUTDOOR
WHITEBALANCE •ATW •AWB •MANUAL •AWC
DAY/NIGHT •AUTO •B&W •COLOR •EXT
3DNR •ON •OFF
SPECIAL •CAMERATITLE
•D-EFFECT
•MOTION
•PRIVACY
•SYNC
•RETURN
ADJUST •SHARPNESS
•BLUE
•RED
•RETURN
RESET •FACTORY
EXIT •SavetheSETUPMenuandEXIT
6

Settings can be adjusted by using the OSD joystick on the inside of the camera.
2. Press the SET button
The SETUP menu will be displayed on the monitor.•
Sales: 1-800-447-3306 Support: 1-800-549-6393 www.clintonelectronics.com
Accessing the OSD Menu Settings
7

Sales: 1-800-447-3306 Support: 1-800-549-6393 www.clintonelectronics.com
3. Move and select the required function using the UP and DOWN buttons.
Move the arrow indicator UP or DOWN to select the desired feature by•
pressing the UP or DOWN button.
4. Changing menu settings using the LEFT or RIGHT button.
• Available values or status are displayed by pressing the LEFT or RIGHT
buttons. Press the button until desired value / status is displayed.
5. After completing the setting, move the arrow indicator to EXIT and press
the SET button to EXIT.
Notes
Move to available submenus by moving arrow to the desired feature.•
Submenu is not available when ‑‑‑‑ symbol is displayed.•
Accessing the OSD Menu Settings continued
8

Sales: 1-800-447-3306 Support: 1-800-549-6393 www.clintonelectronics.com
This function controls the image brightness.
1. Move the arrow indicator to LENS using the UP and DOWN buttons on the
SETUP menu screen.
2. Select the desired lens type by pressing the LEFT or RIGHT button.
DC : DC Auto Iris Lens
3. Press the RETURN to return to the SETUP menu.
Notes
When DC is selected, the brightness can be adjusted. The brightness•
control range is 1 ~ 100.
LENS (Adjusting the brightness level)
9

Sales: 1-800-447-3306 Support: 1-800-549-6393 www.clintonelectronics.com
This function is used to select Automatic or Manual shutter speed control.
1. On the SETUP menu screen select EXPOSURE by using the UP or DOWN
button.
2. Select the desired SHUTTER mode by pressing the LEFT or RIGHT button.
tFLK : SelectFLKmodewhenickeringoccurs;causedbytheunmatched
frequency of electric lights.
EXPOSURE
Notes
ToproduceresultswithFLK,donotuseitinconjunctionwiththeWDR•
modeintheBACKLIGHTmenu.
Desired shutter speed can be selected by user 1/60, 1/250, 1/500, 1/2000,•
1/5000,1,10000,1/100000,FLK.
Brightness can only operate when selected the Manual mode (Option).•
When selected DC mode, brightness will be disabled.
10
Sales: 1-800-447-3306 Support: 1-800-549-6393 www.clintonelectronics.com
tAGC (AUTO GAIN CONTROL):
A higher gain increases brightness but also increases any noise.
OFF : Deactivates the AGC function.
LOW : Allows automatic gain control to LOW.
MIDDLE : Allows automatic gain control to MIDDLE.
HIGH : Allows automatic gain control to HIGH.
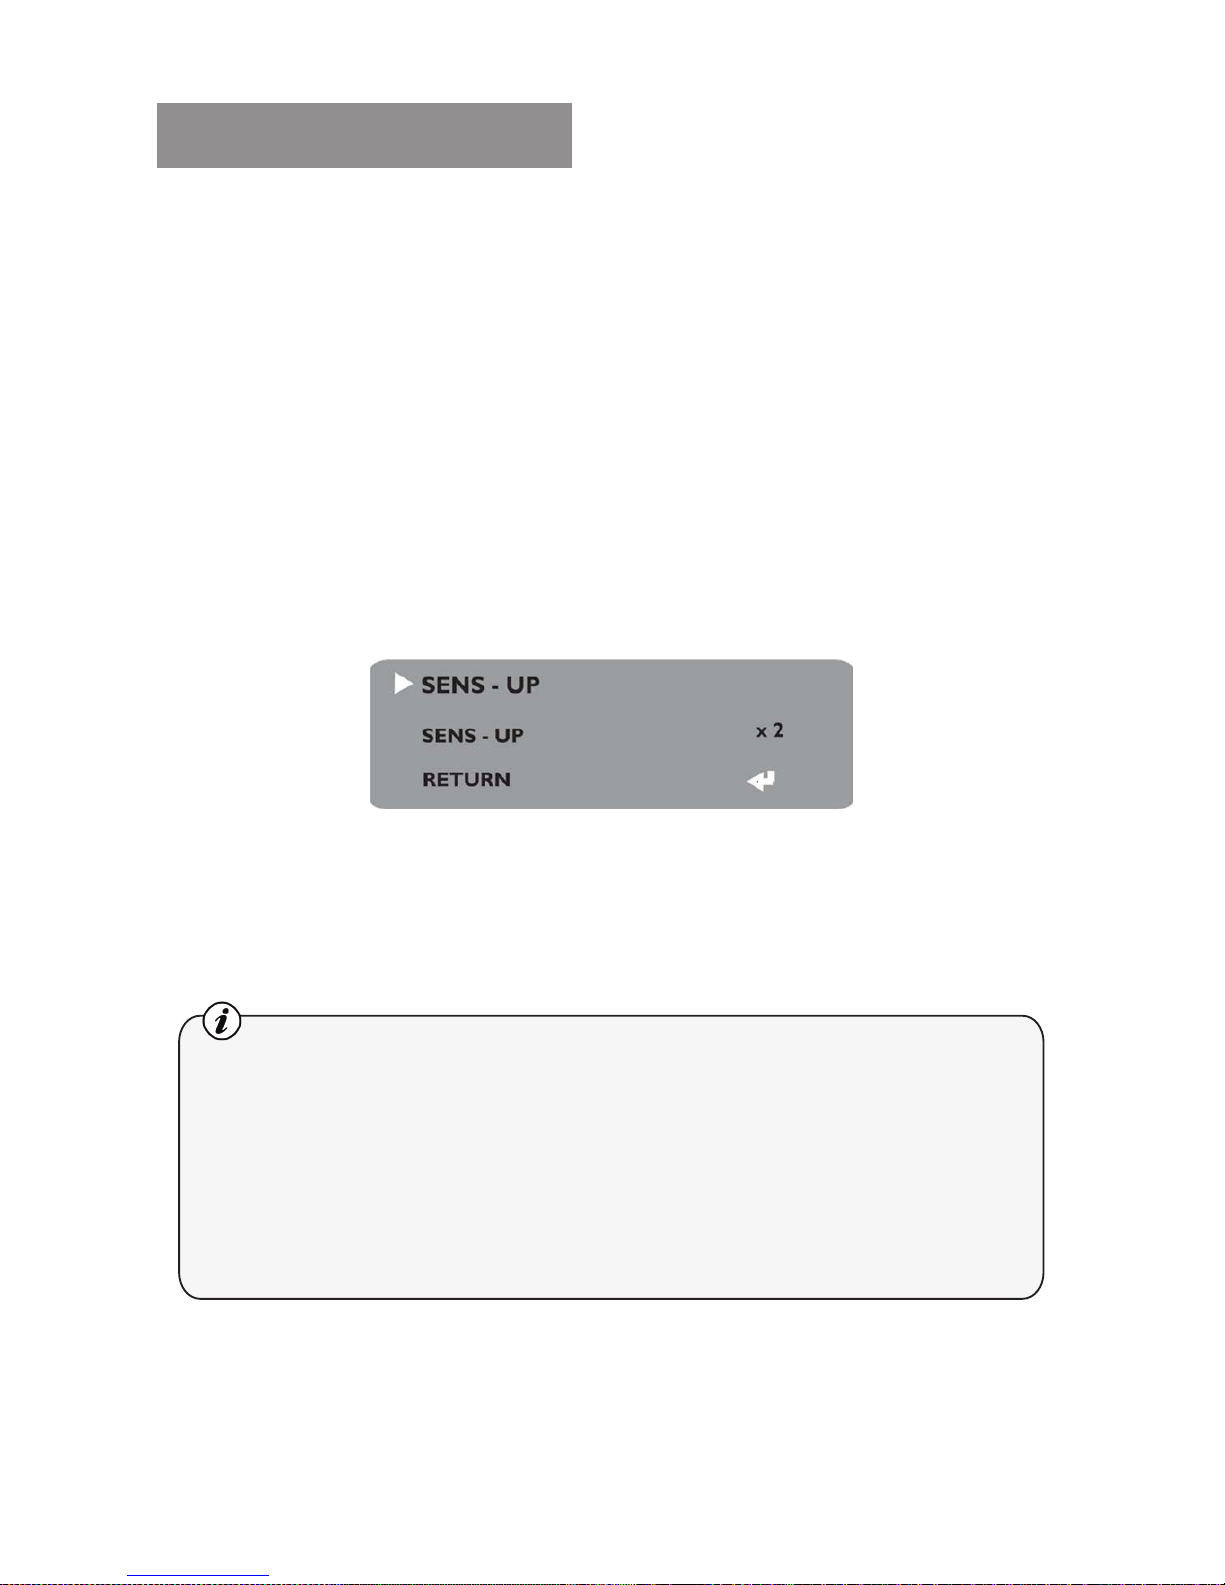
tSENS - UP:
At night and/or in dark conditions, the SENS‑UP mode can be selected desired
value from x2 ~ x258.
If the AGC mode selected OFF, the SENS‑UP function will be Disabled.
tRETURN:
SelectRETURNtosavethechangesintheEXPOSUREmenuandreturntothe
SETUP menu.
EXPOSURE continued
Notes
Pressing the SET button in AUTO mode allows adjustment of image•
brightness by increasing or decreasing the shutter speed (x2 ~ x258).
The higher the level, the brighter the image becomes, but it is possible that•
an after image (ghosting) could appear.
When SENS‑UP is activated the increased magnication can induce noise•
andpixilation;thisisnormal.
11

Sales: 1-800-447-3306 Support: 1-800-549-6393 www.clintonelectronics.com
This camera provides intelligent light level control to overcome even strong
backlight conditions.
1. Move the allow indicator to BACKLIGHT using the UP or DOWN button on
the SETUP menu screen.
2. Select the desired level by using the LEFT or RIGHT button.
tOFF : BLC function does not operate.
tBLC : Users can select and dene a specic area in a scene, and view the area
clearly.
tHSBLC : When there are simultaneous brightness and dark image areas WDR
makes both distinct.
BLC ON BLC OFF
BACKLIGHT (BLC)
12

Sales: 1-800-447-3306 Support: 1-800-549-6393 www.clintonelectronics.com
3. Select a mode using the LEFT and RIGHT buttons then press the SET button.
Select BLC to adjust the desired BLC area and GAIN level.
tGAIN : Adjust the BLC sensitivity by selecting LOW, MIDDLE or HIGH.
tDEFAULT : Press the Default to return to the factory default to change wrong
input data.
jMove the arrow indicator to select the WIDTH of cells to increase or
decrease by using the LEFT / RIGHT button from 0 ~ 7 cells.
kMove the arrow indicator to select the HEIGHT of cells to increase or
decrease by using the LEFT / RIGHT button from 0 ~ 7 cells.
lMove the arrow indicator to select the LEFT / RIGHT and TOP / BOTTOM
to select the desired area position by using the LEFT or RIGHT button.
mMove the arrow indicator to RETURN and press the SETUP button after
completetheBLCareasettoreturntoEXPOSUREmenu.
BACKLIGHT (BLC) continued
13

Sales: 1-800-447-3306 Support: 1-800-549-6393 www.clintonelectronics.com
4. Select HSBLC (High Suppress Backlight Compensation) by using the LEFT
and RIGHT buttons, then press the SETUP button to set up the desired
HSBLC area and GAIN level.
HSBLC ON HSBLC OFF
tLEVEL : Adjust the HSBLC sensitivity by selecting between 0 ~ 8.
tDEFAULT : Press the Default to return to the factory default to change wrong
input data.
jMove the arrow indicator to select the WIDTH of cells to increase or
decrease by using the LEFT / RIGHT button from 0 ~ 7 cells.
kMove the arrow indicator to select the HEIGHT of cells to increase or
decrease by using the LEFT / RIGHT button from 0 ~ 7 cells.
lMove the arrow indicator to select the LEFT / RIGHT and TOP / BOTTOM
to select the desired area position by using the LEFT or RIGHT button.
BACKLIGHT (BLC) continued
14

Sales: 1-800-447-3306 Support: 1-800-549-6393 www.clintonelectronics.com
D-WDR (Digital WDR)
This camera provides intelligent light level control to overcome even strong
backlight conditions.
1. Move the allow indicator to D-WDR using the UP or DOWN button on
the EXPOSURE menu screen.
2. Select the desired feature by using the LEFT or RIGHT button.
tD-WDR : When there are simultaneous brightness and dark image areas WDR
makes both distinct and can be selected desired feature between
OUTDOOR and INDOOR.
tOFF : D‑WDR function does not operate.
tRETURN :SelectRETURNtosavethechangesintheEXPOSUREmenuand
return to the SETUP menu.
15

Sales: 1-800-447-3306 Support: 1-800-549-6393 www.clintonelectronics.com
WHITE BALANCE
The WHITE BALANCE function is used to control the “on‑screen” colors.
1. Move the allow indicator to WHITE BAL on the SETUP menu screen using
the UP and DOWN buttons.
2. Select the desired mode by using the LEFT or RIGHT button.
* There are three user selectable WHITE BALANCE settings available.
tATW (AUTO TRACKING WHITE BALANCE ):
Normalsetting:whenthecolortemperaturerangefrom1,800°K~10,500°K.
(Ex: a uorescent lamp or outdoors).
tAWB : The WHITE BAL is automatically adjusted in a specic environment.
tAWC SET : To obtain the best results press the SET button while the
camera is focused onto white paper. If the environment,
and/or light source changes, the WHITE BALANCE will require
re‑adjustment.
tMANUAL : Used for ne adjustment of WHITE BALANCE. Set WHITE BAL rst
using ATW or AWC, then change to MANUAL and press SETUP
button. Increase or decrease the value of R‑Gain (Red) and
B‑Gain (Blue) while
monitoring the
color of the image.
16

Sales: 1-800-447-3306 Support: 1-800-549-6393 www.clintonelectronics.com
DAY / NIGHT
The camera image can be displayed in either Color or Black and White.
1. Select DAY / NIGHT using the UP or DOWN button on the SETUP menu
screen.
2. Select the desired mode by using the LEFT and RIGHT buttons.
tCOLOR : The image is always displayed in Color.
tB/W : The image is always displayed in Black and White.
tAUTO : The mode automatically switches to COLOR in normal conditions and
switches to B/W mode when ambient illumination is low. To set the
switching time or speed in AUTO mode, press the SET button.
3. Select the desired mode and set the values by using the LEFT or RIGHT
button.
tDELAY : The range can be adjusted between 0 ~ 63.
tS-LEVEL : The start level can be adjusted between 0 ~ 100.
tE-LEVEL : The end level can be adjusted between 0 ~ 100.
17
Table of contents
Other Clinton Security Camera manuals


Popular Security Camera manuals by other brands


Larson Electronics
Larson Electronics EXPCMR-CER-IP-POE-4MP-IR-V3 user manual

e-Line Technology
e-Line Technology ELI-SIP2-APTZ8-R30X manual

Digital Watchdog
Digital Watchdog DWC-V7553W quick start guide

Dahua
Dahua HDB4431C-AS quick start guide

Vitek
Vitek VT-IR1B/24 Specifications

Vivotek
Vivotek FD8155 user manual


