CMS re024 User manual


Camera Installation Dealer Manual
.................................................................................................................................................................................................
Table of Contents
Camera Anatomy ................................................................................................................ pg 1
Package Contents .............................................................................................................. pg 2
Camera Assembly .............................................................................................................. pg 3
Account Login ...................................................................................................................... pg 5
Adding a New Camera .................................................................................................... pg 6
Wireless Conguration .................................................................................................. pg 9
WPS Enabled Routers ................................................................................................... pg 13
Technical Support
1-800-522-5124
press the option for technical support
Version 1.0

1
Camera Installation Dealer Manual
.................................................................................................................................................................................................
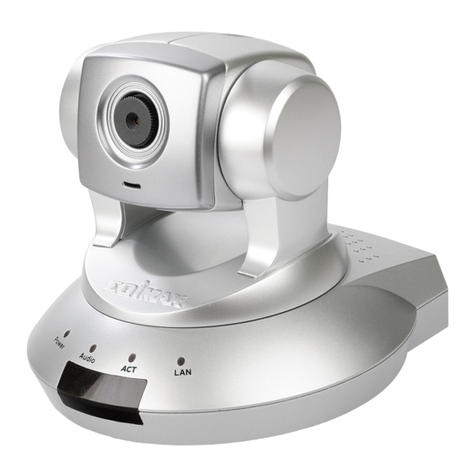
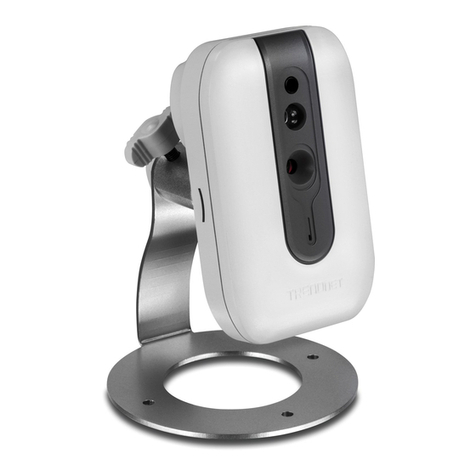
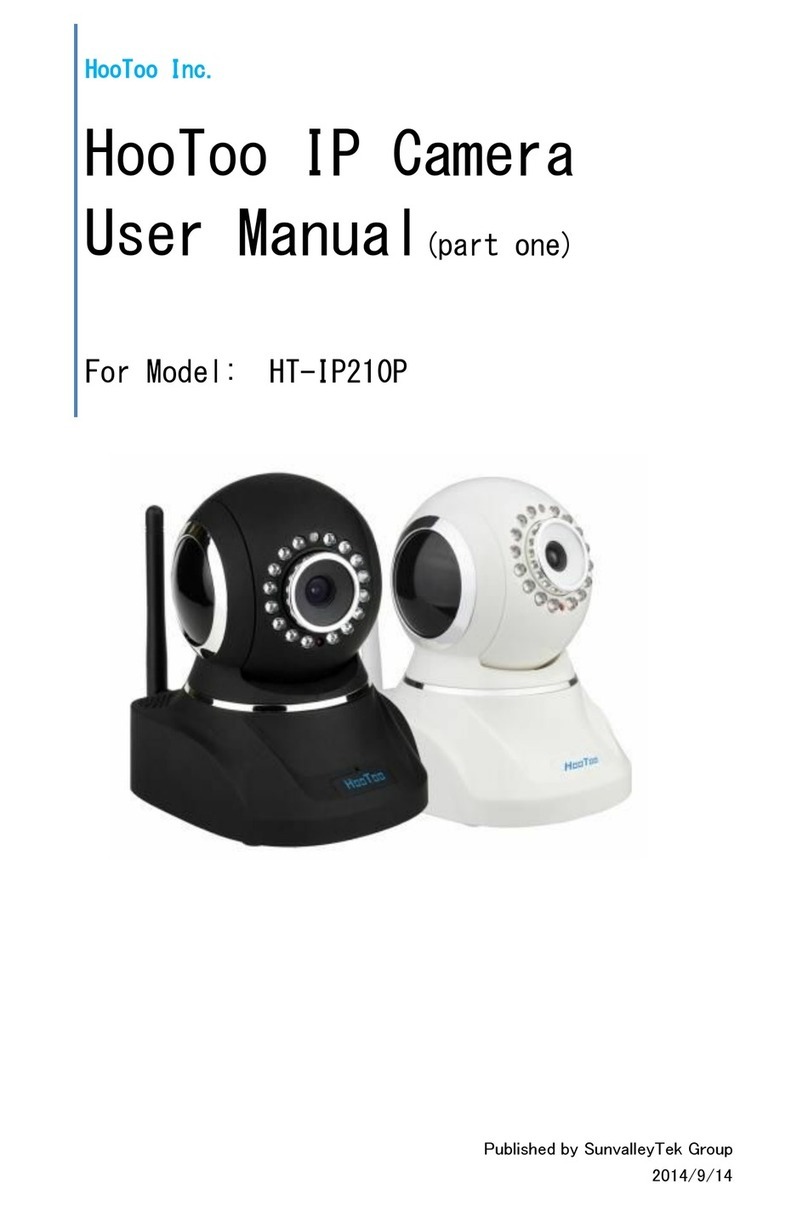
Camera Anatomy
Please Note:
These infrared cameras are designed for INDOOR USE ONLY!
LED Colors:
RED: Power Up
LIGHT GREEN: Network Connection
FLASHING GREEN: Network Connectivity
SOLID BLUE: Privacy Mode
FLASHING BLUE: WPS Discovery Mode
Infrared Sensors
WPS (Wi-Fi Protected Setup) Button:
If held for more than 3 seconds your camera will go
into discovery (Flashing Blue LED) mode for pairing
with WPS enabled routers. If held for less than 3
seconds (quick press) will place camera in privacy
mode (Solid Blue LED).
The WPS feature allow for one touch paring of
wireless devices. Your wireless router must be WPS
enabledinordertopairdevices,suchasyourcamera.
This feature will allow for easy configuration and
saving of your wireless setting with your camera.
Consult your router’s user manual to determine if
it is WPS enabled and for further instructions on
how to pair devices.
Reset Button:
Pressing the button for more than 10 seconds will
restore camera to factory defaults (erase camera
settings). Pressing button for less than 10 seconds
will power cycle camera.

2
Camera Installation Dealer Manual
.................................................................................................................................................................................................
Account Login
The User Website: www.scl365.com
To log into website:
1. Enter your Username
2. Enter your Password
3. Click Login
Once logged in, you will see the Home screen.

3
Camera Installation Dealer Manual
.................................................................................................................................................................................................
Adding a New Camera
To add a new camera, first click on the Accounts tab, then locate the Account you
would like to add the camera to. You can scroll through the list of accounts or use the
search box and search by account number or name. When you’ve located the account,
click on the Camera tab in the left navigation panel. The Camera page is used to adjust
the camera’s options for each camera on your account.
To add a camera, click on Add Camera.
Enter the MAC Address configuration into the MAC Address and Password slot. (The
Password is the MAC Address.) This can be found on the back of your camera. Also,
enter the Camera Name, Description, and the word, “root” into the Username slot.
Then click Add.

4
Camera Installation Dealer Manual
.................................................................................................................................................................................................
Adding a New Camera
In order to properly complete the camera configuration, you will need to login through
the End User portal as the End User, and click on the Camera Settings tab. If your browser
is configured properly, you will see live video and you can continue to the next page. For
Windows users, use IE 8 or higher with ACTIVE X controls. For Mac users, use Safari or an
alternate browser with QuickTime or Java controls (low bandwidth setting).
Mac User ACTIVE X
If the camera is not connected to your Network, you will see:
If this message is displayed or no video is showing on your computer screen, check
internet connectivity, unplug and restore camera power. Wait 1 minute or until LED is
FLASHING DARK GREEN and click TEST.
Important!
If you have followed the instructions up to this point
and your camera is not working,
please call technical support.
1-800-522-5124
press option for technical support

5
Camera Installation Dealer Manual
.................................................................................................................................................................................................
Adding a New Camera
...................................................................................................................................................................
Congratulations! You have successfully set up your camera with a wired internet
connection. If you wish to set up your camera for Wi-Fi communication, DO NOT
DISCONNECT the Ethernet cable from your camera, and then continue to the next page.
Set your camera to record automatically when a particular alarm sensor is triggered.
Click SAVE when done.

6
Camera Installation Dealer Manual
.................................................................................................................................................................................................
Wireless Conguration
YOUR CAMERA HAS THE ABILITY TO COMMUNICATE WITH YOUR WIRELESS ROUTER
WITHOUT AN ETHERNET CABLE.
Depending on the type of wireless router you have, you may be able to do this with a one
touch feature known as WPS. This will allow you to pair and save wireless configuration
data to your camera directly from your router. Refer to the WPS Enabled Routers section
on page 13 of this manual and the owner’s manual of your wireless router for further
instructions.
If your wireless router is not WPS Enabled continue with wireless configuration setup.
Before continuing you will need:
NetworkName(SSID)—thenameofyourwirelessaccesspoint.TheSSIDis casesensitive.
Network Key (Password) — if your access point has security protocols it will require a
password. The Network Key is case sensitive.
Network Security — Security protocols used for network protection: WEP, WPA-PSK,
and WPA2-PSK.
Algorithm — Encryption information for password: OPEN, TKIP, AES. AES is the most
common.
If you do not have this information,
contact your Internet Service Provider or consult the owner’s manual for your
wireless router on how to retrieve the information.

7
Camera Installation Dealer Manual
.................................................................................................................................................................................................
Wireless Conguration
NOTE: Hardwired Camera Installation must be completed before proceeding to the
wireless configuration.
Now that your camera is added, you can configure it for wireless communication.
Navigate to the Camera Settings tab to view available cameras.
Click the EDIT icon or the camera NAME/LOCATION.
Click the EDIT next to WIRELESS CONFIGURATION. Here you will find options for
manually adding your network information or searching for available networks.
Click the Search for Networks.

8
Camera Installation Dealer Manual
.................................................................................................................................................................................................
Wireless Conguration
After clicking Search for Networks, all available networks within range will be shown.
If your network is not listed, check to make sure your Wireless Network SSID is
being broadcast and click Search for Networks again. If it is still not available contact
customer support for further assistance.
Click SELECT next to your network name. The list will auto fill with the correct
information. Fill in your wireless NETWORK KEY. Remember it is case sensitive.
Once you are done click SAVE.
You will see a status bar while your camera is updating.
DO NOT DISCONNECT YOUR CAMERA.

9
Camera Installation Dealer Manual
.................................................................................................................................................................................................
Wireless Conguration
Testing Wireless Settings
Once the UPDATE is complete you will get a confirmation message.
Now it’s time to test your wireless network settings. Disconnect the power and
Ethernet cable from your camera. Wait about 15 seconds for the camera to power
down fully. Do not plug the Ethernet cable back into the camera. Restore POWER
to the camera. If your wireless settings were saved correctly your camera will start
up as normal and connect to your wireless network. The FRONT LED will be DARK
GREEN FLASHING. If it is FLASHING DARK GREEN, you have successfully configured
your camera for wireless communication.
If your camera REMAINS LIGHT GREEN SOLID, disconnect the power, plug in the
Ethernet cable, and restore power. Attempt the wireless configuration portion of
this manual again. If further assistance is needed contact customer support.

10
Camera Installation Dealer Manual
.................................................................................................................................................................................................
WPS Enabled Routers
If your router is WPS Enabled follow the directions for pairing WPS Enabled Devices.
This step will save the wireless information to the camera but will not add it to
your CMS SiteControl Interactive account. Refer to your router’s owner’s manual for
direction on how to place in discovery mode.
To put the camera into discovery mode: Press and hold theWPS button for 3 seconds
or more, until the LED turns flashing BLUE. The devices will connect and pair up. The
wireless settings will be saved to the camera. The camera’s WPS Discovery Mode
will last 2 minutes (120 seconds). If it does not connect using the WPS feature try
again with the Camera Installation (Wireless Configuration, page 9).

Technical Support
1-800-522-5124
press the option for technical support
Table of contents
