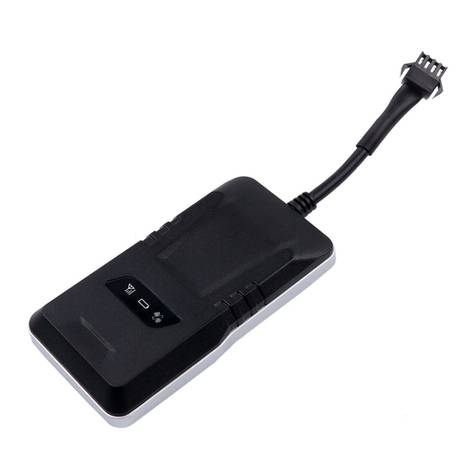
COBAN GROUP KDL908 User manual

1
KDL908 GPS Tracker
Manual
PREFACE
Thank you for purchasing the GPS tracker. This manual shows how to operate the device smoothly and
correctly. Make sure to read this manual carefully before using this product. Please note that specification
and information are subject to changes without prior notice in this manual. Any change will be integrated in
the latest release. The manufacturer assumes not to be responsible for any errors or omissions in this
document.

2
1. SUMMARY
Working Based on existing GSM/GPRS network and GPS satellites, this product can locate and monitor any
remote targets by SMS or internet. The most advanced technology of GPS and GSM dual positioning.
2 Applications
Outdoor sport
Kids, Elders, Pets, and valuable things monitoring
Personal safety
Tracking and positioning
3 Product Description
3.1 Hardware
3.2 Packing content

3
3.3 Device installation
4 Specification
Content
Specification
Dim.
70mm x 35mm x 20mm
Weight
50g
Network
GSM/GPRS
Band
850/900/1800/1900Mhz
GPS module
UBLOX-7
MCU
SIMTK6260
GPS sensitivity
-159dBm
GPS accuracy
5m
Time To First Fix
Cold status 45s
Warm status 35s
Hot status 1s
Car charger
12—24V input
5V output
Wall charger
110-220V input
5V output
Battery
Chargeable changeable 3.7V 1000mAh Li-ion battery
Stand by
About 300hours
Storage Temp.
-40°C to +60°C
Operation Temp.
-20°C to +45°C
Humidity
5%--95% non-condensing
Waterproof
IPX-6
5 Instruction
Please confirm
Please confirm the SIM card, with phone call, message, and GPRS function
Please confirm there is enough money in the SIM card account
Please confirm the call number display is activated.
First time use, please charge 12 hours above
Please insert the SIM card correctly

4
5.1 SIM card insert
Please make sure the SIM card activated the incoming call display, and message should be only for text,
not able to read PDU format.
1.Open the silicon cover
2.Insert the SIM card in correct direction
3.Close the silicon cover
5.2 Battery and charger
Please use the battery and charger provided by supplier, standard battery is lion battery, in normal
statues charging time is 3-5 hours
Warning: The product is lion battery, included harmful material, and may cause explosion, please do
not slamming it into the fire.
5.3 Activate the device
Put SIM card correctly
For first use, please initialize the unit and restore it to default setting.
In 10 or 40 seconds, the unit will begin to work and acquire the GSM signals as well as the GPS
signals. The indicator will keep flashing every 3 seconds when the unit has received the signals.
When this unit receives GPS signals normally, you can use it and do any setting as the instructions of
this manual.
5.3.1 Green LED:GPRS
Statues
Meaning
Flashing
GSM/GPRS working well
Always ON
No GPRS signal
OFF
Power off or Sleep
5.3.2 Blue LED:GPS
Statues
Meaning
Flashing
GPS working well
Always ON
No GPS signal
OFF
Power off or Sleep
5.3.3 Red LED:Power
5.4 EXPLANATION OF PARAMETERS/CODES IN SMS MESSAGE
Statues
Meaning
ON
Charging
Flashing
Low power
OFF
Full charged

5
1. Google Maps link: This is the link to the Google map showing the position of the tracker unit.When
click the link, if a map is displayed, there is GPS information for the unit. If there is no may, there is
no GPS information for the tracker.
2. V:A/V: Indicates GPS signal. V:A indicates there is a GPS signal; V:V indicates there is no GPS signal.
3. 2013-10-17 10:48:18 The date and time stamp when the unit last received a GPS signal.
4. S: 000km/h: This indicates the last known speed of the unit.
5. B: The approximate amount of battery charge remaining. The value is between 1 and 6, with 6
being fully charged.
6. ID: 4102000759: The ID code of tracker device. This number is used for tracking website and the
app.
7. S25G03; p 46001 The GSM operator data from the cell towers. You can safely ignore this
information.
8. L: 9531,c: 56662: Location based service data that indicates if the data came from a cell tower, GPS,
or GPRS.
3. SMS Tracking
1) Call the SIM-card phone number in the device by other cell phone
2) Receive a Google Maps link by SMS to your mobile phone
3) Click on the Google Maps link
4) Now it displays the position of device.
3.1 Command Instruction
INSTRUCTION
COMMAND
REPLY
Reboot the device
begin123456
begin ok
Set authorized number
admin123456 phone number
admin ok
noadmin123456 phone number
noadmin ok
Reboot the device
begin123456
begin ok
SMS Track
G123456#
Switch to the monitor mode
monitor123456
monitor ok
Switch to the tracking mode
tracker123456
tracker ok
Set SOS phone number
sos123456 phone number
sos number ok
Set GMT time zone number
timezone123456 -4
time ok
Sleep by time
sleep+123456+space+time
sleep time ok
Sleep by shock sensor
sleep+123456+space+shock
Sleep shock ok
No sleep
sleep123456 off
sleep off ok
Change the device into GPRS
mode
gprs123456
gprs ok
Change the device into NO GPRS
mode
Nogprs123456
Nogprs ok
Format the device(must send by
authorized number)
format

6
Sleep model
Sleep by time (default mode-save much power,tracker will fall asleep in 5 minutes)
Command
Reply
sleep+123456+space+time
sleep time ok
Sleep by shock sensor (Suits for vehicle tracking on platform,tracker will enter sleep mode
after detect no shock in 5 minutes)
Command
Reply
sleep+123456+space+shock
sleep shock ok
3.2 ONLINE TRACKING
3.2.1 COMMAND INSTRUCTION TO SET THE ACCES POINT NAME (APN)
User must send SMS via cell phone to set up IP, port and APN before starting GPRS.
5.19.1 Setting up APN
5.19.1.1 APN standards for Access Point Name and differs from country to country. For more
information about the local APN, inquire with your local GPRS network operator.
5.19.1.2 Text the tracker a SMS “apn+password + Space + your local APN” via a cell phone and
if succeeded in setup, the tracker will return the message “apn ok”.
5.19.1.3 e.g. send SMS command “apn123456 cmnet”. If succeeded, “apn ok” is returned by
the tracker in SMS.
Notes: 123456 refer to password of tracker and CMNET is the APN of China Mobile (One of
GSM Operator in china).
3.2.2 START ONLINE TRACKING
Note:must set apn at first
NAME
INSTRUCTION
COMMAND
REPLY
FOR EXAMPLE
APN
Set new APN
( old one will be replaced)
apn+123456+apn content
apn ok
apn123456 apn
APN user
Set APN username
apnuser+123456+space+conten
t
apnuser ok
apnuser123456 user
APN password
Set APN password
apnpasswd+123456+space+con
tent
apnpasswd ok
apnpasswd123456
password

7
Platform : http: //www.zg666gps.com
IMEI No. : In the side of device
Password: 123456
3.2.3 APPLICATIONS FOR ANDROID/iOS
Android: www.zg666gps.com for the latest releases of the Android GPS applications.
iOS: search LKGPS the Apple App Store to install the applications on your iOS device.
Cautions
Please comply with the instructions to extend the unit life:
6.1 Keep the unit dry. Any liquid, i.e. rain, moisture, may destroy or damage the inside circuitry.
6.2 Don’t use & store the unit in dusty places.
6.3 Don’t put the unit in overheated or overcooled places.
6.4 Handle carefully. Don’t vibrate or shake it violently.
6.5 Clear the unit with a piece of dry cloth. Don’t clean in chemicals, detergent.
6.6 Don’t paint the unit, this may cause some foreign materials left in between the parts.
6.7 Don’t disassemble or refit the unit.
6.8 Please use the battery and charger provided by manufacturer. Using other batteries and
chargers will cause unwanted situation.
7. Faults & The solutions
Faults
Solution
Startup Fail
Check the battery and see if it is fully charged or
correctly installed.
Hang up Fail
In existence of an authorized number, an unauthorized
number dials up the unit. Please initialize the unit and re-set
up
the authorized numbers.
Monitoring failure
Please check the authorization number is set to the correct
time
No GSM Signal
Please make sure SIM Card is GSM Net and installed
correctly; also call display should be on; but no call transfer
and PIN code off.
Table of contents
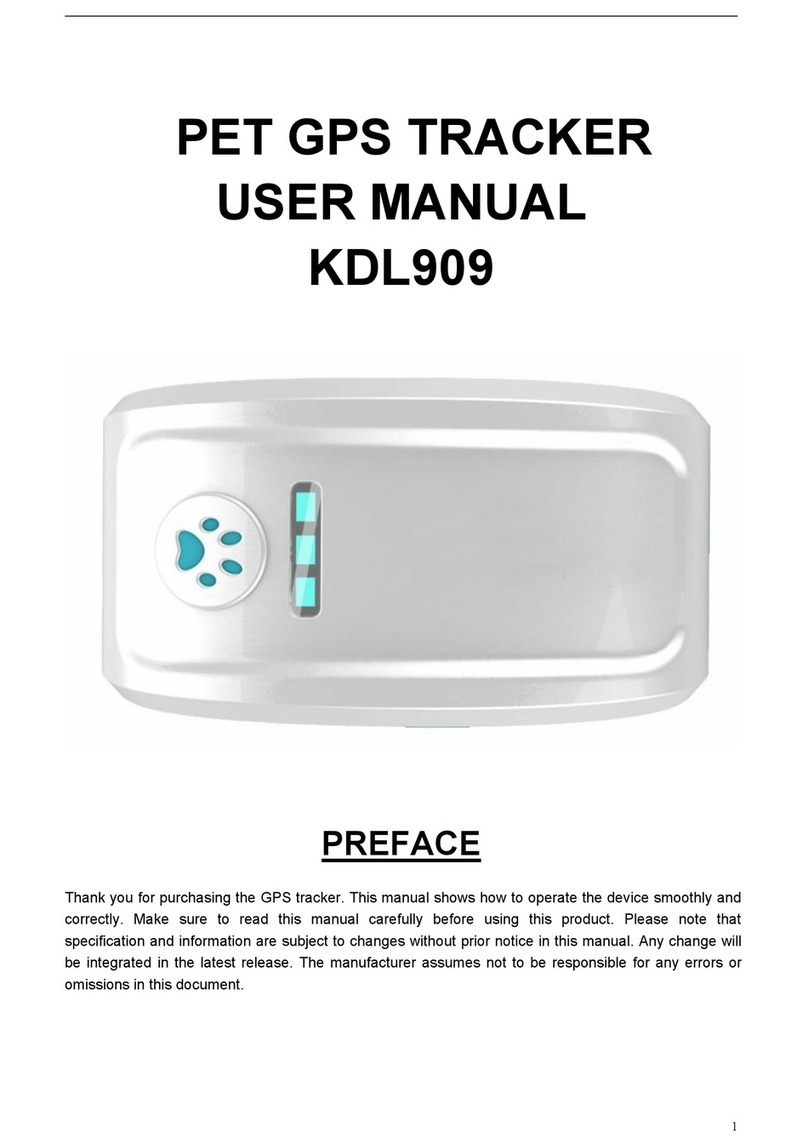
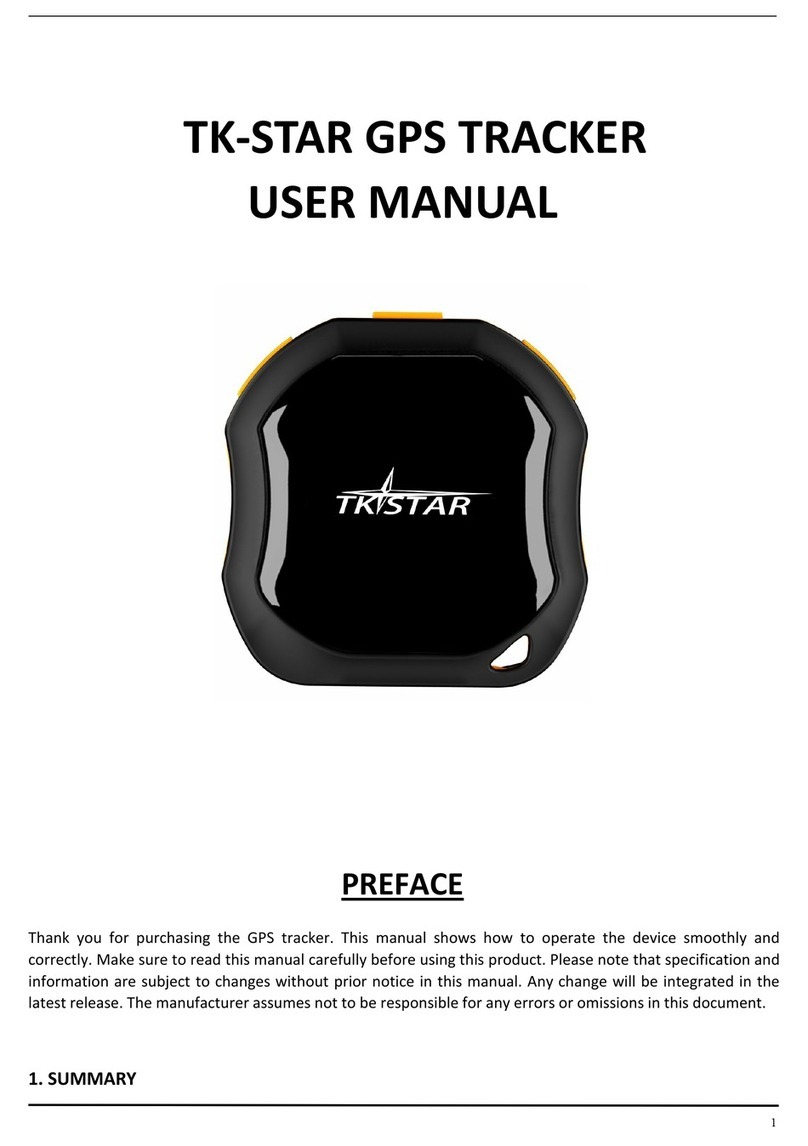
Other COBAN GROUP GPS manuals

COBAN GROUP
COBAN GROUP G05 User manual

COBAN GROUP
COBAN GROUP tk303 User manual

COBAN GROUP
COBAN GROUP GPS103B User manual

COBAN GROUP
COBAN GROUP 12000MAH User manual

COBAN GROUP
COBAN GROUP TK103A User manual

COBAN GROUP
COBAN GROUP TK-STAR User manual

COBAN GROUP
COBAN GROUP KDL909 User manual

COBAN GROUP
COBAN GROUP TK309 User manual

COBAN GROUP
COBAN GROUP G509 User manual