Cobolt TC1290MS User manual

CD MICRO SYSTEM
TC1290MS
INSTRUCTION MANUAL

1
IMPORTANT SAFETY INSTRUCTIONS .
When using any electrical a aratus always observe safety regulations and use basic safety recautions
to reduce the risk of fire, electric shock and ersonal injury, including the following.
1. Read, Keep and Follow these nstruct ons, heed ng all Warn ngs.
2. Keep out of reach of young ch ldren. Th s apparatus s not su table for use by young ch ldren or nf rm persons
w thout superv s on. Young ch ldren must be superv sed to ensure that they do not play w th the apparatus.
3. WARNING. Do not nsert any objects nto any open ngs of an electr cal apparatus.
4. WARNING. Do not touch any mov ng parts of any electr cal apparatus.
5. WARNING. Do not use th s apparatus near water. To avo d the r sk of f re or electr c shock, do not expose th s
apparatus to ra n or mo sture. The apparatus shall not be exposed to dr pp ng or splashes.
6. WARNING. No objects f lled w th l qu d, such as vases, shall be placed on any electr cal apparatus
7. Do not mmerse n any l qu d wh lst n use or n clean ng. Clean only w th a damp cloth, dry w th a dry towel. Do
not use harsh abras ves as these may damage plast c parts.
8. DO NOT block any vent lat on open ngs. Install n accordance w th the manufacturer’s nstruct ons. Always allow a
suff c ent gap around the apparatus to avo d overheat ng.
9. DO NOT nstall near any heat sources such as rad ators, gas heaters, stoves or other apparatus ( nclud ng
ampl f ers) that produce heat. Do not leave n d rect sunl ght.
10. WARNING. Do not place any naked flame source, such as l ghted candles on any electr cal apparatus
11. Connect to a su table 230-240 ~ 50 Hz power supply only.
12. Always unplug from the power source when any electr cal apparatus s not n use.
13. Do not abuse or damage a power cord. If any power cord s damaged, t must be replaced by the manufacturer, ts
serv ce agent or a s m larly qual f ed person n order to avo d a hazard. A replaceable cord must be replaced w th
an author sed replacement from an author sed serv ce agent only.
14. Only use attachments/accessor es spec f ed by the manufacturer
15. Unplug th s apparatus dur ng l ghten ng storms or when unused for long per ods of t me
16. Attent on s drawn to the env ronmental aspects of d spos ng of any battery.
17. Refer all serv c ng to qual f ed personnel. Serv c ng s requ red when the apparatus has been damaged n any
way, such as when the power supply cord or plug s damaged, l qu d has been sp lled or objects have fallen nto
the apparatus, the apparatus has been exposed to ra n or mo sture, does not operate normally, or has been
dropped
18. Do not attempt to serv ce any double nsulated apparatus. Double nsulated apparatus requ res spec al st
serv c ng and knowledge to reta n the safety of the apparatus.
19. WARNING. Do not use any electr cal apparatus outdoors. If any electr cal apparatus s to be used outdoors, use a
su table Isolat ng transformer or Electr cal Safety Sw tch (RCD).
20. For household use only, th s apparatus s not ntended for commerc al use.
21. If th s apparatus s to be used by a th rd party, please supply these nstruct ons w th t.
22. No l ab l ty w ll be accepted for any personal njury or damage caused by fa lure to follow these nstruct ons
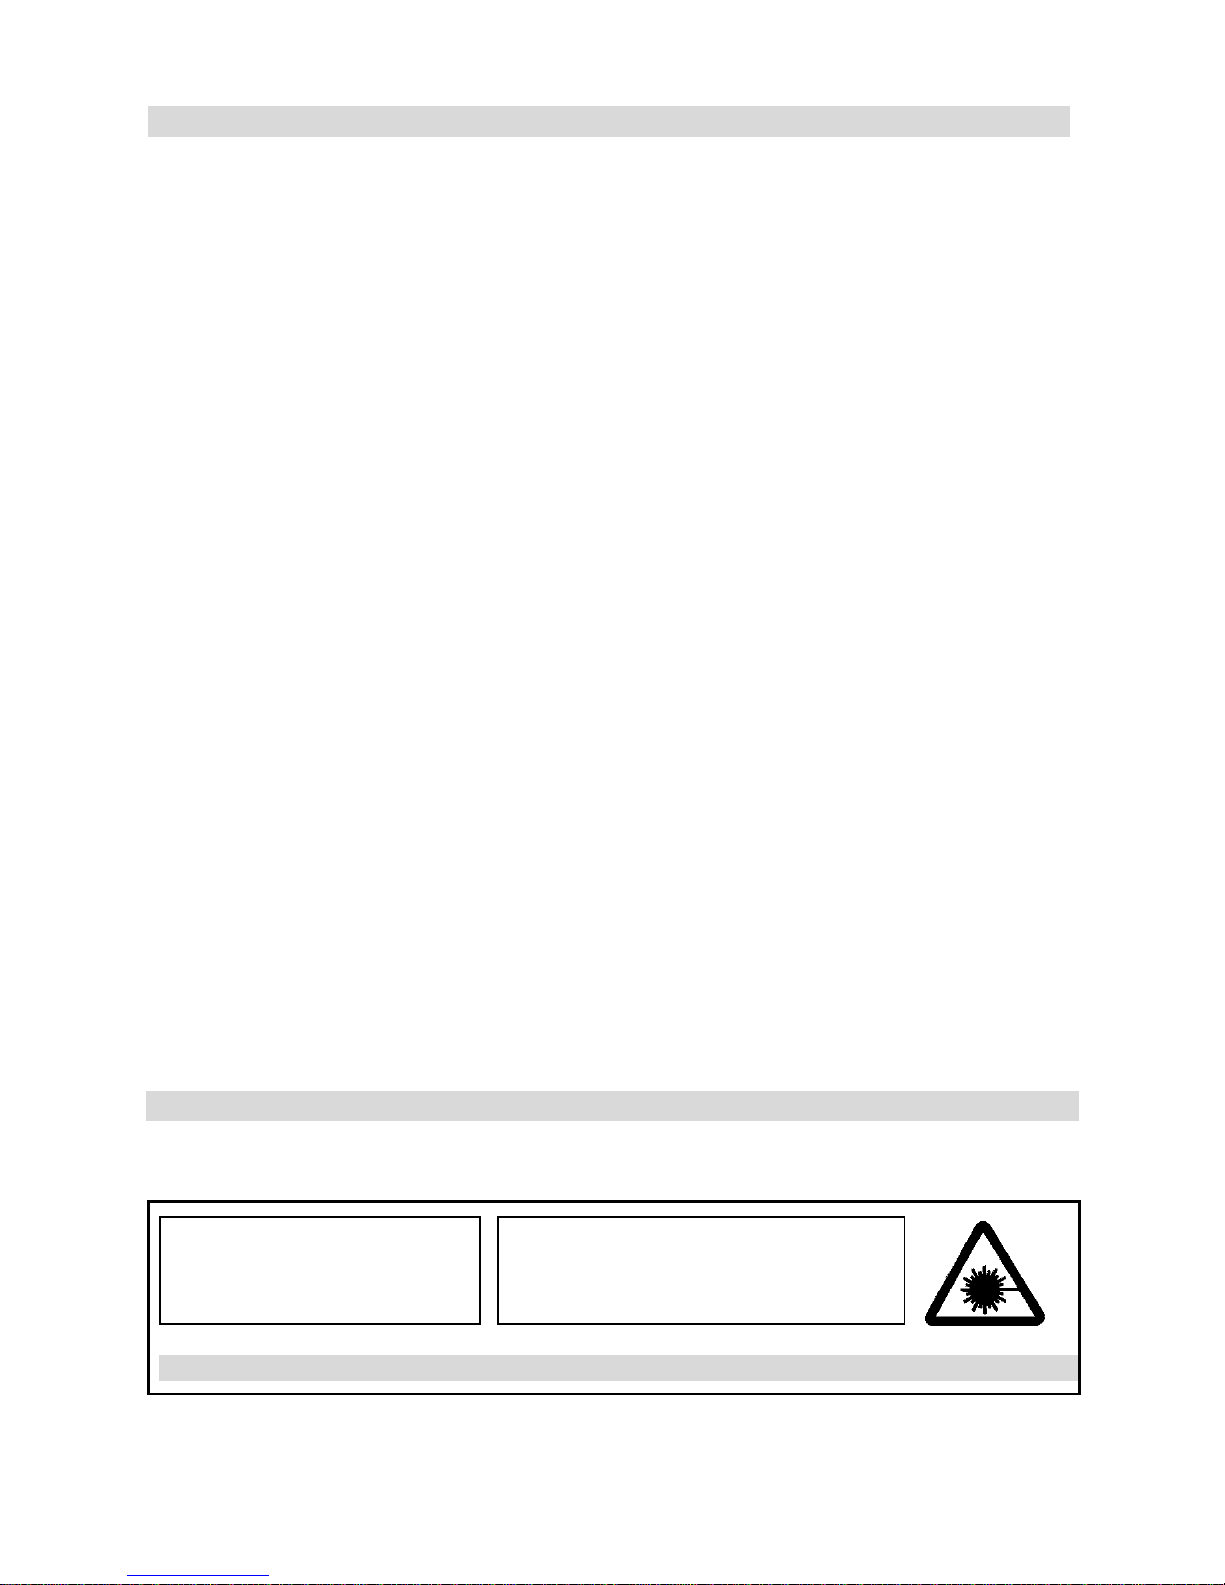
WARNING
CLASS 1 LASER PRODUCT
This product contains a low power laser device.
CLASS 1 LASER PRODUCT
CAUTION
INVISIBLE LASER RADIATION WHEN
OPEN AND INTERLOCKS DEFEATED.
AVOID EXPOSURE TO BEAM.

2
CONTROLS
1. CD sk p (search down) button
2. CD play/pause button
3. Volume max-m n
4. CD program button
5. CD repeat (repeat playback) - button
6. Power on nd cator
7. CD LED d splay (track number)
8. CD - Rad o funct on sw tch
9. CD compartment
10. FM ST - FM - AM Band sw tch
11. Open - press to open the CD compartment
12. FM/Stereo - nd cator
13. Power - on/off
14. “X. BASS” - Bass booster on/off
15. FM/AM - band scale
16. Tun ng - knob for channel select on
17. CD - Sk p (search up) -button
18. CD - Stop -button
19. Loud speaker term nals - R = r ght
20. Loud speaker term nals - L = left
21. FM-antenna
22. Phones - Headphone plug
23. Power cable
CONNECTING SPEAKERS
Connect the speakers to the red and black term nals on the back of the un t as shown. Use the
R-term nals for the r ght speaker and L-term nals for the left speaker. Fl p down red or black
term nal flap; nsert the speaker w re and release flap to lock the w re n place.
MAINS CONNECTION
Make sure that all the components and speakers are correctly connected.
Check that the rated voltage of your un ts matches the voltage of your power supply (230V-240VAC~50Hz)
Plug the AC Plug nto the AC outlet.
HEADPHONES
Be sure that your headphones have a 3.5mm stereo plug w th an mpedance of 8-32 Ohms. When the headphones are
connected the speakers w ll automat cally mute.

3
LISTENING TO THE RADIO
Press the power button to sw tch on the un t.
Set the funct on selector to the RADIO pos t on.
Select the wave band (AM, FM or FM ST) by us ng the BAND selector.
Tune n your des red rad o stat on by turn ng the Tun ng knob.
Sw tch off by sett ng the funct on sw tch to the CD pos t on or press ng the power button
NOTE: for best FM rad o recept on, extend out the Fm antenna cord. For AM recept on, a bu lt n ferr te antenna
rece ves the s gnals. Adjust the recept on qual ty by turn ng the ent re un t.
When the FM stereo s gnals are too weak or there s too much background no se t s better to sw tch the band selector
to FM (mono) pos t on.
PLAYING A COMPACT DISC
Set the funct on selector to CD.
Press the CD-open button, place a d sc n the centre w th the label s de up and close the CD door gently.
The total number of tracks ava lable w ll be shown n the d splay
Press ng the PLAY button after nsert ng a CD w ll start the f rst track play ng.
To pause the track, press the PLAY / PAUSE button wh le the track s play ng. To return to normal playback press
the PLAY / PAUSE button once more.
To stop the CD play ng press the STOP button
SELECTING A DESIRED TRACK IN STOP MODE
Press SKIP / SEARCH Up or Down unt l the des red track number appears on the LED d splay.
Press PLAY / PAUSE to beg n play ng that selected track. The selected track number w ll appear on the LED
d splay.
You can sk p forward to another track by press ng the SKIP Up button. The tracks w ll sk p forward once each t me
the button SKIP button s pressed.
Press ng the SKIP Down button wh le n play mode w ll return you to the beg nn ng of the track be ng played.
Press ng the button more than once w ll sk p down a track each t me t s pressed.
SEARCHING FOR A PASSAGE OF PLAY
Wh le the song s play ng, f you press and hold the SKIP Up / Down button you can l sten to the track at a h gh speed
forward or backwards to f nd a part cular passage of play. The sound w ll be played faster than normal but at a reduced
volume. Play w ll return to normal when the SKIP up / down button s released.
PROGRAMMING TRACKS
You can program n up to 20 tracks n any des red order for programmed playback.
Set the FUNCTION sw tch to CD
Press the PROGRAM button
Press the SKIP Up / Down button to select the track number that you w sh to program n
Once you have selected the des red track number press the PROGRAM button
Repeat steps 2 & 4 to program n more tracks.
Once you have programmed n all the tracks you want, press the PLAY / PAUSE button to beg n playback of the
programmed tracks. The playback w ll beg n at the start of the f rst programmed track
A stored program w ll be erased when the funct on sw tch s moved to the Rad o pos t on or the un t s turned off.

4
REPEAT MODE
To repeat one or all tracks press the REPEAT button before or dur ng playback. Press ng the REPEAT button once w ll
repeat the current track only, press ng t tw ce w ll repeat the ent re CD, press ng three t mes w ll turn the repeat funct on off.
REPEAT ONE REPEAT ALL REPEAT OFF
TECHNICAL SPECIFICATION
•Power supply: AC 230V-240V 50Hz
•Rece v ng Bands: AM, FM (stereo)
•Tun ng Range: FM 88 – 108 MHz
AM 540 – 1600 KHz
•Speaker: 4 Ohm 5W x 2
•Output Power: 2 x 2W RMS @ 10% THD
•Headphone Impedance: 32 Ohm
Table of contents