9
If, after several attempts, you cannot remove the particles, take the telescope to an optical
professional for cleaning.
If you keep the dust caps on your telescope when it is not in use and avoid handling the lenses or
mirrors, only minimal optical maintenance of your telescope should be required. Extensive cleaning
is usually only necessary every few years.
G. WHAT TO LOOK FOR IN THE NIGHT SKY:
There is a whole universe of objects you could view at night, so where do you start?
We recommend starting with the most prominent objects first.
The Planets
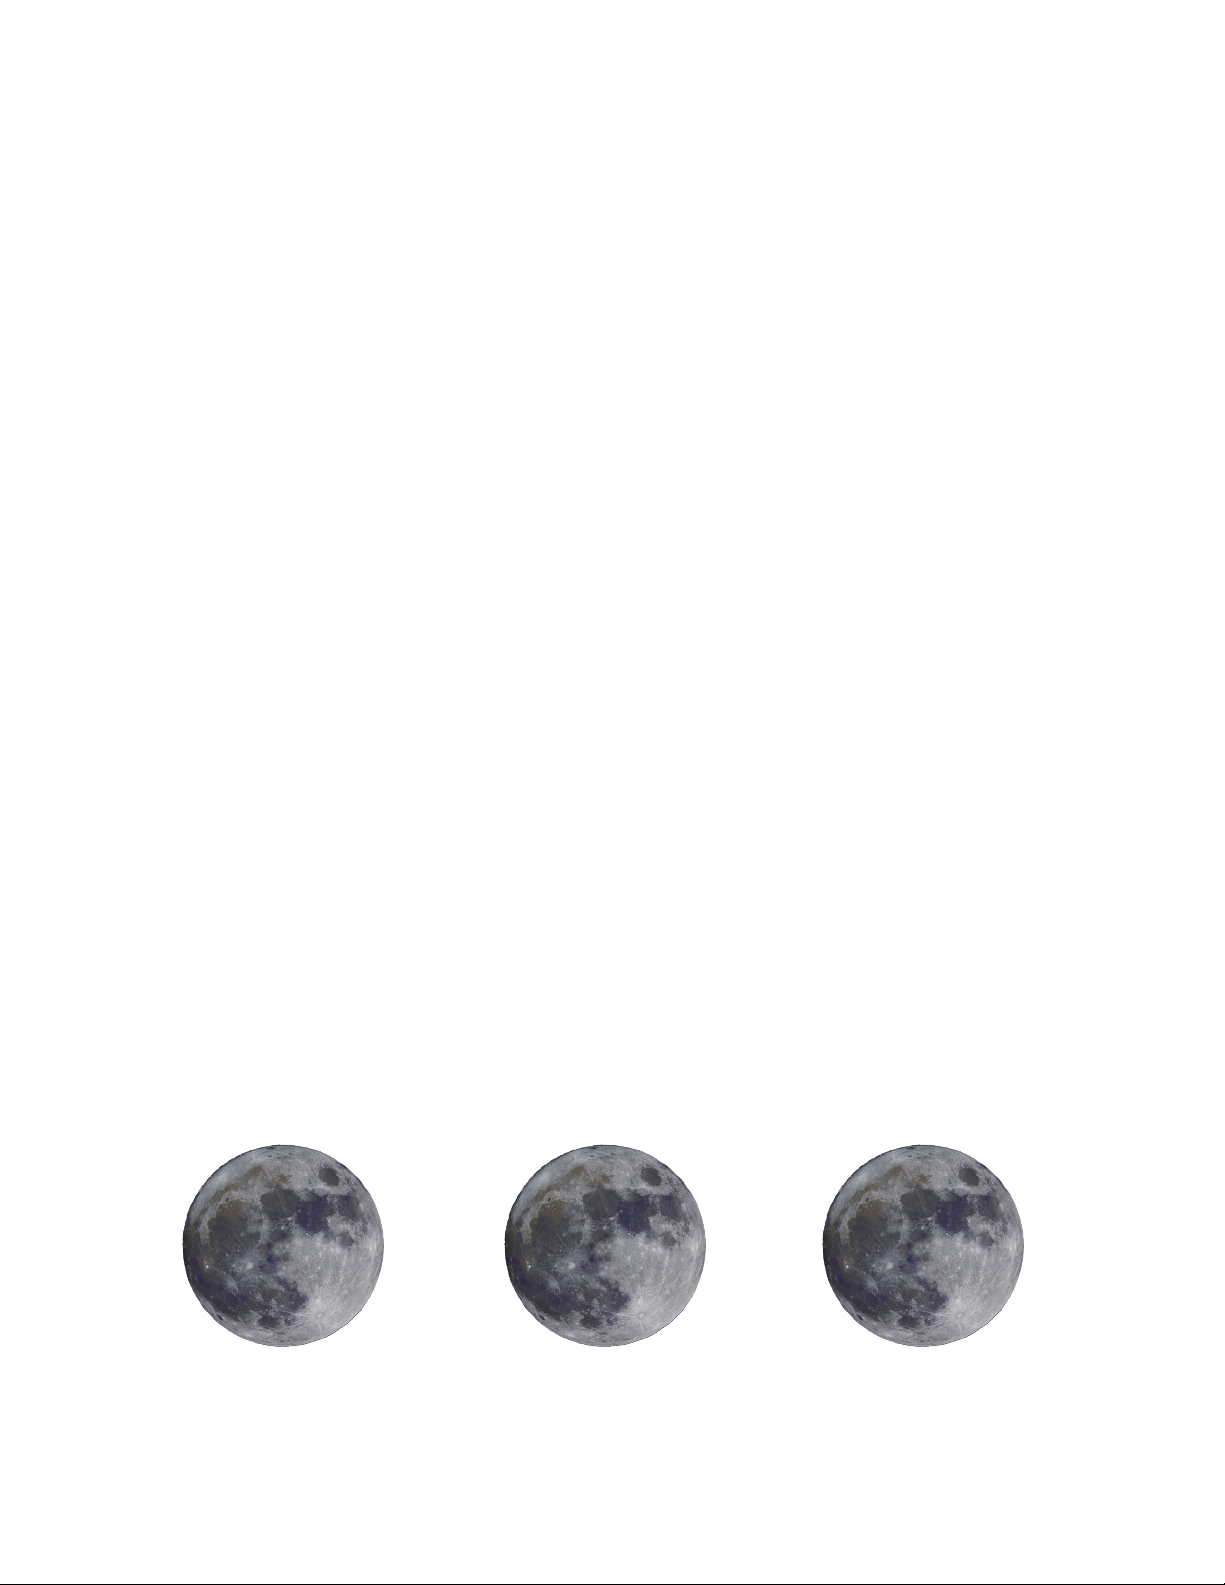
The Moon
The moon is the easiest target to find at night. When the moon is in full position, it
bathes the night with a silvery light that washes the sky of all but the brightest objects.
The best time to view the moon is not when it is full, but rather when it is less than half
full. The dividing line between dark and light on the moon, called the terminator, shows
the best detail in the craters and mountains.
The included Moon Filter will thread directly onto the bottom of most eyepieces. Think
of a Moon Filter like sunglasses for your telescope. Moon filters cut down glare and
bring out more surface detail and provide better contrast.
The planets, our solar system companions, range in size and substance from moon-size
rocky bodies to giant gas balls, which could hold Earth 1,000 times over. To find the
planets, you will need information about their times of visibility. The included
Astronomical Software CD or an astronomy magazine will give you the locations of the
planets as they change position from month to month. The Internet is also an excellent
source of information, offering star charts, maps, and more!
The popular and more familiar constellations often provide the easiest landmarks to
help find the planet’s locations and paths of orbit. Most people have looked up at the
sky at night and seen some of the planets without even realizing it. A planet looks like a
bright star but does not twinkle like a star does; it looks like a tiny ball. Venus, Mars,
Jupiter, and Saturn are the easiest planets to view. Mercury is dimmer, usually below
the horizon, and more challenging to find.