Remote Controller Manual - VMH 09/12/18/24 SU Series
4
MODE
FAN
TEMP
SLEEP
ON/OFF
SILENCE
FP
TIMER
ON
TIMER
OFF
1
2
4
3
8
9
7
5
6
10
12
11
13
14
7
9
8
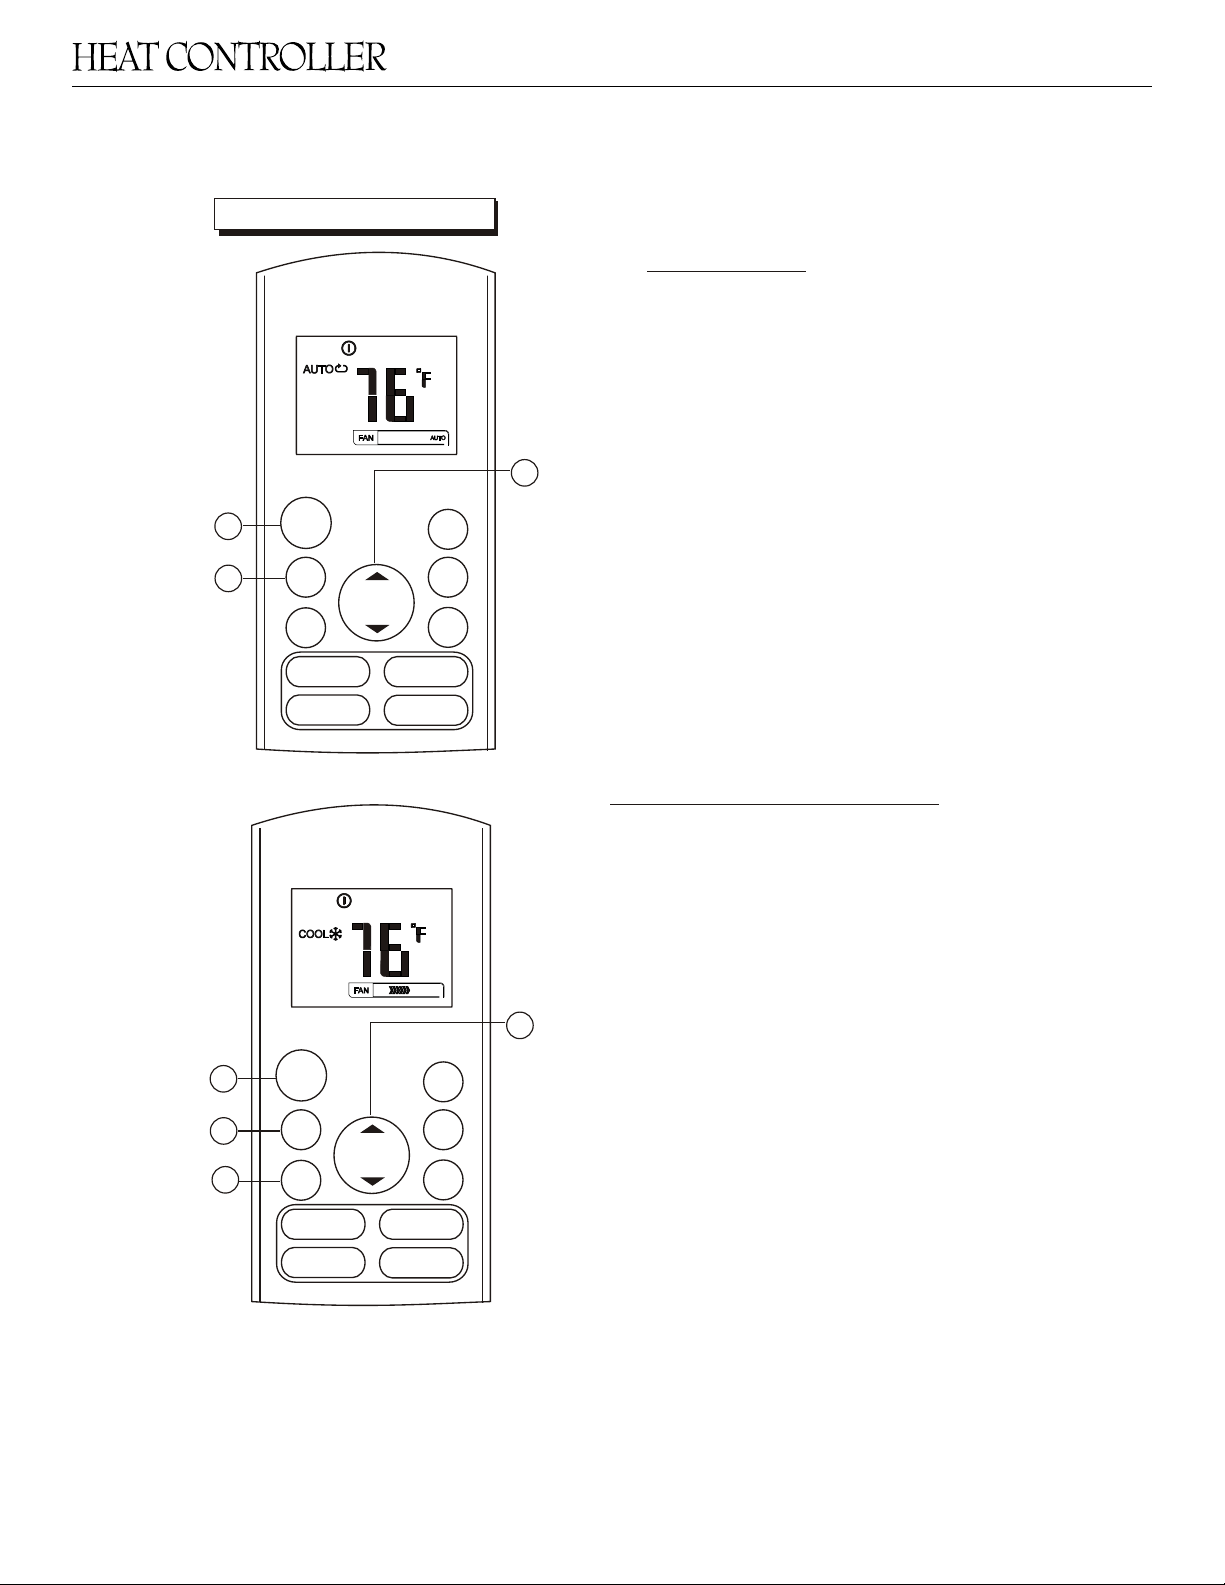
Operation of buttons
SWING DIRECT
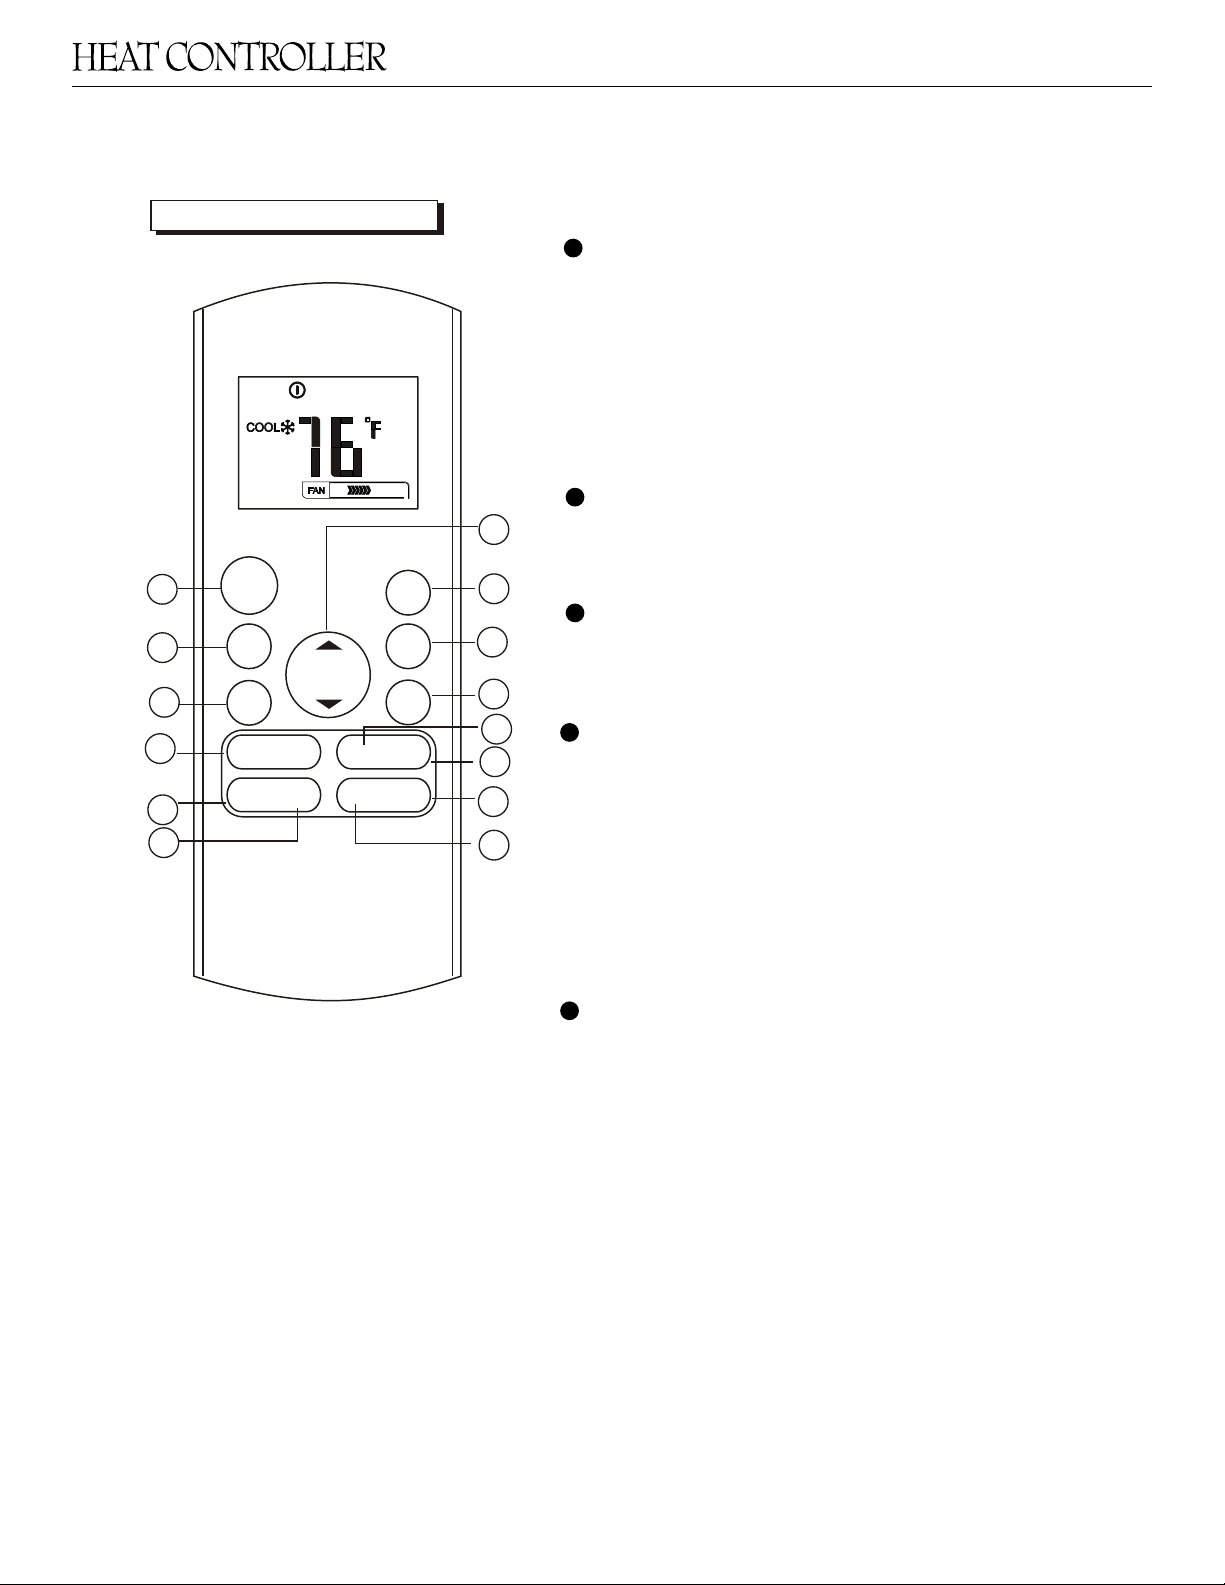
TIMER ON Button
Press this button to initiate the auto-on
time sequence. Each press will increase
the auto-timed setting by 30 minutes
increments. When the setting time displays
10.0, each press will increase the auto-
timed setting 60 minutes increments.
To cancel the auto-timed program, simply
adjust the auto-on time to 0.0.
LED FOLLOW
ME
TURBO SELF
CLEAN
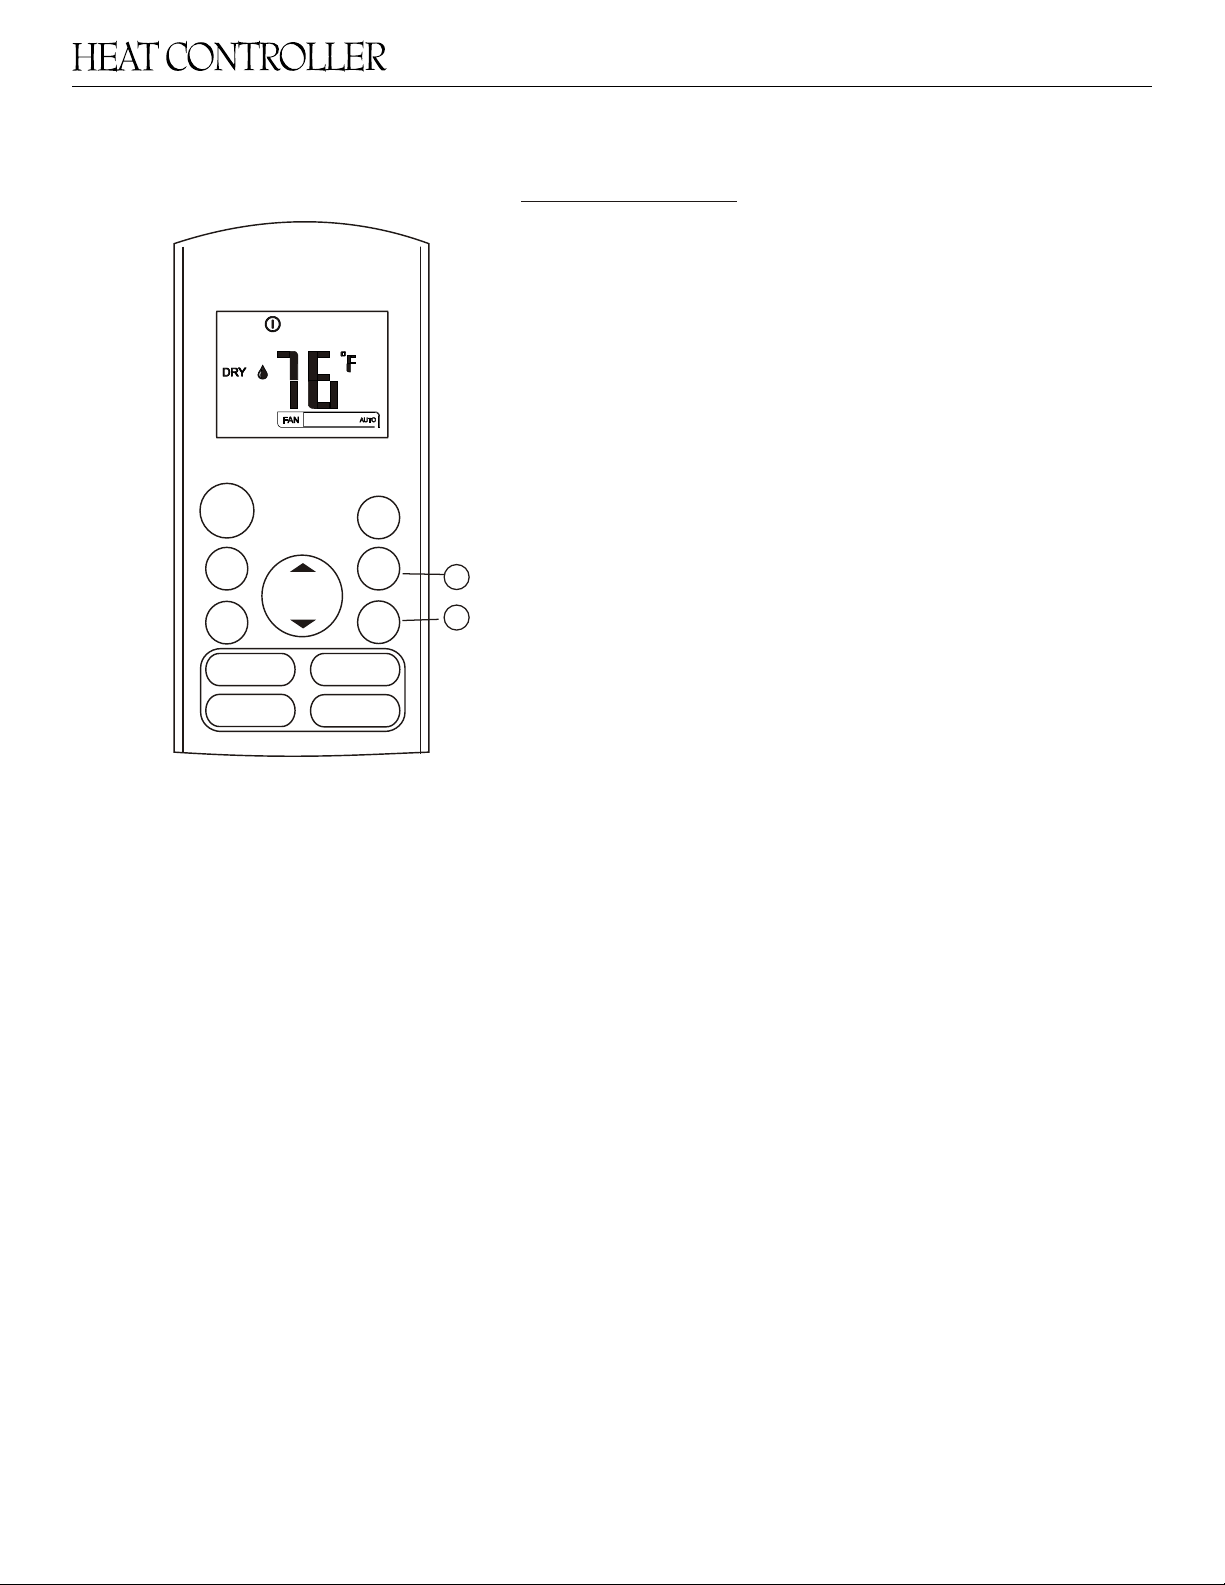
UP Button( )
Push this button to decrease the indoor
temperature setting in 1 F increments to 62 F.
DOWN Button( )
Push this button to increase the indoor
temperature setting in 1 F increments to 86 F.
NOTE Temperature contol is not available
in Fan mode.
NOTE: Press and hold UP and DOWN buttons
together for 3 seconds will alternate the temper-
OO
ature display between the C & F scale.
VMH 09/12/18/24 SU/30 SD Remote Controller
Heat Controller
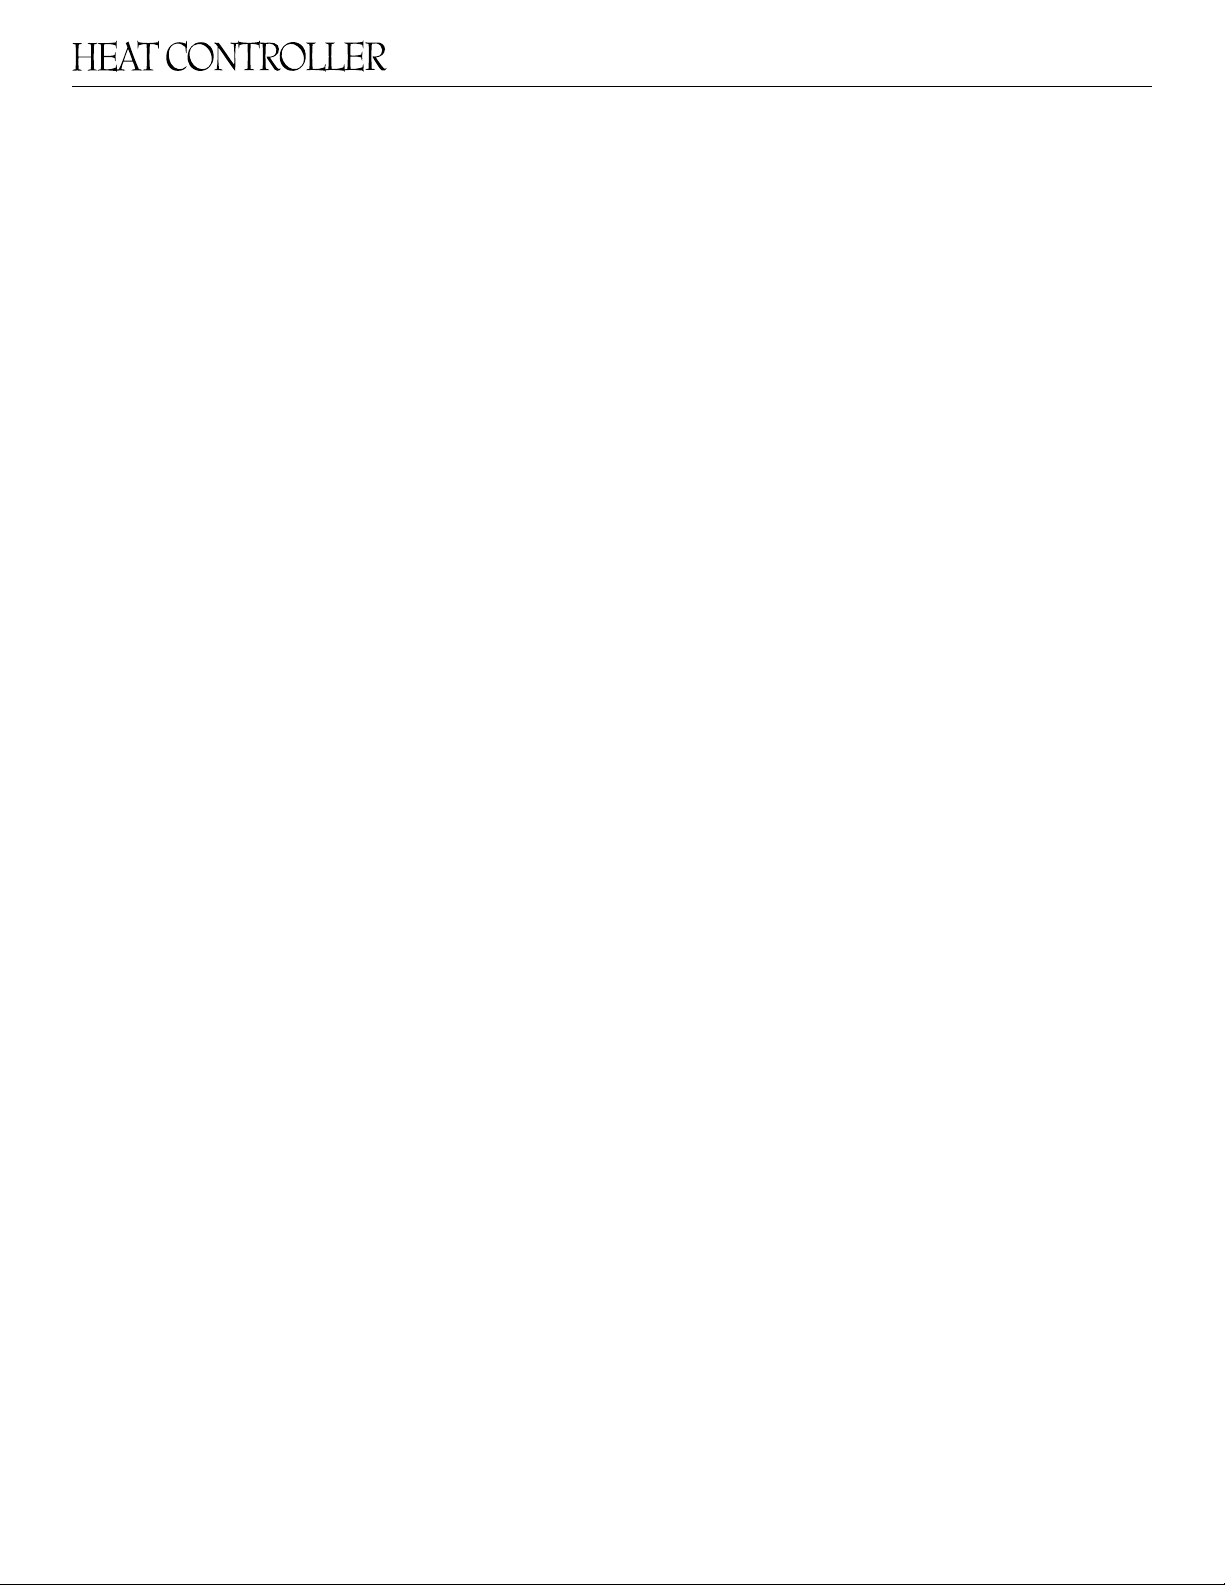
SILENCE/FP Button
• Active/Disable SILENCE function. If pushing more
than 2 seconds, the ‘FP’ function will be activated,
push more than 2 seconds again to disable.
• When the SILENCE function is activated, the
compressor will operate at low frequency and the
indoor unit will bring faint breeze, which will reduce
the noise to the lowest level and create a quiet and
comfortable environment. Due to low frequency
operation of compressor, it may result in insufcient
cooling and heating capacity.
• The ‘FP” function can only be activated during the
heating operation mode. The unit will operate at a
setting temperature of 46°F. The display window of
indoor unit will display ‘FP’. Pressing the button of ON/
OFF, SLEEP, FP, MODE, FAN SPEED, UP or DOWN
while operating will cancel the ‘FP’ function.
NOTE: Press and hold UP and DOWN buttons
together for 3 seconds to alternate the temperature
display between the °C & °F scale.