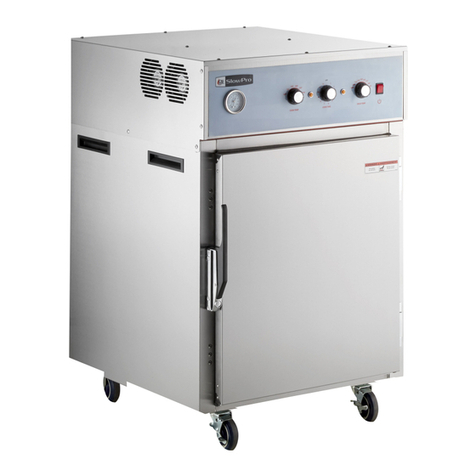
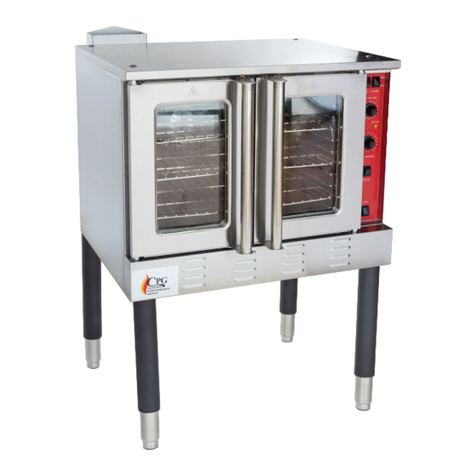
CPG 351CHUC2B User manual

www.cookingperformancegroup.com 1
User Manual
Electric
Cook & Hold Ovens
REVISED 11/2023
351CHSP1, 351CHSP2, 351CHCT1A, 351CHUC1A, 351CHUC1B, 351CHUC2B

. www.cookingperformancegroup.com
2
User Manual
Congratulations on your purchase of Cooking Performance Group commercial cooking equipment! At
Cooking Performance Group, we take pride in the design, innovation, and quality of our products. To
ensure optimal performance, we have outlined the following instructions and guidelines in this manual
carefully for your review. Cooking Performance Group declines any responsibility in the event users do
not follow the instructions or guidelines stated here.
CPG SlowPro Cook & Hold Ovens are designed and perfected for cooking at a lower temperature. The
principles of low temperature cooking and holding can be summarized into several objectives:
to the internal temperature of the food being roasted. The internal product temperature will run below
longer the hold, the higher degree of tenderization.
NOTE:
•
•
•
•
•
Contents
Product Overview
Product Overview.........................................2
........................................3
............................................3
......................................
Startup ................................................5-9
................................
Cleaning & Maintenance .................................
Troubleshooting ........................................ 15

www.cookingperformancegroup.com 3
User Manual
CAUTION:
NOTICE:
•
•
WARNING:
•
•
servicing CPG equipment. This manual must be retained for future reference.
NOTE: Each oven must have its own electrical connection.
NOTE:
Safety Precautions
Specifications
Specs per Oven 351CHSP1 351CHCT1A 351CHUC1A 351CHUC1B
# of Ovens 1 1 1 1
Exterior Dimensions
Packing Dimensions
Net Weight 253.5 lb.
Shipping Weight 125.8 lb. 226.1 lb.
Plug Type 5-15P 5-15P 6-15P
Phase 1 1 1
Hertz
Voltage
Wattage
Amperage 8.5A
Pan Capacity 8
Back Clearance
Side Clearance
Top Clearance
# of Cooling Fans 2 1 2

. www.cookingperformancegroup.com
4
User Manual
1.
3.
bracket.
2. Remove casters from the cabinet that will stack
Place the upper cabinet on top of the lower
5. Secure the stacking brackets onto the bottom
unit with the original screws taken from the
Stacking Instructions
Fig. 1
Fig. 3
Fig. 2
Fig. 4
Front
Connector
Top Unit
Bottom Unit
Rear
Connector

www.cookingperformancegroup.com 5
User Manual
Startup
Installation
1. Remove packing materials.
2.
3.
for our recommended cleaning agents and further cleaning instructions.
5.
6. Final installation location must be level and maintain the required clearances as seen in the spec table on page 3.
Electrical Connection
•
corner of the oven.
•
•
5-15P, or 6-15P plug. Please see the spec table on pg. 3 to
The oven must be installed in accordance with:
•
1. State & local codes.
•
1. Local codes.
Electrical Codes & Standards
The unit must be installed in accordance with state and local codes, or in the absence of state or local
tested to the applicable UL Standard.
Exhaust System

. www.cookingperformancegroup.com
6
User Manual
Wiring Diagrams
351CHCT1A
21
FAN
Power
Switch
Blower M
Timer
棕
J1 J2
Relay
棕
Light
120v or 208v
INPUT
Light
FAN
Temperature
thermostat 120F
Heating
Element
Temperature limiter
thermostat 210F
Thermostat
Cooking
Thermostat
Holding
Startup

www.cookingperformancegroup.com 7
User Manual
Wiring Diagrams
351CHSP1
BLOCK1 Power
Switch
Blower
53
J1 J2
BLOCK3
M
棕棕Timer
Light
FAN
Relay
Temperature limiter
thermostat 210F
Temperature limiter
thermostat 120F
Heating
Element
Thermostat
Holding
Thermostat
Cooking
BLOCK2
Light
Startup

. www.cookingperformancegroup.com
8
User Manual
Wiring Diagrams
351CHUC1A & 351CHUC1B
21
FAN FAN
Power
Switch
Blower M
Timer
棕
J1 J2
Relay
棕
Light
120v or 208v
INPUT
Light
FAN
Temperature
thermostat 120F
Heating
Element
Temperature limiter
thermostat 210F
Thermostat
Cooking
Thermostat
Holding
Startup

www.cookingperformancegroup.com 9
User Manual
Startup
Testing the Oven
NOTE:
NOTE:
1.
2.
3.
5.
6. Check that the holding temperature indicator light is illuminated.
Set the cooking time knob to 2 hours. The holding temperature indicator light will go out and the cooking
temperature indicator light will illuminate.
8.
determine that the oven is heating.
9.
Check that the cooking temperature indicator light has gone out and the holding temperature indicator light has
illuminated.
11.

. www.cookingperformancegroup.com
10
User Manual
Operating Instructions
Cooking Controls
•
• WARNING:
0
5
0
1
0
0
1
5
0
2
0
0
2
5
0
3
0
0
3
5
0
4
0
0
1
2
3
4
5
6
7
8
9
10
11
12
OFF
OFF OFF
COOK TIMECOOK TEMP HOLD TEMP
50°F 110°F
130°
150°
140° 160°
170°
120° 180°
190°
200°
325°
100° 250°
300°
150° 200°
Cooking Temperature
Knob:
Sets the desired cooking
temperature.
Thermometer:
temperature of the oven.
Cooking Time
Knob:
Sets the desired cooking time
Cooking Mode
Light:
Cooking Mode.
Holding Temperature
Knob:
Sets the desired holding
temperature.
Holding Mode
Light:
in Holding Mode.
Power Switch:
Turns the oven
on or off.

www.cookingperformancegroup.com 11
User Manual
PRODUCT WEIGHT COOK
TIME
COOK
TEMP
HOLD
TIME
HOLD
TEMP
MAX INTERNAL
TEMP
LOADING
GUIDELINES
BEEF
Beef Back Ribs 6 hrs. 225°F
Beef Short Ribs 225°F 155°F 165°F 1 per shelf
12 lb. 3 hrs. 225°F 135°F 3 per shelf
Boneless Strip Loin 12 lb. 3 hrs. 225°F 3 per shelf
Bottom Round 5 hrs. 225°F 8 hrs. min. 2 per shelf
Corned Beef 12 lb. 165°F 2 per shelf
Cubed Steaks 225°F 3 hrs. min.
Prime Rib 5 hrs. 225°F 135°F 2 per shelf
Steamship Round 225°F 1 per shelf
Top Round 225°F 2 per shelf
Top Sirloin Butt 3 hrs. 225°F 135°F 3 per shelf
Whole Tenderloin 225°F 2 hrs. min.
PORK
Cooked Cured Ham 12 lb. 135°F 2 per shelf
Fresh Ham 12 lb. 6 hrs. 165°F 2 per shelf
Fresh Sausages 2 hrs. 225°F 5 hrs. max.
Pork Back Ribs 3 hrs. max. 6 slabs per shelf
Pork Spare Ribs 5 slabs per shelf
Roast Pig 6 hrs. 3 hrs. min. 1 per shelf
POULTRY
Whole Chickens 5 hrs. max. 6 per shelf
5 hrs. max. 2 per shelf
1 hr. 3 per shelf
LAMB
Braised Lamb Shanks
Rack of Lamb 18 lb. 3 hrs. max. 15 racks per shelf
Cooking Instructions
Cooking & Holding Guide
•
house specialties. The degree of doneness varies based upon individual preferences.
•
Operating Instructions
NOTE:

. www.cookingperformancegroup.com
12
User Manual
PRODUCT OVEN TEMP REHEAT TIME HOLD TEMP MIN. HOLD TIME
BREAKFAST ITEMS
French Toast & Sausage Links 225°F 15 min.
Pancakes & Sausage Links 225°F 15 min.
PASTA
Baked Pasta 225°F
Beef Stroganoff 225°F
Macaroni & Cheese 225°F 155°F
Ravioli 165°F
225°F
CHICKEN
225°F
Chicken & Rice 225°F
Chicken Legs 225°F 155°F
225°F
Fried Chicken Sandwich 225°F 165°F
Fried Chicken Strips 225°F
SANDWICHES & SNACKS
Burrito
Cheese Pizza
225°F 155°F 15 min.
Chili 225°F 15 min.
Grilled Cheese Sandwiches 155°F 15 min.
Grilled Chicken on Bun 225°F 165°F
Hamburger on Bun 165°F
Hot Dog on Bun 225°F
Meat Pizza
Mini Corndogs 225°F 15 min.
155°F
Pizza Bites 225°F
Sausage Bites 225°F 15 min.
225°F
Tacos 225°F
Rethermalization Guide
Operating Instructions

www.cookingperformancegroup.com 13
User Manual
Shutdown Instructions
1.
position.
2.
cooldown so components are not damaged.
NOTE: Wait at least 15 minutes before turning power switch to OFF. The cooling fans need to operate
reached.
3. Turn power switch to OFF position.
For expanded shutdown, continue with these last 3 steps:
Unplug the oven.
5.
6.
Operating Instructions
• WARNING:
Warnings
•
• Simple adjustments to knobs, leg height, etc. do not require assistance from specialized personnel. For
•
• Burnoff instructions if applicable.
•
•
•
technician.
• All installation must be carried out according to the law. Cooking Performance Group is not responsible
for damages due to incorrect installation, improper maintenance, or incorrect use.
•

. www.cookingperformancegroup.com
14
User Manual
Daily Maintenance
Weekly Maintenance
1.
prior to cleaning.
2.
3. Remove the interior side racks.
Take the interior side racks to a sink or dishwasher for a thorough cleaning. Use a mild soap and
5.
6. Reassemble oven.
1.
2. Rinse with a fresh cloth moistened in warm water to remove all traces of detergent.
3.
NOTE:
Recommended Cleaning Agents
Sunbright
Lemon Dish Soap
Knockout
& Carbon Remover
Blast
Liquid Oven & Grill Cleaner
Cleaning & Maintenance
• WARNING:
• NOTICE: Avoid splashing water into upper areas of the oven to prevent damage to electrical
abrasive pads.

www.cookingperformancegroup.com 15
User Manual
Troubleshooting
Issue Possible Causes Remedies
Oven not operating
Oven not connected to power
source Connect oven to power source.
Check circuit breaker.
operating, contact an authorized
service provider.
Defective connection, wiring, fan, or
thermostat
Contact an authorized service
provider.
Oven compartment is heating, but
Defective connection or wiring to
motor
Contact an authorized service
provider.
Defective cooking temperature
thermostat
Wait several minutes and check
the rear of the oven for heating.
Both the power switch and cooking
temperature indicator lights will be lit.
authorized service provider.
Defective holding temperature
thermostat
Wait several minutes and check
the rear of the oven for heating.
Both the power switch and cooking
temperature indicator lights will be lit.
authorized service provider.
Defective high-limit thermostat or
heating element
Contact an authorized service
provider.
Contact an authorized service
provider.
• NOTE:
This manual suits for next models
5
Table of contents
Other CPG Oven manuals
