manuals.online logo
Brands
  1. Home
  2. •
  3. Brands
  4. •
  5. Craftsman
  6. •
  7. Lawn Mower
  8. •
  9. Craftsman 13AC26JD293 Guide

Craftsman 13AC26JD293 Guide

Other Craftsman Lawn Mower manuals
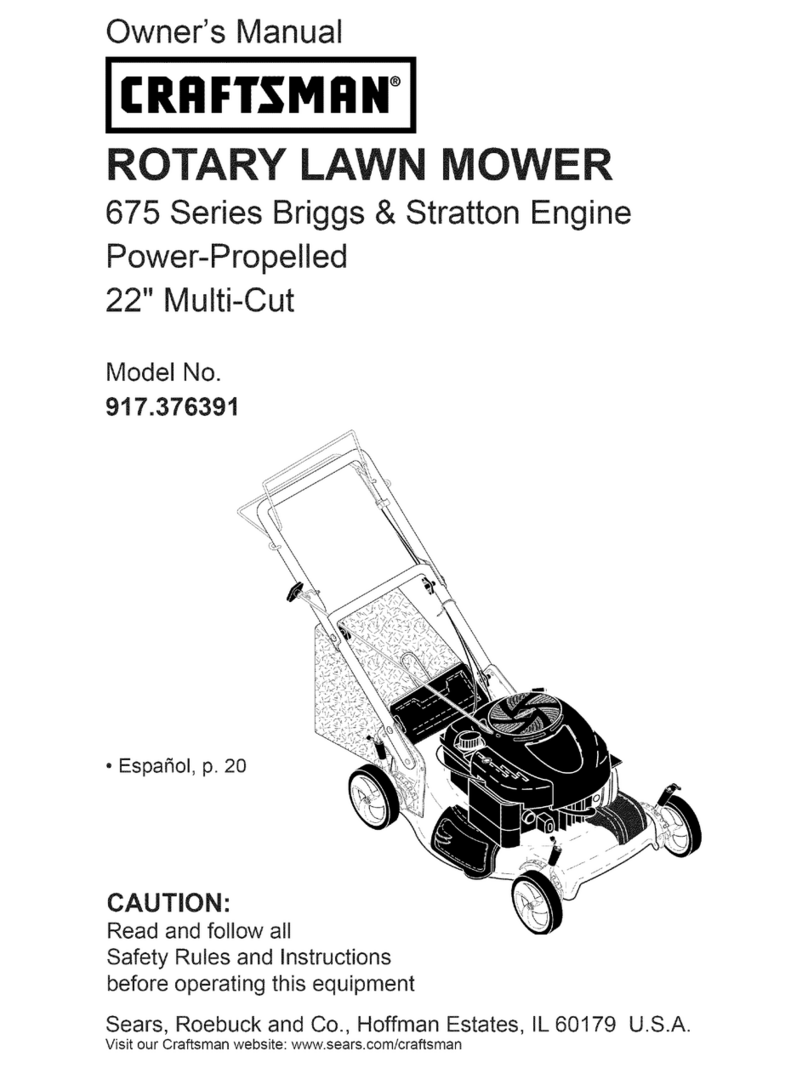
Craftsman 917.377140 User manual

Craftsman

Craftsman 917.377140 User manual

Craftsman 247.20400 series User manual

Craftsman

Craftsman 247.20400 series User manual

Craftsman 247.38923 User manual

Craftsman

Craftsman 247.38923 User manual

Craftsman 917.254850 User manual

Craftsman

Craftsman 917.254850 User manual

Craftsman 247.37000 User manual

Craftsman

Craftsman 247.37000 User manual

Craftsman 917.271131 User manual

Craftsman

Craftsman 917.271131 User manual

Craftsman 98820 User manual

Craftsman

Craftsman 98820 User manual

Craftsman 3One 917.372940 User manual

Craftsman

Craftsman 3One 917.372940 User manual

Craftsman 917.388742 User manual

Craftsman

Craftsman 917.388742 User manual

Craftsman 917.289244 User manual

Craftsman

Craftsman 917.289244 User manual

Craftsman 917.377783 User manual

Craftsman

Craftsman 917.377783 User manual

Craftsman 917.374022 User manual

Craftsman

Craftsman 917.374022 User manual

Craftsman 37062 User manual

Craftsman

Craftsman 37062 User manual

Craftsman 917.377681 User manual

Craftsman

Craftsman 917.377681 User manual

Craftsman EZ3 917.377291 User manual

Craftsman

Craftsman EZ3 917.377291 User manual

Craftsman 25913 User manual

Craftsman

Craftsman 25913 User manual

Craftsman 917.377782 User manual

Craftsman

Craftsman 917.377782 User manual

Craftsman LT1500 User manual

Craftsman

Craftsman LT1500 User manual

Craftsman 917.374052 User manual

Craftsman

Craftsman 917.374052 User manual

Craftsman 917.374545 User manual

Craftsman

Craftsman 917.374545 User manual

Craftsman 917.271861 User manual

Craftsman

Craftsman 917.271861 User manual

Craftsman 917.371840 User manual

Craftsman

Craftsman 917.371840 User manual

Craftsman 917.377575 User manual

Craftsman

Craftsman 917.377575 User manual

Craftsman CMXGMAM823762 User manual

Craftsman

Craftsman CMXGMAM823762 User manual

Popular Lawn Mower manuals by other brands

Toro 20047 Operator's manual

Toro

Toro 20047 Operator's manual

Toro Greensmaster TriFlex 3300 Operator's manual

Toro

Toro Greensmaster TriFlex 3300 Operator's manual

Global garden products 72 Workshop manual

Global garden products

Global garden products 72 Workshop manual

EINHELL 01045 operating instructions

EINHELL

EINHELL 01045 operating instructions

Toro Greensmaster 3120 Operator's manual

Toro

Toro Greensmaster 3120 Operator's manual

Baroness LM315GC Owner's operating manual

Baroness

Baroness LM315GC Owner's operating manual

GreenWorks Tools 25157 user manual

GreenWorks Tools

GreenWorks Tools 25157 user manual

Etesia MVEHH user manual

Etesia

Etesia MVEHH user manual

Husqvarna LTH125 owner's manual

Husqvarna

Husqvarna LTH125 owner's manual

Gravely 915034 - ZT1640 Owner's/operator's manual

Gravely

Gravely 915034 - ZT1640 Owner's/operator's manual

Jacobsen 63281 Technical manual

Jacobsen

Jacobsen 63281 Technical manual

GreenWorks Pro MO802524 Operator's manual

GreenWorks Pro

GreenWorks Pro MO802524 Operator's manual

Toro TimeMaster 20976 Operator's manual

Toro

Toro TimeMaster 20976 Operator's manual

Deutz-Allis 3000 Series parts manual

Deutz-Allis

Deutz-Allis 3000 Series parts manual

jobmate YT9108 user manual

jobmate

jobmate YT9108 user manual

Yard force GM R40A instructions

Yard force

Yard force GM R40A instructions

Husqvarna R 419TsX AWD Operator's manual

Husqvarna

Husqvarna R 419TsX AWD Operator's manual

STERWINS ELM2-36P-3W.4 Assemby - Use - Maintenance Manual

STERWINS

STERWINS ELM2-36P-3W.4 Assemby - Use - Maintenance Manual

manuals.online logo
manuals.online logoBrands
  • About & Mission
  • Contact us
  • Privacy Policy
  • Terms and Conditions

Copyright 2025 Manuals.Online. All Rights Reserved.

778-15398© 2018
Remove the shoulder bolts and lock nuts
from the seat mounting bracket. Remove
the two self-tapping screws factory
installed on the tractor. Align the seat bracket in
place over the holes from where the self-tapping
screws were removed secure the seat bracket with
the self-tapping screws previously removed.
Slide the pedestal cap onto the steering shaft.
Remove the shoulder bolt and lock nut from the
steering shaft. Align the steering wheel so that
with the tractor wheels straight, the large opening on
the steering wheel is facing forward. Lower the steering
wheel assembly onto the lower steering shaft and secure
with shoulder bolt and lock nut. Remove the pedestal
cap mount screw factory installed and located on the
tractor’s steering console. Slide the Pedestal cap down
onto the tractor and slightly rotate to the right to clip
into place. Secure the pedestal with the screw.
Position the seat assembly over the seat mounting
bracket, aligning the holes provided. Install the two
shoulder bolts and lock nuts removed from the
seat mounting bracket.
2
B
A
AA
BB
Make sure that the deck chute/mulch
plug are properly installed and the safety
switch on the deck surface is depressed.
Note: The engine will not start if the safety switch
is not depressed.
PTO (Blade
Engage) Lever
Shift
Lever
Throttle
Control
Oil Fill /
Dipstick
Ignition
Switch
Brake
Pedal
Fuel Cap
READ AND UNDERSTAND ALL INSTRUCTION, WARNING, AND DANGER LABELS.
PARA INSTRUCCIONES EN ESPAÑOL, REFIÉRASE AL MANUAL DEL OPERADOR.
IMPORTANT: READ OPERATOR'S MANUAL AND ENGINE MANUAL THOROUGHLY
AND FOLLOW THE IMPORTANT SAFE OPERATION PRACTICES BEFORE OPERATING.
Need Help?
www.CRAFTSMAN.com or Call 1-888-331-4569
Fast Start Guide
1
2
3
4
778-15398© 2018
Remove the two factory installed hex screws located
on the rear engine cover mounting bracket. Install
the rear engine cover. Tip the engine cover forward
to fit it into the slots provided, then rotate it backwards to
align the mounting holes. Secure the cover with the two
hex screws previously removed. Do not to over-tighten.
Remove the two screws, position the
bumper over the mounting holes and
secure using the two screws.
Insert the tractor key, place the PTO lever
in the disengaged (OFF) position, engage
the parking brake, activate the choke
control, turn the ignition key clockwise to the
START position. After the engine starts, release the
key. Deactivate the choke.
Fill fuel tank with clean, fresh gasoline. Do
not fill above the base of fuel tank neck.
PTO (Blade
Engage) Lever
Shift
Lever
Throttle
Control
Oil Fill /
Dipstick
Ignition
Switch
Brake
Pedal
Fuel Cap
1
READ AND UNDERSTAND ALL INSTRUCTION, WARNING, AND DANGER LABELS.
PARA INSTRUCCIONES EN ESPAÑOL, REFIÉRASE AL MANUAL DEL OPERADOR.
IMPORTANT: READ OPERATOR'S MANUAL AND ENGINE MANUAL THOROUGHLY
AND FOLLOW THE IMPORTANT SAFE OPERATION PRACTICES BEFORE OPERATING.
Need Help?
www.CRAFTSMAN.com or Call 1-888-331-4569
Fast Start Guide
5
6
Slide the hitch plate in between the frame
and the rear cover on your rider. When the
holes in the hitch plate and the frame are
aligned, install the two hex screws from the manual
bag up through the frame and into the hitch plate.
Securely tighten the hitch plate.
7
Attach the red cable to the positive (+) battery
terminal and attach the black cable to the negative
(–) battery terminal with the bolts and hex nuts.
Position the red rubber boot over the positive battery
terminal.
8
9
10