6
PRODUCT SPECIFICATIONS
Gasoline Capacity
and type: 3 Gallons/11,35 L
Regular Unleaded*
Oil Type:
(API: SJ-SN) SAE 30 (above 32°F/0°C)
SAE 5W30 (below 32°F/0°C)
Oil Capacity: W/ Filter: 64 Oz./1,89 L
W/out Filter: 60 Oz./1,77 L
Spark Plug: Champion RC12YC
(Gap: .030"/0,76 mm)
Charging
System: 3 Amps Battery
5 Amps Headlights
Battery: Amp/Hr: 28
Min. CCA: 230
Case size: U1R
Blade Bolt Torque: 45-55 Ft. Lbs./62-75 Nm
*Gasoline containing up to 10% ethanol (E10) is
acceptable for use in this machine. The use of
any gasoline exceeding 10% ethanol (E10) will
void the product warranty.
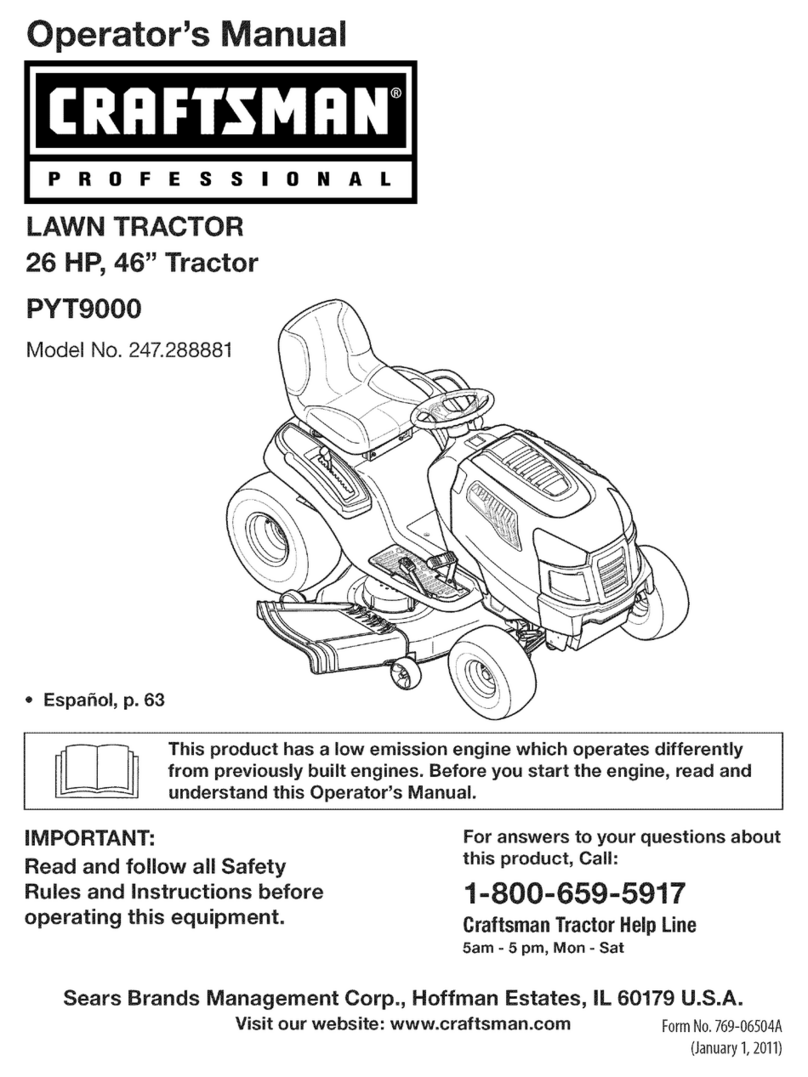
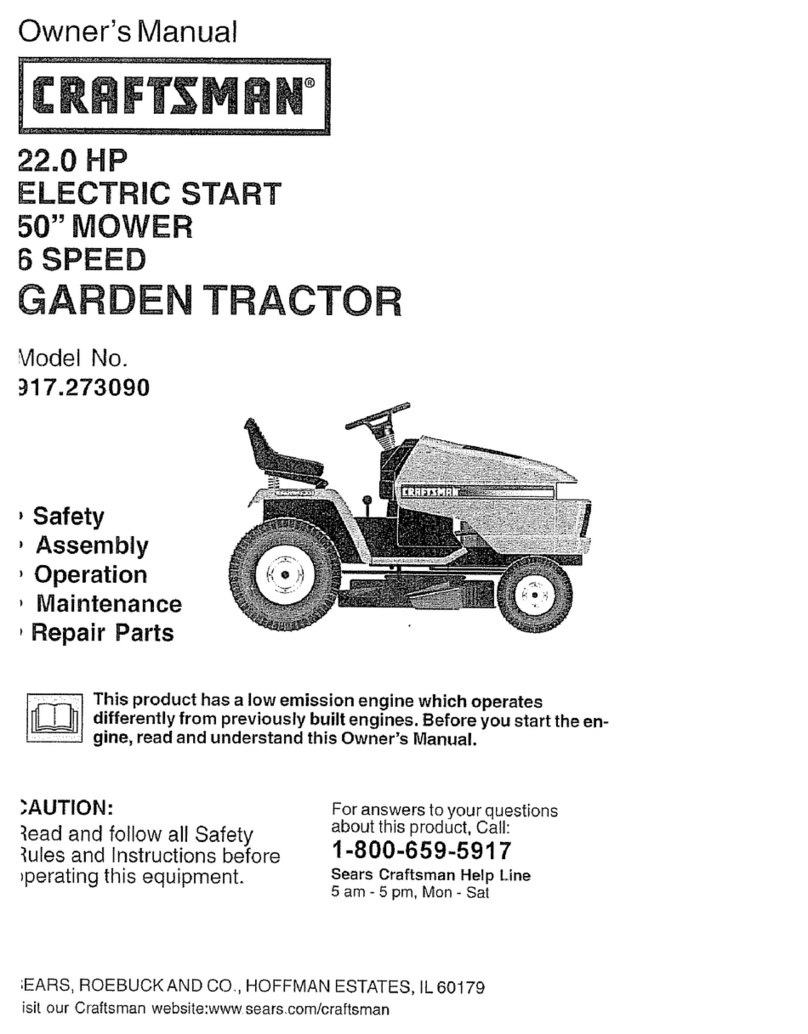
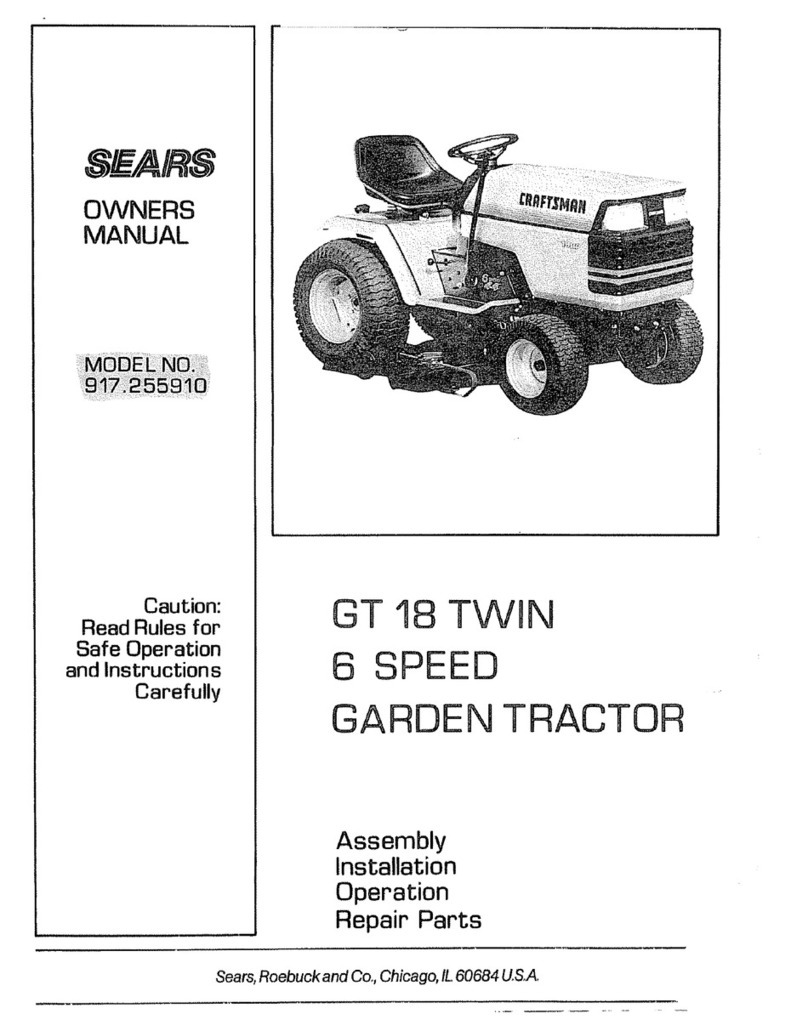
CONGRATULATIONS onyourpurchase of
a new tractor. It has been designed, engi-
neeredandmanufacturedtogiveyouthebest
possible dependability and performance.
Shouldyouexperienceany problem you can-
not easily remedy, please contact a Sears or
otherqualifiedservicecenter. Wehavecom-
petent, well-trained representatives and the
proper tools to service or repair this tractor.
Please read and retain this manual. The
instructions will enable you to assemble
and maintain your tractor properly. Always
observe the “SAFETY RULES”.
WARNING: This tractor is equipped with
aninternalcombustionengine and should not
be used on or near any unimproved forest-
covered, brush-covered or grass-covered
land unless the engine’s exhaust system
is equipped with a spark arrester meeting
applicable local or state laws (if any). If a
sparkarresteris used,itshouldbemaintained
in effective working order by the operator.
REPAIRPROTECTIONAGREEMENTS
Congratulations on making a smart
purchase. Your new Craftsman® product
is designed and manufactured for years
of dependable operation. But like all
products, it may require repair from time
to time. That’s when having a Repair
Protection Agreement can save you
money and aggravation.
Here’s what the Repair Protection
Agreement* includes:
Expert service by experienced
service technicians trusted in millions
of homes every year.
Unlimited service and no charge for
parts and labor on all covered repairs.
Product replacement up to $1500 if
your covered product can’t be fixed.
Discount of 25% from regular price of
service and related installed parts not
covered by the agreement.
Fast help by phone – phone support
from a service agent on all products to
help troubleshoot problems. Think of
us as a “talking owner’s manual.”
Once you purchase the Repair Protection
Agreement, a simple phone call is all that
it takes for you to schedule service. You
can call anytime day or night.
The Repair Protection Agreement is
a risk-free purchase. If you cancel for
any reason during the product warranty
period, we will provide a full refund. Or, a
prorated refund anytime after the product
warranty period expires. Purchase your
Repair Protection Agreement today!
Some limitations and exclusions apply.
For prices and additional information
call 1-800-827-6655.
Sears Installation Service
For Sears professional installation of
home appliances, garage door openers,
water heaters, and other major home
items, call 1-888-331-4569.
CUSTOMER RESPONSIBILITIES
• Read and observe the safety rules.
• Follow a regular schedule in maintaining,
caring for and using your tractor.
• Follow instructions under “Maintenance”
and “Storage” sections of this manual.
• Wear proper Personal Protective Equip-
ment (PPE) while operating this machine,
including (at a minimum) sturdy footwear,
eye protection, and hearing protection.
Do not mow in shorts and/or open toed
footwear.
• Alwayslet someone knowyou areoutside
mowing.
InthestateofCaliforniatheabove is required
by law (Section 4442 of the California Public
Resources Code). Other states may have
similar laws. Federal laws apply on federal
lands. A spark arrester for the muffler is
availablethroughyournearestSearsservice
center (See ENGINE ASSEMBLY section of
this manual).
59
IDENTIFICACIÓN DE PROBLEMAS:
Vea la sección apropiada en el manual a menos que esté dirigido a un centro de servicio Sears.
PROBLEMA CAUSA CORRECCIÓN
No arranca 1. Sin combustible. 1. Llene el estanque de combustible.
2. Motor sin la “ESTRANGULACIÓN”
(CHOKE) adecuada. 2. Vea “PARA HACER ARRANCAR EL MO-
TOR” en la sección de operación.
3. Motor ahogado. 3. Espere varios minutos antes detratar de
arrancar.
4. Bujía mala. 4. Cambie la bujía.
5. Filtro de aire sucio. 5. Limpie/cambie el filtro de aire.
6. Filtro de combustible sucio. 6. Cambie el filtro de combustible.
7. Agua en el combustible. 7. Vaciar el estanque de combustible y el
carburador, vuelva a llenar el estanque
con gasolina nueva cambie el filtro de
combustible.
8. Alambrado suelto o dañado. 8. Revise todo el alambrado.
9. Válvulas del motor desajustadas. 9. Pongase en contacto con un centro de
servicio cualificado “SEARS”.
Difícil de
arrancar 1. Filtro de aire sucio. 1. Limpie/cambie el filtro de aire.
2. Bujía mala. 2. Cambie la bujía.
3. Batería baja o descargada. 3.
Vuelva a cargar o cambie la batería.
4. Filtro de combustible sucio. 4. Cambie el filtro de combustible.
5. Combustible rancio o sucio. 5. Vaciar el estanque decombustibley vuelva
a llenarlo con gasolina nueva.
6. Alambrado suelto o dañado. 6. Revise todo el alambrado.
7.
Válvulas del
motor desajustadas. 7. Pongase en contacto con un centro de
servicio cualificado “SEARS”.
El motor no
la vuelta 1. Pedal del freno no presionado. 1. Presione el pedal del freno.
2. Elembraguedelaccesorioestáenganchado. 2. Desenganche el embrague del accesorio.
3. Batería baja o descargada. 3.
Vuelva a cargar o cambie la batería.
4. Fusible quemado. 4. Cambie el fusible.
5.
Terminales de la batería corroídos.
5. Limpie los terminales de la batería.
6. Alambrado suelto o dañado. 6. Revise todo el alambrado.
7. Interruptor de la ignición fallado. 7. Revise/cambieel interruptor dela ignición.
8. Solenoide o arrancador fallados. 8. Revise/cambie el solenoide o arrancador.
9. Interruptor(es) que exige(n) la presencia
del operador fallado. 9. Pongase en contacto con un centro de
servicio cualificado “SEARS”.
El motor
suena pero
no arranca
1. Batería baja o descargada 1.
Vuelva a cargar o cambie la bate
ría.
2.
Terminales de la batería corroídos.
2.
Limpie los terminales de la batería.
3. Alambrado suelto o dañado. 3. Revise todo el alambrado.
4. Solenoide o arrancador fallados. 4. Revise/cambie el solenoide o arrancador.
Pérdida de
fuerza 1.
Corta mucho césped, muy rápido.
1. Elevelaalturadecorte/reduzcalavelocidád
2. Aceleración en la posición de
“ESTRAN-
GULACIÓN” (CHOKE).
2. Ajuste el control de la aceleración.
3. Acumulación de césped, hojas y basura
debajo de la segadora. 3. Limpie la parte inferior de la cajade la
segadora.
4. Filtro de aire sucio. 4. Limpie/cambie el filtro de aire.
5. Nivel de aceite bajo/aceite sucio. 5. Revise el nivel de aceite/cambie el aceite.
6. Bujía fallada. 6. Limpie y vuelva a ajustar la abertura o
cambie la bujía.
7. Filtro de combustible sucio. 7. Cambie el filtro de combustible.
8. Combustible rancio o sucio. 8. Vaciar el estanque decombustibley vuelva
a llenarlo con gasolina nueva.
