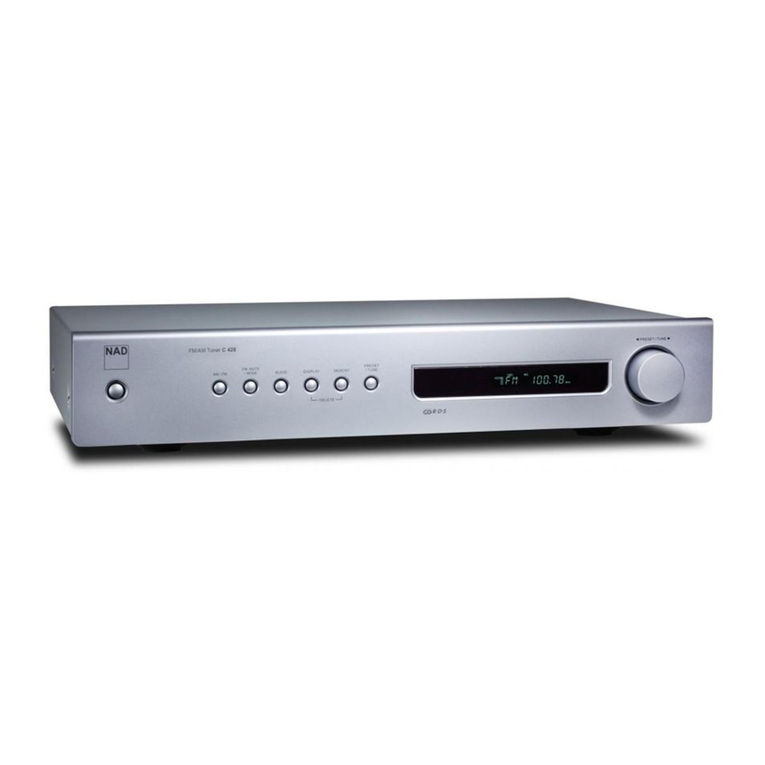
Creek Audio Classic Tuner User manual

Classic Tuner
Instruction Manual
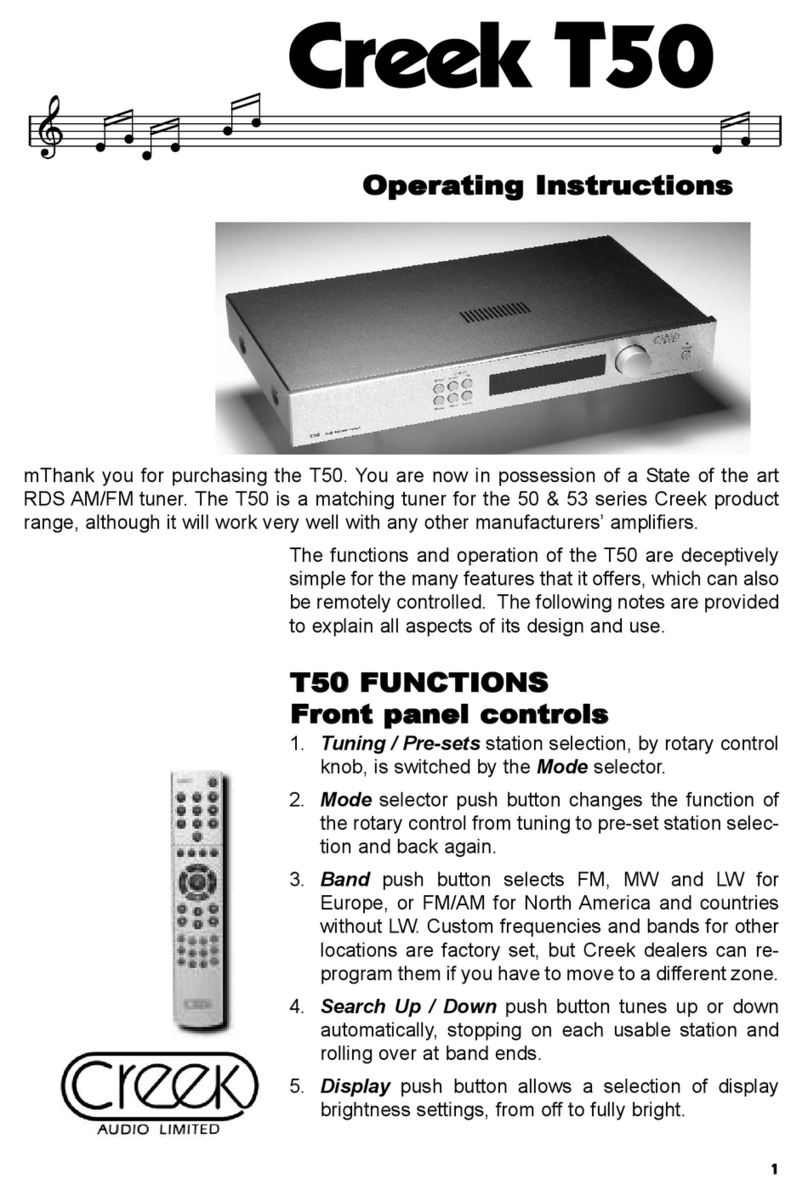
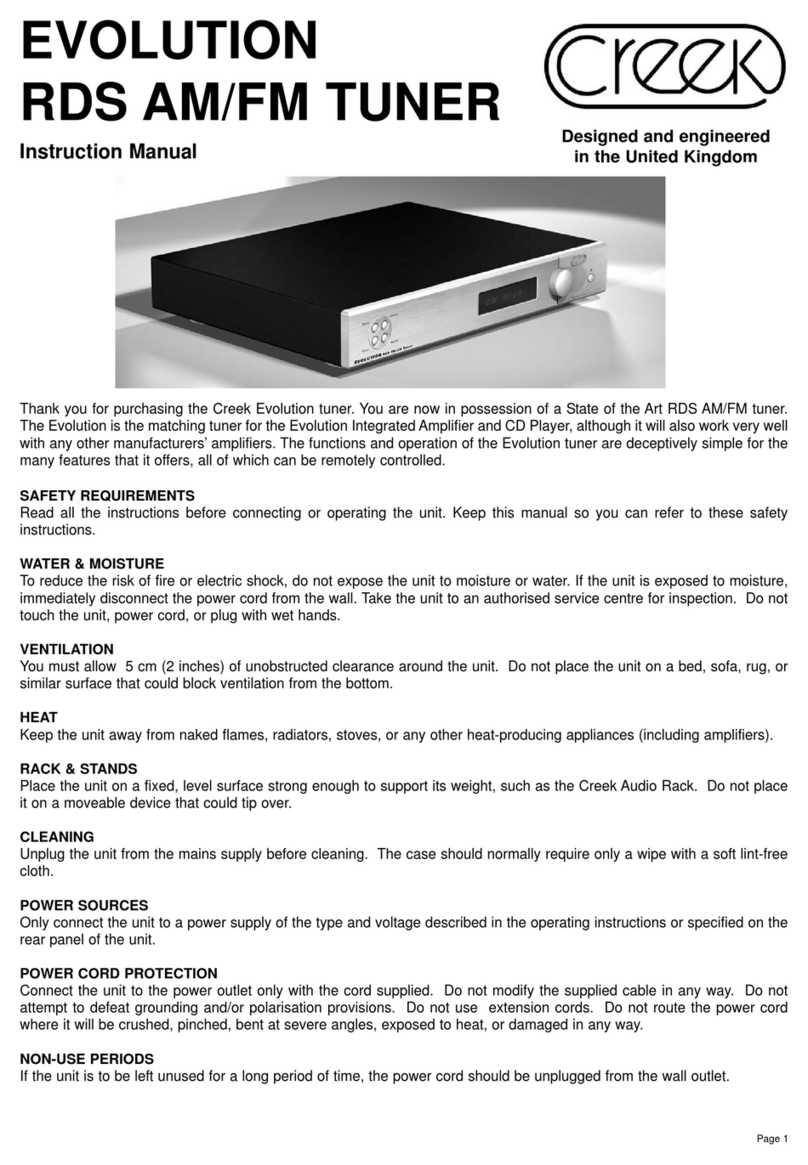
Thank you for purchasing the Creek Classic tuner. You are now in possession of a State of the Art RDS AM/FM tuner. The Classic is the
matching tuner for the Classic product range, although it will also work very well with any other manufacturers’ amplifiers.
The functions and operation of the Classic tuner are deceptively simple for the many features that it offers, all of which can be remotely
controlled.
FREQUENCY RANGES AVAILABLE FOR EUROPEAN MODEL:
FM 87 - 108 MHz 50 kHz increments manual, 100 kHz scanned
MW 522 - 1611 kHz 9 kHz increments
LW 144 - 288 kHz 9 kHz increments
FREQUENCY RANGES FOR NORTH AMERICAN MODEL:
FM 87 - 108 MHz 200 kHz increments manual
AM 530 - 1710 kHz 10 kHz increments
FREQUENCY RANGES FOR JAPANESE MODEL:
FM 76 - 90 MHz 50 kHz increments manual, 100 kHz scanned
AM 522 - 1611 kHz 9 kHz increments
FREQUENCY RANGES AVAILABLE ON MODELS FOR THE REST OF THE WORLD:
FM 87 - 108 MHz 50 kHz increments manual, 100 kHz scanned
AM 522 - 1611 kHz 9 kHz increments
POWER SUPPLY REQUIREMENTS
To operate the tuner it is necessary to first connect the unit to the mains supply via the power cord supplied. There is an IEC mains
connector on the rear panel that contains a protection fuse and mains switch. The power must be turned On (1) or Off (O) from here. After
switching on, the tuner will be in standby and pressing the STANDBY button on the front panel will wake it up.
The power cord should be connected to the tuner and to a domestic mains socket carrying 220-240V AC 50Hz or 110-120V AC 60Hz,
depending on the country of use.
Should it be necesary to replace the fuse, ensure that you use the same type as specified on the rear panel.
5 x 20mm cartridge type
T 500 mA surge resisting for 220-240V 50Hz AC
T 1A surge resisting for 110-120V 60Hz AC
ANTENNA REQUIREMENTS
To obtain the best quality FM signal in stereo with low background noise, it is necessary to use a good antenna (aerial) preferably mounted
on a roof of a building, or in an attic or loft. A 75 Ohm co-axial cable should be used to bring the radio signal to the tuner. Use a good
quality 75 Ohm co-ax plug to connect the radio signal into the rear panel socket marked FM antenna 75 Ohms. In some parts of the world
300 Ohm balanced feeder cable is more popular, in which case it should be connected to the 300 Ohm terminals only.
If it is not possible to use an outdoor aerial, a balanced 300 Ohm indoor T-antenna will give reasonable results when connected to the 300
Ohm terminals. Note that the direction of the T-piece with respect to the transmitter site will affect the strength and quality of reception,
giving more or less noise, especially on stereo signals.
The AM part of the radio will work very well using a single wire. Plug the 3 metre length of thin stranded wire provided into the termial marked
AM on the back panel. Adjust its position with respect to the direction of the transmitter to improve reception. To improve sensitivity please
use a longer piece of wire.
OUTPUT FROM THE TUNER
To connect the audio signal from the tuner to an amplifier it is necessary to use a pair of cables terminated with (RCA) phono plugs.
Shielded types of interconnect are better for reducing hum or other interference pick-up, but unshielded types like DNM will produce a better
sonic performance.
Don’t sacrifice quality for price in this important area.

FRONT PANEL
Front Panel Controls
1. Tuning / Pre-sets station selection, by rotary control knob, is switched by the Mode selector.
2. Mode selector push button changes the function of the rotary control from tuning to pre-set station selection and back again.
3. Band push button selects FM, MW and LW for Europe, or FM/AM for North America and countries without LW. Custom frequencies
and bands for other locations are factory set, but Creek dealers can re-programme them if you have to move to a different zone.
4. Search Up / Down push button tunes up or down automatically, stopping on each usable station and rolling over at band ends.
5. Display push buttons allows a selection of display brightness settings, from off to fully bright.
6. Store allows selected stations to be memorised by the tuner in pre-set channel locations, separately on each wavelength.
7. Display window contains frequency, channel and RDS Station ID, plus centre tuning information and all other function status in a
highly visible green display.
8. Infra-Red sensor can receive remote control (RC5) instructions of all functions. See remote control notes.
9. Standby switches the tuner from Standby to On and back again.
REAR PANEL
OPERATING THE CLASSIC TUNER
Manual & Pre-set Operation
The large control knob on the right side of the panel has two
functions. First it will manually tune the radio up and down
smoothly to receive stations on FM or AM displaying the
frequency, band and centre tuning
RDS station name, if transmitted, will also be displayed
together with the stereo ‘ST’ or mono status.
Station ID
The second function is to select Pre-Set stations from the
tuner’s memory, acting like a rotary switch.
The frequency of the station will be displayed for a few seconds
and may be replaced with the station ID. The Pre-Set channel
will only show when the tuner is in Pre-Set mode, selected by
the MODE button (which toggles between the two functions).
The T50 will remember the last tuned frequency, station ID or
pre-set after switching off, so it can be restored when switching
back on.
Note: The last tuned station will only be remembered if it has
been left unaltered for 1 minute before switching off.
Frequency
Pre-Set
5 4 7 8 1
2 6 3 9
Mains inlet and power switch Audio outputs Antenna inputs

BAND SELECTION
Two or three wave bands are available by repeatedly pressing
the BAND button. It will toggle between FM, MW and LW, or
between FM and AM, depending on the country of use. The
wave band will be displayed for 2.5 seconds after the Band
button is pressed.
TUNING AND SIGNAL STRENGTH INDICATOR
When tuning across the band, the T50 indicates the presence
of a station. If the station is not quite tuned in, arrows indicate
the way the tuning knob should be turned to obtain centre
tuning and lock.
As the station is correctly tuned, the arrows change to a
horizontal line.
SEARCH UP AND DOWN
Instead of tuning the radio manually with the tuning knob, SEARCH operation will automatically search UP and DOWN the band, looking for
stations to be received with an acceptable background noise. It will stop on each one until asked to continue searching by pressing the
UP or DOWN button again.
SIGNAL STRENGTH
To indicate the signal level of a given station, the display brightness is adjusted from Bright (high) to Dim (low). Use a good quality roof
antenna for best results.
STORE AND PRE-SETS
To fill the T50’s memory with your favoured stations, select
Manual Tuning by pressing the MODE button and select the
desired BAND. Either tune manually or use the search UP
button to locate the station you wish to memorise. Press the
STORE button once, briefly. The MEMORY indicator on the
display will flash and the PRE-SET number will be displayed. If
you wish to store the station in this address, press the STORE
button firmly and hold until the MEMORY indicator stops
flashing.
If you prefer to allocate the station a different pre-set number,
turn the tuning knob until the PRE-SET indicator displays the
desired number and then press the STORE button as above.
The T50 will now be ready to store another station and will
attempt to place it in the next consecutive pre-set number
address, should you wish to do so. Repeat as necessary to
store your favoured stations in the memory. Return to standard
operation by pressing the MODE button again.
A maximum of 99 stations can be stored in FM, 29 in MW/AM
and 6 in LW (Europe only). Only stored numbers will be
displayed.
CLEAR STATION MEMORY
Individual stations can be over-written by selecting the pre-set number with the TUNING/PRE-SET knob. In order to clear all pre-sets
to start again, press and hold the MODE button until ‘CLEAR’ starts flashing. Then release and press and hold the MODE button once more
until CLEAR becomes solid. Releasing the MODE button will blank the display temporarily and clear the memory of all pre-sets.
Note: Any other button press or control knob turn or waiting more than 10 seconds while CLEAR is flashing will cancel the pending program
action.
DISPLAY
The T50 can have four levels of display brightness. The levels are set by pushing the Display button repeatedly until the desired level is found.
The available levels of brightness are: High (Default), Medium, Low and Off
The display levels are held in the memory of the T50 and will be remembered if the tuner is powered off. If the tuner is working but there is
no display, it could be that the display brightness level has been switched to off.
If any button or the tuning knob is turned, the brightness level will be briefly restored to setting no. 1 and will then revert to the last setting.

REMOTE CONTROL OPERATION
The SRC2 is a System Remote Control Handset designed to operate the Creek Destiny Integrated and Power
amplifier, CD player and Tuner. However, it can also operate the older remote controlled Creek products and the new
Classic range.
The coloured buttons allow the user to find the features dedicated to that device more easily.
" Use any of the blue buttons to operate the CD player.
" Use any of the ivory buttons to operate the amplifier.
" Use any green buttons to operate the tuner.
To extend the capability of the handset, the buttons coloured dark grey can be used for multiple functions. This can
be achieved by first pressing the product button (CD, Amp, and Tuner) which are located just above the circle of
buttons in the middle The remote will then be programmed to make the dark grey buttons work for that device only,
until another product button is pressed.
If you require the Tuner to go to a specific pre-set station, press the Green Tuner button and then the desired
pre-set number button. It isn't necessary to press Tuner again if you want to select another Tuner pre-set.
Up and Down refer to CD Track, Amplifier input, and Tuner pre-set.
Disp refers to Display brightness for each product (Destiny products only)
Scan forward and back refers to CD and Tuner plus any future Creek amplifiers that might have a remote balance
control.
Standby shuts down every device in range that can go into Standby
Waking-up from standby requires a button to be pressed for each product, i.e. wake up tuner - press any tuner
button, except the CD product button as that only programs the remote internally.
Wavebands Worldwide FM 87 - 108 mHz
Japan FM 76 - 90 mHz
Europe MW/AM 522 -1611 kHz
USA AM 530 -1710 kHz
Europe only LW 144 - 288 kHz
Frequency Increments 50 kHz FM 9 kHz AM (10 kHz for America)
199 kHz auto 200 kHz USA
Sensitivity (HF 50dB) <20mV mono <100mV stereo
Selectivity (IHF) >70dB + 0.4 mHz FM
Number of presets 99 FM 6 LW
Frequency response (FM only) 20 Hz- 16 kHz -1dB
Total harmonic distortion <0.3% (FM) <3% (AM)
Stereo separation (FM only) >30dB
Signal to noise (FM only) >69dB (Full limiting)
Output voltage 500mV RMS for 50 kHz deviation
Aerial connections 300W and 75W co-ax
Power consumption max 7 VA
Power supply voltage 220/240 V AC 50Hz UK, Europe & Asia
100/120 V AC 60 Hz
Weight 5 Kg (11 lbs)
Dimensions (W x H x D) mm 430 x 70 x 316 (16.9 x 2.7 x 12.6 inches)
Remote control Custom Creek SRC2 system remote handset
SPECIFICATIONS
Creek Audio Ltd. reserves the right to change or modify the specifications of its products without prior warning.
Creek Audio Ltd., 12 Avebury Court, Mark Road, Hemel Hempstead HP2 7TA England
Table of contents
Other Creek Audio Tuner manuals
