Crucial MX Series User manual

How to install a Crucial®SSD
in your computer
If you’re a first-time installer, there’s no need to fear – the process is easy
and straightforward. It’ll take some time, but your computer will
be radically faster when you’re done!

3. Back up important files
Before starting the install process, save any important files
on your computer to a USB flash drive or external drive.
4. Go slowly and deliberately
The information you need is all here. Your system
will likely look dierent than the ones shown, but the
process is the same. Read each step thoroughly and
consult our Helpful Tips for more info.
Helpful Tip
For Mac installations, follow our Mac-specific steps at uk.crucial.com/mac-ssd-install since the process
is significantly dierent and not all Mac systems are upgradeable.
Amount of data on old hard drive Time it may take to copy to new SSD
Less than 256GB 20-30 minutes
256-512GB 30-60 minutes
512GB-1TB 60-90 minutes
More than 1TB 90+ minutes
Did You Know...?
The longest part of the SSD install
process is copying everything from your
old drive to your new SSD. Before you
start, get a sense of how long this’ll take
by referring to our chart on the left.
Part 1: Prepare
1. Gather supplies
You’ll need your Crucial SSD, a screwdriver, your computer’s
owner’s manual (which will specify the type of screwdriver
you need), and a SATA-to-USB cable (sold separately).
If you have a Mac®system, see our Helpful Tip below
for additional instructions.
2. Set the spacer aside
In the box with your SSD is a spacer (it looks like a black bracket).
Set it aside for now – it won’t come into play until later in the
process, and based on your system, you may not even need it.
Page 2

Part 2: Copy
3. Install the software you downloaded
Open the file you downloaded and accept all of the prompts.
A screen will then pop up. Click Install. Once installation is
complete, start the application.
4. Enter the software’s serial number
This is the 16-digit key noted on the software card inside
the box of your SSD.
1. Connect the SSD to your system
Using a SATA-to- USB cable, attach one side to the SSD and the
other end to your computer. When handling your SSD, try not to
touch its gold connector pins with your fingers.
2. Download the software that copies your
old drive to your new SSD
This comes free with Crucial SSDs. On the computer the SSD is
connected to, go to uk.crucial.com/clone to download
the software.
5. Prepare to copy (clone) your data
You’ll now see several options in the software. Select the
Clone Disk option. You’ll then be asked to select a clone
mode. If you’ve never done this before, we recommend the
Automatic method, then click the Next button.
Page 3

6. Select source and destination drives (disks)
Your “source” disk is your existing drive. Select it by clicking on it,
then click Next. Now select your “destination” disk (your new SSD)
and click Next. On the following screen, click Proceed to start
copying your data.
7. Reward yourself with a beverage of choice
It’ll take a while for everything to copy. Depending on your system,
the software might make it shut down or restart, which is OK.
Leave your computer for a bit and go do something fun!
Helpful Tip
If your old storage drive is 128GB (for example) and you copy its contents to a 275GB SSD, the SSD may show
up in your system as a 128GB drive, even though it’s actually the size that you bought. No need to fear – you
can still store more on it, but you’ll need to make some adjustments to the drive’s settings. This doesn’t usually
happen, but if it does, we want to let you know that it’s OK and that it’s based on your system, not you.
Did You Know...?
Millions of people have used this software to copy data, from everyday home users with passwords and precious
home photos to corporate users who have lots of proprietary information. The security and privacy of your data is
important to us, and we don’t compromise that. Copying is a safe, secure process.
Part 3: Install
1. Shut down your system
Once it’s o, unplug the SATA-to-USB cable from your system
and remove the cable from your SSD.
2. Remove the power cable and battery
Now that the SSD is unattached from your system, remove
the power cable and battery (laptops only). To see how to
remove the battery, refer to your owner’s manual.
Page 4

3. Hold the power button for 5 seconds
This removes any electricity still in the system.
4. Open the case
How you do this will vary from system to system, so consult your
owner’s manual for exact instructions.
5. Ground yourself
Simply touch an unpainted metal surface. This protects your
system’s components from the static electricity that’s naturally
present in your body – grounding is just an extra safeguard.
6. Locate the storage bay
This is easy to find in desktops, but in laptops the location will vary
– it’s typically under the bottom panel, under the keyboard, or on
the side. Refer to your owner’s manual for the exact location, as
every system looks slightly dierent.
7. Remove your old drive
Remove the existing drive and disconnect any cables and brackets
attached to it. Look closely at the drive for screws that might be
holding something to it, as most brackets are often small and look
like supporting frames.
Page 5

9. Reassemble your system
For laptop installations, reconnect the battery.
10. Turn on your computer
Watch how much faster it boots up!
8. Reattach cables and brackets to SSD
Once reattached, plug the SSD into your system. Don’t worry if the
label faces up or down, as this varies by system. When plugging in
the SSD, don’t force the connection – it should go in easily and fit
snug. If it’s wobbly, refer to our Helpful Tip below.
11. Have some fun
See how fast your favorite apps open when you click on them!
Your SSD is now installed, but you can make it even faster by
enabling a special feature.
Page 6

Page 7
1. Enable Storage Executive
This free software helps your SSD become even faster and allows
the drive to get periodic performance updates. On the computer
you installed the SSD in, go to http://uk.crucial.com/se.
Part 4: Download
For laptops
Look closely at the old storage drive you removed for any brackets, adapters, support frames, braces, pull tabs,
or screws that might be attached to it. If anything is attached to the old drive, remove it and put it on the SSD
in the same manner. Now reinsert the SSD into the storage bay. If it still doesn’t fit snug, use the spacer you set
aside earlier and attach it to the SSD by peeling o the adhesive and sticking it onto the drive as shown. Attaching
the spacer allows the SSD to achieve the same level of thickness as the existing drive you removed. Note: many
installations don’t require the spacer, so you may not need to use it.
For desktops
Some storage bays and existing hard drives are
significantly larger than a standard size SSD. If this is the
case in your system, you’ll need a 2.5-inch to 3.5-inch
converter to make the SSD fit snug. You can get one of
these on www.crucial.com.
Helpful Tip
When you first slot your SSD into the storage drive bay, it might not fit securely. If this occurs,
here’s what to do based on the type of system you’re installing into.
Brackets, adapters, support frames, braces, pull tabs, or screws Spacer
Did You Know...?
Millions of people around the world have made their computers faster by installing a Crucial SSD.
No computer skills are required!

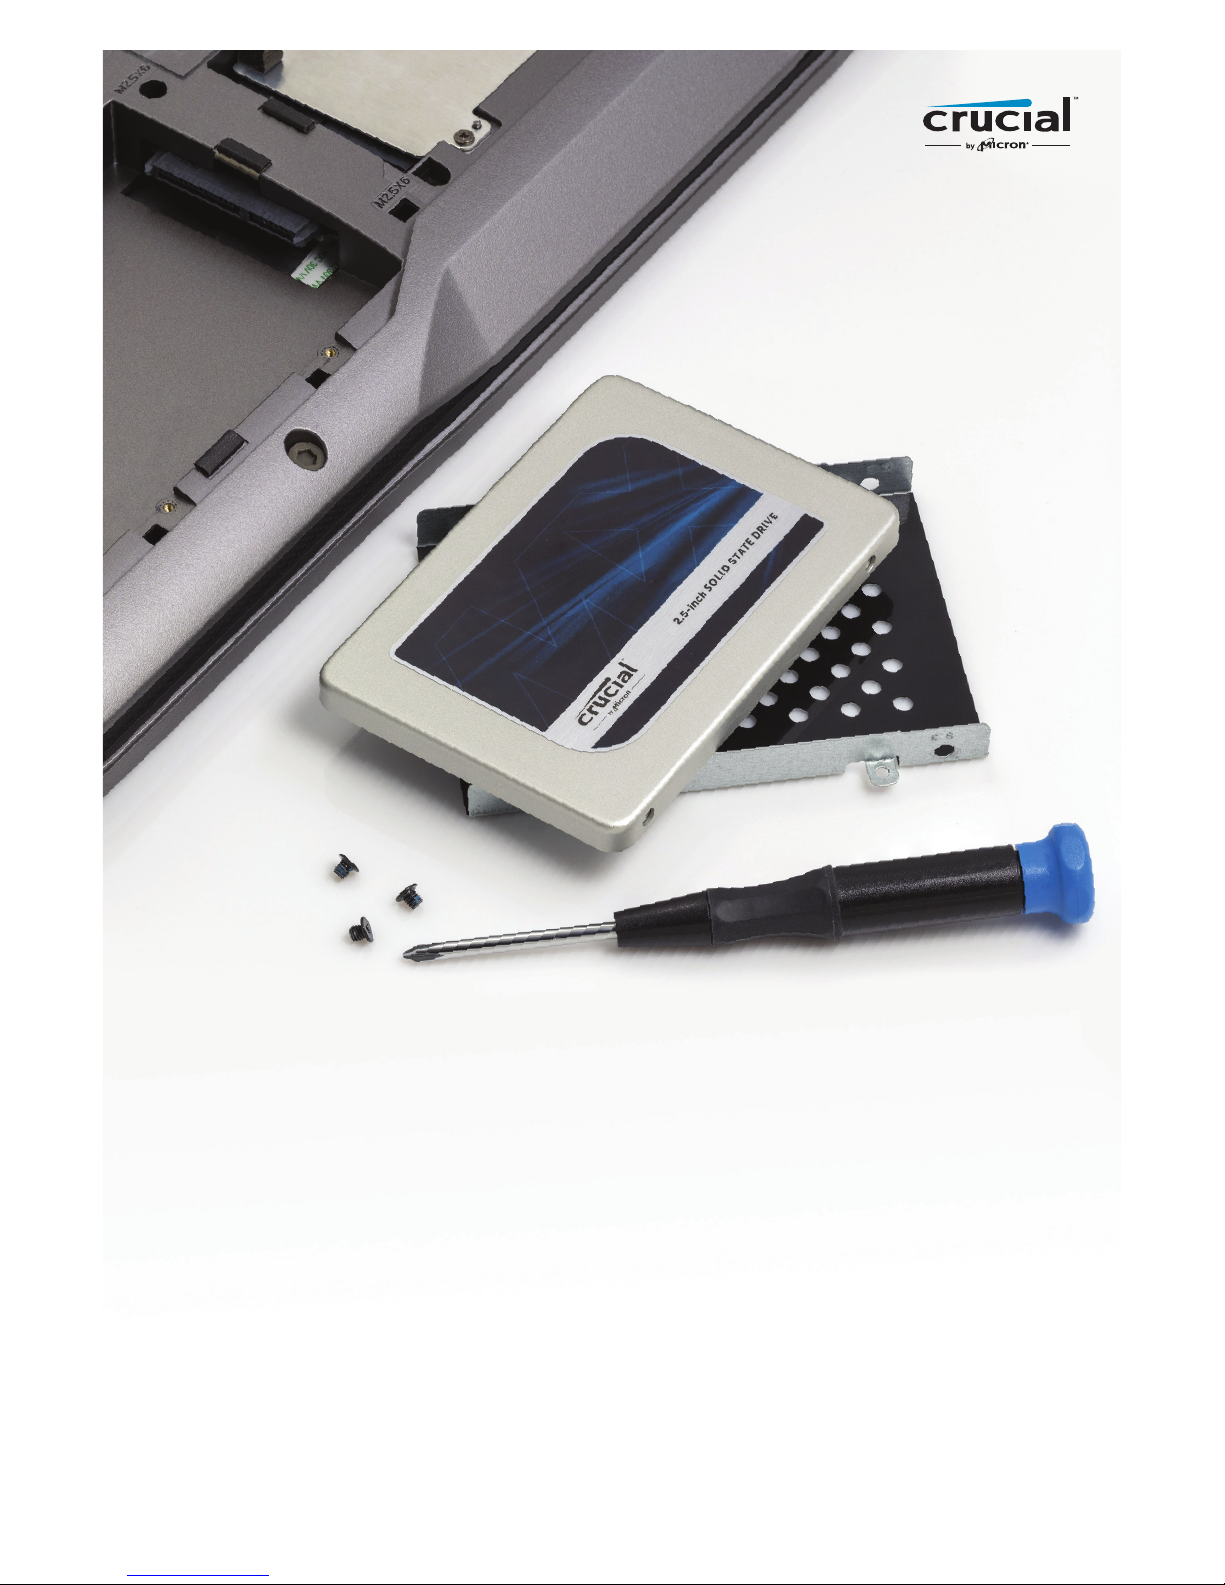
2. Click on one of the “download” buttons
Check out our Helpful Tip below to see which version of the
software you need. Download times will vary based on your
internet connection, but average 1-3 minutes.
3. Open and run Storage Executive
Click on the file you just downloaded. If it doesn’t open right away,
double click on it, then save it to your desktop and open it from
there. Follow the onscreen prompts and instructions to install and
start using the software.
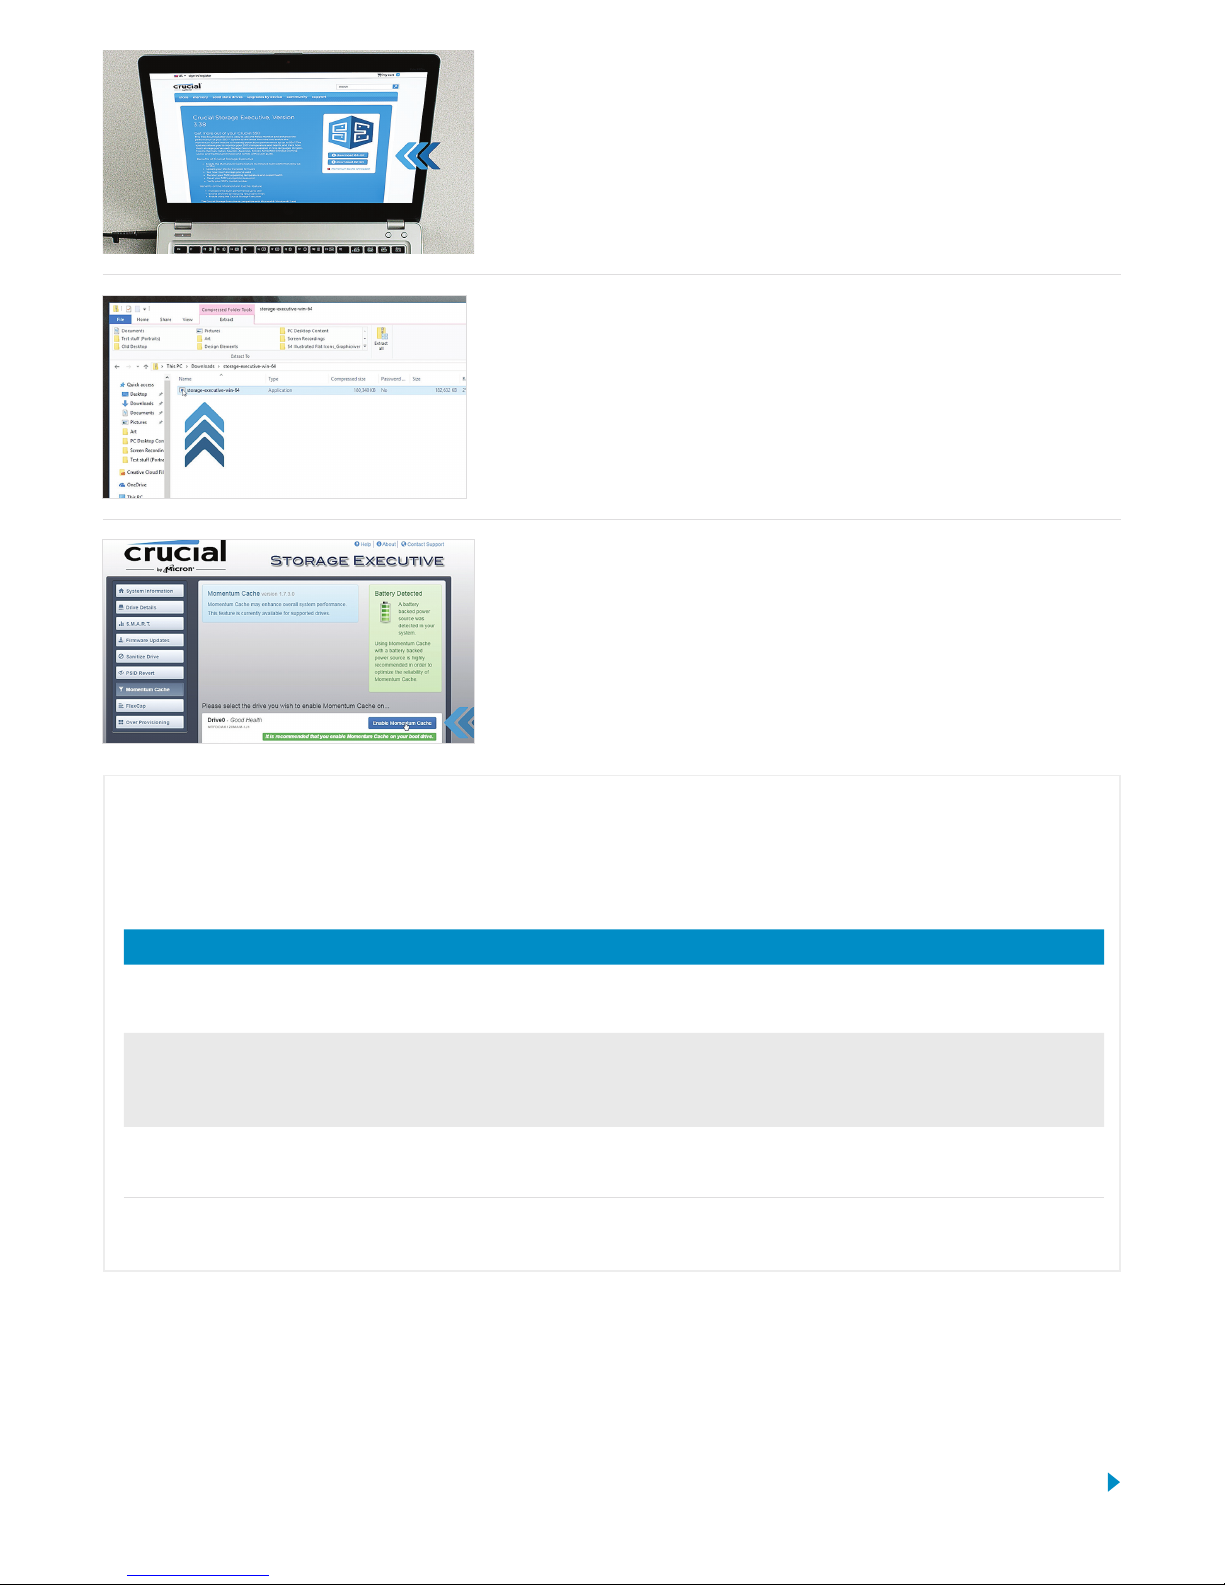
4. Enable Momentum Cache and make your
SSD even faster
In the left menu, click on Momentum Cache. Enabling this feature
forces your computer to restart, which is normal. The feature
doesn’t work with RAID arrays, but if you don’t know what that
means, no need to worry ;)
Helpful Tip
Download the 64-bit version of the software if you have a 64-bit operating system (most users).
Download the 32-bit version if you have a 32-bit operating system. Not sure which one you have?
Follow the steps in our chart below.
Operating system How to know if you have the 32 or 64-bit version
Windows®10
In the Start menu, type This PC into the Windows search bar, but don’t hit enter. Right click on the This PC
option that displays, then select Properties and your type of operating system will be displayed onscreen.
Windows®8
Move your mouse to the upper right side of the screen and click on the search tool that appears.
Type Computer into the search field, then right click on it and select Properties. Your type of operating
system will be displayed onscreen.
Windows®7 In the Start menu, right click on Computer, then select Properties and your type of operating system
will be displayed onscreen.
If you see anything other than 64-bit, download the 32-bit version of the software.
Page 8
Did You Know...?
You can use Storage Executive to see how much storage you’ve used, monitor your drive’s temperature,
and enable the Momentum Cache feature, which makes many SSD operations up to 10x faster.

REVISION: April 25, 2017 1:01 PM
©2017 Micron Technology, Inc. All rights reserved. Information, products, and/or specifications are subject to change without notice. Neither Crucial nor Micron Technology, Inc. is
responsible for omissions or errors in typography or photography. Micron, the Micron logo, Crucial, and the Crucial logo are trademarks or registered trademarks of Micron Technology,
Inc. Mac is a trademark of Apple Inc., registered in the U.S. and other countries. Windows is either a registered trademark or trademark of Microsoft Corporation in the United States
and/or other countries. All other trademarks are the property of their respective owners.
Congratulations!
Now that you’re an expert installer, watch out!
Your friends and family might just start asking you to do their installs ;)
North and South America
http://www.crucial.com/usa/en/support-contact
Asia, Australia, and New Zealand
ANZ: http://www.crucial.com/usa/en/support-contact
JP: http://www.crucial.jp/jpn/ja/support-contact
CN: https://www.crucial.cn/采购咨询
Europe
UK: http://uk.crucial.com/gbr/en/support-contact
FR: http://www.crucial.fr/fra/fr/aide-contact
DE: http://www.crucial.de/deu/de/support-kontakt
IT: http://it.crucial.com/ita/it/assistenza-contatti
Customer Service and Technical Support
Table of contents
Other Crucial Storage manuals
Popular Storage manuals by other brands

Apricorn
Apricorn Aegis Padlock DT quick start guide

Ryobi
Ryobi STM504 Operator's manual

Sony
Sony VGN-FJ170 Replacement instructions

Riello
Riello 7200/2-1500 HV PLUS installation instructions

HP
HP StorageWorks 4000/6000/8000 - Enterprise Virtual... reference guide

IBM
IBM N3400 Installation and setup instructions

QuickerTek
QuickerTek nNano II user manual

Hiddn
Hiddn KryptoDisk 2 Quick installation guide

Arrow Storage Products
Arrow Storage Products FKCS03 Owner's manual & assembly guide

Seagate
Seagate Momentus 5400.1 Cruise ST93012A-AM product manual

Hama
Hama 00181072 operating instructions

Transcend
Transcend TS2GUSD-P3 technical information