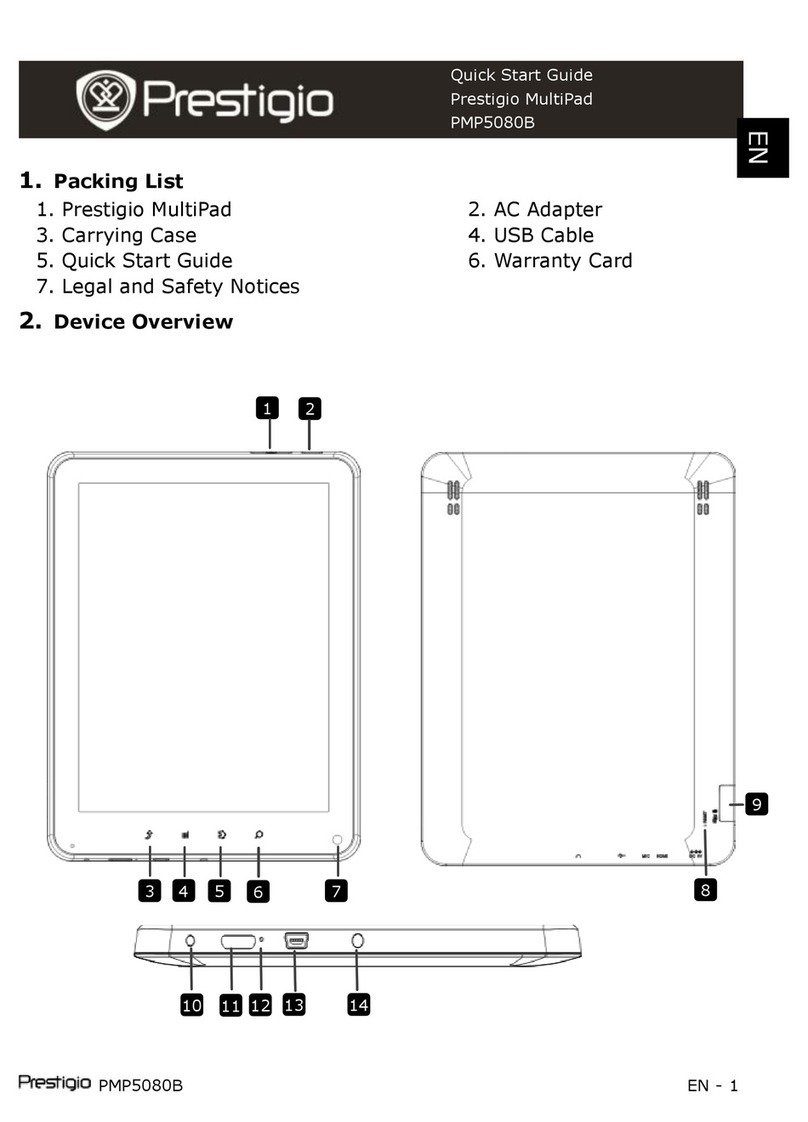
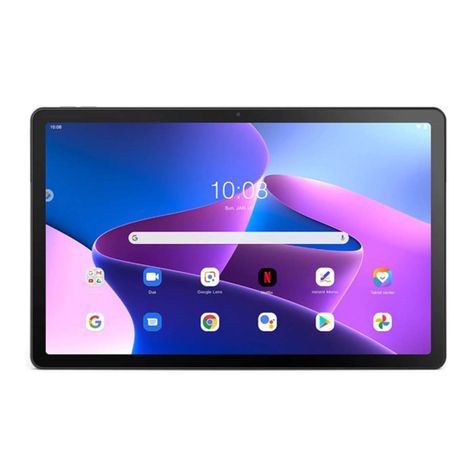
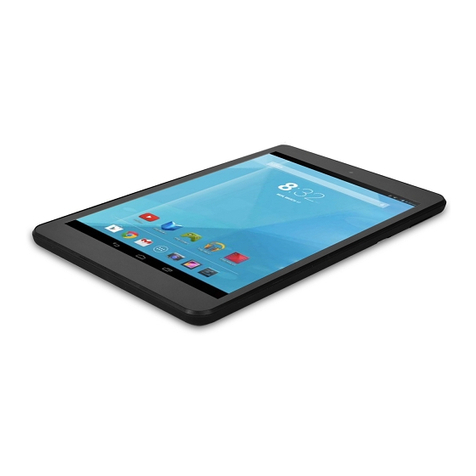
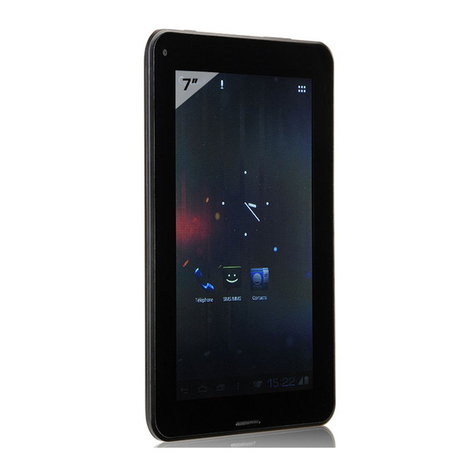
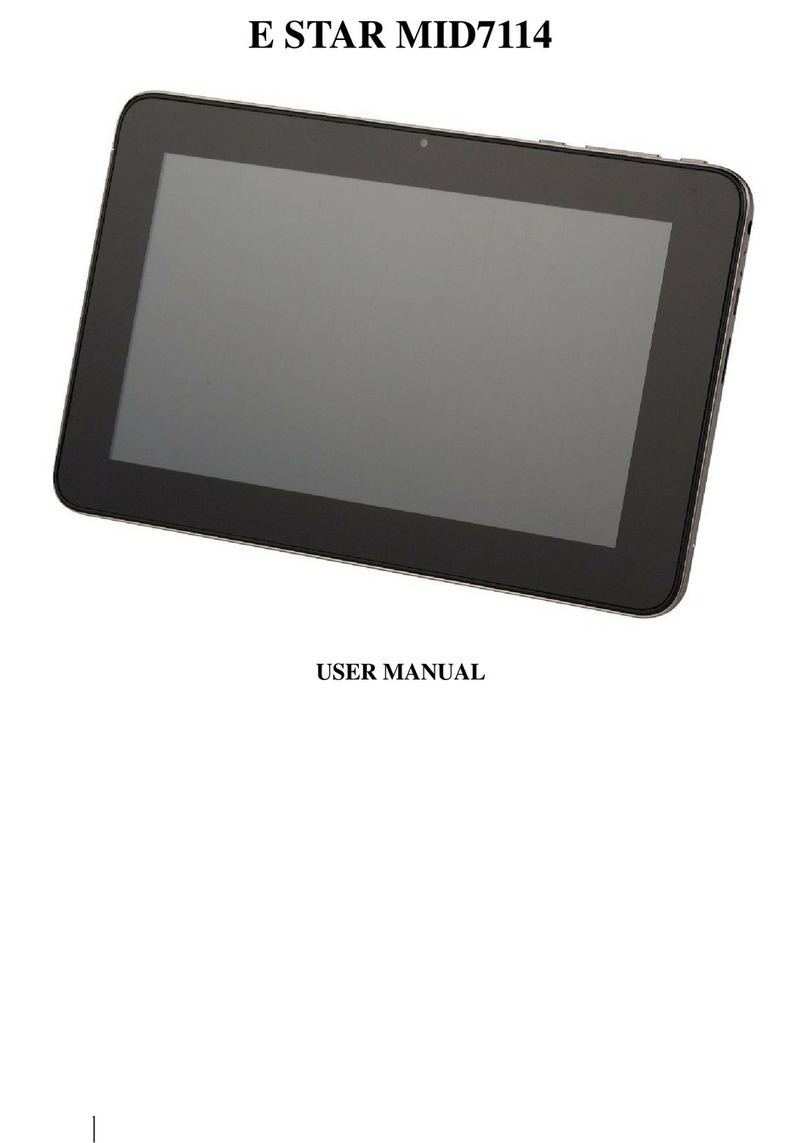
Crystal View TB4-4580 User manual

INSTRUCTION
MANUAL
INSTRUCTION
MANUAL

SET UP GMAIL ACCOUNT FIRST
Please setup your gmail account into this tablet at initial setup. If you are going to use a
password or a pattern unlock you must have a valid gmail account setup in the event you
forget either.
Forgot lock pattern on android? Here's a way to reset it.
Enter wrong pattern 5 times and wait for 30 seconds.
Select “Forgot pattern” and enter your gmail account username and password.
Make sure you use the same account that was used to activate the tablet and
double check the password by logging in to that Google account in a browser on
laptop or PC
If you don't have access to the original Gmail account, you will need to do a hard
reset and loose your settings and apps on the tablet. The data on the memory card
will not be wiped though.
1

IMPORTANT SAFETY INSTRUCTIONS
2

IMPORTANT SAFETY INSTRUCTIONS
3

IMPORTANT SAFETY INSTRUCTIONS
4

IMPORTANT SAFETY INSTRUCTIONS
This manual contains important safety precautions and information for correct usage.
Please be sure to read this manual carefully before use to avoid any damage to the device.
zDo not place the product in hot, wet or dusty environments.
zDo not place the product in hot environments. Especially in summer, do not place it
in a car with all the windows closed or in the sun.
zAvoid dropping or smashing the product and do not shake the TFT screen
excessively as it may cause damage or abnormal display screen.
zSelect a suitable volume and avoid loud sound while using headphone/earphones.
Turn down the volume or stop using the product if your ears start hurting or ringing.
zIn the following situations, please charge the product:
A. The device shows on the top of the screen.
B. System automatically shuts down, and it turns off soon after restart.
C. Operation buttons do not work properly.
D. The unit will not turn on.
Note: Chargers of other models cannot be used for this device because they may cause
damage to the device that will void the warranty. Please contact our customer service
department if you need a replacement charger.
zDo not disconnect the device while formatting, downloading and/or uploading;
otherwise, application errors may occur.
zWe are not responsible for any memory erasure or loss caused by damage or
product maintenance, or other personal reasons.
zDo not disassemble the product, and avoid cleaning the product with ethyl alcohol,
thinner, or benzene.
zDo not use this product in areas which prohibit the use of electronic devices, for
example, in an airplane.
zDo not use this product while driving or walking in the street, as it may cause a car
accident.
Notes:
zThis device is not waterproof.
zAll images in this manual are for reference only. Specifications and appearance of
the product and the screens are subject to change without prior notice.
5

IMPORTANT SAFETY INSTRUCTIONS
This manual contains important safety precautions and information for correct usage.
Please be sure to read this manual carefully before use to avoid any damages to the
device.
1 Please do not place the product in hot, wet or dusty environment.
zPlease do not place the product in hot environment. Especially in summer, do not
place it in a car with all windows closed.
zAvoid dropping or clashing the product and do not shake the TFT screen violently, or
it may cause a damage or abnormal display to the screen.
zPlease select a suitable volume and avoid loud sound while using earphones. Please
turn down the volume or stop using if you get a roaring in your ears.
zFor following situations, please charge the product.
A.The device shows on the bottom right corner.
B.System automatically shut down, and it turns off soon after restart.
C.Operation key shows no reaction.
Notes: Chargers of other models cannot be used for this device because it may cause
damage to the device which we are not responsible for. Please contact with our customer
service department if you need a replacement charger.
zPlease do not disconnect the device while formatting, downloading and uploading;
otherwise it may cause application errors.
zWe are not responsible for any memory erase loss caused by damage or product
maintenance, or other personal reasons.
zPlease do not disassemble the product personally, and avoid cleaning the product
with ethyl alcohol, thinner, or HTbenzeneTH.
zDo not use this product in the areas which prohibit use of electronic devices, for
example, in an airplane.
zPlease do not use this product while driving or walking in the street, or it might cause
a car accident.
NOTES: ~ This device does not support waterproof function.
~ All images on this manual are only for reference! Specification and appearance
of the products are subject to change without prior notice!
PUT A HUGE NOTE:
System tutorial: See page xx for details on accessing the system tutorial, which when used in
conjunction with this manual will show you how to take advantage of all the features of your
new unit.
6

TABLE OF CONTENTS
SET UP GMAIL ACCOUNT FIRST………………………………………………………………..1
IMPORTANT SAFETY INSTRUCTIONS……………………………………………………..…..2
TABLE OF CONTENTS…………………………………………………………………………….7
1 OUTLOOK DESCRIPTION……………………………………………………………………..9
2 POWER BUTTON USAGE……………………………………………………………………..9
3 TOUCH-SCREEN NAVIGATION…………………………………………………….…........10
4 USING MICRO SD CARD…………………………………………………………………….10
5 GETTING STARTED…………………………………………………………………………..11
6 DESKTOP………………………………………………………………………………………12
7 APPLICATION MANAGEMENT………………………………………………………………14
8 CLOCK………………………………………………………………………………………….15
9 VIDEO CONFERENCING…………………………………………………………………….15
10 BROWSER……………………………………………………………………………………16
11 CALENDAR……………………………………………………………………………………16
12 CAMERA………………………………………………………………………………………16
13 EMAIL………………………………………………………………………………………….17
14 FILE MANAGER.……………………………………………………………………………..17
15 PLAY MUSIC…………………………………………….……………………………………18
16 SUPER HD PLAYER…………………………………………………………………………19
17 SETTINGS…………………………………………………………………………………….20
FREQUENTLY ASKED QUESTIONS………………………………………………………….22
ANDROID………………………………………………………………………………………22
BASIC DEVICE FUNCTIONARY………………………………………………………….…22
7

EMAIL…………………………………………………………………………………………..22
MEDIA CARDS………………………………………………………………………………...22
MUSIC…………………………………………………………………………………………..22
PHOTOS…………………………………………………………………………………….….22
VIDEO……………………………………………………………………………………….….22
WI-FI………………………………………………………………………………………….…22
STORAGE……………………………………………………………………………………...22
PRODUCT SPECIFICATIONS……………………………………………………………….…..23
FCC STATEMENTS……………………………………………………………………………….24
LIMITED WARRANTY………………………………………………………………………….…25
8

1OutlookDescription
1)Power
2)Volume“+”
3) Volume “-”
4) SD Card Interface
5) Mini USB OTG / Charging port
6) HDMI Output
7) Headphone
8)Reset/Mic (built-in internally)
9)Return
10)Camera
11) Speaker
2PowerButtonUsage
Turn On: Press the power button and hold for 3 seconds.
Turn Off: Press the power button and hold for 3 seconds, →tap Power off→tap OK.
Screen lock and Unlock: Tap&Slide the Screen Lock Icon to your right.
RESET: Press the Reset key to reset the device. Reset will make the device reboot, the
effect is equivalent to force shutdown after boot, please use caution.
9

3Touch-ScreenNavigation
The touch-screen allows for quick, easy and convenient navigation.
You can use the touch-screen refer to the following method through the user guide.
Tap: Quick tap & release on an item on the screen.
Touch & hold: Touch and hold in place approx 2 seconds, and then release to display an
options window.
☆To avoid scratching or crushing, do not place objects on the touch screen surface.
4UsingmicroSDCard
☆The device supports a maximum of 32GB micro SD card.
Insert your card into the micro SD slot until it clicks into place. It’s OK
Remove micro SD Card: Close all applications or documents which
have been opened from the card. Tap →Settings →Storage→SD card,
U-disk & device storage →Uninstall SD card. Press the card lightly; it is partially
ejected allowing you to pull the card out.
☆Don’t insert and remove the U-disk repeatedly in a short time, as this may cause
damage to the card.
☆We recommend using major brands of memory cards to avoid incompatibility.
10

5GettingStarted
Charge the device
☆You can charge the battery using the USB cable by connecting the power adaptor and
device OTG port.
☆You can use the device while the battery is charging, although the charging time is
longer while operating and charging at the same time.
Plug the power adapter into an electrical wall outlet, and then connect the USB cable
to the device OTG port and power adaptor. (Fully charged takes approx. 5 hours).
Turn the device on Press the power button and hold for 3 seconds.:
Wi-Fi Network Setup:Since many features require a Wi-Fi connection, we recommend
you set up your Wi-Fi network now.
Tap , →Settings, →Wireless & network.
☆Select Wi-Fi to turn on.
• Wi-Fi set up: Set up and manage WiFi access points.
☆The device automatically scans and lists all local Wi-Fi Network found.
☆indicates secure networks that require login name/password to connect.
☆Tap the desired network which you want to connect, →enter the Network Password if
applicable, →tap Connect.
☆Tap to return to the Desktop screen.
☆If your Wi-Fi network is set as hidden, it won’t be found by the auto scan. Tap Add Wi-Fi
network and follow the prompts to add your network.
11

6DESKTOP
Status Bar
• The Status Bar lies at the bottom of the screen.
-- At the left side there are which stand for Escape, Homepage,
Current Plays.
-- At the right side there are which stand for WiFi Signal, WiFi
Status, Battery Status, Clock, etc.
Touch Screen Operation
Size of this tablet touch screen is 7”. Below are some advise of how to operate the touch
zone:
• By tapping the icon, you can get back to the homepage wherever interface you
are in.
• By tapping the icon, you can get back to the EX-interface during operation.
• By tapping the icon, a window popups which shows the latest apps you are
playing.
• In the main menu interface, you can open and operate any app by tapping the icons.
• In different applications (Files, Music, Video, Gallery, etc.), you can drag the menu list
up and down to enable the list scrolling up and down.
• During Web browsing or PDF viewing, you can move the page by dragging it up and
down, left and right. (Be aware of not touching the web links!)
12

APPS and Widges:Tap top right corner to see APPS page and slide on the screen
and move to other pages to see Widges.
" button, there will be a lot of application widget icon , you can select the icon which will
appear in the home page as the shortcut. You will quickly get to the program.
☆Tap on any application icon to launch it.
☆Touch, hold and then slide icons to other reposition on the screen.
☆Touch, hold and slide icons onto “× ” to remove them from the Desktop screen.
13

7ApplicationManagement
Downloading Android Applications , ,
Pre☆-loaded App stores such as Amazon APP store, Getjar and SlideMe are
providing many interesting and free applications for downloads. Individual app
store may ask for credit card information and personal details. Please be
caution that some application may require to pay.
File Manager.
1 Copy the .apk files that you want to install onto a SD card or USB device, →insert or
connect to your Device.
2 Tap the File Manager application icon.
3 Tap or and locate the folder in which the .apk application files were saved.
4 Tap on a .apk file →Install.
The application is installed and the application icon is added to the Applications
screen.
5 Tap Open to launch the application now, or tap Done to return to the File Manager
screen.
Downloading Android Applications direct from a Website
You can download Android applications directly from websites, and then quickly and easily
install them on your device.
1 Tap the Web application icon to launch the internet browser.
2 Enter the desired website URL, and tap the download link for the application you
want to install on your device.
3 After the download is complete, touch & hold on the download file (in the Download
history screen), →tap Open →Install.
Uninstalling Android Applications
You can also quickly and easily uninstall the Android applications that you have installed.
1 Tap →Settings →Applications →Manage applications.
2 Tap the application you want to uninstall, →Uninstall.
3 Tap OK to confirm the Uninstall.
14

8Clock
Tap the Clock application icon. You can see the time and date.
Alarm :
☆You can use your device as an alarm clock by setting multiple alarms.
This clock icon displayed at the bottom of screens indicates that one or more
alarms have been set and are active.
Add Alarm
1 Tap the Clock application icon.
2 Tap →Add alarm.
3 Set up your alarm as desired.
4 Tap “Turn alarm on” with“√”.
5 Tap Done.
Delete Alarm
1 Tap the Clock application icon, →
2 Tap on the alarm you want to delete.
3 Tap Delete alarm.
9VideoConferencing
A 3rd party application such as Skype can be downloaded from app stores such as
Getjar.
15

10BROWSER
Users can connect to the Internet through a browser.
Click the browser icon on the Desktop , and then you can open the Web browser.
11CALENDAR
Tap the Calendar application icon.
For the first time using the Calendar, you need to add an Exchange account. Enter account
email address and password. Click Next and follow the prompts to complete the account
configuration. Then you can use the Calendar.( Note: we generally recommend that Gmail
account, test server for: m.google. com)
Add Event
1 On the Calendar screen, tap on the date to which you want to add an event.
2 Tap on the event time, →tap in each entry field to enter the desired event
information.
3 Tap Done.
12CAMERA
Tap the Camera application icon..
Take Pictures
1 In Camera →tap to take the picture.
2 The picture will be saved.
3 Tap the picture thumbnail enter My Photo to scan the picture.
4 Press Back to the Camera.
5 Tap to exit the Camera and back to the Desktop.
Take Videos
1. Tap switch to video, and you can take videos.
16

2. Tap to begin and tap again to stop.
3. The video will be saved.
4. Tap the video thumbnail to play the video.
5. Press Back to the Camera.
6. Tap switch back to camera.
7. Tap to exit the Camera and back to the Desktop.
Note: You can tap to choose to save the files in the Local disk or the Micro SD card.
13 Email
Inside the apps menu, tap the icon to enter the ‘Email’ client. It’s required to config
the account information for the first time. Pre-register and set up your email account is
necessary. Please be advised that Gmail ACCOUNT registeration is necessary in order to
access services provided by Google and Android System.
14FILEManager
Tap the File Manager application icon to view the files on all
storage devices (Internal memory, SD card, USB device), and to quickly & easily install
Android application on your Tablet.
Use the icons across the top of the screen as follows:
Local disk (Internal memory) Your SD card U-disk
Return previous folder All photos All videos
Seniorsetting More choose operating
Copy Media between Computer and Tablet
You can use the File Manager to copy files between an external storage devices and your
computer. You can first copy the desired files onto a SD card or USB device or directly use
an USB cable to connect the device and the computer and then copy files.
☆The internal device storage is titled “Local Disk”, a memory card “SD card”, and a USB
storage device is titled “u disk”.
☆The instructions below are for copying from a SD card or USB storage device into the
device. You can use the same method to copy from the device to a SD card or USB
storage device, and then connect the storage device to your computer to transfer the
files into the desired folder on your computer.
a) Tap the or to display the contents of your storage device.
b) Tap and hold in the folder/file you want to copy, →tap Copy.
c) Tap on the Internal Memory, →tap on the folder into which you want to
copy the file, →tap Paste.
Tap and hold on the folder/file you want to delete, →tap Delete →OK
to confirm the deletion.
Delete files:
17

15PlayMUSIC
☆Audio file formats supported: MP3, WMA, APE, FLAC, AAC, AC3, WAV
When no music files in the audio player playlist, the system will automatically load the
music files from the card to the audio player playlist after turning on the audio player .The
playlist as shown in the above figure:
You can pass the audio files by the way of synchronous USB, or access to audio files by
inserting the SD card which it is already full of audio files. You can also download the audio
file through the network.
Select the appropriate tab key, you can see for example "Artist", "album", "songs" and
other interfaces. Select a song to play.
18

16 Super HD Player
☆Video file formats supported: MKV(H.264 HP), AVI, RM/RMVB, FLV, MPEG-1,
MPEG-2, MPEG-4
☆Picture file formats supported: JPG
,
JPEG, BMP and PNG
。
Play Music
In the main menu or desktop, tap the icon to enter “Super-HD player” interface, on
where it will list all the video files and image files. As shown below:
Select the video files into video player interface. You can choose "Play", "Stop," "fast
forward", "rewind", "progress bar" and other control keys to control the playback progress.
19
This manual suits for next models
1
Table of contents
