- 3 -
Maintenance and Care
Caring for the player
•Keep it dry. If water should get on it, wipe if off immediately. Water contains minerals that can
corrode electronics circuits.
•Do not store in hot areas. High temperatures can shorten the life of electronic devices and
can even distort or melt certain plastics.
•Do not use or store in areas of high level of dirt or dust. The electronic parts may be
contaminated or will wear prematurely.
•Do not drop your product. This will likely result in failure to operate. Circuit boards can crack
and the cases may not survive the impact. Handing your product roughly will shorten its useful
life.
•Always make sure any batteries used are fresh and are of the correct type. Old or almost-dead
batteries are also dangerous. A worn out battery can leak chemicals which will damage the
electronic circuits.
•If anything falls into the cabinet, unplug the unit and have it checked by qualified personnel
before operating it any further.
Cleaning the Unit
•To prevent fire or shock hazard, disconnect your unit from the AC power source when cleaning.
•Do not use harsh chemicals or strong cleaning solvents to clean your unit. You need only wipe
it with a slightly moist, never wet cloth.
Inclination
•Do not install the unit in an inclined position. It is designed to be operated in a horizontal
position only.
Condensation
•If the unit is brought directly from a cold to a warm location, moisture may condense inside the
unit and cause damage to the lenses. When you first install the unit, or when you move it from
a cold to a warm location, wait for 30 minutes before operating the unit.
Avoid Interference
•Depending on the reception condition of the TV, interference may appear on the TV screen
while you watch a TV broadcast and the unit is left on. This is not a malfunction of the unit or
the TV. To watch a TV broadcast, turn off the unit.
Disconnect Power
•If you are not going to use the player for a long time, be sure to disconnect the player from the
wall outlet. To disconnect the AC power cord (main leads), grasp the plug itself, never pull the
cord.
•Never use benzine, thinner, cleaning fluid, static electricity prevention liquids or any other
solvent.
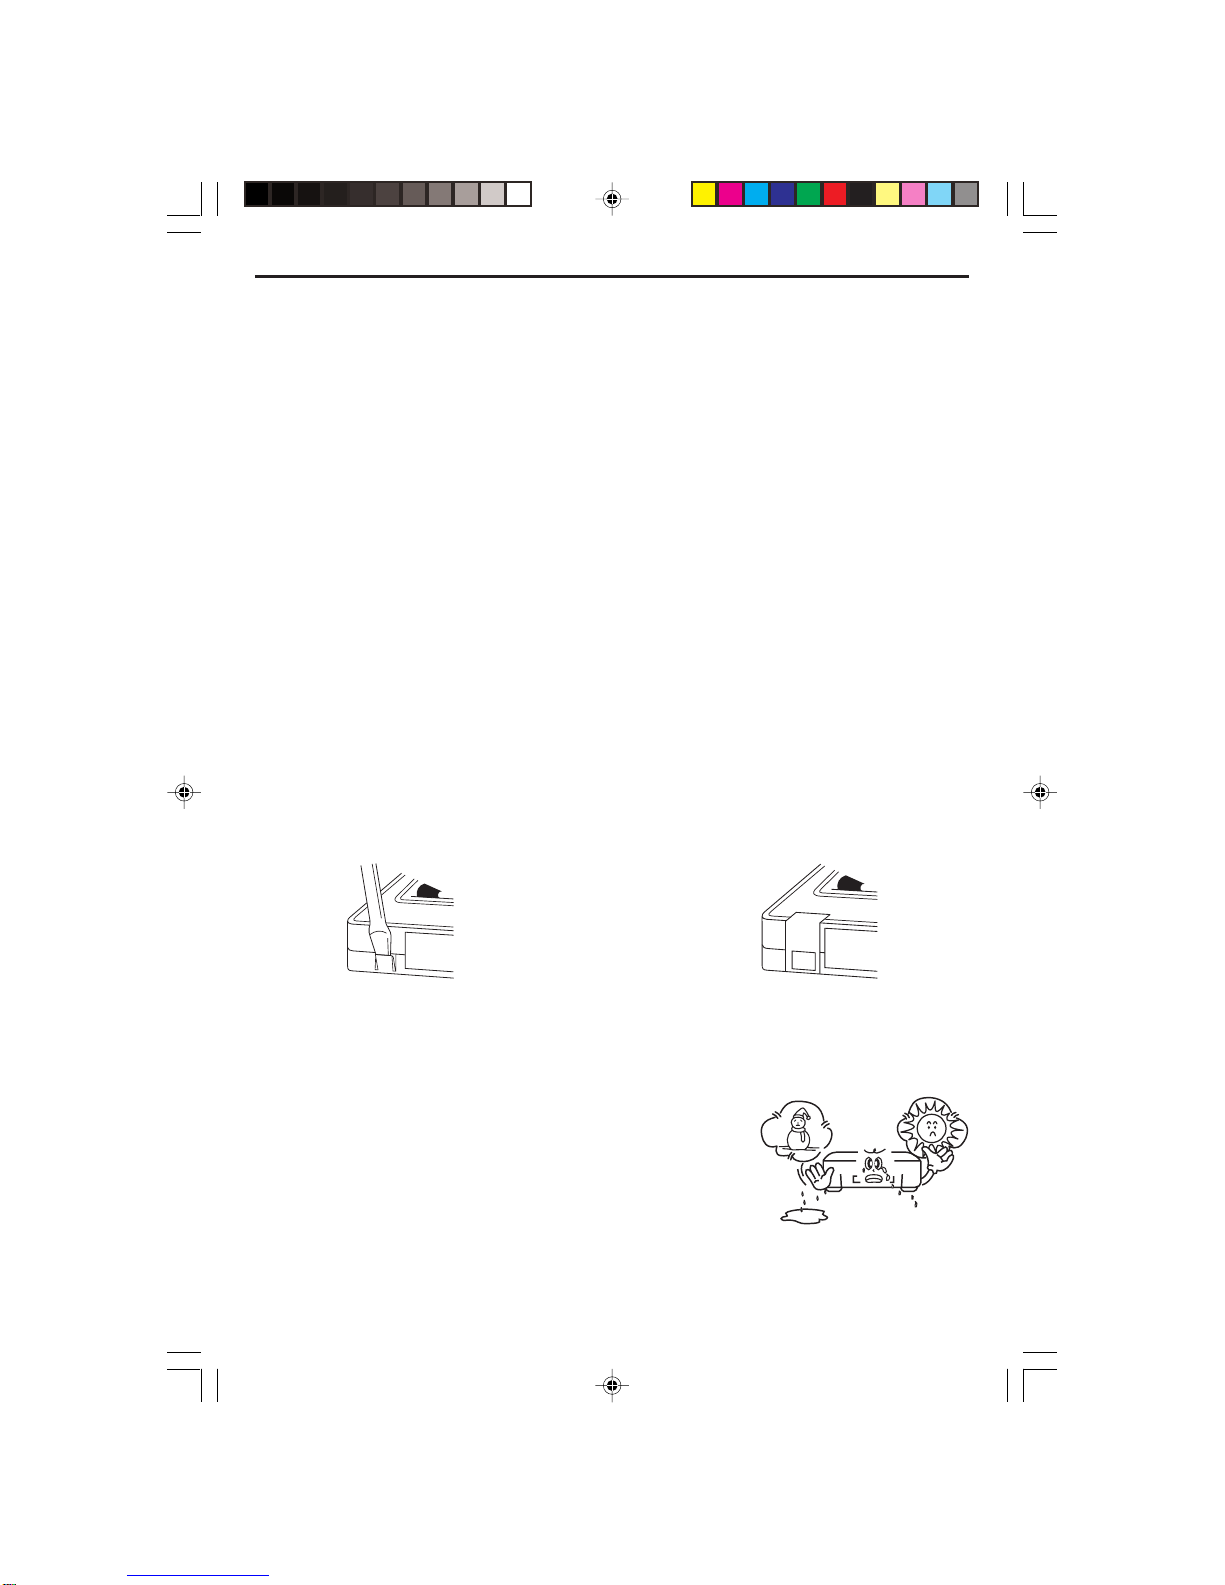
DiscMaintenance
•Before playback, wipe the disc from the center hole toward
the outer edge with a clean cloth.
•Never use benzine, thinner, cleaning fluid, static electricity
prevention liquids or any other solvent.
Right Wrong
CURTIS DVD7620_Engib.p65 5/3/2007, 11:35 AM3