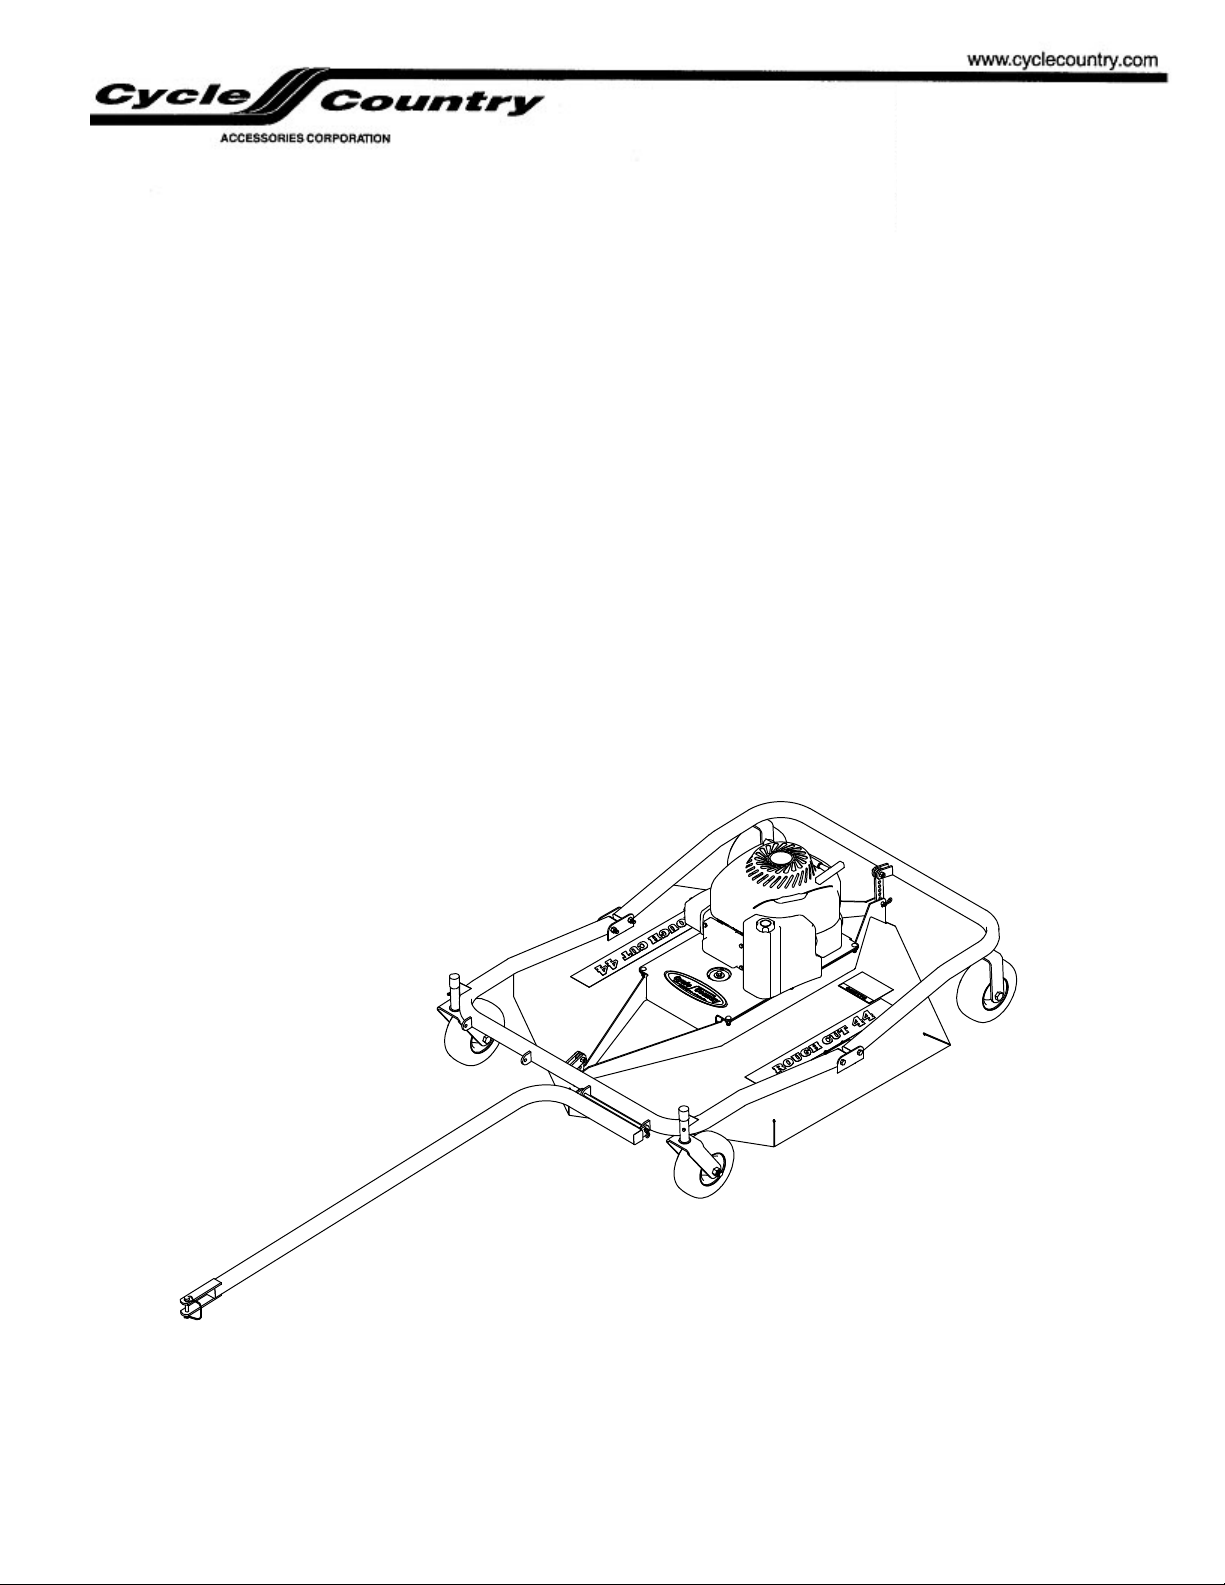
Cycle Country 30-0020 User manual

ROUGH CUT 44
1701 38TH AVE W
PO BOX 257
SPENCER, IA 51301
PHONE: 712-262-4191
FAX: 712-262-0248
SERVICE: 800-841-2222
E-MAIL: ccac@cyclecountry.com
LAWN MOWER
With BRIGGS & STRATTON ENGINE
OWNER’S MANUAL
MODEL NUMBER: 30-0020
© 2008 Cycle Country Accessories Corporation

ONE YEAR LIMITED WARRANTY
For the period of one year from the purchase date Cycle Country Accessories
Corporation will replace for the original purchaser, free of charge, any part or parts, when
found, upon examination by Cycle Country Accessories Corporation, to be defective in
material, workmanship, or both.
All transportation cost incurred by the purchaser in submitting the material to
Cycle Country Accessories Corporation for replacement under this warranty must be
borne by the purchaser. If Cycle Country Accessories Corporation determines that the
product must be returned to the factory for credit please call 1-800-841-2222 for an RMA
number and shipping instructions.
The warranty does not apply to parts that have been damaged by accident,
alteration, abuse, improper lubrication, normal wear, or other causes beyond Cycle
Country Accessories Corporation’s control. Products such as engines, electric motors,
and actuators may carry an original manufacturer’s warranty. Please call Cycle Country
Accessories Corporation for information.
1701 38TH AVE W
PO BOX 257
SPENCER, IA 51301
PHONE: 712-262-4191
FAX: 712-262-0248
SERVICE: 800-841-2222
E-MAIL: ccac
@
c
y
clecountr
y
.com
2

CAUTION:
The ROUGH CUT 44 MOWER is a powerful cutting machine and is capable of amputating hands and feet and can
also throw materials that can cause damage to people and property.
PLEASE READ ALL INSTRUCTIONS IN THIS MANUAL VERY CAREFULLY
IF YOU HAVE ANY QUESTIONS, PLEASE CONSULT YOUR DEALER OR CYCLE COUNTRY DIRECTLY AT
1-800-841-2222
IMPORTANT PRECAUTIONS:
DO NOT ALLOW children to ride on the ATV or lawn mower at any time.
DO NOT ALLOW children to operate the lawn mower.
Be familiar with the lawn mower controls, safety switch, and all cautions and warnings before operation of mower.
Wear appropriate protective clothing when mowing such as gloves, head and eye protection, long pants and footwear.
Never operate under the influence of drugs or alcohol.
Keep all people and pets at a safe distance from lawn mower.
Clear the area to be mowed of all wire, rocks, and other objects that could cause injury if thrown by the blade.
DO NOT attempt to operate the lawn mower unless properly seated on the ATV.
Stop the engine and disconnect the spark plug wire and wait for blade to stop before attempting to unclog grass or leaves
from the mower.
Service the lawn mower and make adjustments only when the engine is stopped.
Tighten all bolts, nuts and screws frequently and check, adjust or replace worn or broken parts as needed.
Handle gasoline with care. Never remove the fuel tank cap while engine is running. Fill the fuel tank outdoors only with the
engine stopped and cool.
ASSEMBLY INSTRUCTIONS:
1. Remove the mower from the shipping crate.
2. Attach the tow bar to the mower. The tow bar can be attached in one of several positions as
shown below in order to set the desired offset.
3
Left RightMiddle
Tow Bar Configurations

3. The engine is shipped without oil. Oil must be added to the engine before it can be started.
Refer to the engine owner’s manual for the recommended level and type of oil.
4. Set the cutting height by placing the height adjustment pins in the desired hole in the height
adjustment links. The pins should be in the same hole on both the front and rear links.
OPERATING INSTRUCTIONS
WARNING: The lawn mower is a powerful machine and is capable of amputating hands and feet, and can throw materials
that can cause injury and damage to your property. PLEASE READ ALL INSTRUCTIONS IN THIS MANUAL
CAREFULLY.
PRE-START CHECK LIST
•Check the exterior surfaces of the lawn mower. Clean up any accumulation of grass, oil, or gas, especially around air
intakes and cooling fins on the engine.
•Check the engine oil and add as needed. (SEE ENGINE OWNER’S MANUAL.)
•Fill the fuel tank outdoors where fumes will dissipate.
•Check the spark plug for tightness and check the spark plug wire connection.
STARTING AND STOPPING
•To start a cold engine, move the On/Off switch to “On” and
move throttle control to the CHOKE position as shown to
the right. If engine is warm, move the throttle control to the
slow position. Pull the starter rope to start engine. When
the engine is running, move the throttle control to the
desired speed. WARNING: the automatic clutch will
engage the blade drive system immediately. KEEP FEET
AND HANDS CLEAR OF DECK EDGES.
•To stop the engine, move the throttle control to the stop
position and move the On/Off switch to “Off”.
4

WARNING! THE ONLY WAY TO INSURE THAT THE BLADE HAS STOPPED
IS TO SHUT OFF THE ENGINE! DO NOT RELY ON THE CLUTCH TO
DISENGAGE THE BLADE WITH THE ENGINE RUNNING!
MOWING SPEED SPECIFICATION
•Mower is to be used at low speeds. When mowing, do not exceed 5 MPH. When towing the mower, turn the engine
off and do not exceed 10 MPH. If mower cuttings are uneven, slow the mowing speed.
HEIGHT ADJUSTMENT
•Height adjustment changes must be made with engine off. To set the mowing height, place the height adjustment
pins in the desired hole in the height adjustment links. The pins should be in the same hole on both the front and
rear links.
MAINTENANCE
BELT REPLACEMENT AND TENSION SETTING
•To set the proper belt tension, loosen the four engine mounting bolts and push the engine towards the rear of the
mower with a force of 50 lb as shown below. Tighten the engine mounting bolts while applying the 50 lb force.
Check the belt tension after the first 1/2 hour of use and at the beginning of each season thereafter.
MOTORMOUNT BOLTS (4)
CUTTING BLADE SERVICE
•Before doing any work on the blade, disconnect the spark plug wire and secure it away from the spark plug to
prevent unintentional starting. Have the blade sharpened if it becomes dull from extended use. Replace the blade if
it becomes bent or chipped from impacting solid objects. Grease the spindle at each blade change.
•Periodically check the blade and spi f necessary.
ndle nuts and bolts for looseness. Tighten i
5
This manual suits for next models
1
Table of contents
Other Cycle Country Lawn Mower manuals