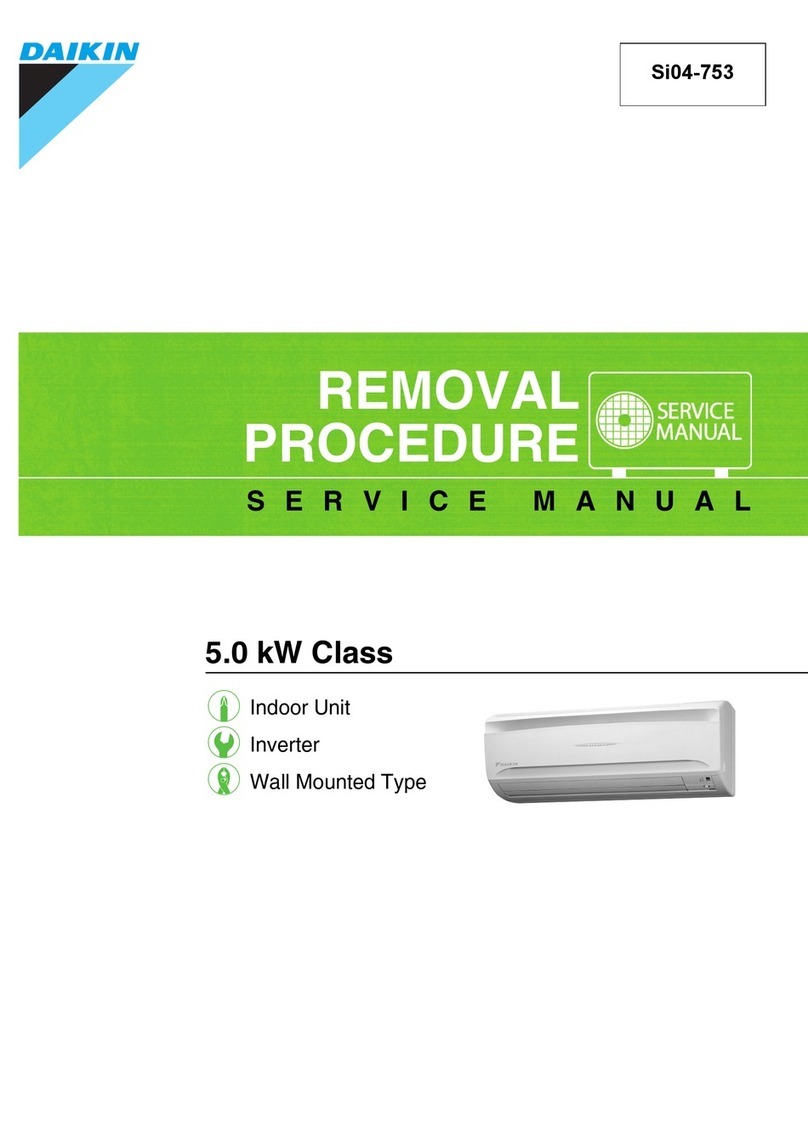
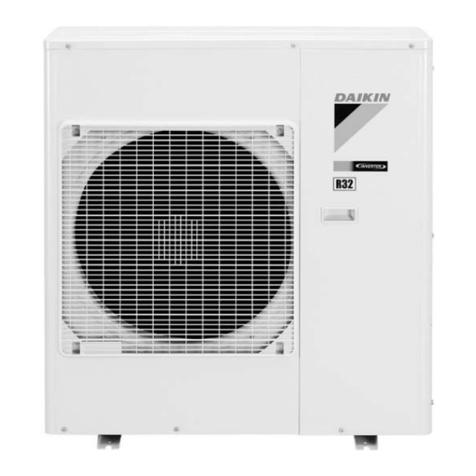
Dakin FTKS20JVLT User manual

REMOVAL
PROCEDURE
SERVICE MANUAL
Indoor Unit
Inverter
Wall Mounted Type
2.0/2.5/3.0 kW Class
Si041053

Service Manual
Removal Procedure
Indoor Unit
zCooling only zHeat Pump
FTKS20JVLT FTXS20JVLT
FTKS25JVLT FTXS25JVLT
FTKS30JVLT FTXS30JVLT

Si041053
Removal Procedure 1
Table of Contents
1. Removal of Air Filter / Front Panel ..........................................................2
2. Removal of Front Grille ...........................................................................5
3. Removal of Horizontal Blades / Vertical Blades......................................7
4. Removal of Electrical Box / PCBs / Swing Motor ....................................9
5. Removal of Indoor Heat Exchanger......................................................15
6. Removal of Fan Motor / Fan Rotor........................................................18
Note: The illustrations may be slightly different depending on the model.

Removal of Air Filter / Front Panel Si041053
2Removal Procedure
1. Removal of Air Filter / Front Panel
Procedure Warning Be sure to wait 10 minutes or more after turning off all power supplies
before disassembling work.
Step Procedure Points
1. Features
Warning
Dangerous: High voltage
A high voltage is applied to all
the electric circuits of this
product including
thermistors.
When the signal receiver
catches a signal from the
remote controller, the
receiving tone sounds and
the operation lamp blinks
immediately to confirm the
signal reception.
When the ON/OFF button is
kept pressed for 5 seconds,
the forced cooling operation
is performed for about 15
minutes.
2. Remove the air filters.
1Hold both sides of the
front panel, and open
the panel to the position
where it stops.
2Slightly push up the
center knob of the air
filter and unfasten the
hooks.
Room temperature sensor
(thermistor) (R2746)
ON/OFF button
Signal
receiver
Operation lamp
TIMER lamp
(R2747)
Front panel
(R2748)
Air filter
(R2749)

Si041053 Removal of Air Filter / Front Panel
Removal Procedure 3
3Pull out the air filter
downward and remove
it.
The air filter is not marked
for difference between the
right and left sides.
The air filter can be set
easily by inserting it along
the guides.
Insert the air filter with the
"FRONT" mark faced up.
Be sure to insert the hooks
(at 2 lower positions) when
mounting the air filter.
3. Remove the Titanium
apatite photocatalytic air-
purifying filter.
1Push up the bottom of
the Titanium apatite
photocatalytic air-
purifying filter to
unfasten the hooks (2
on lower, 3 on upper)
and take the filter out.
The right and left filters are
interchangeable.
Step Procedure Points
(R5476)
Hooks
"FRONT"
Hooks
Hooks
(R5477)
Titanium apatite photocatalytic
air-purifying filter
(R2752)

Removal of Air Filter / Front Panel Si041053
4Removal Procedure
4. Remove the front panel.
1While opening the front
panel further than it
stops, release both the
shafts and remove the
front panel.
Slide the front panel from
side to side to release each
shaft.
Align the right and left shafts
with grooves in turn and
insert them to the end when
installing.
Step Procedure Points
(R2753)
(R2754)
(R2755)

Si041053 Removal of Front Grille
Removal Procedure 5
2. Removal of Front Grille
Procedure Warning Be sure to wait 10 minutes or more after turning off all power supplies
before disassembling work.
Step Procedure Points
1. Remove the service
cover.
1Remove the screw and
remove the service
cover.
You can remove the front
grille without detaching the
service cover.
2. Remove the front grille.
1Remove the 2 screws
of the front grille.
Refer to the removal
procedure in a reverse way
when reassembling.
Service cover (R2756)
(R2757)
(R2758)
Front grille

Removal of Front Grille Si041053
6Removal Procedure
2Unfasten the 3 hooks
on the top of the front
grille.
3Pull the upper part of
the front grille out and
lift the lower part up,
and then remove the
front grille.
Make sure that all the 3
hooks are engaged securely
when reassembling.
Step Procedure Points
Hook
(R2759)
Hook
(R2760)
(R2761)
(R2762)

Si041053 Removal of Horizontal Blades / Vertical Blades
Removal Procedure 7
3. Removal of Horizontal Blades / Vertical Blades
Procedure Warning Be sure to wait 10 minutes or more after turning off all power supplies
before disassembling work.
Step Procedure Points
1. Remove the horizontal
blades.
1Open the horizontal
blades.
2Release the left shaft of
the horizontal blades.
3Bend the horizontal
blades slightly and
release the center
shaft.
Slide the horizontal
blades to the left and
release the right shaft.
Installation procedure
1. Since the key pattern hook is
provided, rotate the blade
and fit it to the right shaft
first.
2. Fit the blade to the center
and left shafts.
Horizontal blades
(R2763)
Left shaft
(R2764)
(R2765)
Center shaft
Right shaft
(R2766)

Removal of Horizontal Blades / Vertical Blades Si041053
8Removal Procedure
2. Remove the vertical
blades.
Remove the fan guards
beforehand.
The unit has 2 sets of
vertical blades linked one
another with the interlock
rods.
1Release the right and
left shafts.
2Unfasten the 3 hooks
for each set of vertical
blades.
3Pull the vertical blades
rightward and remove
them.
Step Procedure Points
Vertical blades
(R2767)
Hooks
(R5478)
(R2769)

Si041053 Removal of Electrical Box / PCBs / Swing Motor
Removal Procedure 9
4. Removal of Electrical Box / PCBs / Swing Motor
Procedure Warning Be sure to wait 10 minutes or more after turning off all power supplies
before disassembling work.
Step Procedure Points
1. Remove the electrical
box.
Preparation
Remove the front grille
according to the “Removal of
Front Grille.”
1Remove the screw and
remove the drip proof
plate.
2Pull out the indoor heat
exchanger thermistor.
Be careful not to lose the clip
for the thermistor.
3Remove the screw of
the earth wire.
4Remove the screws of
the connection wires.
(R2770)
Drip proof plate
(R2771)
Earth wire
Indoor heat exchanger thermistor
(R2772)

Removal of Electrical Box / PCBs / Swing Motor Si041053
10 Removal Procedure
5Remove the screw and
remove the terminal
board.
You can remove the
electrical box without
detaching the terminal
board.
Screw: M4 × 30
6Disconnect the
connector for fan motor
[S1].
7Disconnect the
connectors for swing
motors [S6] [S8].
[S6]: for horizontal blade
[S8]: for vertical blade
8Remove the screw of
the electrical box.
Step Procedure Points
Terminal board
(R2773)
[S1]
(R2774)
(R2775)
[S6]
[S8]
Electrical box
(R2776)

Si041053 Removal of Electrical Box / PCBs / Swing Motor
Removal Procedure 11
9Dislocate the electrical
box to the left and
unfasten the back hook.
The electrical box has a
hook on its back.
10 Pull the electrical box
out.
Catch the back hook of the
electrical box when
reassembling.
2. Remove the PCB.
1Remove the screw on
the electrical box.
Screw: M4 × 16
2Push the shield plate up
and unfasten the hook.
Step Procedure Points
(R2777)
(R2778)
(R2779)
Shield plate
(R2780)

Removal of Electrical Box / PCBs / Swing Motor Si041053
12 Removal Procedure
3Press the signal
receiver unit down and
unfasten the hooks on
the upper side, and
then unfasten the hooks
on the lower side.
4Cut the clamp.
5The signal receiver unit
contains 4 PCBs.
Unfasten the hooks and
remove each PCB.
Disconnect every
connector from each
PCB.
Remove the signal receiver
unit while pushing the hooks
of connectors.
6Cut the clamp.
Step Procedure Points
(R2781)
Signal receiver
unit
(R2782)
Display PCB Signal receiver PCB
Buzzer PCBINTELLIGENT EYE
sensor PCB
(R2783)
(R2784)

Si041053 Removal of Electrical Box / PCBs / Swing Motor
Removal Procedure 13
7Unfasten the 2 hooks
on the lower side, and
then the 2 hooks on the
upper side.
Remove the control
PCB.
[S1]: fan motor
[S6]: swing motor (horizontal
blades)
[S8]: swing motor (vertical
blades)
[S26]:buzzer PCB
[S28]:signal receiver PCB
[S32]:indoor heat exchanger
thermistor
[S35]:INTELLIGENT EYE
sensor PCB
3. Remove the swing motor
for horizontal blades.
1Remove the screw of
the swing motor.
2Remove the swing
motor.
Step Procedure Points
(R5479)
Lower hooks Control PCB
Upper hooks
(R2697)
[S1]
[S6]
[S8]
[S26]
[S28]
[S32]
[S35]
(R2787)
Swing motor
(R2788)

Removal of Electrical Box / PCBs / Swing Motor Si041053
14 Removal Procedure
4. Remove the swing motor
for vertical blades.
1Remove the swing shaft
on the right side.
Remove the swing shaft.
2Remove the 2 screws
and detach the swing
motor assembly.
3Remove the 2 screws
and remove the swing
motor.
The assembly has 6 hooks.
Step Procedure Points
(R2789)
(R9075)
(1) Unfasten the hook.
(2) Pull out the swing shaft.
Swing motor assembly
(R2791)
Swing motor
Hooks
Hooks
(R5481)

Si041053 Removal of Indoor Heat Exchanger
Removal Procedure 15
5. Removal of Indoor Heat Exchanger
Procedure Warning Be sure to wait 10 minutes or more after turning off all power supplies
before disassembling work.
Step Procedure Points
1. Disconnect the refrigerant
piping.
Preparation
Remove the electrical box
according to the “Removal of
Electrical Box / PCB / Swing
Motor”.
Caution
If the refrigerant leaks, repair
the spot of leaking, then
collect all refrigerant from the
unit. After conducting
vacuum drying, recharge
proper amount of refrigerant.
Caution
In pump-down work, be sure
to stop the compressor
before disconnecting the
refrigerant pipe. If the
refrigerant pipe is
disconnected with the
compressor operating and
the stop valve open, air may
be sucked in to generate an
over-pressure in refrigeration
cycle, thus resulting in pipe
rupture or accidental injury.
Place a plastic sheet under
the drain pan to prevent from
wetting the floor with
remaining drain.
If the drain hose is
embedded in the wall,
disconnect the drain hose
beforehand.
Carry out the removal works
with 2 wrenches.
When the pipes are
disconnected, protect both
the openings of pipe and unit
from entering of moisture.
1Hold the indoor unit up
with a piece of wood
etc..
2Pull out the drain hose.
3Unscrew the flare nut
for gas piping with 2
wrenches.
4Unscrew the flare nut
for liquid piping with 2
wrenches.
(R2793)
Drain hose
(R2794)
(R2795)
Liquid piping
Gas piping
(R2796)

Removal of Indoor Heat Exchanger Si041053
16 Removal Procedure
2. Remove the indoor unit.
1Detach the indoor unit
from the installation
plate.
3. Remove the piping fixture.
1Unfasten the hook on
the upper side of the
piping fixture on the
back of the unit.
4. Remove the indoor heat
exchanger.
1Slightly widen the
auxiliary piping.
2Unfasten the hooks on
the left side. Caution
When removing or
reinstalling the indoor heat
exchanger, be sure to wear
protective gloves or wrap the
indoor heat exchanger with
cloths. (You may be injured
by the fins.)
Step Procedure Points
(R2797)
Piping fixture
(R2798)
Auxiliary piping
(R2799)
(R5482)
Hooks

Si041053 Removal of Indoor Heat Exchanger
Removal Procedure 17
3Push the hooks on the
right side and unfasten
them.
4Pull the indoor heat
exchanger to the front
side and unfasten the
hooks completely, and
then lift it.
Step Procedure Points
(R5483)
Hooks
Indoor heat exchanger
(R2802)

Removal of Fan Motor / Fan Rotor Si041053
18 Removal Procedure
6. Removal of Fan Motor / Fan Rotor
Procedure Warning Be sure to wait 10 minutes or more after turning off all power supplies
before disassembling work.
Step Procedure Points
1. Remove the right side
plate.
1Remove the 2 screws. You can remove the fan
rotor without detaching the
right side plate.
2Lift the right side plate
and remove it.
2. Remove the fan motor
and rotor.
1Remove the screw and
remove the fan motor
fixing plate.
2Remove the screw of
the fan rotor.
Right
side plate
(R2803)
(R2804)
Fan motor fixing plate
(R2805)
(R2806)
This manual suits for next models
5
Table of contents
Other Dakin Heat Pump manuals
Popular Heat Pump manuals by other brands

Profroid
Profroid MINICOLD Series operating instructions

nilan
nilan Compact P user manual

Panasonic
Panasonic WH-SD24BE5 operating instructions

SILENSYS
SILENSYS SILFH4524Z Technical data

Riello
Riello NexSirius Series Instructions for the installer and the technical service centre

VEAB Heat Tech
VEAB Heat Tech AW DX22 manual