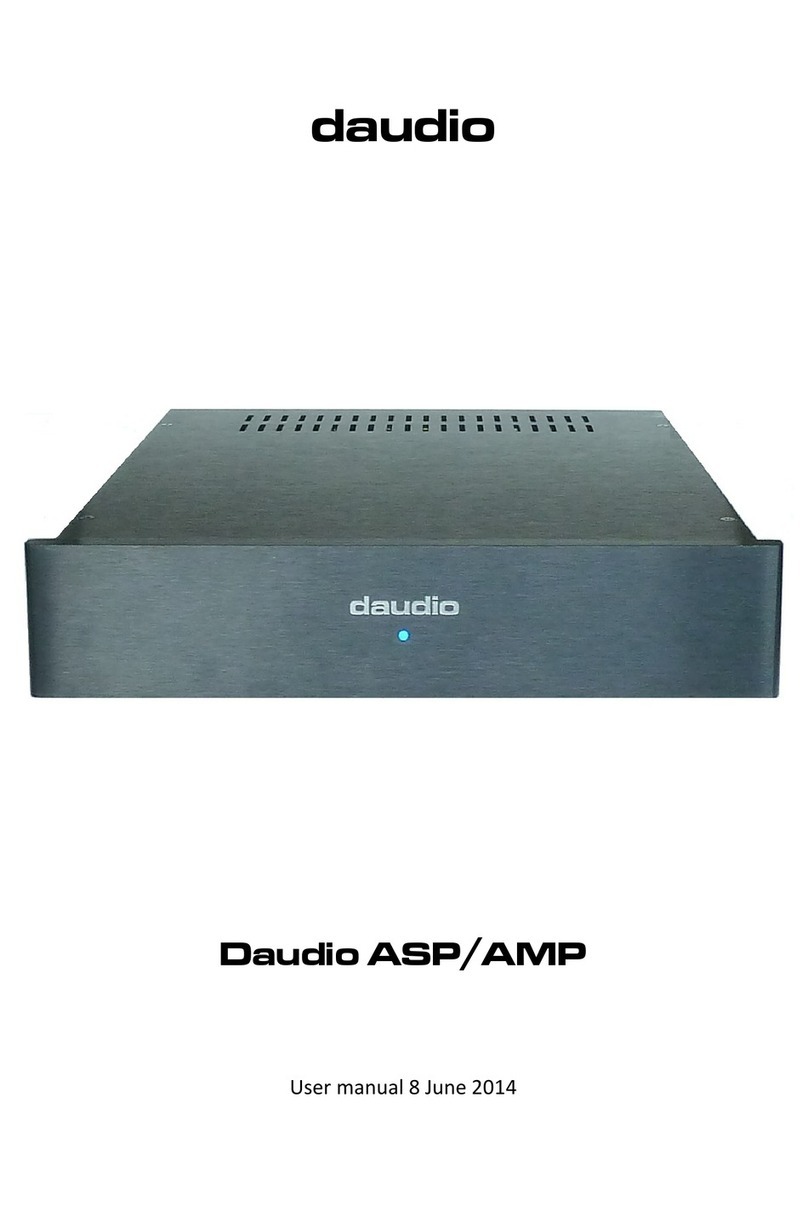
Daudio M8000 Configuration guide

/// VANITY PLATE INSTALL INSTRUCTIONS
M8000, M5000, M2500, Z12000 (2023 VERSIONS)
4025 NW 36th St., Oklahoma City, OK 73112 • (405) 239-2800
DDAUDIO.COM

/// VANITY PLATE INSTALL INSTRUCTIONS
M8000, M5000, M2500, Z12000 (2023 VERSIONS)
• Power Terminal PCB
• Input Signal PCB
• (2) Wire Harnesses
• (2) M4 Screws
INCLUDED IN KIT:
• Phillips screwdriver
• 7/16 Wrench or Socket
• 2.5mm Allen Wrench
• Small Zip Ties
• A semi soft work surface to protect the amplifier heatsink from scratches.
• Cardboard, foam, or bubble wrap will do just fine.
This procedure is to be performed prior to installing the amplifier into an
audio system. If your amplifier is already installed in a system, uninstall it
and disconnect all connections before performing the installation of the
LED vanity plate kit.
TOOLS NEEDED:
P. 1

1
1
2
2
BEFORE END PLATE REMOVAL
AFTER END PLATE REMOVAL
PCB AND ENDPLATE
/// VANITY PLATE INSTALL INSTRUCTIONS
M8000, M5000, M2500, Z12000 (2023 VERSIONS)
1. Remove all socket cap hex screws
from the power terminal side of the
amplifier and remove the end plate.
2. Place the power terminal side PCB
against the heatsink with the “TO
LED PCB” plug facing inward.
Place the end plate over the PCB,
align the mounting holes, and
replace the screws.
LED VANITY PLATE KIT INSTALLATION:
P. 2

3
3
4
4
BEFORE END PLATE REMOVAL
AFTER END PLATE REMOVAL
PCB AND ENDPLATE
/// VANITY PLATE INSTALL INSTRUCTIONS
M8000, M5000, M2500, Z12000 (2023 VERSIONS)
3. Remove the socket cap hex
screws and 7/16 RCA nuts from
the signal input side of the
amplifier and remove the end
plate.
4. Place the input signal side PCB
against the heatsink with the “TO
LED PCB” and “TO MAIN PCB”
plugs facing inward. Place the
end plate over the PCB, align the
mounting holes, and replace the
screws.
P. 3

5
6
6
SIGNAL INPUT PCB
MAIN PCB
/// VANITY PLATE INSTALL INSTRUCTIONS
M8000, M5000, M2500, Z12000 (2023 VERSIONS)
5. Flip the amp upside down, remove
the phillips head screws securing the
back plate. Carefully remove the
back plate and disconnect the fan
plug from the main internal pcb.
6. Using a provided wire harness,
connect the signal input pcb to the
main internal pcb using the “TO
MAIN PCB” plug.
P. 4

7
8
TO LED PCB
/// VANITY PLATE INSTALL INSTRUCTIONS
M8000, M5000, M2500, Z12000 (2023 VERSIONS)
7. Using a provided wire harness,
connect the power terminal pcb to the
signal input pcb using the “TO LED
PCB” plugs.
8. Using a couple small zip ties, tidy up
the extra wire by routing them to the
sides of the amplifier. This will ensure
that the back plate is able to fully seat
against the heatsink when reattached.
After tidying up the LED kit wires,
reconnect the back plate fan wire and
reattach the back plate to the heatsink.
MAIN PCB
P. 5

9
10
/// VANITY PLATE INSTALL INSTRUCTIONS
M8000, M5000, M2500, Z12000 (2023 VERSIONS)
9. Flip the amplifier over so that the logo
is facing upward. Remove the two
flathead screws from the top of the
heatsink using a 2.5mm Allen wrench.
Wipe or blow away any dust or debris
that may have settled in the center
section of the amplifier heatsink
during installation of the PCB end
panels.
10. Carefully unwrap the acrylic vanity
plate and peel away the protective
paper coating from the top face. Place
the acrylic vanity plate into the center
section of the amplifier heatsink and
secure it to the heatsink with the two
M4 button head screws provided in
the kit.
Your amplifier is now ready to be
installed into your sound system!
P. 6

1
4
4.1
/// VANITY PLATE INSTALL INSTRUCTIONS
M8000, M5000, M2500, Z12000 (2023 VERSIONS)
1. Navigate to your phone’s app store
and download the LED Hue app.
2. Once installed, open the LED Hue
app. The LED Hue app will request
permission to utilize Bluetooth®.
Permission must be allowed in order
to control the LED Vanity Plate Kit.
3. Power on your amplifier.
4. Within the LED Hue app a list of
available Bluetooth®devices will be
displayed. If no devices are present,
drag down and release to refresh the
list. Within the list of available
devices, select “SP110E”. The LED
Hue app will attempt to pair to the
SP110E device.
4.1 Once paired and connected, the
SP110E device will be displayed at
the top of the list in blue text. Use the
toggle switch on the right side of the
screen to turn the LED lights on or
off.
LED VANITY PLATE KIT OPERATION:
GOOGLE PLAY STORE APPLE APP STORE
P. 7

4.2
4.3
4.4
/// VANITY PLATE INSTALL INSTRUCTIONS
M8000, M5000, M2500, Z12000 (2023 VERSIONS)
4.2 Press and hold on the SP110E
device briefly and select the
‘Rename’ button that pops up.
Rename SP110E to a device name
that makes sense for your
application, e.g. M8000, M5000,
M2500. If multiple of the same
amplifier are present in the system it
is recommended to name them
accordingly, e.g. M8000_01,
M8000_02, etc.
4.2 Once renamed, refresh the device
list once more and select the device
that was renamed in the previous
step to reconnect.
4.4 Using the bottom section of the LED
Hue app screen, assign the device
the proper LED control protocol by
selecting “GRB SK6812”, set “TOTAL
PIXELS” to 16 for M Series or 20
for Z12000, and press Enter.
P. 8
16 px for M Series / 20px for Z12000

5
If you have any questions regarding setup, installation or warranty please contact the DD AUDIO
Amplifier Vanity Plate instructional video url:
https:///youtu.be
Scan QR code with
phonecamera for
Amplifeir
Vanity Plate
Instructional Video.
/// VANITY PLATE INSTALL INSTRUCTIONS
M8000, M5000, M2500, Z12000 (2023 VERSIONS)
5. The LED Vanity Kit is now set up and
ready to use. For more information on
how to achieve a desired look, tap the
tabbed sheet icon in the top right
corner of the control screen of the
LED Hue app. This will open a list of
instructions on how to toggle through
the various effects and colors
available.
Note: If utilizing multiple amplifiers in a
single audio system, repeat steps 1
through 4.4 for each amplifier. Due to a
limitation in LED Bluetooth® technology,
each amplifier must be connected to and
programmed individually by the via LED
Hue app device list. Each amplifier will
retain its given device name and chosen
color/effects pattern when power cycled.
P. 9
This manual suits for next models
3
Table of contents
Other Daudio Amplifier manuals
Popular Amplifier manuals by other brands
Texas Instruments
Texas Instruments AMC1311EVM user guide
Crown
Crown PowerTech PT 3.1 specification
Ground Zero
Ground Zero PLUTONIUM GZPA 1.6K-HC owner's manual
Stage Accompany
Stage Accompany DS20 Series user manual
Rave
Rave RMC-66P installation manual

AUSTRALIAN MONITOR
AUSTRALIAN MONITOR AMIS PRE1 manual
