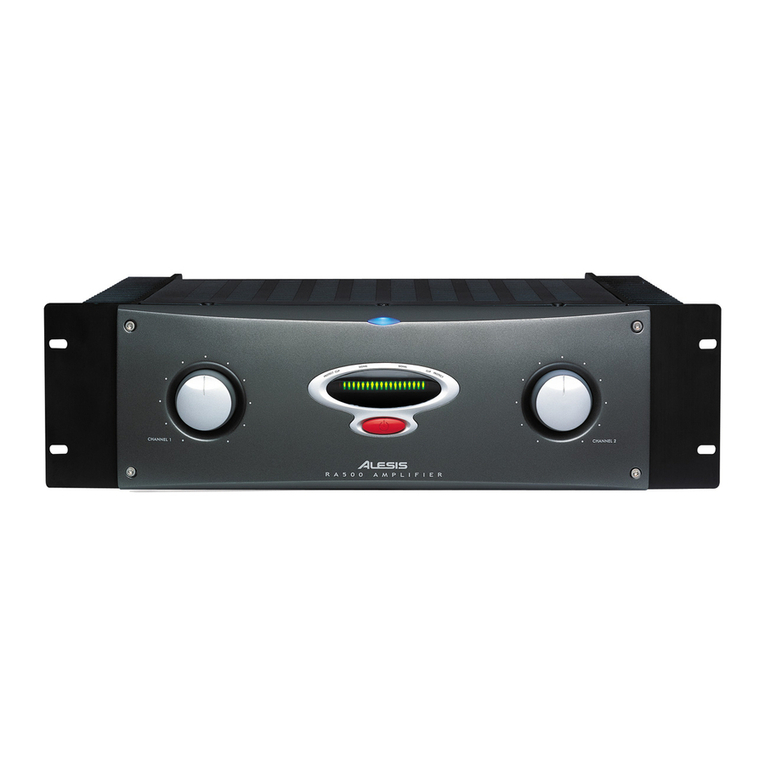
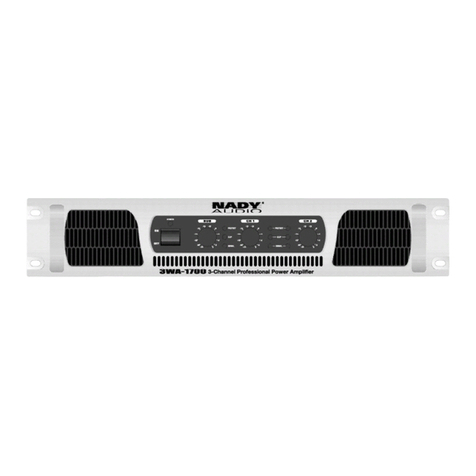
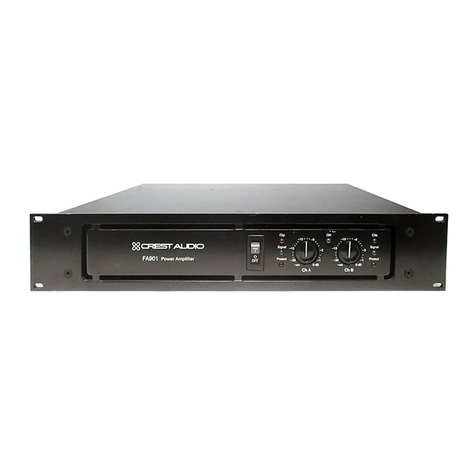
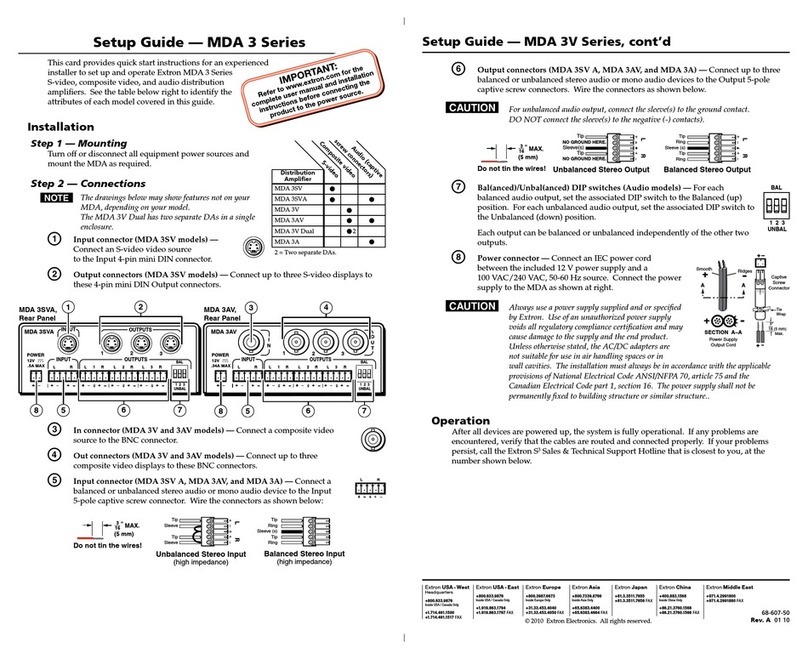
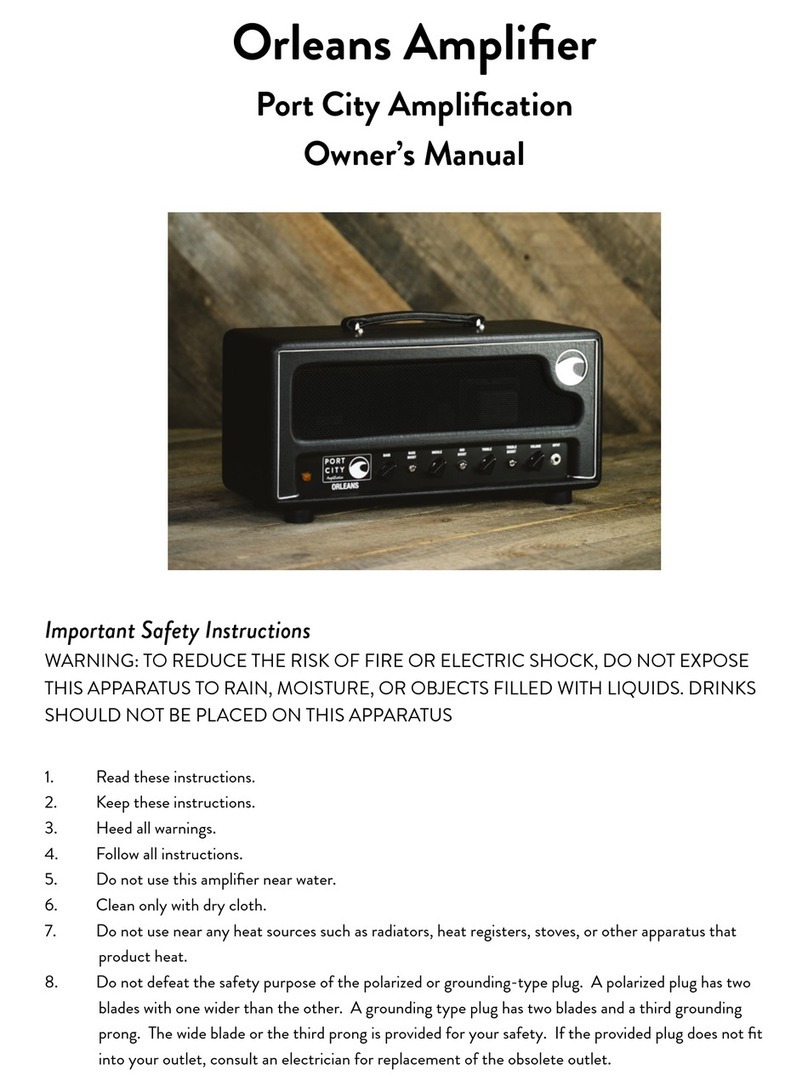
DBZ DMi 4/2500A User manual

User Manual's
DMi 4|2500A/DMi 4|3500A
DMi 2|2000A/DMi 2|3000A/DMi 2|4000A
Professional Power Amplifier


Safety Instruction
Warnings.... ... ... ... ... ... ... ... ... ... ... ... ... ... ... ... ... ... ... ... ... ..2
Installation.................................................................2
Operation. .... . .... . .... . .... . .... . .... . .... . .... . .... . ... . .... . .... . .... . .2
Errors during Operation.......................................................2
Attention...................................................................3
Installation.................................................................3
Operation ..................................................................3
Foreword
Functions
Front Panel.................................................................................................................5-6
Rear Panel...................................................................................................................7-9
Connectors Introduction................................................................................................10
XLR Input Connector Connection Diagram......................................................................10
Speakon Connection socket...........................................................................................10
Speakon Connector......................................................................................................10
Connection Mode Introduction.......................................................................................11-12
Bridge Mode...............................................................................................................11-12
Parallel Mode..............................................................................................................11-12
Stereo Mode...............................................................................................................11-12
Detailed Specifications
“PROT” indicator long-time on..........................................................................................16
Background noise is loud.................................................................................................16
One Channel has no output .............................................................................................16
Distortion.........................................................................................................................16
Specification ..............................................................................................................14-15
Troubleshooting
Installation
Bracket Installation..........................................................13
Introduction.....................................................................................................................4
Main Features..................................................................................................................4
Contents
1
Warranty Range..................................................................................................................17
Warranty

Safety Instruction
Warning
Installation
●Only connect the unit to an AC outlet of the type shown in this manual or on the adapter. Otherwise it
might cause a fire or electric shock.
●Do not allow water to enter the unit or get it wet. Otherwise it might cause a fire or electric shock
●Do not place containers containing liquid or fine metal objects on the unit. Doing so may cause a fire or
electric shock if the liquid or small metal objects fall into the unit.
●Do not place heavy objects (including this unit) on the power cord. Otherwise it may damage the power
cord, resulting in a fire or electric shock. In particular attention, do not place heavy objects on the power
cord covered by the carpet.
●Be sure to connect to a suitable electrical outlet with a protective earth connection. Improper grounding
may cause electric shock.
●Do not scratch, bend, twist, stretch, or heat the power cord. Otherwise it may damage the power cord,
resulting in a fire or electric shock.
●Do not open the unit cover. Otherwise it may cause electric shock. If it is deemed necessary to repair,
service or repair the product, contact the factory.
●Do not modify this unit. Otherwise it may cause a fire or electric shock.
●If a lightning strike occurs, switch off the power switch of the unit as soon as possible and unplug the
power cord from the power outlet.
●If lightning may occur, do not touch the plug of the power cable in the plugged state, as this may cause
electric shock.
●If the power cord is damaged (eg, cut or exposed), obtain replacement from the factory. Continued use
of the device with a damaged power cord may result in a fire or electric shock.
●If the unit falls from a height or the case is damaged, immediately switch off the power switch, unplug the
power cord from the AC outlet, and contact the factory. Failure to observe this precaution may result in a
fire or electric shock.
●When any anomalies are found, such as smoke, odor, noise or there are foreign objects or liquid entering
the device. Please switch off the power switch and unplug the power cord from the AC outlet. If you
continue to use, it may cause a fire or electric shock.
Operation
Errors during operation
2

Safety Introduction
●Please avoid using the power amplifiers in the following cases
- Exposed to splashes of oil, steam, such as near kitchen stoves, humidifiers and other places.
- Unstable surfaces, such as shaking tables or bevels.
- Exposure to excessive heat, such as in a window-closed car or in direct sunlight.
- Exposure to high humidity or dust accumulation environment.
●Do not place the power cable near the heater, otherwise it may melt, causing a fire or electric shock.
●When unplugging the power plug from the AC socket, please grasp the plug and do not pull the cable
directly. otherwise it will damage the power cord, resulting in a fire or electric shock.
●Please do not touch the power plug with wet hands. otherwise it'll cause electric shock.
●The power amplifier has ventilation holes on the front and back that can prevent the internal temperature
from becoming too high. Do not block these vents. Otherwise it may cause a fire.
In particular attention, please don't
- Turn the power amplifier upside down or put it sideways.
- Place the power amplifier in a poorly ventilated place, such as a bookcase or closet (not on a special
stand provided).
- Cover the power amplifier with a tablecloth or place it on the carpet and the bed.
●Please reserve enough space around the unit to facilitate proper ventilation. The size of the space
should be: at least 5CM from both sides, at least 10CM from the front and at least 10CM from above.
If there is no sufficient air flow, the internal temperature of the power amplifier may rise and may cause a fire.
●To mount several of the power amplifier on a standard EIA stand, please refer to the installation instructions
●When removing the power amplifier, firstly, unplug the AC power cord from the AC socket. And unplug all
connecting cables. Otherwise it may damage the cable, resulting in a fire or electric shock.
●When setting up this power amplifier, make sure that the AC power socket to be used is within reach.
If any problem occurs, please immediately turn off the power switch and unplug the power cord from the
power socket. Even if the power switch is turned off, there is minimal current flow to the product.
When you don't use the product for a long time, be sure to unplug the power cord from the AC socket.
●Do not expose the power amplifier to a location where it may come in contact with corrosive gases or
salt fog. Otherwise it may cause a malfunction.
Attention
●When connecting the speakers to the amplifier output, use the speaker-specific cables, other cables
may cause a fire.
●When connecting the power amplifier, please turn off all instruments, audio equipment and speakers.
Choose the correct cables and connect them as specified.
●Be sure to turn the volume control knob to minimum before turning on the power of this amplifier.
Otherwise a sudden outbreak of sound may damage your hearing.
●Do not use this amplifier for purposes other than driving the loudspeaker.
●If you are not going to use the unit for a long time, such as going on vacation. Unplug the power cord
from the AC socket. Otherwise it may cause a fire.
Operation
Installation
3

Introduction
Thank you for purchasing our power amplifier products, DMi series power amplifier has a high reliability,
stability and excellent acoustic properties. All of these are designed in a compact 2U size chassis.
Main Features:
Amplifier Module
DMi series professional power amplifier adopts three circuit topologies of Class 2H and Class D+AB according to
the power level. The amp module boards choose copper pin plug-in resistors, which have a good performance on
the audio bandwidth.
The fully enclosed tunnel heat dissipation design is matched with the high-efficiency dense tooth radiator,
which can remove more than 90% of the heat by the fan, and will not stay in the chassis for a long time to form heat
accumulation. Compared with the traditional semi-closed heat sink, this design has improved heat dissipation greatly.
Toroidal Transformer
High quality toroidal transformer. High-quality iron core makes the electromagnetic loss and temperature rise are very
low. Power supply noise, the third harmonic signal and interference were effectively inhibited. Very low physical noise
and current noise. Using special silicon steel shield, greatly reduce the noise from the circuit affected by the
electromagnetic of transformer.
Protection System
It has multiple protection features such as output short circuit protection, overload protection, DC protection,
VHF protection, output voltage automatic limiter, High Temperature Auto Power Limit, on progressive volume etc.
Well protect your system devices.
Sound Characteristic
MF: warm, mellow, full of human voice; LF: powerful, moderate experience; HF: clear and slender voice.
Applications
●With the XLR input jack and Speakon output jack, so DMi series is widely applicable to a variety of installation system
requirements.
●The device has three operating modes: STEREO (DMi 2|: CH1 - CH2 operate independently in this mode)
STEREO(DMi 4|: CH1 - CH4 operate independently in this mode), ,
PARALLEL (in which the device outputs a single-channel source via a dual-channel amplifier system) and BRIDGE
(in this mode, the device operates as a simple high-power amplifier ).
●Each channel has its own SIGNAL and CLIP indicators
●Whenever the protection circuit of the unit is activated, the PROTECTION indicator lights and the sound output is
automatically stopped.
●The variable speed fan control system ensures low noise levels.
In order to maximize the power of the power amplifier and extend the normal life, before using this
power amplifier, please you must read this user manual carefully. After reading, keep this manual in a safe
place.
Foreword
4

Front Panel Introduction
1.Mounting Hole
Used for fixing amplifiers on cabinets, easy to transport.
2.Handle
Used for handling product.
3.Air slot
The fan draws air from the front and exits it from the back. Do not block the intake and
exhaust ports.
Remarks: When the power is initially turned on, the fan will have an accelerated start-up sequence,
and the fan speed will automatically adjust to the normal low speed state.
4.CH1 Volume Knob
Input signal attenuator, in stereo and parallel mode, they control the volume of the corresponding
channel; when bridged, CH1 will control the volume of the two channels CH1 and CH2.
5.CH2 Volume Knob
Input signal attenuator, in stereo and parallel mode, they control the volume of the corresponding
channel; when bridged, CH2 volume knob is idle and not controlled.
6.Function LED lights
6.1 CLIP Level LED light
A red indicator will light when the amplitude of the output signal of the corresponding channel
(above the nominal power) has shaved off and is more than 1% distorted.
6.2 Signal Level LED light
SIG Signal and -5, -10 level LED indicators.
6.4 ON—Power LED light
Indicates that the amplifier is turned on and is in the working state.
7.LCD Screen Introduction
7.1 Voltage Display, from 150V to 270V.
7.2 Temperature Display, from 0℃ to 100℃.
8.Power Switch
Press the switch up to “ON ”and down to “OFF”. When the switch is turned on, the amplifier is powered on.
4
35
8
17
2
5
66

Front Panel Introduction
1.Mounting Hole
Used for fixing amplifiers on cabinets, easy to transport.
2.Handle
Used for handling product.
3.Air slot
The fan draws air from the front and exits it from the back. Do not block the intake and
exhaust ports.
Remarks: When the power is initially turned on, the fan will have an accelerated start-up sequence,
and the fan speed will automatically adjust to the normal low speed state.
4.Volume Knob
4.1 CH1 Volume Knob
Input signal attenuator, in stereo and parallel mode, they control the volume of the corresponding
channel; when bridged, CH1 will control the volume of the two channels CH1 and CH2.
4.2 CH2 Volume Knob
Input signal attenuator, in stereo and parallel mode, they control the volume of the corresponding
channel; when bridged, CH2 volume knob is idle and not controlled.
4.3 CH3 Volume Knob
Input signal attenuator, in stereo and parallel mode, they control the volume of the corresponding
channel; when bridged, CH3 will control the volume of the two channels, CH3 and CH4.
4.4 CH4 Volume Knob
Input signal attenuator, in stereo and parallel mode, they control the volume of the corresponding
channel; when bridged, CH4 volume knob is idle and not controlled.
5.Function LED lights
5.1 CLIP Level LED light
A red indicator will light when the amplitude of the output signal of the corresponding channel
(above the nominal power) has shaved off and is more than 1% distorted.
5.2 Signal Level LED light
SIG Signal Output Power Level LED indicator.
5.3 ON—Power LED light
Indicates that the amplifier is turned on and is in the working state.
6.LCD Screen Introduction
6.1 Voltage Display, from 150V to 270V.
6.2 Temperature Display, from 0℃ to 100℃.
7.Power Switch
Press the switch up to “ON ”and down to “OFF”. When the switch is turned on, the amplifier is powered on.
6
4
3
5
7
16
2
5

1.Thermal Breaker
The power amplifier will disconnect the AC power supply in the event of an overload condition.
Pressing the reset lever after the fault is released, it will restore the operation (reusable).
2.Power Cable
Plug into AC power socket.
3.Signal In LINK
LINK Input Connector(Pin 1=Ground/Pin 2=+/Pin 3=- ).
4.Signal In
XLR Input Connector:
1) Balance input: Pin 1=Ground/Pin 2=+/Pin 3=- (according to standard IEC 268)
2) un-balance input: Pin 1/3=Ground/Pin 2=+
5.Speakon Output Connector
Stereo/Parallel Mode:
Speakon1 1 + / 1 - Respectively Connect the positive (+) / negative (-) terminals of speaker 1.
Speakon1 2 + / 2 - Respectively Connect the positive (+) / negative (-) terminals of speaker 2.
Speakon2 1 + / 1 - Respectively Connect the positive (+) / negative (-) terminals of speaker 2.
Speakon2 2 + / 2 - Idle.
Bridge Mode:
Speakon1 1 + / 2- Respectively Connect the positive (+) / negative (-) terminals of speaker 2.
6.Binding Post Connector
Stereo/Parallel Mode:
Channel 1 red (+) / black (-) Binding posts are connected respectively to the positive (+) /
negative (-) terminals of speaker 1.
Channel 2 red (+) / black (-) Binding posts are connected respectively to the positive (+) /
negative (-) terminals of speaker 1.
Bridged Mode:
Channel 1 red (+) Binding post connected to the positive (+) terminals of speaker and
Channel 2 black(-) Binding post connected to the negative(-) terminals of spaker.
7.Fan Outlet
The fan draws air from the chassis.
8.Input Sensitivity Switch
0.775V(0dBu)/1V(0dBv)/32dB Threes input gain choices.
9.Working Mode Switch
1.Stereo: CH1-2 Function Independent work and control.
2.Parallel: 1)Input signal to CH1, CH1 is paralleled with CH2, CH1 and CH2 are controlled
independently, now CH2 input is invalid.
3.Bridged: 1) Input signal to CH1, signal through CH1 will access CH2 in reverse phase,
The volume of CH1 can control CH2 at the same time. CH1 Output and CH2
Output connect with Speaker in series.
10.Earthing Switch
When the switch is turned ON (AC ground), the ground switch is on (AC-DC ground), signal ground
selection --- The audio system noise can be suppressed by grounding switch.
Note: The output of all amplifiers will produce high voltage. Live installation is not allowed. There shouldn't be any
excess bare copper exposed between the speaker cable and the amplifier binding posts. In addition, please do
not ground the amplifier output, or access to any other amplifier input or output. Please use high-quality speaker
connector and speakers dedicated cable, and minimize the power amplifier and speaker connection cable.
Rear Panel Introduction
7
134
25 9
8
10
6
7
8A
Ci rc ui t br ea ker
AC 220V 1050W LIN K
LIN K
INPU T CH 1
CH 2
XL R: 1 = /2=+/3= -
OUTP UT
CH1 +/- =1 +/-
CH2 +/- =2 +/-
BRG +/- =1+ /2-
CH2 +/- =1 +/-
2+/ -=NOT U SED
SEN SITI VITY
GRO UND
MOD E
0.7 75V
1.0 V
32d B
STE REO
PARAL LEL
BRI DGE
ON
OFF
CH 1
Ch 2
BRG

1010
8
Rear Panel Introduction
1.Thermal Breaker
The power amplifier will disconnect the AC power supply in the event of an overload condition.
Pressing the reset lever after the fault is released, it will restore the operation (reusable).
2.Power Cable
Plug into AC power socket.
3.Signal In LINK
LINK Input Connector(Pin 1=Ground/Pin 2=+/Pin 3=- ).
4.Signal In
XLR Input Connector:
1) Balance input: Pin 1=Ground/Pin 2=+/Pin 3=- (according to standard IEC 268)
2) un-balance input: Pin 1/3=Ground/Pin 2=+
5.Speakon Output Connector
Stereo/Parallel Mode:
Speakon1 1 + / 1 - Respectively Connect the positive (+) / negative (-) terminals of speaker 1.
Speakon1 2 + / 2 - Respectively Connect the positive (+) / negative (-) terminals of speaker 2.
Speakon2 1 + / 1 - Respectively Connect the positive (+) / negative (-) terminals of speaker 2.
Speakon2 2 + / 2 - Idle.
Speakon3 1 + / 1 - Respectively Connect the positive (+) / negative (-) terminals of speaker 3.
Speakon3 2 + / 2 - Respectively Connect the positive (+) / negative (-) terminals of speaker 4.
Speakon41 + / 1 - Respectively Connect the positive (+) / negative (-) terminals of speaker 4.
Speakon4 2 + / 2 - Idle.
Bridge Mode:
Speakon1 1 + / 2- Respectively Connect the positive (+) / negative (-) terminals of speaker 2.
Speakon3 1 + / 2- Respectively Connect the positive (+) / negative (-) terminals of speaker 2.
6.Input Sensitivity Switch
0.775V(0dBu)/1V(0dBv)/32dB Three input gain choices.
7.Working Mode Switch
1.Stereo: CH1-4 Function Independent work and control.
2.Parallel: 1)Input signal to CH1, CH1 is paralleled with CH2, CH1 and CH2 are controlled
independently, now CH2 input is invalid.
2)Input signal to CH3, CH3 is paralleled with CH4, CH3 and CH4 are controlled
independently, now CH4 input is invalid.
3.Bridged: 1) Input signal to CH1, signal through CH1 will access CH2 in reverse phase,
The volume of CH1 can control CH2 at the same time. CH1 Output and CH2
Output connect with Speaker in series.
2)Input signal to CH3, signal through CH3 will access CH4 in reverse phase,
The volume of CH3 can control CH4 at the same time. CH3 Output and CH4
Output connect with Speaker in series.
8.Earthing Switch
When the switch is turned ON (AC ground), the ground switch is on (AC-DC ground), signal ground
selection --- The audio system noise can be suppressed by grounding switch.
10A Ci rcuit
bre aker
AC 220V 1400W
CH3
CH4
CH4
CH3
CH4
CH4 C H3
CH3
CH4

9
9.Binding Post Connector
Stereo/Parallel Mode:
Channel 1 red (+) / black (-) Binding posts are connected respectively to the positive (+) /
negative (-) terminals of speaker 1.
Channel 2 red (+) / black (-) Binding posts are connected respectively to the positive (+) /
negative (-) terminals of speaker 1.
Channel 3 red (+) / black (-) Binding posts are connected respectively to the positive (+) /
negative (-) terminals of speaker 1.
Channel 4 red (+) / black (-) Binding posts are connected respectively to the positive (+) /
negative (-) terminals of speaker 1.
Bridged Mode:
Channel 1 red (+) Binding post connected to the positive (+) terminals of speaker and
Channel 2 black(-) Binding post connected to the negative(-) terminals of speaker.
Channel 3 red (+) Binding post connected to the positive (+) terminals of speaker and
Channel 4 black(-) Binding post connected to the negative(-) terminals of speaker.
10.Fan Outlet
The fan draws air from the chassis.
Note: The output of all amplifiers will produce high voltage. Live installation is not allowed. There shouldn't be any excess bare copper exposed between the
speaker cable and the amplifier binding posts. In addition, please do not ground the amplifier output, or access to any other amplifier input or output. Please
use high-quality speaker connector and speakers dedicated cable, and minimize the power amplifier and speaker connection cable.
Rear Panel Introduction

Connectors Introduction
XLR input connector connection
diagram is as below:
Pin 1 is grounded / shielded, pin 2 is positive (+),
pin 3 is negative (-),
Description:
When the input signal source is unbalanced mode
(single-ended) input, XLR Pin 1 and Pin 3 can be
connected in parallel.
But unbalanced signal cable should not be too long,
otherwise it will lead to line noise (hum) , it is
recommended as far as possible to use balanced
input connection mode to improve noise suppression.
Speakon Connector
At the end of each speaker cable, peel off the 15mm-long insulation and place the bare wire through the
appropriate binding post of the speaker. Tighten the posts until they grip the wire firmly. Refer to the
socket for the polarity of the speaker.
Speakon Connection Socket
1.Switch off POWER.
2.Plug the Neutrik NL4FC into Speakon socket on the rear panel of amplifier, and then lock it clockwise.
Unbalanced XLR wiring diagram
Balanced XLR wiring diagram
Binding Post Connection
At the end of each speaker cable,
peel off the 15mm-long insulation and place
the bare wire through the appropriate binding
post of the speaker. Tighten the posts until they
grip the wire firmly. Refer to the socket for the
polarity of the speaker.
CH1
CH2
BRG
10

CH1+/- =1+/-
CH2+/- =2+/-
-BRG+/- =1+/2
CH2+/- =1+/-
2+/- =NOT USED
OUTPUT
CH1+/- =1+/-
CH2+/- =2+/-
-BRG+/- =1+/2
CH2+/- =1+/-
2+/- =NOT USED
OUTPUT
CH1+/- =1+/-
CH2+/- =2+/-
-BRG+/- =1+/2
CH2+/- =1+/-
2+/- =NOT USED
OUTPUT
Connection Mode Introduction
Stereo/Parallel Mode
The output speaker cable must be connected to the positive pole of channel 1 and the negative pole of
channel 2.
The bridge output is doubling the output voltage.
Connect the speakers as shown below. Note that the speaker impedance varies depending on the
connection method and the connected speaker parameters. Be sure that the speaker impedance is not
lower than the lowest value shown below.
Bridge Mode
If the amplifier is set to BRIDGE mode: only the CH1 volume knob is active. (The CH2 volume knob is
disabled)
INPUT (CH1, CH2)
Each channel is equipped with two sockets. Note that when using BRIDGE or PARALLEL mode,
only the channel 1 is valid.
Stereo/Parallel Mode Speakon 2 connection
Channel 2
Loudspeaker
Stereo/Parallel Mode Speakon 1 connection
Two speaker connection
Channel 1
Loudspeaker
Channel 2
Loudspeaker
11

Connection Mode Introduction
OUTP U T
CH 2+/ -= 1+/ -
2+ /-= NO T USE D
CH 4+/ -= 1+/ -
2+ /-= NO T USE D
CH 3
CH 4
Channel 3
Loudspeaker
Channel 4
Loudspeaker
Channel 2
Loudspeaker
CH 1+/ -= 1+/ -
CH 2+/ -= 2+/ -
BR G+/ -= 1+/ 2-
CH 3+/ -= 1+/ -
CH 4+/ -= 2+/ -
BR G+/ -= 1+/ 2-
CH 1
CH 3
OUTP U T
CH 2+/ -= 1+/ -
2+ /-= NO T USE D GR OUN D
CH 1+/ -= 1+/ -
CH 2+/ -= 2+/ -
BR G+/ -= 1+/ 2-
CH 1
CH 2
OUTP U T
CH 2+/ -= 1+/ -
2+ /-= NO T USE D GR OUN D
CH 1+/ -= 1+/ -
CH 2+/ -= 2+/ -
BR G+/ -= 1+/ 2-
CH 1
CH 2
Channel 2
Loudspeaker
Channel 1
Loudspeaker
Channel 2
Loudspeaker
CH 1+/ -= 1+/ -
CH 2+/ -= 2+/ -
BR G+/ -= 1+/ 2-
CH 3+/ -= 1+/ -
CH 4+/ -= 2+/ -
BR G+/ -= 1+/ 2-
CH 1
CH 3
OUTP U T
CH 2+/ -= 1+/ -
2+ /-= NO T USE D GR OUN D
CH 1+/ -= 1+/ -
CH 2+/ -= 2+/ -
BR G+/ -= 1+/ 2-
CH 1
CH 2
Stereo/Parallel Mode
The output speaker cable must be connected to the positive pole of channel 1 and the negative pole of
channel 2.
The bridge output is doubling the output voltage.
Connect the speakers as shown below. Note that the speaker impedance varies depending on the
connection method and the connected speaker parameters. Be sure that the speaker impedance is not
lower than the lowest value shown below.
Bridge Mode
If the amplifier is set to BRIDGE mode: only the CH1and CH3 volume knob is active. (The CH2/ CH4 volume
knob is out of use)
INPUT
Each channel is equipped with two sockets. CH1 and CH3 both have a parallel/LINK output socket.
Stereo/Parallel Mode Speakon 3 connection
Stereo/Parallel Mode Speakon 1 connection
Two speaker connection
Stereo/Parallel Mode Speakon 2 connection
Two speaker connection
Stereo/Parallel Mode Speakon 4 connection
12

Cold air
Cold air
Stack installation
>20CM
Avoid air short circuit.
Prevent hot air from drawing to
front panel exhaust inlet.
Keep hot air out of front panel exhaust inlet.
Install equipment to
draw away hot air
compulsively.
In order to ensure good cooling environment,
please amount power amplifiers according to below conditions
Even when system programming
and other limit conditions,
the working temperature is also
suggested below 35℃.
Due to lots of dust in construction
environment, there might be much
dust in filter sponge blocking wind
path. It's advised to clean sponge
with high-power vacuum cleaner.
Monthly maintenance can guarantee
good heat radiation. Besides, please
do not pile cables before air outlet.
Kindly tie them up and put them on
amps two sides.
When stacking not horizontally,
it's advised to make rear panel air
outlet upside or make rear panel
opposite to air outlet.
Working temperature is suggested
below 35℃.
Installation
Cold airCold air
Hot air
Hot air
13

Technical Specifications
Model
THD+N (typical)
Damping Factor
Performance with Gain
Max. Output Power
Frequency Response
Signal To Noise Ratio
Channel separation
Amplifier gain selectable
Input Impedance
Output Circuitry
Cooling
Protection circuit
Default gain
Function
Front panel indicator
Connectors
Input connectors (per ch.)
Output connectors (per ch.)
Rear panel
Power
Outer packing size
Gross weight
Product outline dimension
Dimensions/Weight
Front panel
Rear panel indicator
Remark:1. " * " Measure by pulse signal.
2. The amplifier’s PSU operates as a non-resistive load, so the calculation “Volts x Amps = Watts” would not be correct.
3. All specifications are subject to change without notice.
20Hz-32KHz ( +0/-0.5dB)
≤0.03% (1/2 Rated Output Power)
98dB
200 (1 kHz and below)
70dB (1 kHz and below)
20KΩ/10KΩ (balanced/Unbalanced)
front-to-rear airflow
0.775V/1V/32dB
Soft start, DC, short circuit, clip limit, over heat, temperature rise
automatic reduce power, progressive volume
Working state, voltage, CLIP, SIG, ON, LCD screen
Stereo/Parallel/Bridge
3-pin XLR, electronically balanced
Nl4 Speakon, Binding post.
Power switch/Volume control
600mmx565mmx185mm
~220V/50Hz.±10%
-----
DMi 2|2000A
38.2dB/36dB/32dB
Class 2H
483mmx452mmx89mm
DMi 2|4000A
42dB/39.8dB/32dB
24.0kg
14
Class D+AB
600mmx555mmx185mm
483mmx418mmx89mm
21.0kg
DMi 2|3000A
8 ohms per ch. (all ch.’s driven) 680Wx2 1300Wx2 868Wx2
4 ohms per ch. (all ch.’s driven)* 1100W*x2 1440W*x2 2150W*x2
2 ohms per ch. (all ch.’s driven)* 1300W*x2 2600W*x21700W*x2
8 ohms Bridged per ch.2200W*x1 4300W*x12500W*x1
4 ohms Bridged per ch.----- ----------
Class D+AB
21.0kg
40.3dB/38dB/32dB
Input Common Mode Rejection
/CMR 70dB
100dB

15
Class D+AB
Technical Specifications
Model
THD+N (typical)
Damping Factor
Performance with Gain
8 ohms per ch. (all ch.’s driven)
4 ohms per ch. (all ch.’s driven)*
2 ohms per ch. (all ch.’s driven)*
8 ohms Bridged per ch.
4 ohms Bridged per ch.
Max. Output Power
20Hz-32KHz ( +0/-0.5dB,1/8 W into 8 ohms)
0.035% ( THD at 1 kHz and 1 dB below clipping)
≥100dB
250 (1 kHz and below)
Frequency Response
Signal To Noise Ratio
DMi 4|2500A
Channel separation
Amplifier gain selectable
Input Impedance
Output Circuitry
Cooling
Protection circuit
Default gain
70dB (1 kHz and below)
20KΩ/10KΩ (balanced/Unbalanced)
front-to-rear airflow, temperature controlled speed
0.775V/1V/32dB
39.5dB
LED and Function
Soft start, VHF, DC, short circuit, clip limit, over heat,
progressive volume
Working state, voltage, CLIP, SIG, ON, LCD screen
Front panel indicator
*
680Wx4
1100W*x4
2200W*x2
1300W*x4
----
Stereo/Parallel/Bridge/Gain switch/ground switch
3-pin XLR, electronically balanced
Nl4 Speakon, Binding Post
Power switch/Volume control
620mmx590mmx185mm
483mmx493mmx89mm
~220V/50Hz.±10%
Connectors
Input connectors (per ch.)
Output connectors (per ch.)
Rear panel
Power
Outer packing size
Gross weight
Product outline dimension
Dimensions/Weight
Remark:
26.6kg
1. " * " Measure by pulse signal.
2. The amplifier’s PSU operates as a non-resistive load, so the calculation “Volts x Amps = Watts” would not be correct.
3. All specifications are subject to change without notice.
Front panel
Rear panel indicator -----
31.5kg
DMi 4|3500A
968Wx4
1600W*x4
3200W*x2
1900W*x4
----
40.2dB
Class 2H
Input Common Mode Rejection
/CMR 70dB

Troubleshooting
“PROT” indicator
in long-time on
Failure phenomenon Possible Reasons
Short circuited
between amplifier
Output Connection +/-
Measures
Related Circuit
Short-circuit protection
Disconnect the power
cable to check if the
failure is removed
Amplifier has DC output DC protection Please contact the
factory service center
The background
noise is loud
Wrong connection of
signal cables
XLR: Pin 1 to Ground,
Pin 2 to +, Pin 3 to -.
One Channel has
no output
Line-induced
interference ---
Set the sensitivity to
32dB then adjust the
pre-amp processor.
Signal cable or
speaker cable
connection abnormal
Mode switch is not
toggled in place
___ When the signal light
is normal, please check
the speaker cables
Mode switch
Check if mode switch
on rear panel is set
correctly
Mode Switch
---
Toggle the mode switch
several times to see if it
returns to normal status
Distortion
Signal cable problem ___
Listen to the sound
and check if it's
normal when change
another signal cable
Short circuited
between amplifier
output cables
--- Insert another
speaker cables
Toggle the mode switch
several times to see if it
returns to normal status
Working mode switch
bad connection
Dial mode switch
repeatedly to check.
Input signal board,
circuit switch part
16

Warranty
Warranty range
1.We provide 1 year warranty, during this period, as a result of product materials and manufacturing
process problems and failures. When verification is true, the company offers free repair and replacement
devices.
.The following cases are not in the free maintenance range:2
A. The product is faulty or damaged due to improper installation or improper use.
B. The product has ever been repaired, altered, or modified by any other company's technical staff,
or the user replaces any part of the machine by himself.
C. The serial number is altered or tore up the warranty label.
D. Negligent use. water, or other objects are getting into the machine and cause damage.
E. Failure or damage caused by a natural disaster.
Any cost will be covered by the users with the following circumstances
A. As a result of natural or man-made or other irresistible matter, the product is damaged or in a failure.
B. Damage to the product as a result of improper use or modification.
C. Damage to the product after installation or destruction.
We do not accept any responsibility for any damaged speakers or other equipments caused by improper
use of this product.
17

This manual suits for next models
4
Table of contents

