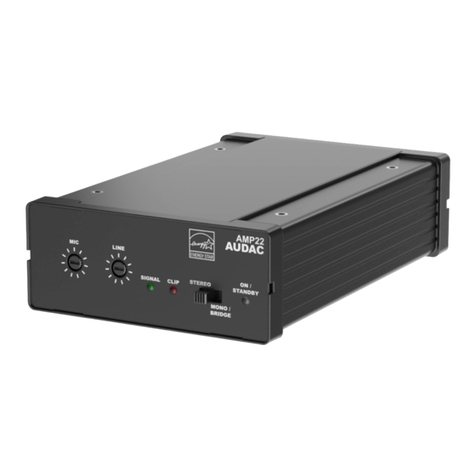
AUDAC AMP20 MK2 User manual
Other AUDAC Amplifier manuals
AUDAC
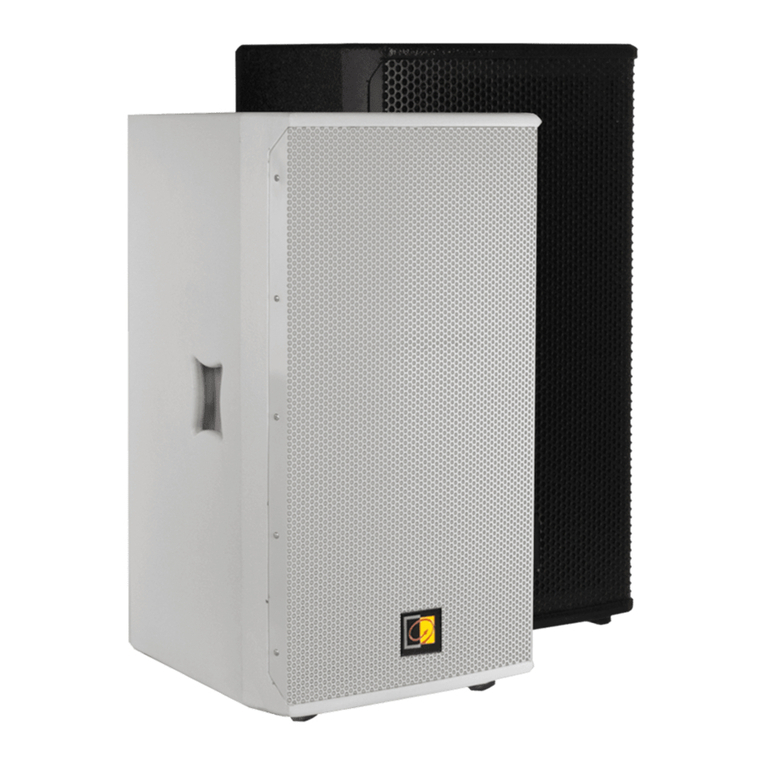
AUDAC PX110 User manual

AUDAC
AUDAC CPA12 Installation and operating instructions
AUDAC
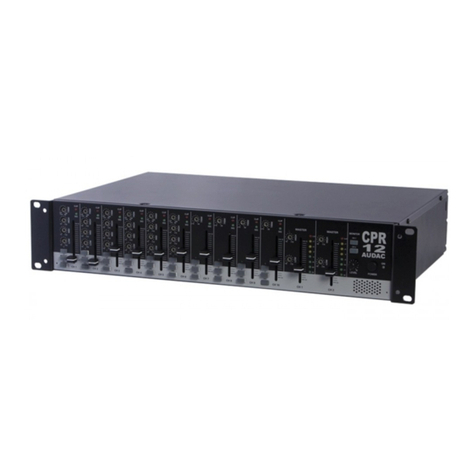
AUDAC CPR12 Installation and operating instructions
AUDAC
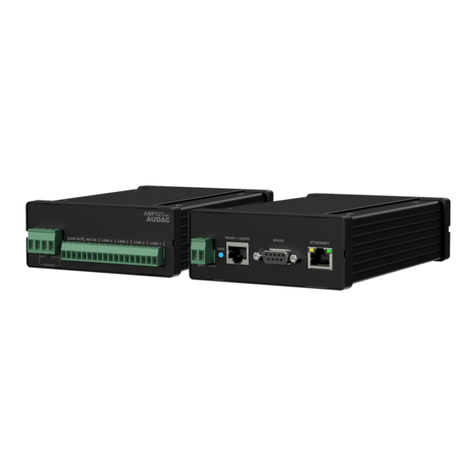
AUDAC AMP523MK2 User manual
AUDAC
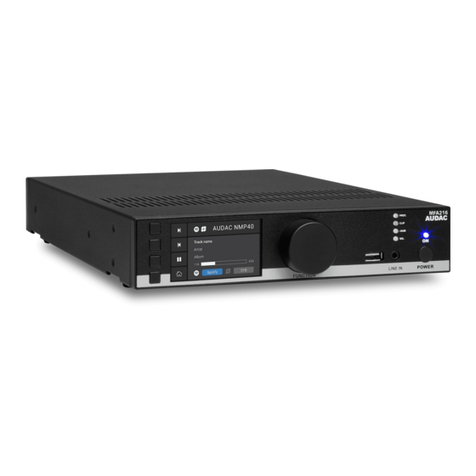
AUDAC Multi-functional SourceCon MFA208 User manual
AUDAC
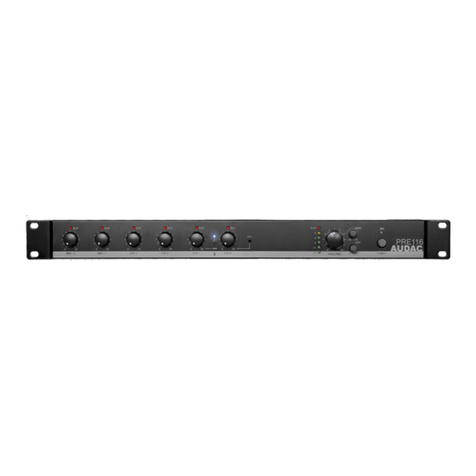
AUDAC PRE116 User manual

AUDAC
AUDAC AMP203 Installation instructions
AUDAC
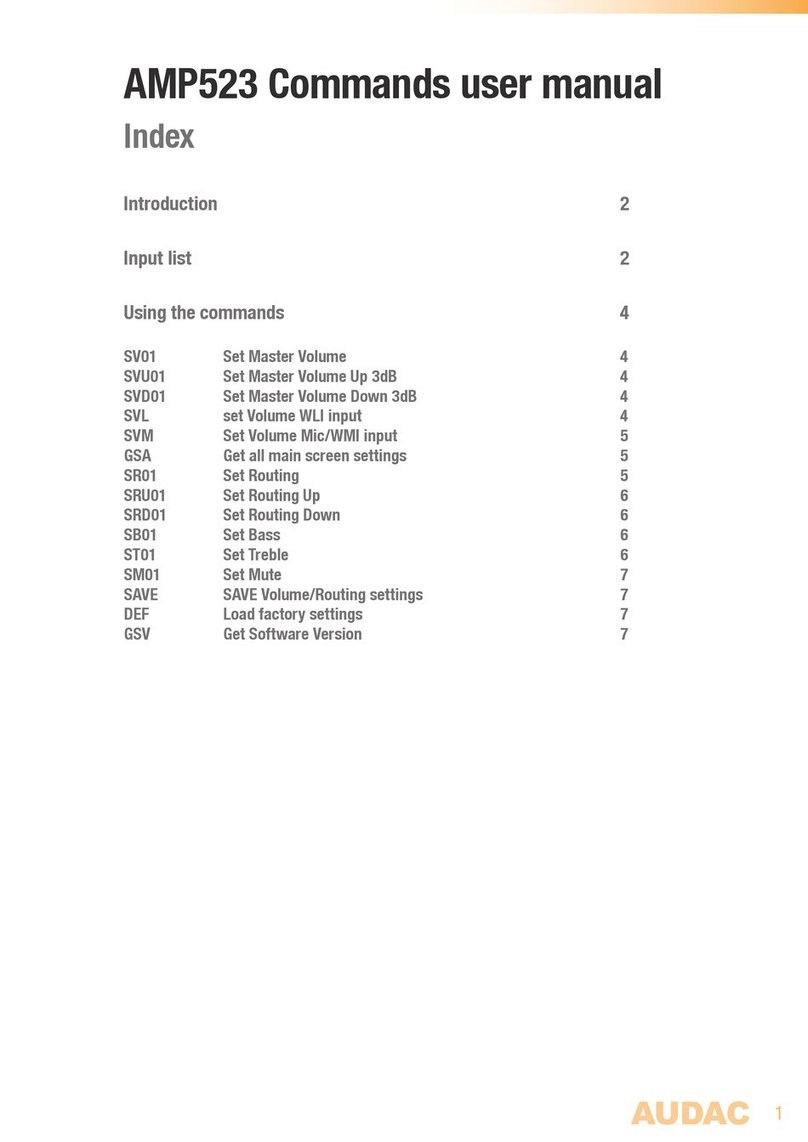
AUDAC AMP523 User manual
AUDAC
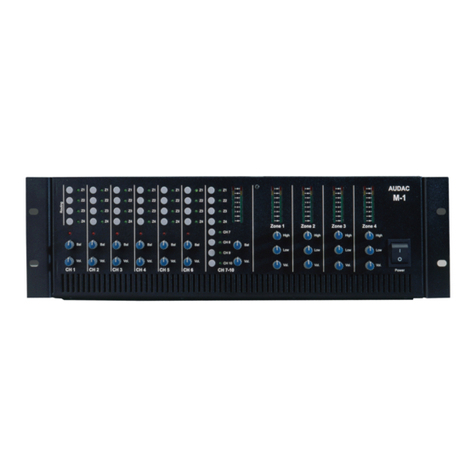
AUDAC M1 Installation and operating instructions

AUDAC
AUDAC AMP523MK2 User manual
AUDAC
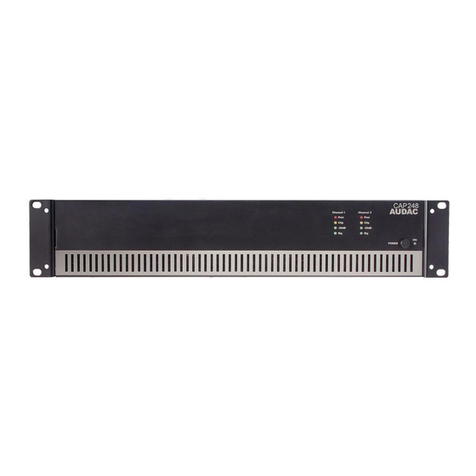
AUDAC CAP224 User manual
AUDAC
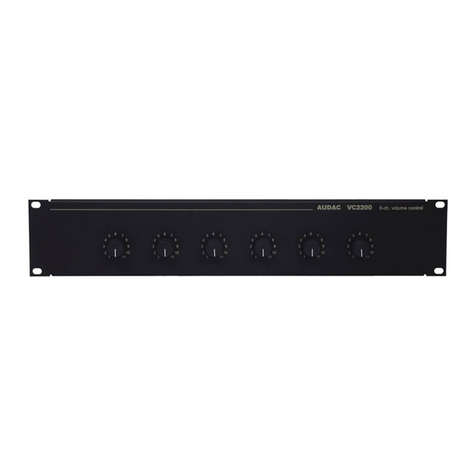
AUDAC vc2200 User manual
AUDAC
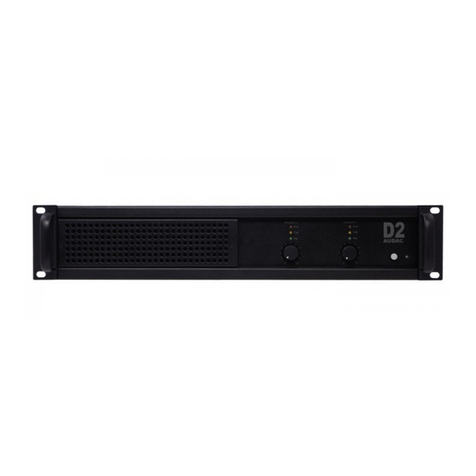
AUDAC D2 Installation and operating instructions
AUDAC
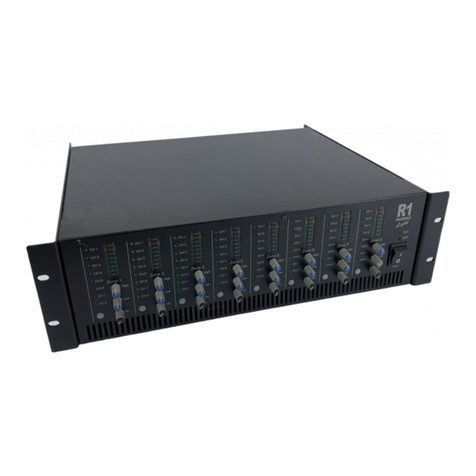
AUDAC R1 Installation and operating instructions
AUDAC
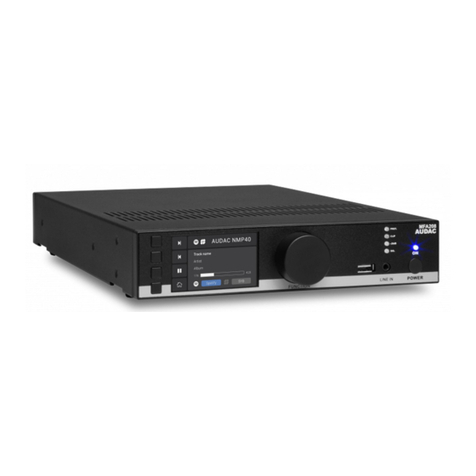
AUDAC Multi-functional SourceCon MFA208 User manual
AUDAC
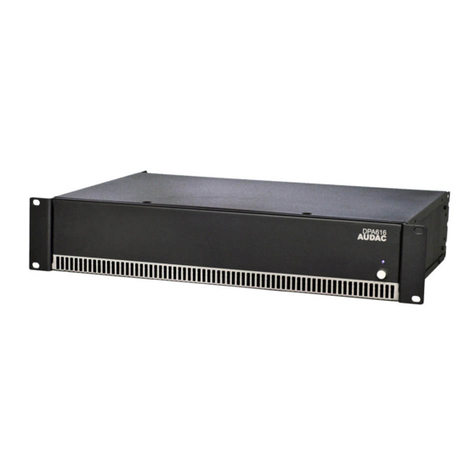
AUDAC DPA616 User manual
AUDAC
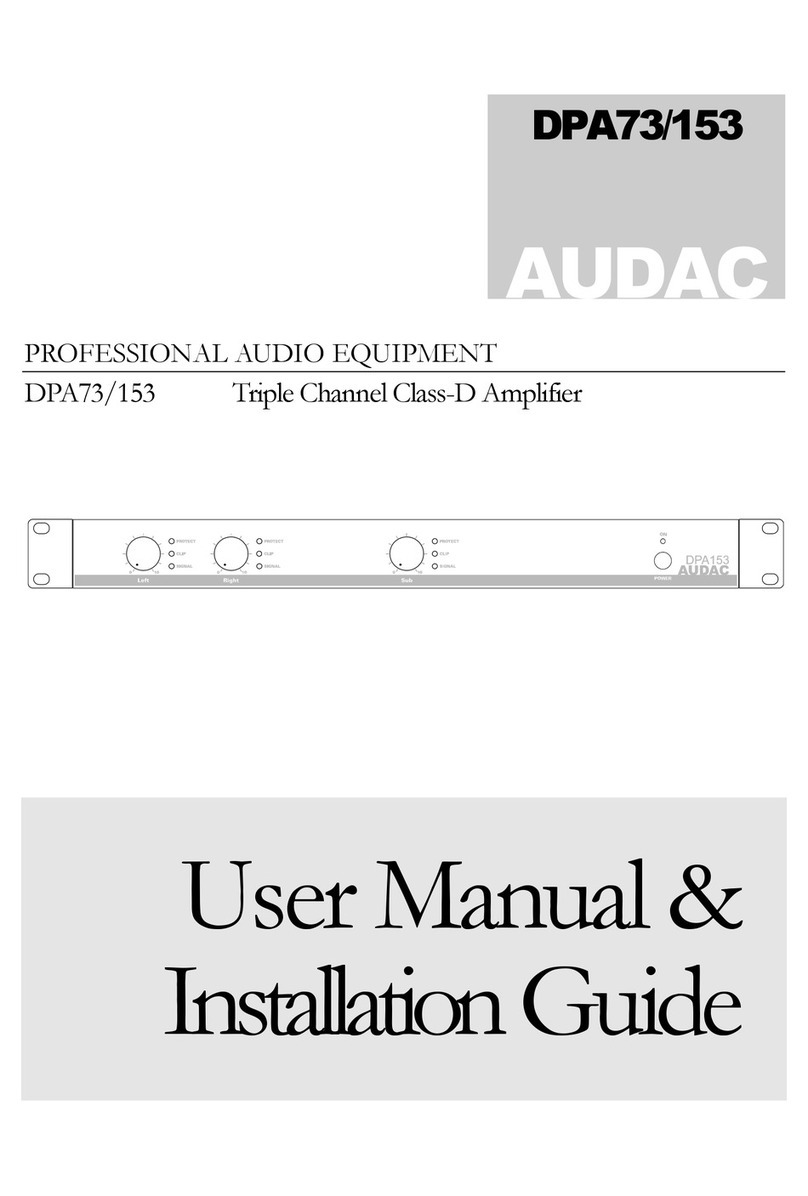
AUDAC DPA73 Installation and operating instructions

AUDAC
AUDAC D2 User manual
AUDAC
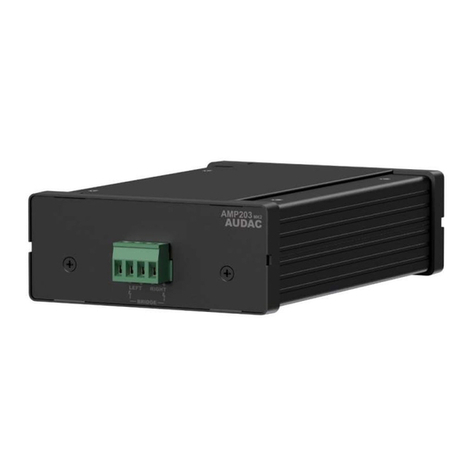
AUDAC AMP203 User manual
AUDAC
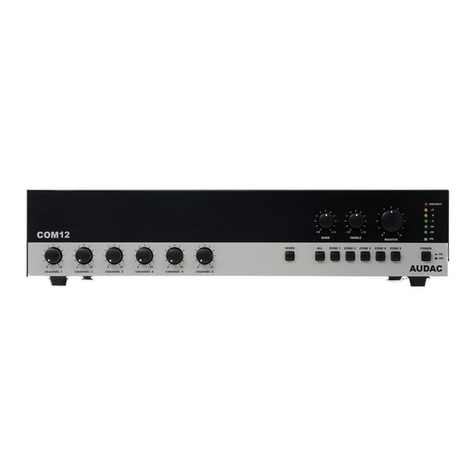
AUDAC COM12 Installation and operating instructions
