DCP SKY1950 User manual

SKY1950
Ver. 2
INSTRUCTION
MANUAL
Stone Design Gas Fire Pit

Do not use this
product directly
on a wood deck or
near a side wall.
bestchoiceproducts.com

bestchoiceproducts.com
Parts are located
underneath the fire pit.
Make sure to remove all
items before use.
A propane tank will not
fit underneath the fire pit;
it should be placed
to the side.
bestchoiceproducts.com

Please retain these instructions for future reference.
•For outdoor use only; do not use in a building, garage, or any other enclosed area.
•Only use this appliance on a hard and level surface such as concrete or rock.
•Do not use on plastic composite or artificial wood decks.
•For use with propane gas tanks only (not included).
•Children are not allowed to operate this fire pit.
•Make sure to remove all parts and packaging from outside and inside the fire pit.
•Fire pit must be attended by adults at all times. Do not leave children and pets around a fire pit when
in use.
•Improper adjustment, installation, usage, and maintenance could result in an explosion and cause
serious injury or property damage.
•Read and follow all warnings and instructions thoroughly before appliance assembly, service, and use.
•Failure to follow warnings and instructions may cause death, serious injury, or property damage.
•If any parts are missing, broken, damaged, or worn, stop using this product until repairs are made
and/or factory replacement parts are installed.
•Do not use this item in a way inconsistent with the manufacturer’s instructions as this could void the
product warranty.
•This fire pit produces carbon monoxide which has no odor. Do not use in enclosed area.
•If you smell gas during operation, immediately shut o gas and extinguish flames.
•Do not use a flame to check for gas leaks.
•Do not use this fire pit under trees or near any other unprotected combustible area.
•Fire pit must have a minimum clearance of 48 inches above and from the sides. Make sure area is clear
and free from combustible objects/constructions.
•Do not connect to a remote gas supply.
•Do not use with natural gas.
•Do not use solid fuel or charcoal on this fire pit.
•Do not burn anything other than what is provided.
•Do not place clothing or flammable materials near the fire pit.
•Fire pit is not intended for cooking.
•Do not place food or eat on the surface of fire pit.
•Be careful when igniting fire pit as flame may flare and cause injury.
•Do not pour water onto any part of the fire pit.
•Do not use if lava rocks are wet. Ensure that rocks are completely dry before use.
•Keep a safe distance from the fire pit when in use. Do not sit or rest hands/feet on fire pit.
•To avoid burns, do not touch or move any part of this fire pit when in use; wait until it has
completely cooled.
•Do not breathe smoke from the fire pit and avoid getting smoke in your eyes.
•Do not alter this appliance. Any alteration can cause a safety hazard.
•Do not use any accessory or fitting other than original accessories and fittings.
•Keep all electrical cords and hoses away from heated surfaces.
•Routinely check hoses for wear or abrasions. Do not use if hoses are damaged.
NOTICE
4|
WARNING

| 5
CALIFORNIA PROPOSITION 65
WARNING: This product can expose you to Carbon monoxide, which is known to the State of California
to cause birth defects or other reproductive harm. For more information go to www.P65Warnings.ca.gov
PROPANE TANK WARNINGS
REQUIRED
1 AAA BATTERY
(PROVIDED)
+AAA -
•Keep propane tank at least 5 feet away from fire pit when in use.
•Make sure to organize fuel hose to prevent accidental tripping.
•Only use standard 20-pound propane tanks.
•Maximum gas supply pressure is 250 PSI.
•Do not fill tank more than 80% of its capacity.
•Do not use tank if any part of it is damaged; rust and dents can be dangerous.
•Propane tank must have a collar to protect the gas valve.
•Using too much propane gas may result in gas pooling and will not burn.
•Check for leaks by brushing a mixture of soap and water on all connections. If large bubbles form when
gas is turned on, there may be a leak.
•If you smell gas:
-Do not attempt to light appliance.
-Extinguish flames and disconnect tank.
-Move people away from the immediate area.
•Do not try to repair leaking tank. Contact a professional to repair or replace tank.
1 SET
LAVA ROCKS
1 PC
TANK SEAT
PARTS
AB
1 PC
COVER
C

DIAGRAM
•Lava rocks are located in a box underneath the fire pit.
•Place rocks in fire pit and spread them according to your preference.
- You may place rocks on burner but do NOT cover the guard.
•Rocks should not be more than ¼inch above the burner holes.
•Excessive rocks will suocate the flame.
PLACING LAVA ROCKS
6|
GUARD
BURNER
CONTROL
PANEL FUEL HOSE
REGULATOR
COUPLING
NUT
THERMOCOUPLE
IGNITER PIN

| 7
INSTALLING PROPANE TANK
1
2 3
2
NOTE: Only use standard 20-pound propane tanks.
Place propane tank on part B tank seat.
Turn wingnut clockwise to secure tank.
NOTE: Keep propane
tank at least 5 feet
away from fire pit
when in use.
Make sure release valve on tank is firmly
screwed shut.
Attach fuel hose regulator to the output
of the tank by turning the coupling
nut clockwise.
Turn release valve on tank counterclockwise
to release gas.
B

OPERATING INSTRUCTIONS
NOTE: Before use, inspect burner, propane tank, and connectors for damage, debris, obstructions, or dirt.
Do not operate if there is any blockage.
During first use, leave fire pit ignited for 20 minutes as lava rocks may pop and cause injury.
1. Push and turn control knob counterclockwise to low/ignite.
2. Press the ignitor button repeatedly to light burner.
- If flames do not ignite after 45 seconds, turn o, wait 5 minutes, and try again.
- If necessary, light burner with a match or lighter.
3. Adjust flames with the control knob. Flames should be between 2 and 10 inches high.
4. When finished, push and turn control knob clockwise to o position.
5. Turn valve on propane tank clockwise to turn o gas flow.
CONTROL PANEL
OFF (ARRÊT)
LOW(BAS)
HIGH(ÉLEVÉ)
IGNITER PUSH
ALLUMEUR-POUSSER
OFF
HIGH
LOW/IGNITE CONTROL KNOB
IGNITER:
Push to light burner
INSTALLING BATTERY
1. Unscrew igniter button.
2. Insert AAA battery with the positive side facing outwards.
3. Replace igniter button.
NOTE: If the burner is not lighting, you may need to replace the battery in the igniter.
8|

| 9
CLEANING
STORAGE
•Immediately wipe spills; do not let spills absorb into surface.
•Make sure fire pit is completely cool before cleaning.
•Use a soft brush or cloth to wipe stains and dirt.
•If necessary, clean with mild detergent and a soft cloth/sponge.
•Thoroughly dry fire pit after cleaning.
•Do not use petroleum-based or abrasive cleaners as it may damage the finish.
•Do not use rough or harsh sponges/brushes.
•Allow fire pit to cool 10 minutes before storage.
•Disconnect propane tank when putting fire pit in storage. Do not store propane tank in the vicinity of
the fire pit.
•Place cover on fire pit to protect from harsh weather.
•Do not store in direct sunlight.
•Do not store/use gasoline, or any other flammable vapors or liquids, in the vicinity of the fire pit.
•It is recommended that the fire pit is stored indoors during winter.
•If fire pit is stored indoors, disconnect and leave propane tank outdoors.
•For extended storage, remove the battery from the ignitor.

TROUBLESHOOTING
PROBLEM REASON SOLUTION
Burner not lighting
with igniter
Burner does not light
Flames blow out
Emits a lot of black smoke
Drop in gas flow, reduced
flame height
Irregular flame pattern, or
does not run length of burner
Dry electrode/burner
Clear guard of obstructions
Replace battery in igniter
Remove obstructions or
clean holes
Replace/refill tank
Fully tighten coupling nut
Straighten hose
Ice buildup on propane tank
Electrode/burner wet
Igniter pin is bent
Guard obstructed
Coupling nut loose
Bent hose
High winds Turn control knob to high
Propane tank is empty Replace/refill tank
Propane tank is empty Replace/refill tank
Remove obstructions or
clean holes
Burner holes obstructed
Burner holes obstructed Remove obstructions or
clean holes
Straighten hose
Bent hose
Propane tank is empty
Bend igniter pin back towards
thermocouple
Igniter battery dead
Burner holes obstructed
Replace tank
Flames lose heat in
cold weather
10 |

Earn points while you shop. Join today!
bestchoiceproducts.com
Give your friends 15% o their first order! For each
successful referral you’ll receive 100 points.

All items can be returned for any reason within 60 days of the receipt and will receive a full refund as long
as the item is returned in its original product packaging and all accessories from its original shipment are
included. All returned items will receive a full refund back to the original payment method. All returned
items will not be charged a re-stocking fee.
All returned items require an RA (Return Authorization) number, which can only be provided by a Best
Choice Products Customer Service Representative when the return request is submitted. Items received
without an RA may not be accepted or may increase your return processing time. Once an item has been
received by Best Choice Products, refunds or replacements will be processed within 5 business days.
All returns must be shipped back to the Best Choice Products Return Center at the customer’s expense. If
the reason for return is a result of an error by Best Choice Products then Best Choice Products will provide
a pre-paid shipping label via email. Boxes for return shipping will not be provided by Best Choice Products,
and is the customer’s responsibility to either use the original shipping boxes or purchase new boxes.
Pictures may be required for some returns to ensure an item is not damaged prior to its return. Items
returned are not considered undamaged until they are received by Best Choice Products and verified as
such. All damages to items are the customer’s responsibility until the item has been received by and
acknowledge by Best Choice Products as undamaged.
PRODUCT WARRANTY INFORMATION
Manufacturer and seller expressly disclaim any and all liability for personal injury, property damage or
loss, whether direct, indirect, or incidental, resulting from the incorrect attachment, improper use,
inadequate maintenance, or neglect of this product.
HELP CENTER
Product Assembly
Product InquiryChat Support Returns & Refunds
Orders FAQ
WARNING
Question about your product? We're here to help. Visit us at:
help.bestchoiceproducts.com
CHAT
US!
Table of contents
Popular Outdoor Fireplace manuals by other brands

BED BATH & Beyond
BED BATH & Beyond ET-F-030-A1 manual
Axxonn
Axxonn FT150PWISMLID Assembly instructions
Extremis
Extremis Qrater Technical sheet
Heatmaxx
Heatmaxx SRFP9624 manual
Hearth and Home Technologies
Hearth and Home Technologies MONTANA MONTANA-36 Installation & operating instructions
Bluegrass Living
Bluegrass Living BFPR-33 user guide
FMI
FMI V 042NRB SERIES OWNER'S OPERATION AND INSTALLATION MANUAL
Outsunny
Outsunny 842-263 Assembly & instruction manual
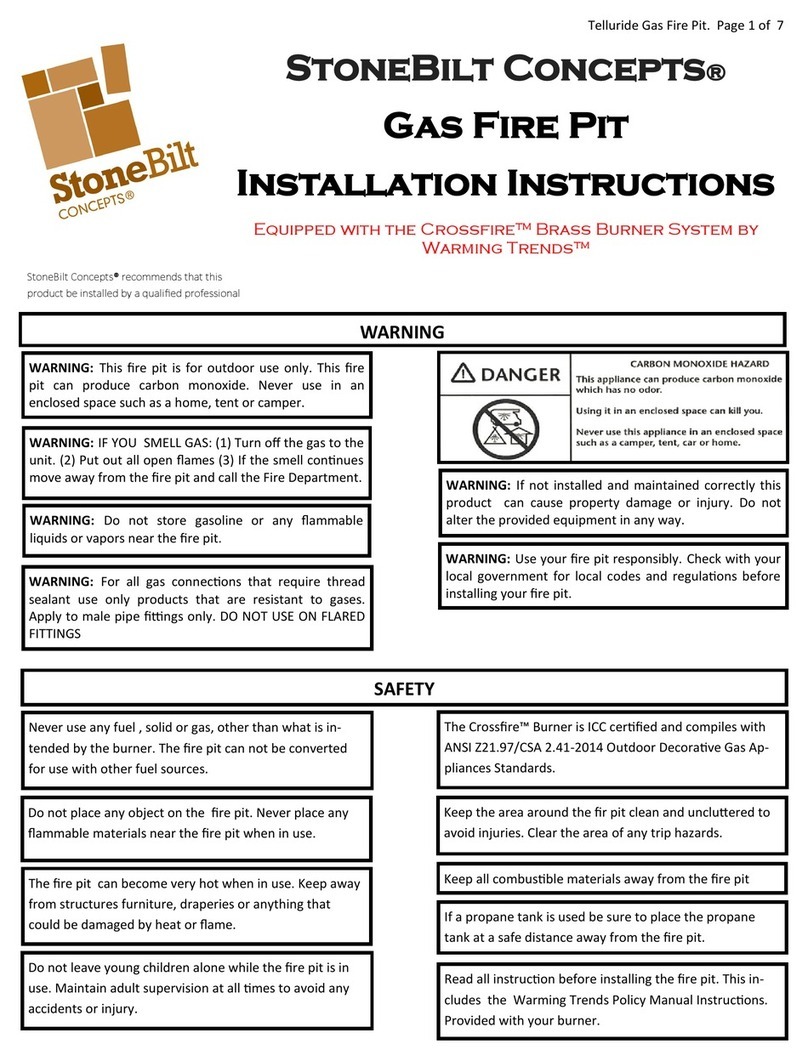
StoneBilt Concepts
StoneBilt Concepts Telluride installation instructions
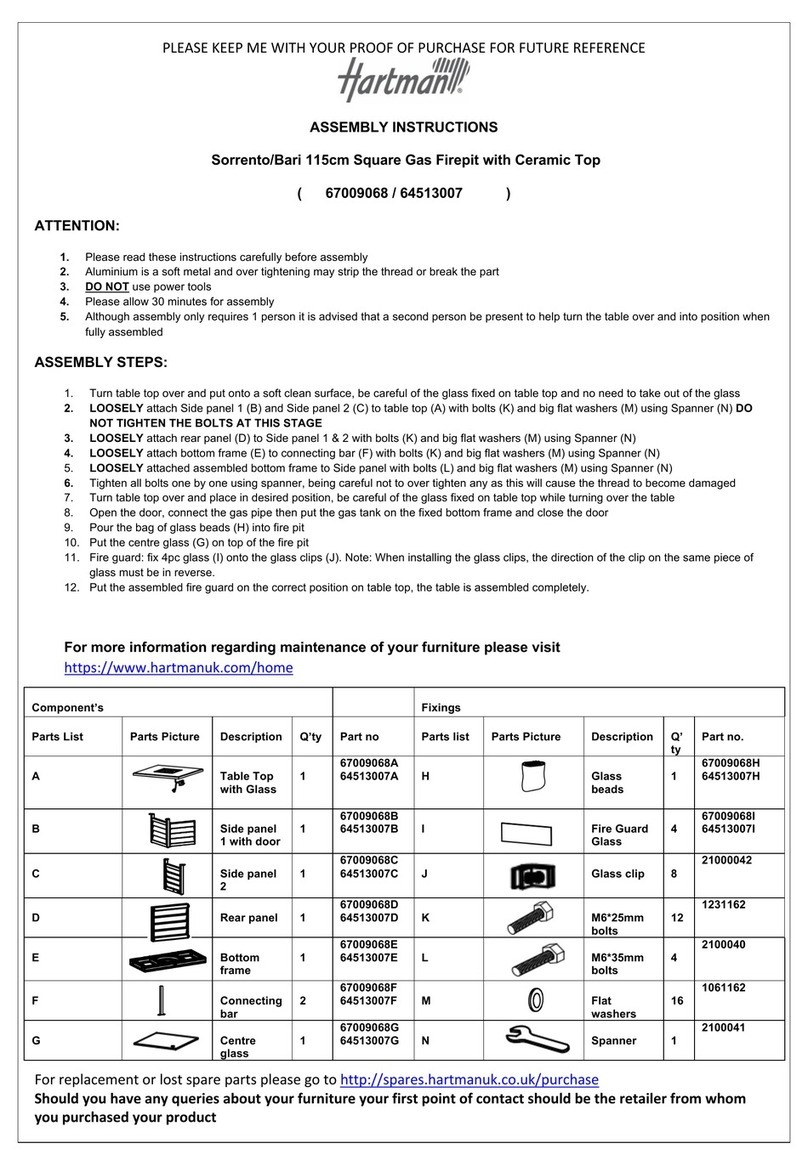
Hartman
Hartman Sorrento Assembly instructions

Sunnydaze Decor
Sunnydaze Decor NB-518 manual
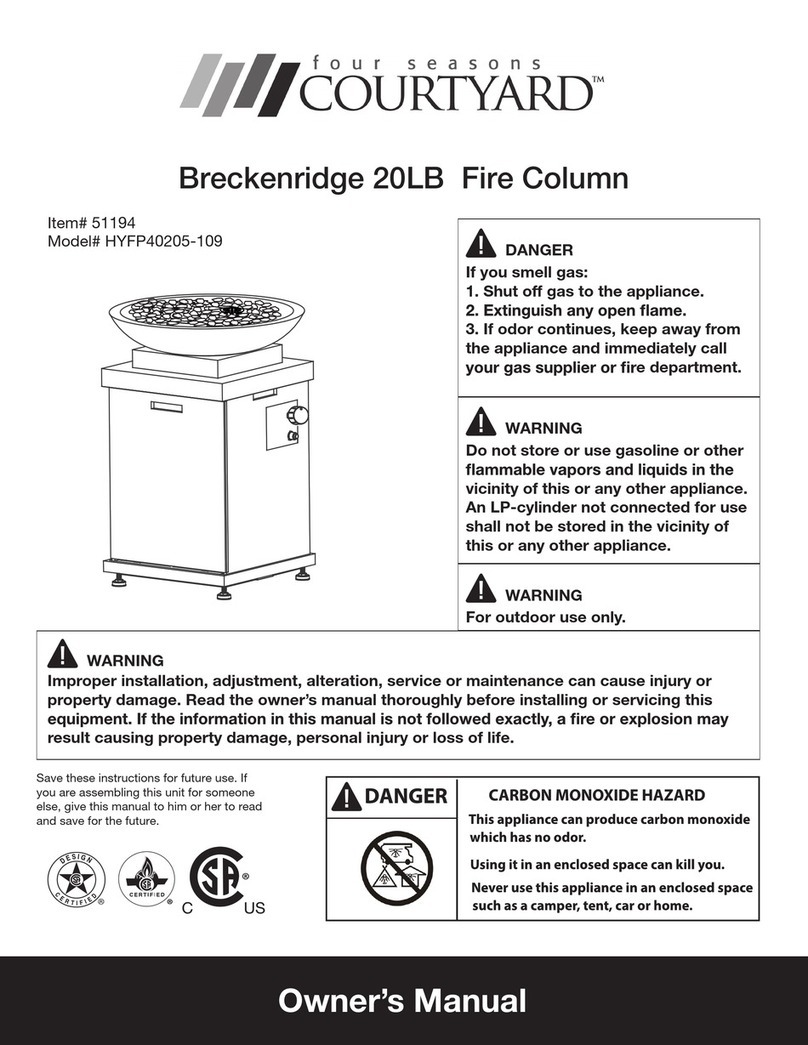
Four Seasons Courtyard
Four Seasons Courtyard Breckenridge HYFP40205-109 owner's manual
