decakila KUTT001W User manual

KUTT001W
CAN OPENER


KNOW YOUR CAN OPENER
NOTES ON THE CORD PLUG
USING YOUR CAN OPENER
IMPORTANT SAFEGUARDS
CAN OPENING TIPS
TO SHARPEN KNIFE
KNIFE SHARPENING TIPS
CLEANING AND MAINTENANC
01
02
02
02
03
04
04
04
CONTENTS

When using electrical appliances, basic precautions should always be followed, including the following:
Read all instructions before using.
To protect against electric shock, do not immerse appliance in water or other liquid.
Unplug from outlet when not in use, before putting on or taking off parts, and before cleaning.
Close supervision is necessary when appliance is used by or near children.
Avoid contacting with moving parts.
Do not operate any appliance with a damaged cord or plug, or aer the appliance malfunctions, or if it has been dropped or
damaged in any manner. Return the appliance to the nearest authorized service facility for examination, repair or electrical or
mechanical adjustment.
The use of attachments not recommended or sold by the manufacturer may cause fire, electrical shock or injury.
Do not let cord hang over edge of table or counter or touch hot surfaces, including the stove.
Do not use outdoors or for commercial purposes.
Do not open pressurized cans.
Do not use this appliance for other than intended use.
Do not open cans of flammable liquids such as lighter fluids.
This appliance is not intended for use by persons (including children) with reduced physical, sensory or mental capabilities, or lack
of experience and knowledge, unless they have been given supervision or instruction concerning use of the appliances by a person
responsible for their safety.
Children should be supervised to ensure that they do not play with the appliance.
Save these instructions.
IMPORTANT SAFEGUARDS
01

1. To attach blade bracket to the can opener, make the key tabs
align with the key slots, push it frontward to fix it (see Fig. 1),
then press down the blade bracket to ensure it has been
assembled in place (see Fig. 2). Then li the blade bracket.
2. Connect to the power source.
Remove the unit and blade bracket from the package before
the first time use.
This appliance has a polarized plug (one blade is wider
than the other). To reduce the risk of electric shock, this
plug will fit in a polarized outlet only one way. If the plug
does not fit fully into the outlet, reverse the plug. If it still
does not fit, contact a qualified electrician. Do not modify
the plug in any way.
02
NOTES ON THE CORD PLUG USING YOUR CAN OPENER
KNOW YOUR CAN OPENER
3. Tip the can so that its rim is under the locating post, the lid
of the can will be sucked by magnet, then press down the
blade bracket while the On/Off button to the “On” position.
Make sure the blade is inside the rim (see Fig. 3). Drive wheel
will actuate the can to rotate and the blade will cut the can
Fig. 1 Fig. 2

CAN OPENING TIPS
This can opener should not be used to open cans designed
to open by another method, such as a pull tab, peel-off foil
seal, or rolling key. This can opener will not be used to open
rimless cans or cans with angled corners.
If there is a dent in the rim of a can, open the other end or
start the cutting action just beyond the dent. Cans with
heavy seams, uneven rims or odd shapes may cause the can
opener to stall. If this occurs, turn the can slightly by hand to
aid the cutting action.
03
4.When the can is opened, the can opener will stop automati-
cally. To remove the can, hold it with one hand and raise the
blade bracket with the other one.
CAUTION: Avoid contacting with the cut edges of the can or
lids as they are sharp, carefully remove the lid from the
magnet and discard.
Wsrning:The cans opened with this Can Opener must be
less than 0.6kg in weight.
NOTE: The time of opening cans continuously do not
exceed 1 minute.
5.The excess cord can be stuffed into cord storage at the back
of the unit, and feed the cord through the notch for
convenient storage.
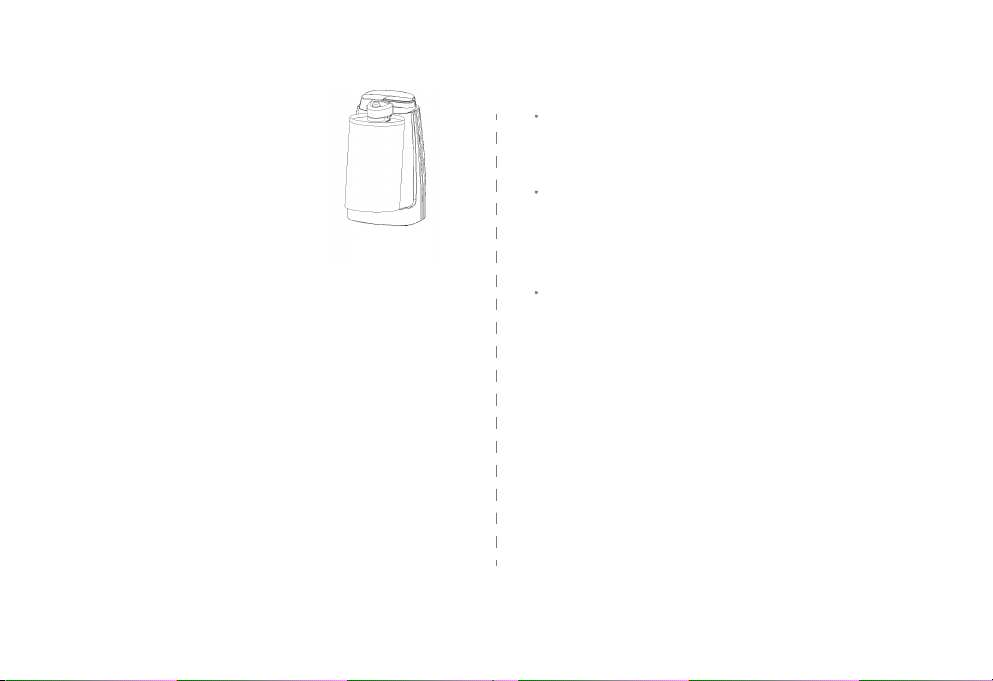
open. Because of the hands-free
feature, it is not necessary to hold
blade bracket down or support the
can during cutting.
NOTE: The can required to be
opened shall be 50mm to 100mm
in diameter and 160mm max in
height. In the case total weight of
can is over 510g, it is necessary to
press and hold the can opener to
avoid overturning. Frozen juices or foods in cardboard cans should be opened
as soon as they are removed from the freezer. Aluminum
lids will not be sticked to the magnet.
Fig. 3

TO SHARPEN KNIFE
04
Clean and dry knives before sharpening.
Do not attempt to sharpen serrated blades, as this will
smooth their edges.
Do not attempt to sharpen scissors.
Before cleaning any part of the can opener, unplug the cord.
To remove the blade bracket for easy cleaning, li the blade
bracket up and pull it out. The blade assembly can be
cleaned with a damp cloth, then wiped with a sponge and
dried thoroughly. It is not dishwasher-safe component.
Reverse the procedure to replace the blade bracket.
Before replacing the blade bracket, wipe the can opener
housing, and area around the drive wheel with a slightly
damp cloth or sponge. To remove stubborn spots, wipe
surfaces with nylon or mesh pad and sudsy water, following
with a clean, damp cloth. Do not use abrasive cleaners on
any part of the can opener as they can damage the finish.
Do not immerse main part of can opener into water as this
would give rise to electric shock.
Unplug the power supply firstly, and then place the knife
which is intended to be sharpened in the slot of knife
sharpener at the back of the unit. For best results, sharpen the
entire length carefully to pull the knife through the slot back
and forth (see Fig. 4), until desired sharpness achieved. Aer
sharpening, wash and dry the knife. The sharpener also can
be used for sharpening stationery scissor (see Fig. 5).
NOTE: Be cautious with knife aer sharpening.
Fig. 5
KNIFE SHARPENING TIPS
CLEANING AND MAINTENANC
Fig. 4

User guide
DECAKILA CO.,LIMITEDWWW.DECAKILA.COM
DECAKILA DECAKILA
MADE IN CHINA 2021.D01Suzhou China
Table of contents
Popular Can Opener manuals by other brands

Ovente
Ovente CO36 Series instruction manual

Kitchen Mama
Kitchen Mama CO1100-R use and care manual

Windmere
Windmere CO-2 operating instructions

Harbor Freight Tools
Harbor Freight Tools 91038 Assembly and operating instructions

Hamilton Beach
Hamilton Beach Sure Cut 76371 user manual

Hamilton Beach
Hamilton Beach Walk-n-Cut 76500 Use & care guide