Denver DSS-510 User manual

INSTRUCTION MANUAL
5.1 Channel Home Theatre System with
Active Subwoofer
DSS-510
ALL RIGHTS RESERVED
COPY RIGHT DENVER ELECTRONICS A/S
www.denver-electronics.com
DENVER ELECTRONICS
Instructions on environment protection
Do not disposeof this productin the usualhousehold
garbage at theend of itslifecycle; hand itover at a
collection point forthe recycling ofelectrical and
electronic appliances. The symbol on the product, the
instructions for useor the packingwill inform aboutthe
methods for disposal.
The materials arerecyclable as mentionedin this
marking. By recycling,material recycling orother
fo ms of re-utilizationof old appliances,you are
making an importantcontribution to protectour
environment.
Please inquire atthe community administrationfor the
authorized disposal location.
r

OUTPUT
LR
LR
INPUT
POWER
ON OFF
AC IN
RISK OF ELECTRIC SHOCK
DO NOT OPEN
WARNING TO REDUCE THE RISK OF
FIRE OR ELECTRIC SHOCK DO NOT
EXPOSE THIS APPLIANCE TO RAIN
OR MOISTURE
SAFETY INFORMATION
OUTPUT
LR
LR
INPUT
POWER
ON OFF
AC IN
RISKOF ELECTRICSHOCK
DO NOT OPEN
WARNING TO REDUCE THE RISK OF
FIRE OR ELECTRIC SHOCK DO NOT
EXPOSE THIS APPLIANCE TO RAIN
OR MOISTURE
OUTPUT
LR
LR
INPUT
POWER
ON OFF
AC IN
RISK OF ELECTRIC SHOCK
DO NOT OPEN
WARNING TO REDUCE THE RISK OF
FIRE OR ELECTRIC SHOCK DO NOT
EXPOSE THIS APPLIANCE TO RAIN
OR MOISTURE
THE LIGHTNING FLASH WITH ARROWHEAD SYMBOL,
WITHIN AN EQUILATERALTRIANGLE, IS INTENDED
TO ALERT THE USER TO THE PRESENCE OF
UNINSULATED, DANGEROUS VOLTAGE ,WITHIN
THE PRODUCT S ENCLOSURE THAT MAY BE OF
SUFFICIENT MAGNITUDE TO CONSTITUTE A RISK OF
ELECTRIC SHOCK TO PERSONS.
THE EXCLAMATION POINT WITHIN AN EQUILATERAL
TRIANGLE IS INTENDED TO ALERT THEUSER TO THE
PRESENCE OF IMPORTANTOPERATING AND MAIN-
TENANCE (SERVICING) INSTRUTIONS IN THE LITERA-
TUER ACCOMPANYING THE APPLIANCE.
Safety Precautions
WARNING: TO PREVENT FIRE OR ELECTRIC SHOCK, DO
NOT EXPOSE THIS APPLIANCE TO RAIN OR MOISTURE.
1

9.Heat-keep the appliance away from heat sources such as
radiators, heat registers, stoves, or other appliances (including
amplifiers) that produce heat.
10.Nonusege Periods- The power cord of the appliance should
be unplugged from the outlet when left unused for a long
period of time.
11.Damage requiring service- The appliance should be serviced
by qualified service personnel when:
A: The power-supply cord or the plug has been damaged; or
B: The Objects have fallen or liquid has been spilled into the
appliance; or
C: The appliance has been exposed to rain; or
D: The appliance does not appear to operate normally or
exhibits a marked change in performance; or
E: The appliance has been dropped, or the enclosure
damaged.
12.Servicing-The user should not attempt to service the
appliance beyond that specified in the operating instruc tions.
all other servicing should be referred to qualified service
personnel.
13.Clean only with dry cloth
14.Do not defeat the safety purpose of the polarized or
groundingtype plug. A polarized plug has two blades with one
wider than the other. A grounding type plug has two blades and
a third grounding prong. The wide blade or the third prong are
provided for your safety. If the provided plug does not fit into
your outlet,consult and electrician for replacement of the
obsolete outlet.
15.Unplug this apparatus during lightning storms or when unused
for long periods of time.
IMPORTANT SAFEGUARDS
3
IMPORTANT SAFEGUARDS
CAUTION: Please read carefully all the following important
safeguards to ensure safe operation.
1.Read Instructions - All the safety and operating instructions
should be read before the appliance is operated.
2.Retain Instructions - The safety and operating instructions
should be retained for future reference.
3.Follow Instructions -All operating instructions should be
followed.
4.Heed Warnings - All warnings on the appliance and in the
operating instructions should be adhered to.
5.Power Source - The appliance should be connected to a power
supply only of the type specified in the operating instructions
or as marked on the appliance.
6.Power-cord Protection - Power- supply cords should be routed
so that they are not likely to be walked on or pinched by items
placed upon or against them, pay particular attention to cords
at plugs, convenience receptacles, and the point where they
exit from the appliance.
7.Water and Moisture-The appliance should not be used near
water (for example, near a bathtub, washbowl, kitchen sink,
laundry tub, in a wet basement, or near a swimming pool, etc.)
8.Ventilation- The appliance should be situated so that its
location or position does not interfere with its proper
Ventilation. Do not use the appliance on a bed, sofa, rug or
similar surface that may block the ventilation openings.
2

1. Remote Sensor
2. Power Standby
3.
4.
5.
6.
Input button
SURROUND: Surround Sound Decoder
VOL+:Volume Up
VOL-: Volume Down
VOL-
VOL+
SURROUND
INPUT
STANDBY
SENSOR
1
2
3
4
5
6
FRONT PANEL - CONTROLS AND FUNCTIONS REAR PANEL - CONTROLS AND FUNCTIONS
7. 5.1CH Surround Left Audio Input.
8. 5.1CH Centre Audio Input.
9. 5.1 CH Subwoofer Audio Input.
10. 5.1 CH Surround Right Audio Input.
11. 5.1 CH Front Right Audio Input.
12. 5.1 CH Front Left Audio Input.
13. Stereo Left Audio Input.
14. Stereo Right Audio Input.
15. Speaker Output.
FR: Front Right Speaker Output.
FL: Front Left Speaker Output.
C: Centre Speaker Output.
RL: Surround Left Speaker Output.
RR: Surround Right Speaker Output.
16. Power On/Off Switch.
17. Fuse
18. AC Power Cord.
5
4
7
8
9
10
11 12
13
14
15
16 18
POWER
ON
OFF
AC IN
~230V/50Hz
SPEAKER OUTPUT
DVD INPUT AUX
INPUT
C RL FL L
SUB RR FR R
RR RL C FL FR
OUTPUT
LR
LR
INPUT
POWER
ON OFF
AC IN
RISK OF ELECTRIC SHOCK
DO NOT OPEN
WARNING TO REDUCE THE RISK OF
FIRE OR ELECTRIC SHOCK DO NOT
EXPOSE THIS APPLIANCE TO RAIN
OR MOISTURE
MODELNO.:DSS-510
POWER SOURCE: AC~230V/50Hz
www.denver-electronics.com
FUSE
T1.6A/250V
17

SETTING UP THE ALUMINIUM DIE - CASTING SPEAKERS
Remove the bass, aluminium speakers, screws. And rubber
feet from the packaging. Now you can set it up as follows:
Place the bass at the bottom of the speaker pole, insert and
tighten the screws to secure the base to the speaker.
SYSTEM CONNECTION INSTRUCTION
Use the SPEAKER OUTPUT jacks on the rear panel of
main unit to connect to the satellite speakers.
RR RL C FL FR
(Connection example)
Surround Right Speaker
Note: Be sure to match the speaker cord to the appropriate jacks on
components: + to + ,and - to -
7
6
TV
FL FR SW
SL SR CEN
Subwoofer
Optional
to stereo output
POWER
ON
OFF
AC IN
~230V/50Hz
SPEAKEROUTPUT
DVD INPUT AUX
INPUT
C RL FL L
SUB RR FR R
RR RL C FL FR
OUTPUT
LR
LR
INPUT
POWER
ON OFF
ACIN
RISKOF ELECTRIC SHOCK
DONOT OPEN
WARNINGTO REDUCE THE RISK OF
FIREOR ELECTRIC SHOCK DO NOT
EXPOSETHIS APPLIANCE TO RAIN
ORMOISTURE
MODELNO.:DSS-510
POWERSOURCE:AC~230V/50Hz
www.denver-electronics.com
OUTPUT
LR
LR
INPUT
POWER
ON OFF
ACIN
RISKOF ELECTRIC SHOCK
DONOT OPEN
WARNINGTO REDUCE THE RISK OF
FIREOR ELECTRIC SHOCK DO NOT
EXPOSETHIS APPLIANCE TO RAIN
ORMOISTURE
DVD Player Video Out
Video In
FUSE
T1.6A/250V
SYSTEM CONNECTION INSTRUCTION

OPERATING INSTRUCTION - CONTROLS AND FUNCTIONS
19. Standby
20. Surround
21. Input Select
22. Left
23. Right
24. Surround LeftBalance Output Up
25. Centre OutputUp
26. Surround LeftBalance Output Down
27. Centre OutputDown
28. Bass OutputUp
29. VolumeOutput Up
30. Bass OutputDown
31. VolumeOutput Down
32. Mute
33. Preset
34. Surround RightBalance Output Up
35.
36. TrebleOutput Up
37. TrebleOutput Down
Balance Output
Balance Output
Surround Right BalanceOutput Down
1. Before using the remote controller, please insert correct
type of batteries into the battery compartment.
2. The remote controller uses 2x1.5V/AAA batteries.
3. Please insert the batteries a indicated below.
A/Remove the battery compartment cover.
s
b/Insert 2 batteries as per the polarities marked inside the
battery compartment.
C/Replace the battery cover
4. If the remote controller is of no function, please check the
batteriesor change new batteries before consulting
technical personnel.
5. To properly use the remote controller, please put its
front emitter right at the receiving lattice (remote sensor)
of the main system.
6. The normal and effective distance for operating the
system by the remote controller is 7 meters within the
system, and at 30 angle left or right diverged away from
the system.
OPERATING INSTRUCTION - REMOTE CONTROLLER
9
8
19
TREBLEBASS VOLUME
SL C SR
INPUT PRESET
MUTE
L BALANCE R
STANDBY
SURROUND
+++
---
+
-
+
-
+
-
20
21
22
23
24
25
26
27
28
29
30
31
32
33
34
35
36
37
DSS-510
BatterySize:AAAx2
MODELNO.:DSS-510
BatterySize:AAAx2
MODELNO.:DSS-510

OPERATING INSTRUCTION - MAIN UNIT
A. Switch On/Off the Product
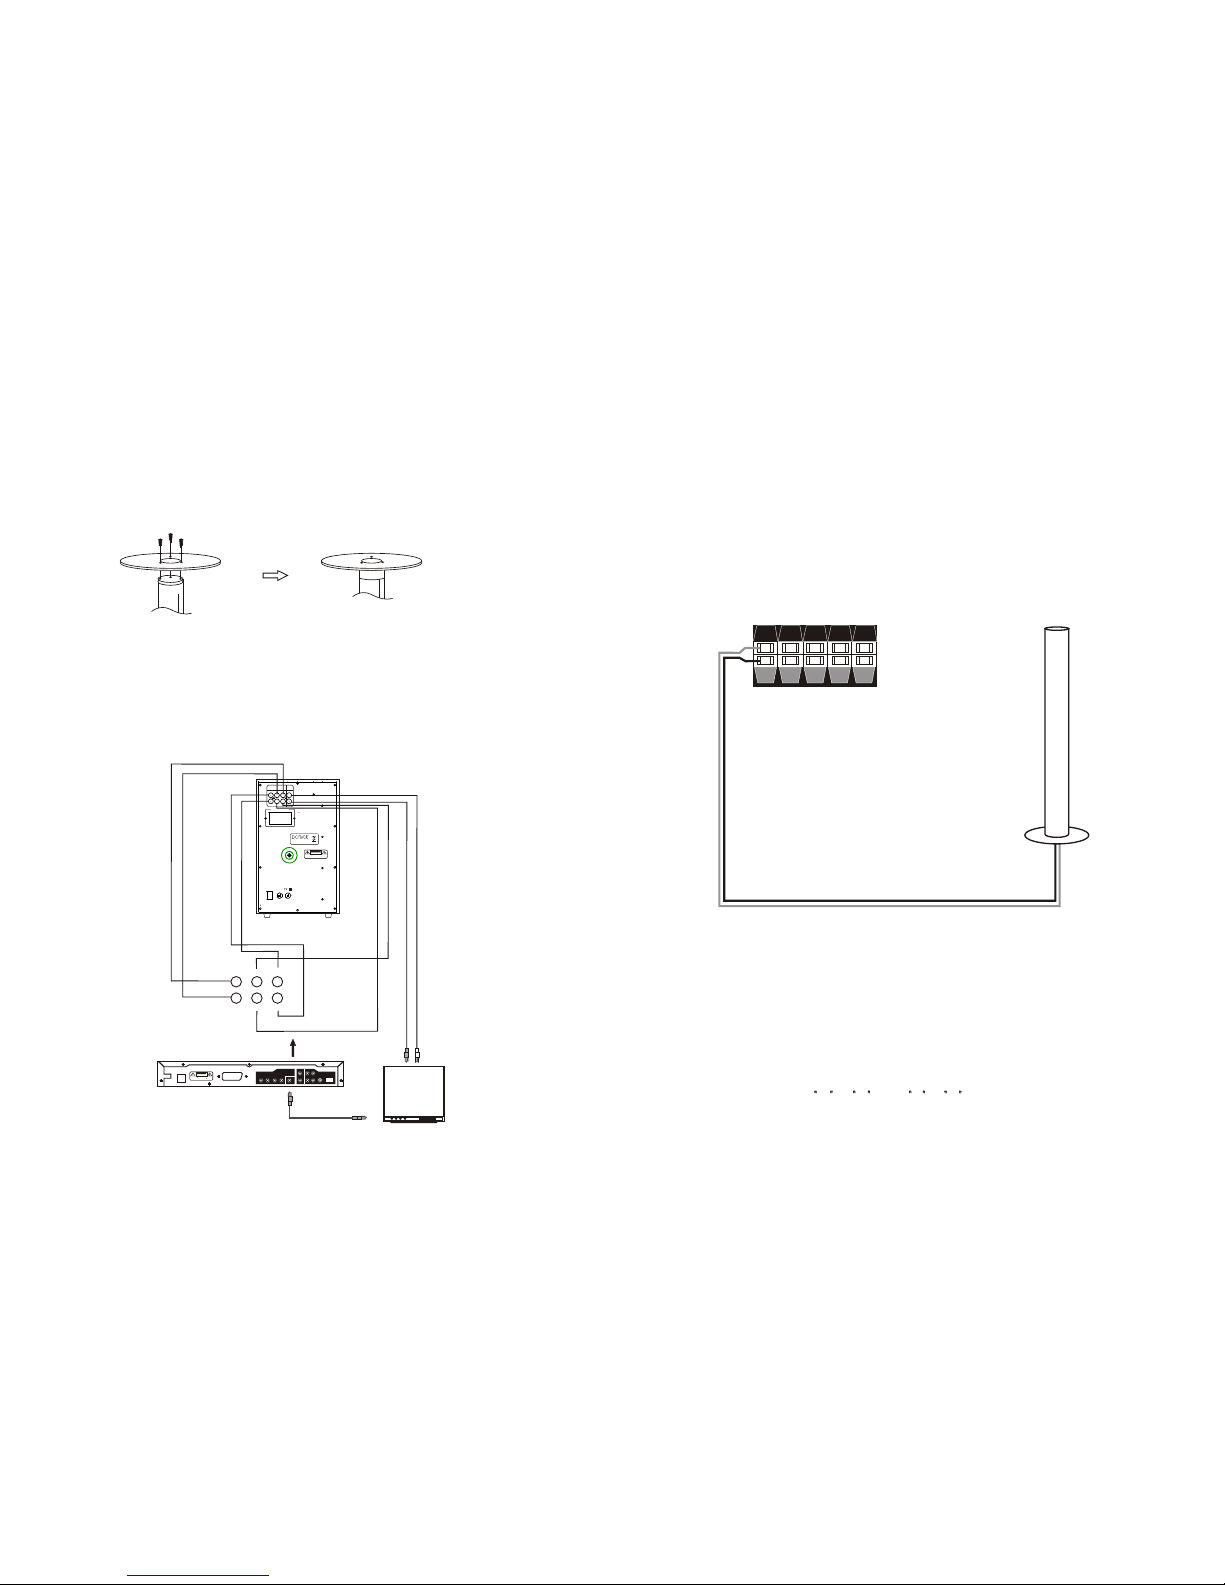
1. Before turning on the system, please connect it according to
the System Connection Instruction.
2. Connect AC power supply with this product.
(Caution: Power source must be consistent with this product.)
3. Press the Power switch button (16) on the Rear Panel of the
main unit to switch on the system, the Standby indicator will
light up. Press the Standby button(2) on the main unit to enter
the normal status.
B. VOLUME Selection
1. To increase the volume level, press the VOLUME + button(5)
on the front panel of the main unit or VOLUME + button (29)
on the remote controller, the LED will show -70 to 0 dB, 0
dB expresses the volume is at the maximum level.
2. To reduce the volume level, press the VOLUME - button (6) on
the front panel of the main unit or VOLUME - button (31) on
the remote controller, the LED will show 0 to -70 dB, -70
dB expresses the volume is at the minimum level.
C. BASS Selection
1. To increase the bass level, press the BASS + button (28) on
the remote controller, the LED will show 0 to 10 dB. The
maximum bass level is 10 dB
2. To reduce the bass level, press the BASS - button (30) on the
remote controller, the LED will show 0 to -10 dB. -10 dB
is the minimum bass level.
D. TREBLE Selection
1. To increase treble level, press TREBLE + button(36) on the
remote controller, the LED will show 0 to 10 dB. 10 dB
expresses treble is at the maximum level.
2. To reduce treble level, press TREBLE - button (37) on the
remote controller, the LED will show 1 to -10 dB. -10 dB
expresses treble is at the minimum level.
E. BALANCE Selection
1. Press the BALANCE L button (22) on the remote controller to
minimize the Left speaker output.
2. Press the BALANCE R button (23) on the remote controller
to minimize the Right speaker output.
F. SURROUND DECODER Selection
1. Connect and place Centre and Surround speakers properly.
2. Press the SURROUND button (4) on the front panel of the main
unit or button (20) on the remote controller to select Surrouud
Decoder for Home Theatre system effects.
A. Press again SURROUND button, the LED display will show 2.1,
the unit is in 2.1 status.
B. Press again SURROUND button, the LED display will show
3.1, the unit is in 3.1 status. Surround speakers output are
off.
C. Press continuously the SURROUND button three times, the
LED display shows 5.1 ,the unit is in 5.1 status.
Note: the above effects are only available at the status of 2.1 (the LED
display shows 2CH). When the unit is in the status of 5.1 (the
LED display shows 6CH), SURROUND do not have the effects.
G. CENTRE SPEAKER Selection
1.Press C + button (25) on the remote controller to maximize the
centre Speaker output.
2.Press C - button (27) on the remote controller to minimize the
centre Speaker output.
H. SURROUND LEFT SPEAKER Selection
1. Press SL + button (24) on the remote controller to maximize
the Surround Left Speaker output.
2. Press SL - button (26) on the remote controller to minimize the
Rear Surround Speaker output.
I. SURROUND RIGHT SPEAKER Selection
1.Press SR + button (34) on the remote controller to maximize
the Surround Right Speaker output.
OPERATING INSTRUCTION - MAIN UNIT
11
10

1. Connect the system properly. 5.1 Channels audio output
must comply with 5.1 Channels audio input. (Note: AC-3/dts
will decode 5.1 Channels output.)
2.Press INPUT button (3) on the front panel of the main unit or
INPUT button (21) on the remote controller to shift the
status from audio input to 5.1 channel input (the LED display
shows 6CH)
3.Adjust all output settings including VOLUME, BASS,
TREBLE (if necessary) now to enjoy the wonderful and
tremendous Home Theatre effects.
K. MUTE Selection
1. Press the MUTE button (32) on the remote controller once
to keep the performance silent.
2.LED on the front panel of the main unit will show 00 when
MUTE status is seletect.
3.Press it again to resume the performance.
L. PRESET Selection
Press on PRESET button (33) on the remote controller will
reset all settings including BALANCE, CENTRE Speaker
output, SURROUND Speaker output to 0 dB status preset by
The manufacturer.
OPERATING INSTRUCTION - MAIN UNIT TROUBLE SHOOTING
1. NO OUTPUT
(1) Check whether the system is connected correctly.
(2) Check whether the Volume is set at minimum.
Adjust it accordingly.
(3) Check whether the Audio Input is in PLAY mode.
2. FRONT LEFT SPEAKER SILENT
(1) Check whether the system is connected correctly with the
Front Left speaker.
(2) Check whether the Balance function is switched off. Adjust it
accordingly.
(3) Check whether the system is connected correctly with the
audio source.
3. FRONT RIGHT SPEAKER SILENT
(1) Check whether the system is connected correctly with the
Front Right speaker.
(2) Check whether the Balance function is switched off. Adjust it
accordingly.
(3) Check whether the system is connected correctly with the
audiosource.
4. CENTRE SPEAKER SILENT
(1) Check whether the system is connected correctly with the
Centre speaker.
(2) Check whether the system is connected correctly with the
audio source.
(3) Check whether 2.1CH is selected as audio output.
5. SURROUND SPEAKER SILENT
(1) Check whether the system is connected correctly with the
Surround speaker.
(2) Check whether the system is connected correctly with the
audio source.
(3) Check whether 2.1 CH is selected as audio output.
(4) Check whether 3.1 CH is selected as audio output.
13
12
2.Press SR - button (35) on the remote controller to
Minimize the Surround Right Speaker output.
J. 5.1 CHANNELS INPUT Selection

SPECIFICATIONS
SUPPLEMENT
To improve the effect of the system, please note the following
when you connect the DVD player as the audio input.
1. When 5.1 channel audio input is selected, the DVD player
should be set as multi-channel and choose the proper Disc
format.
2. This speaker system is 5.1 channel satellite speaker system,
so in the speaker setting (in DVD menu) for the DVD player,
the front, centre and surround speakers should be set as
small, and set the subwoofer at on status to allow it.
If the detailed instruction about DVD player setting is required,
please read the instruction manual carefully.
1. Power Supply...............................................AC 230V/50Hz
2. Power Consumption..................................................160W
3. Input Sensitivity(Subwoofer).........................130mV 20mV
4. Input Sensitivity(surround)............................480mV 20mV
5. Speaker Impedance.............................. ...............8 Ohm
6. S/N (Aweight)......................................................... 70dB
7. Subwoofer Power Output Single a Test (MAX)................50W
8. Front Speaker Power Output Single a Test (MAX).......15Wx2
9. Centre Speaker Power Output Single a Test(MAX).........15W
10. Surreound Speaker Power Output (MAX).................15Wx2
11. THD(1kHz,1W)................. .............................. 0.25%
12. Bass(100Hz)................... ..................................... 10dB
13. Treble(10kHz)................... ............... ............... 10dB
14. Frequency Response...................... .............40Hz~20kHz
15. L/R Separation(1kHz)................ ...................... 40dB
16. L/R Balance(Stereo).............. ............................ 1dB
.....
.....
.
..... .
.
......
.....
15
14
Table of contents
Other Denver Home Cinema Speakers manuals