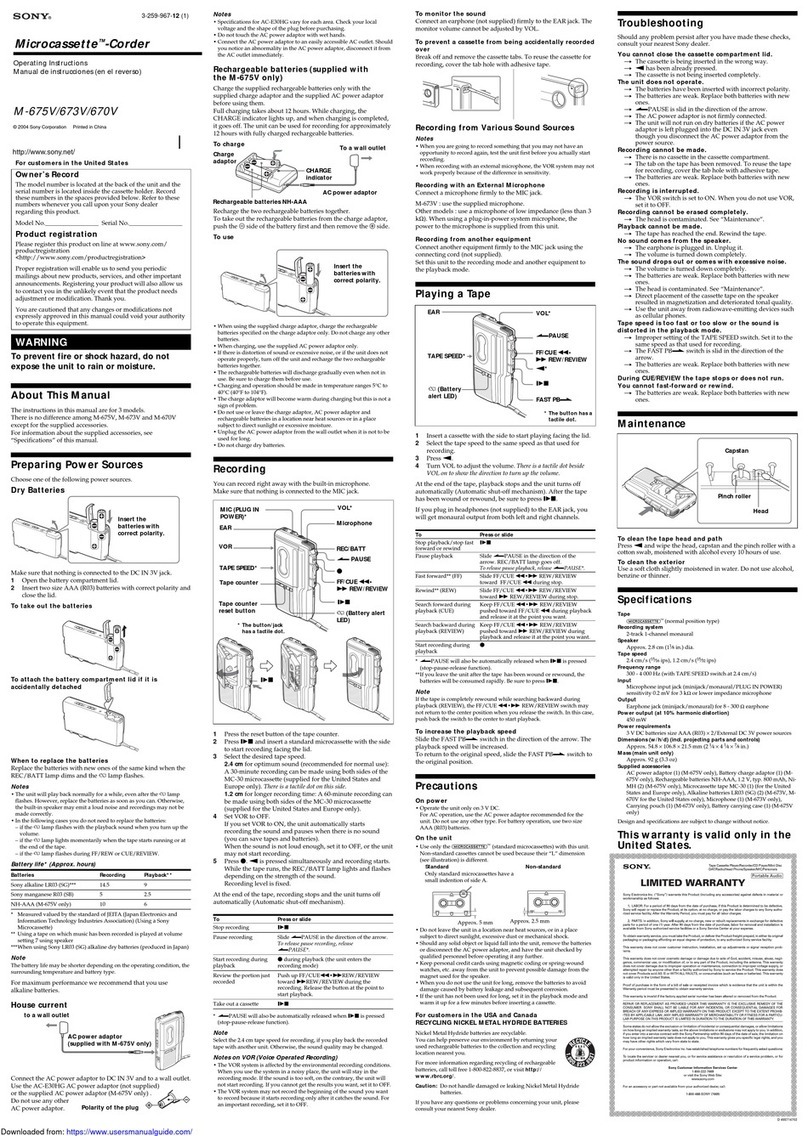
Dictaphone Professional Series User manual


DICTAPHONE®MODEL 3255
MICROCASSETTE RECORDER
ENGLISH INSTRUCTIONS....................... 2
DEUTSCH BEDIENUNGSANLEITUNG.. 16
INSTRUCCIONES ESPAÑOLES ............ 28
MODE D'EMPLOI FRANÇAIS................. 40


Identification of the Parts
Power Switch (Off On)
Volume Control Knob (-Volume+)
Index Button (Index)
Dict Conf Switch (Dict Conf)
Tape Speed Switch (2.4cm/s < — > 1.2cm/s)
VOX/F.Play Switch (VOX/F.Play)
External Power Source Jack (DC3V)
External Power Source Jack Cover
Battery Compartment
External Microphone/Telephone Jack (Tel)
Earphone Jack (Ear)
LED Indicator
Tape Counter
Built-in Microphone
Mode Selector Switch
(Rew Play Stop Record)
Fast Forward Button (FF)
Eject Button (Eject)
Microcassette Compartment
Built-in Speaker

1
DICTAPHONE® Model 3255
MICROCASSETTE RECORDER
Thank you
Thank you for choosing the Dictaphone Model
3255. Please read these instructions carefully.
Danke
Wir freuen uns, daß Sie sich für den Dictaphone
Model 3255 entschieden haben. Dank der
einfachen und komfortablen Bedienung werden
Sie sich schnell mit Ihrem Taschenrecorder
vertraut machen.
Gracias
Gracias por haber elegido la Dictaphone Model
3255. Le rogamos que lea atentamente las
presentes instrucciones.
Merci bien
Nous vous remercions d'avoir choisi le Model
3255. Avant toute utilisation de votre appareil,
veuillez lire attentivement ce mode d'emploi.

2
Contents
Installing the Batteries ................................ 3
Using the AC Adaptor ................................ 3
On/Off Power Switch .................................. 3
Loading the Microcassette ......................... 4
Dictation/Conference Recording ................ 4
Index Function ............................................ 5
Monitoring Function. ................................... 6
VOX Function (Voice Activated Recording) 6
Playback ..................................................... 7
Fast Play .................................................... 7
Fast Forward Operation ............................. 8
Rewind Operation ...................................... 8
Auto Off ...................................................... 8
Preventing Accidental Erasure ................... 8
Maintenance ............................................... 9
Care in Handling ........................................ 9
Helpful Hints ............................................. 10
Specifications ........................................... 11
FCC Notice ............................................... 12

3
Installing the Batteries
1. Open the battery compartment by sliding the
latch down.
2. Insert two type AAA (penlight) batteries, with
the correct polarity alignment.
3. Close the battery compartment.
Using the AC Adaptor
To use the AC adaptor (available at
www.dictaphone.com), remove the external power
source jack cover in the following way.
1. Insert the pen point into the hole on the side of
the cover.
2. Gently tilt the pen until the cover pops up.
3. Plug one end of the adaptor wire into the jack
and the other end into a power source.
On/Off Power Switch
1. Slide the Power switch to the On position.

4
Loading the Microcassette
1. Press the Eject button to open the cassette
compartment.
2. Insert a microcassette by sliding it into the
holder as shown in the illustration. Gently
press the cassette compartment down until
it locks.
Notes:
• Use only microcassette tapes marked
Dictasette®that are available at
www.dictaphone.com.
• Excessive tape slack can cause
malfunctions; insert a pencil into the
core of the reel and turn gently until the
tape is fastened.
Dictation/Conference Recording
1. Set the Power switch to the On position.
2. Select the tape speed (2.4cm/s or 1.2cm/s)
with the Tape Speed switch .
3. For dictation, set the Dict Conf switch to
the Dict position.

5
4. Slide the Mode Selector switch to the
Record position and make sure that the red
LED indicator on the top panel lights. (If the
indicator does not light, replace the batteries or
use the optional AC adaptor.)
5. Hold the unit so the microphone is
approximately 8cm (3 inches) from your
mouth and speak in a normal voice.
6. When using the conference mode, set the Dict
Conf switch at Conf position. Then, set the
Mode Selector switch to Record position
and place the unit at the center of the table or
desk.
7. When dictation or conference is completed,
slide the Mode Selector switch to the Stop
position.
Note: Recording level is adjusted automatically.
Index Function
During recording, press the Index button to
record an index mark to separate the tape contents
into segments as desired. The red LED indicator
blinks for two seconds.
The index function works only with the tape speed
of 2.4cm/s.

6
Monitoring Function.
During recording, insert the earphone into the
Earphone Jack to monitor the recording
contents. The monitoring level can be adjusted by
the Volume Control Knob .
VOX Function (Voice Activated
Recording)
1. Set the VOX/F.Play switch to the VOX
position.
2. Set the tape speed (2.4cm/s or 1.2cm/s) with
the Tape Speed switch .
3. Set the voice activated recording level by
adjusting the Volume Contro l Kn ob . At
volume levels from 8 to 10, the recording
starts even with soft sounds, while at volume
levels from 5 to 7, the recording starts with
louder sounds. At the lowest setting, recording
will not start at all.
4. Slide the Mode Selector switch to the
Record position. Recording begins, and the
red LED indicator will light. When the tape
is not moving, the red LED will blink. In VOX
mode, the Model 3255 will continue recording
for about 3 seconds after any sound finishes.

7
Notes:
• To find a suitable activated recording
level, we recommend that you make test
recordings at several volume levels
before the actual recording.
• Please note that the recording level differs
depending on which position the Dict
Conf switch is set to.
• When your use of this function is
completed, return the VOX/F.Play
switch to the Off position.
Playback
1. Set the Tape Speed switch to the speed at
which the recording was made.
2. Slide the Mode Selector switch to the Play
position.
3. Using the Volume Control knob , adjust the
Volume to a suitable level.
4. To stop the tape, slide the Mode Selector
switch to the Stop position.
Fast Play
1. Set the VOX/F.Play switch to the F.Play
position.
2. Set the Mode Selector switch to the Play
position. The tape speed will increase about
30%.

8
Fast Forward Operation
Press the FF button to advance the tape at high
speed without sound.
Rewind Operation
During playback mode, sliding the Mode Selector
switch to the Rew position rewinds the tape,
and releasing it returns to the Play mode. During
Rew mode, the playback sound of index marks can
be heard.
Auto Off
When the tape comes to the end, an alarm
continues to sound except for the FF mode, the
driving motor stops. Set the Mode Selector
switch to the Stop position, for example, to
stop the alarm.
Preventing Accidental Erasure
1. To avoid accidental erasure, break and remove
the safety lugs with a screwdriver. Without the
lug, the Mode Selector switch cannot be
moved to the Record position.
2. If you wish to record on a microcassette with
the safety lug removed, cover the hole with
plastic tape.

9
Maintenance
Keep Rec/Play head clean at all times. If
necessary, apply head cleaning solvent with a
cotton swab.
Care in Handling
1. Make sure to set the Power switch at the
Off position when the unit is not in use.
2. Avoid exposing the unit to direct sunlight, high
temperature, high humidity, or strong
magnetic fields.
3. To clean the unit, do not use solvent such as
benzene or thinner.
4. To operate this recorder with an AC adaptor,
be sure to use the dedicated AC adaptor. Other
adaptors may cause damage to it.
5. If you are not likely to use the recorder for an
extended period of time, or if you are going to
use it with the AC adaptor for a long time,
remove the batteries.
6. When using the recorder with the AC adaptor,
don’t disconnect the adaptor from the wall
outlet, or it may fail to function properly. In
this case, turn off the Power switch once.

10
Note: By switching the Dict Conf switch, the
sensitivity of the built-in microphone, as
well as that of a optional microphone
plugged into the Tel jack, can be switched.
Helpful Hints
Q1. Why can’t the microcassette compartment be
closed?
A1. You might be attempting to insert the
microcassette in the wrong direction.
Q2. Why doesn’t the tape turn?
A2. • The batteries may have run down.
•The batteries may have been inserted with
wrong polarities.
•The AC adaptor may not have been
plugged in correctly.
•The Power switch may be set to the Off
position.
Q3. The sound level is unstable or low.
A3. • The batteries may have run down.
•The Rec/Play head and/or pinch roller may
be dirty.
•Clean them with dedicated solvent using a
swab or cleaning cassette.
Q4. Previously recorded material is not erased
completely.
A4. The Rec/Play head may be dirty. Clean it with
dedicated solvent using a cotton swab.

11
Specifications
Tape: MC-30 or MC-60 Microcassette
(available at www.dictaphone.com)
Drive System: Capstan
Tracks: 2 tracks, 1 channel, monophonic
Tape Speed: 2.4cm/sec. & 1.2cm/sec.
Speaker: 28mmø dynamic speaker
Power Source: Rated Voltage, 3V DC Batteries,
1.5V AAA × 2;
AC Adaptor (available at
www.dictaphone.com)
Battery Life: Recording mode: Approx. 8.5 hours
(Alkaline manganese battery)
Practical Max. Output: 180mW (2.4cm/s)
Earphone Jack: 2.5mmø, Imp. 8Ω
External Microphone/Telephone Jack:
2.5mmø, Imp. 1.2kΩ
Frequency Response: 300 — 4,000Hz (2.4cm/s)
Size: 110 (L) × 56 (W) × 18.3 (D) mm
(4.3 × 2.2 × 0.7 in.)
Weight: 140g (4.9 oz.) with batteries
(Specifications subject to change without notice.)

12
FCC Notice
This equipment generates and uses radio
frequency energy and if not installed and used
properly, that is, in strict accordance with the
manufacturer’s instructions, may cause
interference to radio and television reception. It
has been type tested and found to comply with the
limits for a Class B computing device in
accordance with the specifications in Subpart J of
Part 15 of FCC Rules, which are designed to
provide reasonable protection against such
interference in a residential installation. However,
there is no guarantee that interference will not
occur in a particular installation. If this equipment
does cause interference to radio or television
reception, which can be determined by turning the
equipment off and on, the user is encouraged to try
to correct the interference by one or more of the
following measures:
• reorient the receiving antenna
• relocate the computer with respect to the
receiver
• move the computer away from the receiver
• plug the computer into a different outlet so that
computer and receiver are on different branch
circuits.
If necessary, the user should consult the dealer or
an experienced radio/television technician for
additional suggestions. The user may find the

13
following booklet prepared by the Federal
Communications Commission helpful: ‘How to
Identify and Resolve Radio-TV Interference
Problems.’ This booklet is available from the US
Government Printing Office, Washington, D.C.,
20402, Stock No. 004-00-00345-4.
This digital apparatus does not exceed the Class B
limits for radio noise emissions from digital
apparatus set out in the Radio Interference
Regulation of the Canadian Department of
Communications.

14

15
Inhalt
Bedienungselemente ............................... 16
Einsetzen der Batterien ........................... 17
Verwendung des Netzadapters ............... 17
On/Off am Hauptschalter ......................... 17
Einlegen der Microcassette ..................... 18
Diktat/Konferenz-Aufnahme .................... 18
Index-Markierungsfunktion ...................... 19
Überwachungsfunktion ............................ 20
VOX (Sprachaktivierte Aufnahme) .......... 20
Wiedergabe ............................................. 21
Schnellwiedergabe .................................. 22
Schnellvorlauf .......................................... 22
Auto-Off ................................................... 22
Vermeidung von versehentlichem
Löschen ................................................... 23
Wartung ................................................... 23
Wichtige Hinweise ................................... 23
Nützliche Hinweise .................................. 25
Technische Daten ................................... 26

16
Bedienungselemente
Hauptschalter (Off On)
Lautstärkeregler (-Volume+)
Taste für Index-Markierung (Index)
Dict Conf-Schalter (Dict Conf)
Bandgeschwindigkeits-Wahlschalter
(2,4cm/s < — > 1,2cm/s)
VOX/F.Play-Schalter (VOX/F.Play)
Buchse für externe Gleichstromversorgung
(DC3V)
Buchsenabdeckung für externe Stromquelle
Batteriefach
Mikrofon-/Telefonbuchse (Tel)
Ohrhörerbuchse (Ear)
LED-Anzeige
Bandlängenzähler
Eingebautes Mikrofon
Betriebsartschalter (Rew Play Stop Record)
(Rücklauf Wiedergabe Stopp Aufnahme)
Schnellvorlauftaste (FF)
Eject-Schalter (Eject)
Microcassettenfachdeckel
Eingebauter Lautsprecher
This manual suits for next models
1
Table of contents
Languages:
Other Dictaphone Microcassette Recorder manuals

