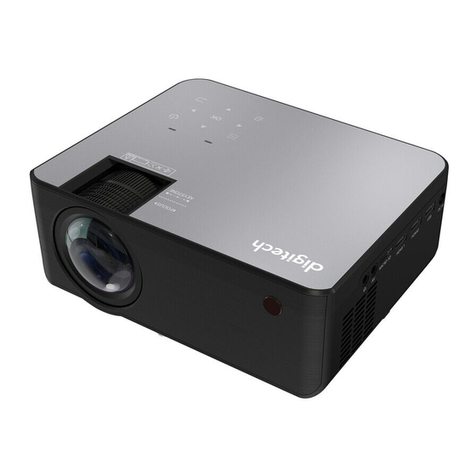
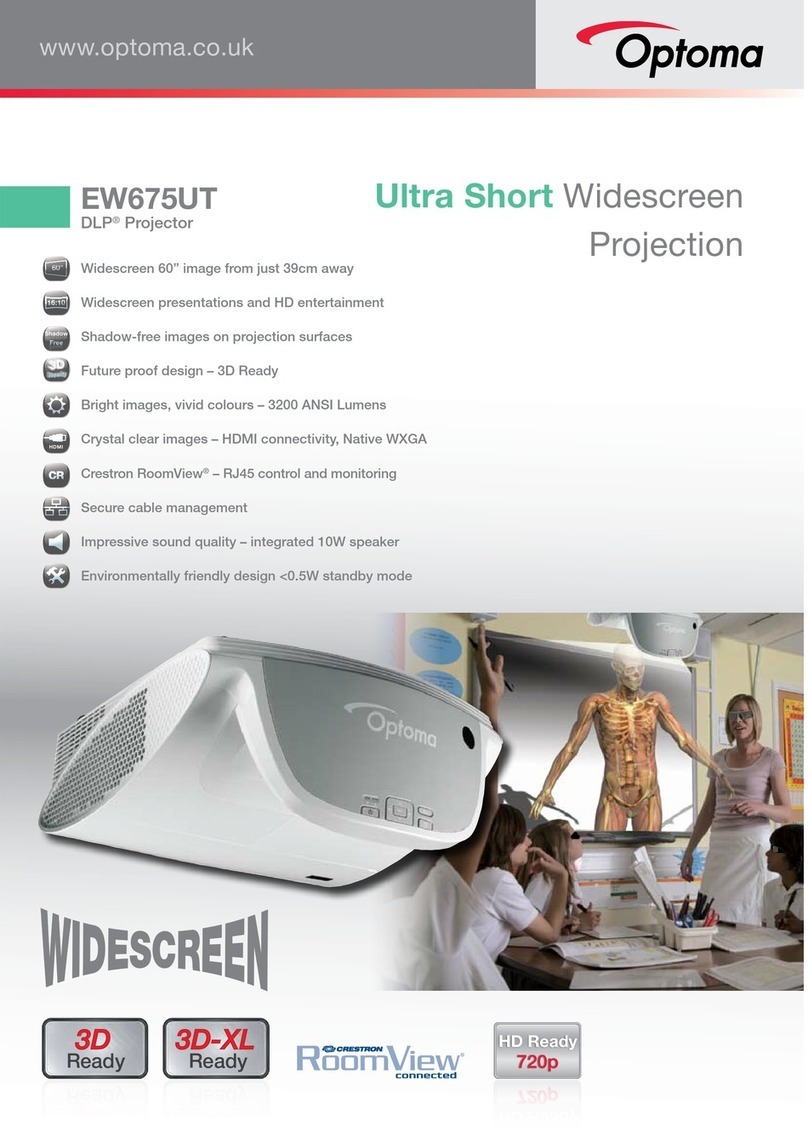
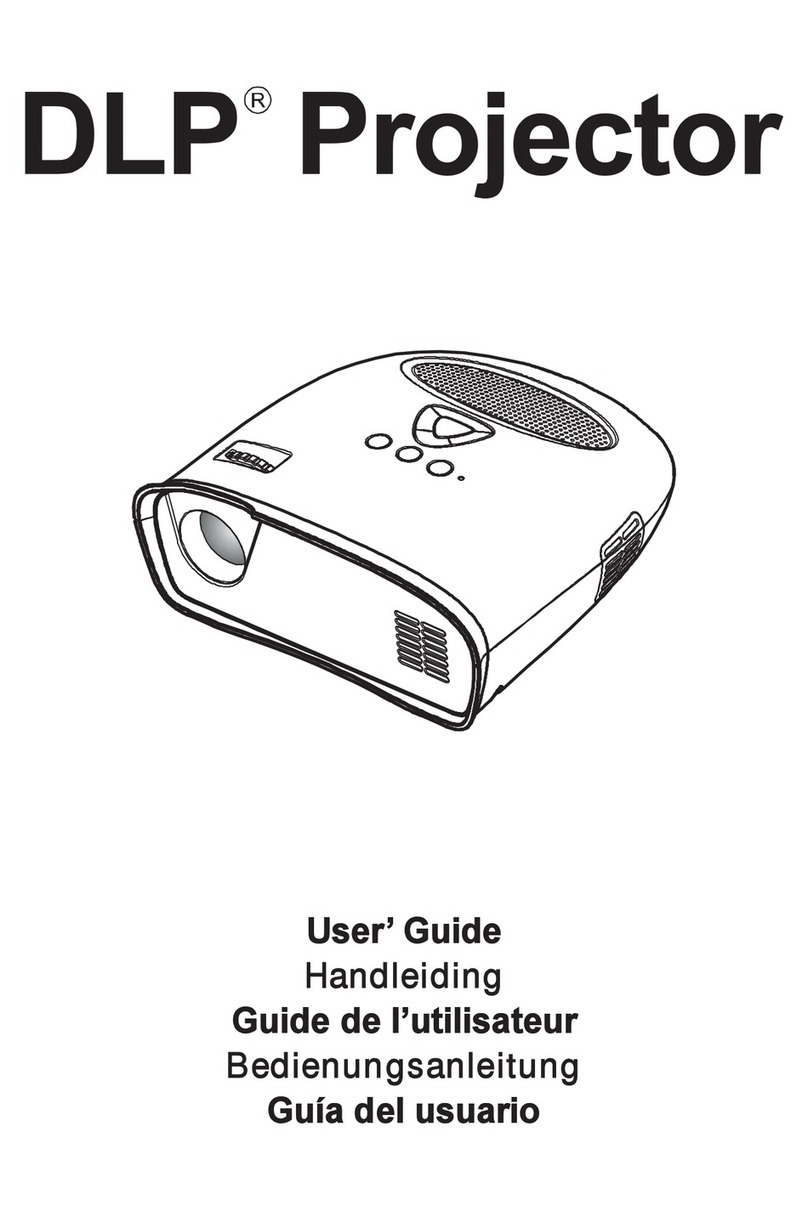
digi-tech AP4014 User manual

AP4014
Model:
Instruction Manual
1080p Projector with
HDMI, USB, SD + AV Inputs
with Built-in Speakers

01
Contents
Safety Instructions & FCC Warning ...................................................................... 02
..................................................................................................... 03Package Listing
........................................................................Remove & Close The Lens Cover 03
Boot Operation Guide 04..........................................................................................
Distance Between The Projector And Screen 04.....................................................
...................................................................................................Viewing Options 05
........................................................................Placing Your Projector On Ceiling 05
..................................................................................Adjust the Vertical Location 06
Adjust the Focus and Keystone 06...........................................................................
.............................................................................................Functional Overview 07
Controls of Remote 08..............................................................................................
Install Remove Battery Of Remote 09.......................................................................
Connection Instructions ....................................................................................... 09
--Select an input source ........................................................................................... 09
--Multimedia connection .......................................................................................... 10
--HDMI device connection ....................................................................................... 11
--AV video device connection .................................................................................. 12
--Audio devices connection ......................................................................................12
....................................................................................Using Bluetooth playback 13
.......................................................................................................................FAQ 14
16.......................................................................................................


AP4014
Model:
Instruction Manual
1080p Projector with
HDMI, USB, SD + AV Inputs
with Built-in Speakers
Package Listing
Remove & Close The Lens Cover
Remove the lens cover before using
Remove
Lens Cover
Close the lens cover when unit not using
Close
03
Lens Cover

TURN ON
1) Press the power button .
2) The projector turned on after 5 seconds.
TURN OFF
1: Turn off the power button .
2: Unplug the power switch.
Note:
Please turn off the projector before unplugging the power source , so as not to affect
the operation of the projector.
Boot Operation Guide
Distance Between The Projector And Screen
Square / Rectangle
Projector
Screen
Projection Distance
Projection Size
1m 2m 3m 4m 6m
30 inch 68 inch 98 inch 120 inch 200 inch
Light, brightness, etc. will affect the projection distance, this data is for
reference only.
Projection Position
It is recommended to place the projector in front of the center of the
screen.
04

Viewing Options
The projector can be used to project onto a wall or screen, mounted from the ceiling or on a
table, When projecting from the rear position, a special screen will be needed (not included)
to display the image. Be sure to aim the remote at the sensor on the front or rear of the
projector.
Front Table Rear Ceiling
Front Ceiling Rear Ceiling
05
Placing Your Projector On Ceiling
When installing the projector in the ceiling, please purchase a projector mount
recommended by an installation professional and follow the instructions that come with the
mount.
Before installing the projector in the ceiling, please check to make sure the ceiling structure
can support the weight of the projector and the mount. If in doubt, please ask the advice
from an installation professorial.
NOTE: Projector mount and screw(s) not included


07
Functional Overview
Source
Menu
Left Down
UP OK
Right
Return
Power On/Off
2 5 63 41 7
Audio Out Port AV IN Port
HDMI Port 1
HDMI Port 2 USB Port
Micro SD(TF) Port
1 2
34
56
DC Input Port
7

08
V

09
Connection Instructions
Select an input source
You will see the picture below when the projector is turned on.
You can choose between the different input sources ( AV / HDMI1 / HDMI2 /
Media Player) by pressing the " Source " button at the projector touch
panel, or remote controller.
You can connect different devices with the projector, according to the following connection
instructions.
Media Player
HDMI2
AV
HDMI1
Interface Source
Remove the battery compartment cover on the back of your remote
by carefully sliding to open. The battery cover can then be lifted
away. Fit the correct batteries (2XAAA batteries not included),
referring to the polarity markings. Finally, replace the cover.
Batteries shall not be exposed to excessive heat such as
Make sure that the batteries are installed polarity correctly.
Only same or equivalent type batteries as recommend are
to be used.
leak. Do not try to recharge a battery.
Do not mix old and new batteries.
Do not mix alkaline, standard(carbon-zinc), or rechargeable
(ni-cad,ni-mh,etc) batteries.
NOTE:
AAA / UM4
BATTERY DOOR
AAA / UM4
Install Remove Battery Of Remote

10
Insert USB / Micro SD card ( TF card ) into the corresponding slots (as shown in the picture).
Choose Media source, Select " Video ", " Music ", " Picture " to enter the content you want to
play.
Multimedia connection
Media Player
HDMI2
AV
HDMI1

11
HDMI device connection
The projector can connect to devices with HDMI input function. It is compatible with laptops,
DVD players, Blu-ray players, Chromecast, TV Stick, etc. An HDMI cable is not included.
The
projector is equipped with 2 HDMI input ports,
①If you connect your devices to the projector via "HDM 1" port, please choose "HDMI 1"
input source.
②If you connect via the " HDMI 2" port, please choose the " HDMI 2" input source.
Media Player
HDMI2
AV
HDMI1

AV video device connection
Connect the projector AV interface with the AV cable (Not include ), as is shown in the
pictures.
Video CableI: YELLOW
Audio Left Channel: WHITE
Audio Right Channel: RED
AV OUT
Portable DVD Player / Video Player
Projector
Female AV Cable(not included)
Male AV Cable
Audio devices connection
The projector can connect to a headphone and to a wired audio system using a 3.5mm
jack ( not include )
12
Media Player
HDMI2
AV
HDMI1

Using Bluetooth playback
Bluetooth On/Off
Pairing to Bluetooth
Wireless Speaker
Turn on Bluetooth. The projector will begin searching for a
nearby Bluetooth device,choose one and connect successfully.
When successfully connected, the projector will display the
Bluetooth name on the top right portion of the Main Menu screen,
and ou will be heard through the Bluetooth receiver
Attention
The Bluetooth function only supports audio devices.
Smart phone, tablet, or computers can not connect to the projector!!!
About automatically connect.
After the initial pairing, The device will keep the pairing status all the time when Bluetooth
functions for both devices are opened.
To ensure that you can hear from the projector next time, we suggest that turn off the
Bluetooth function before the turn off the projector.
When you try to connect a new bluetooth speaker
please turn off the previous speaker /headphone and re-search your new Bluetooth
device for connecting.
13
PICTURE
SOUND
OPTION
TIME
OSD Language
Bluetooth
Restore Factory Default
Projection mode
Info
English
On
Front
Select Menu Adjust


Q: I get a blurry image?
A: The recommended projection distance is 3-9ft. Please adjust the Keystone correction
ocus to get a clear image.
The optimal focus is obtained when the pixels are clearly visible. If the projection size is
.
Q: My projector noise is too loud, is it broken?
A: The projector noise comes from the fan of its cooling system . Projector generates
heat during operation as the light bubble produces strong light to make a bright image.
It is normal for the projector to make a loud noise. Brighter the image .louder the sound
is. Y
speaker to the projector to cover up the noise.
Q: Bluetooth not work.
A:Please note the Bluetooth function is not support to connect with a smartphone or
pad etc.
Q: Can you adjust the brightness/Sharpness of the video?
A: Path: Set up (Click “Source”)-Picture-Picture Mode(Choose “User”)-Adjust via remote
Need to know more.....
Email to us :
15

Light Source Type LED
Display Native Resolution 1080P
Supported Video Resolution 1080p, 1080i,720p, 576i,480p,and 480i
Included Adapter Connect
DC input of the unit
Input AC100-240V , 50/60HZ
Output DC19V, 5A
;
Display Color 7000K~8000K
Connect Types HDMI / USB / Micro USB(TF) / AV / Audio
Input HDMI*2 / AV*1 / Micro USB(TF) *1 / USB*1
Output Audio Out *1/Bluetooth
USB Port Support USB device up to 1000GB
SD Card Support SD card up to 1000GB
Supported image format *.jpg*.png*.bmp
Supported audio formats
Supported video formats mpg*.mpeg*.ts*.tp*.vob
Dimension 254*197*109mm
16
Ideal for dar iewing environments for optimal performance.
Please note: Projector brightness is measure in ANSI lumens.
Your viewing environment
is the deciding factor on how many lumens your projector needs.
Brightness output White light output ANSI :250-280 Lumens
Distributed by:
Electus Distribution Pty. Ltd.
320 Victoria Rd, Rydalmere
NSW 2116 Australia
www.electusdistribution.com.au
Table of contents
Other digi-tech Projector manuals
