Discount Car Stereo AUX-BKR User manual

Courtesy of:DiscountCarStereo.com
AUX-BKR
QuickstartAUXInstallationGuideforBeckerRadioswithoptionalCDchanger
Not for digital systems (e.g. PCM2+, COMAND)
Created: August 1, 2015
Revised: November 11, 2019

Introduction:
Many European vehicle owners looking for a simply audio jack to play audio
devices on the car Radio while also retaining the CD changer will be pleased to
find the AUX-BKR Adapter.
This AUX-BKR requires and retains optional CD Changer** to provide a
3.5mm dash mount Audio jack which can be used to connect and play all kinds of
audio devices including iPod, iPhones, Smartphones, Mp3 Players on the car
system without sacrificing the changer.
Installation:
We recommend disconnecting the car battery. But before
anything locate and record the radio safe code. Don’t
disconnect battery if radio code is not available, otherwise
radio will cease to operate.
1. Remove radio from dash to gain access to the connectors. A set of
Radio removal tools (See Fig. 1) is required.
Fig. 1
Radio removal Tools
Fig. 2
2. Slide tools into slots (51) on radio. (Straight edge facing away). Withdraw
radio by pulling outwards. To release keys simply press retaining springs.
See Fig. 2. Click here for detailed use of removal tools.
3. Disconnect blue (C-3) green (C-2) plugs and yellow (C-1) plugs from radio
cavity (See Fig. 3)
Fig. 3
Becker Radio Connectors
Warning! C-1 chamber (yellow) is present in vehicles with amplifier.

1. Connect Blue plug removed in step 2 to the 8-pin (black) connector on
adapter harness (See Fig. 4).
Fig. 4
harness connector
2. Mate Blue ISO plug from Adapter harness to Green plug removed from
radio in step 2 and this combination should be reconnect to radio (See
Fig. 5)
Fig. 5
mating plugs
3. Carefully route audio jack (See Fig. 6) to a location on the dash or
nearby panel where it will be mounted (within 4 ft.). This location will
vary based on vehicle and customer’s preference.
Fig. 6
Audio Jack
4. Drill a ¼” at mounting location on the dash etc., insert aux jack
threated end through the hole and secure with nut (See Fig.7)
Fig. 7
Warning! Should you decide to secure the jack to dashboard etc. make
sure the panel is 1/8” thick or less to allow threads on the jack to
protrude and engage the nut. (If necessary use a dremel or sander to
thin the panel). Drilling a hole to secure the jack is not necessary but
doing so makes for a stock appearance and easier to plug/unplug the
audio device
.
Test Operation
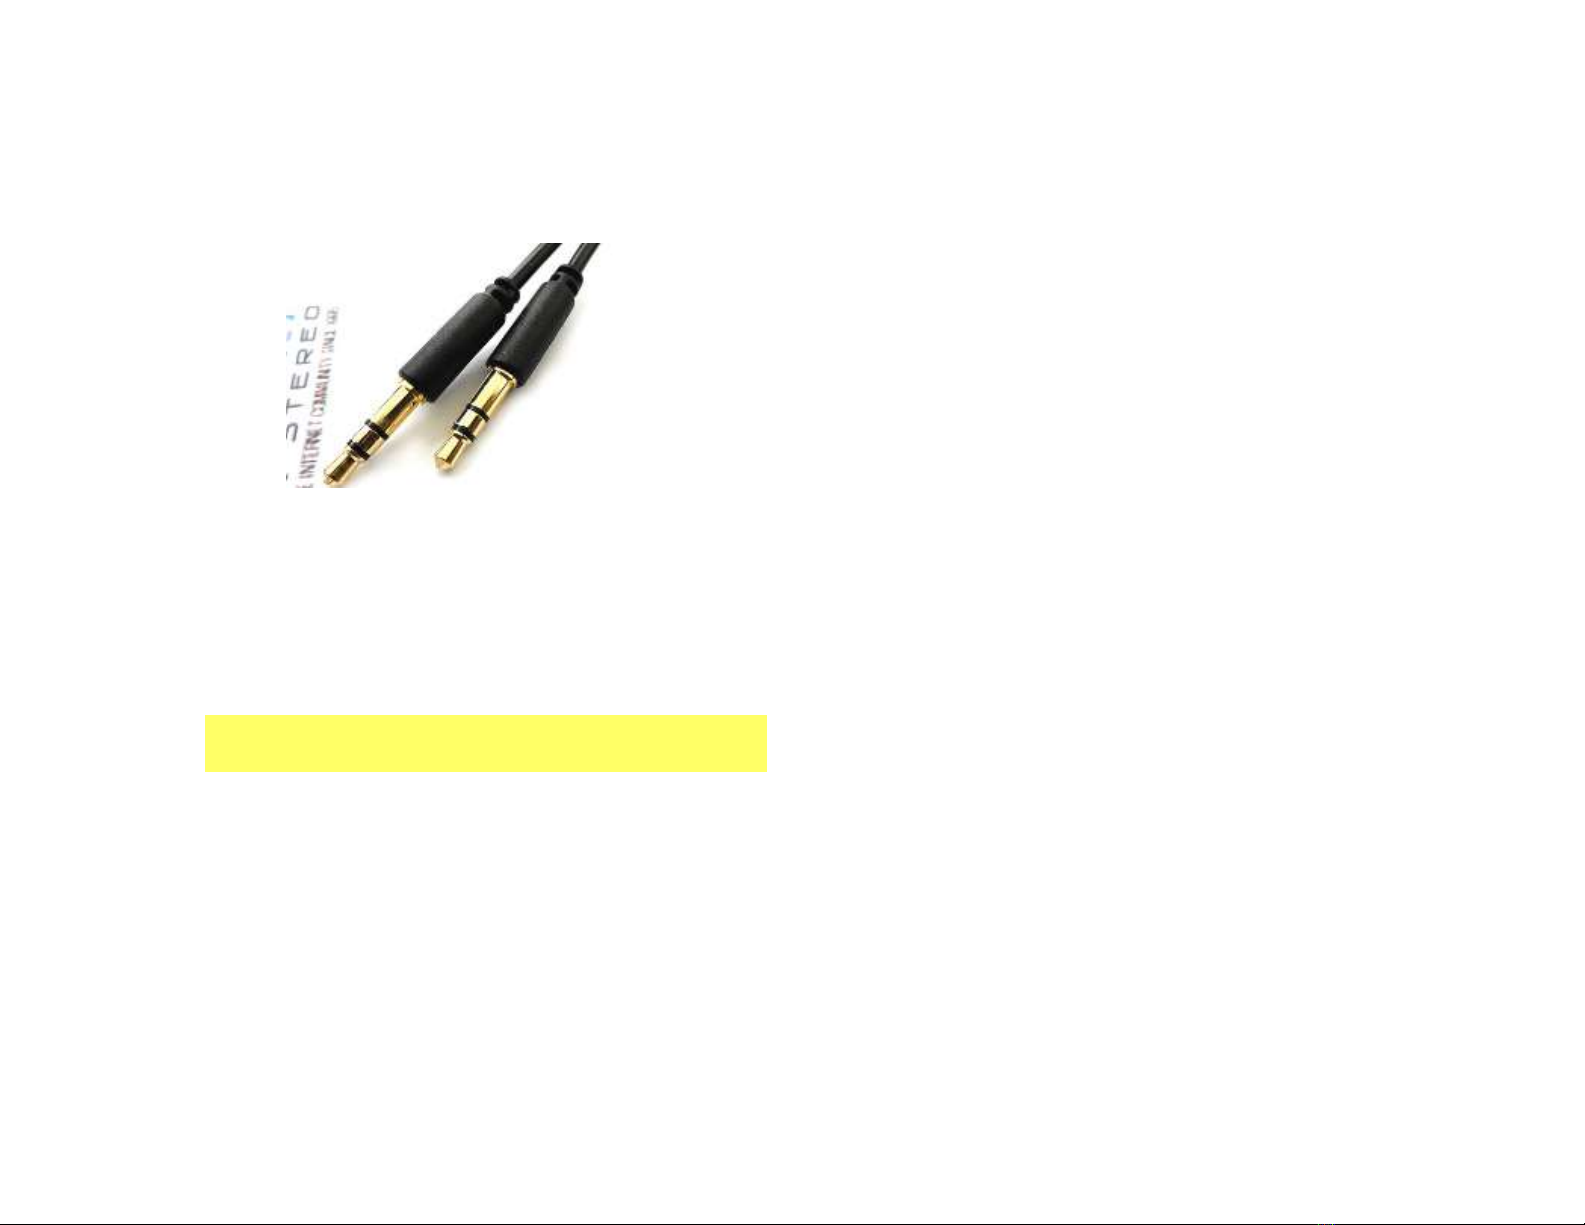
1. Use included 3.5mm audio cable (See Fig. 8) to connect audio device to the
jack
Fig. 8
3.5mm male to male cable
2. Press the CD or unique set of buttons on Radio to enter CD Changer Mode.
Radio display will change to Track or Disc numbers (At least one disc must
remain in CD Changer.)
3. Select a track on audio device. Selected track will play on the car stereo.
Warning! Playlist and Track selection is *NOT* possible from the radio.
You must use the Audio device built-in controls to access music files.
4. Use radio volume knob to adjust playback level
Note: if playback is distorted, lower volume on audio device.
5. To listen to the CD changer, simply disconnect audio device from the
AUX-BKR jack and operate Changer as customary.
Warning! AUX-BKR Audio jack must be empty when listening to the CD
Changer; otherwise CD Changer playback will be weak or distorted.
6. If correct operation is confirmed go ahead and reinstall Radio
Important Notes:
The AUX-BKR works on any factory installed Becker Radio in BMW, Land Rover,
Mercedes, Porsche, Ferrari etc. and aftermarket Becker Radios (e.g. Grand Prix,
Indianapolis, Cascade pro etc.) that also include an analog CD CHANGERS.
The AUX-BKR WILL NOT WORK with Fiber CD Optic CD Changer applications
(e.g. PCM2+, COMAND etc.)
Plug and play installation to Becker Radio with CD Changer in less than 10
minutes. No wire cutting or splicing.
** External or remote CD changer refers to the optional changer installed on the lower dash,
center armrest, hatch, trunk etc. (external CD changer is not built-into the head unit)
Disclaimer
• This product has no affiliation with Porsche, Becker etc.
• We’re not liable for misuse of this product.
•We recommend professional installation.
Email support@discountcarstereo.com
© 1995-17 Discount Car Stereo, Inc. All rights reserved. Information in this document is
subject to change without notice. Other products and companies referred to herein are
trademarks or registered trademarks of their respective companies or mark holders.
Popular Car Navigation System manuals by other brands


Advent
Advent NAV102 Installation and operation manual

Holux
Holux V1.02 Product user manual

Sanyo
Sanyo NV-E7000 - Portable GPS And Mobile DVD Entertainment... Specifications

Pioneer
Pioneer AVIC-9DVD Operation manual

Garmin
Garmin GTN 625 reference guide

Magellan
Magellan Triton 1500 - Hiking GPS Receiver Käyttöopas


