manuals.online logo
Brands
  1. Home
  2. •
  3. Brands
  4. •
  5. domi outdoor living
  6. •
  7. Outdoor Storage
  8. •
  9. domi outdoor living LGCF1620 User manual

domi outdoor living LGCF1620 User manual

Other domi outdoor living Outdoor Storage manuals

domi outdoor living LGCF1551 User manual

domi outdoor living

domi outdoor living LGCF1551 User manual

domi outdoor living LNCF0555 User manual

domi outdoor living

domi outdoor living LNCF0555 User manual

Popular Outdoor Storage manuals by other brands
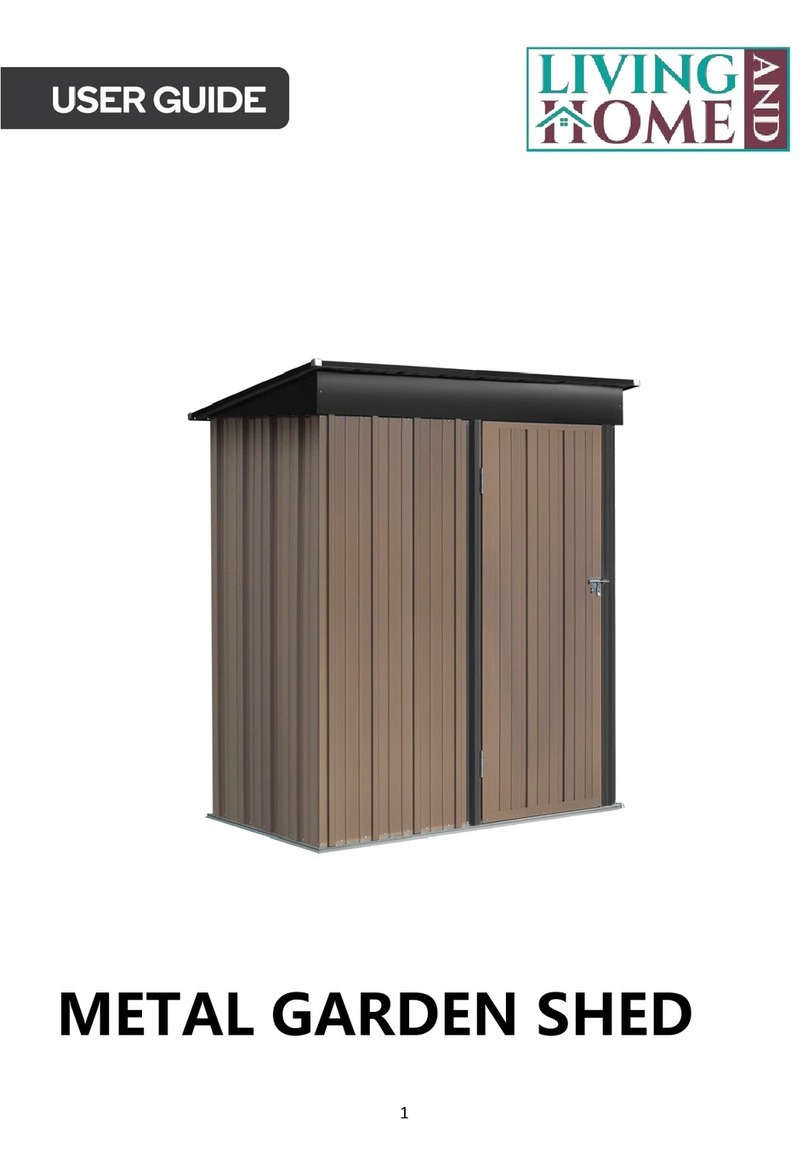
LIVING AND HOME 0735940285711 user guide

LIVING AND HOME

LIVING AND HOME 0735940285711 user guide

USP DURAMAX 10 Ft x 8 Ft StoreMax Plus owner's manual

USP

USP DURAMAX 10 Ft x 8 Ft StoreMax Plus owner's manual

rollaway container ARPCA24 manual

rollaway container

rollaway container ARPCA24 manual

Duratuf GL105 Assembly instructions

Duratuf

Duratuf GL105 Assembly instructions

Viking SD5300SS Use & installation guide

Viking

Viking SD5300SS Use & installation guide

USP DURAMAX Apex Pro 10.5 Ft x 8 Ft 40116 owner's manual

USP

USP DURAMAX Apex Pro 10.5 Ft x 8 Ft 40116 owner's manual

ModuLaro Lojo WC202200 manual

ModuLaro

ModuLaro Lojo WC202200 manual

Outdoor Life Products FP2030 F Assembly instructions

Outdoor Life Products

Outdoor Life Products FP2030 F Assembly instructions

Royalcraft Faro 295L Storage Box Assembly instructions

Royalcraft

Royalcraft Faro 295L Storage Box Assembly instructions

TYGO Nyland Building Instruction

TYGO

TYGO Nyland Building Instruction

Riverlea Duratuf KIWI KS3 Assembly instructions

Riverlea

Riverlea Duratuf KIWI KS3 Assembly instructions

Rubbermaid 5L45 manual

Rubbermaid

Rubbermaid 5L45 manual

garofalo TUSCANY EVO user manual

garofalo

garofalo TUSCANY EVO user manual

OLT GS84D-FJ-Plywood Assembly manual

OLT

OLT GS84D-FJ-Plywood Assembly manual

Lifetime 6418 owner's manual

Lifetime

Lifetime 6418 owner's manual

Palram CANOPIA RUBICON 6x10 How to assemble

Palram

Palram CANOPIA RUBICON 6x10 How to assemble

Duratuf Havelock Assembly instructions

Duratuf

Duratuf Havelock Assembly instructions

Keter DUOTECH HIGH-STORE+ user manual

Keter

Keter DUOTECH HIGH-STORE+ user manual

manuals.online logo
manuals.online logoBrands
  • About & Mission
  • Contact us
  • Privacy Policy
  • Terms and Conditions

Copyright 2025 Manuals.Online. All Rights Reserved.

ASSEMBLY INSTRUCTIONS
11'×9' Tool Storage Shed
Missing part? Damaged? Contact us via email at
[email protected]
Copyright 2022-2024 domi LLC. I All Rights Reserved.
©
MODEL#: LGCF1620
www.domioutdoorliving.com
List-1
List-2
List-3
Cross Screwdriver
Gloves
Hexagonal
Socket Wrench
Hole Position
Correction Drill
①:Use part#A7 to connect the bottom frame respectively, and then fix with
bolt #1 and gaskets as shown.
1# x48
0 1
①:Insert part #A to the corners.
①②
③
④⑤
②:Fix with 4 bolts #1 & gaskets.
③:You need to prepare bolts by yourself to secure the
frame to the ground.
④/⑤: Fix 2 part#C3 on
part #A1, part #A2 by
using 4 bolts 9# and
gaskets.
1# x16
C3 x2 9# x4
Plastic Gaskets Plastic Gaskets
① ② ③
0 2
Top Frame Assembly
①:Connect part #B1 & #B2, insert part #B7 & #B8 on the inside of
part #B1/B2 with 6 bolts 12# and gaskets.
②: Connect part #B3 & #B4,
insert part #B7 on the inside
of part #B3/B4 with 6 bolts
12# and gaskets.
③: Connect part #B5 & #B6,
insert part #B7 with 6 bolts
12# and gaskets.
12# x24
0 3
C4 x2
①/②: Use #part #B to connect part #B5 & #B3, part #B4 & #B6, part #B5 & #B2,
part #B1 & #B6, fix with 16 bolts 12# and gaskets.
③/④: Fix 2 part #C4 on part #B1, part #B2 by 4 bolts 9# and gaskets.
You can also install each top frame on each wall separately.
!
12# x16
9# x4
Plastic Gaskets Plastic Gaskets
①②
③④
0 4
Section View
Section View
Plastic Cap
①: Use 10 bolts 9#, gaskets and caps to connect 2 part #H2 with part #C/J1/J1/C1
to form a front side wall panel.
②: Use 10 bolts 9#, gaskets and caps to connect 2 part #H1 with part #C2/J1/J1/C
to form a front side wall panel.
Place the assembled front side wall panel (#C/J1/J1/C1) on the bottom
frame(#A1), using 9 bolts 1# and gaskets to fix.
Place the assembled front side wall panel (#C2/J1/J1/C) on the bottom frame(#A2),
using 9 bolts 1# and gaskets to fix. Back View
Side View
0 5
Section View
Place part #J on the bottom frame(#A6), using 3 bolts 1# and gaskets to fix.
Repeat the above procedures to assemble the other side.
③: Fix part #C3 to part #C1
with 2 bolts 3#, 4 gaskets
and 2 nuts.
④: Fix part #C3 to part #C2
with 2 bolts 3#, 4 gaskets
and 2 nuts.
Attention: To ensure the stability of the wall panel(#J) during assembly, you can
temporarily reinforce this position(☆) with bolts 2#, and replace it with other
correct bolts when the next installation is made.
!
Section View
Inside View Inside View
0 6
Use part #H7 to connect part #H3 and part #H4, and fix
with bolts 3#, gaskets and nuts.
Repeat the above procedures to connect part #H5 with part #H6.
H6
H5/H6
X2
X4
0 7
Inside View Outside View
Side Window Assembly:
Insert part #N to the wall panel #J2 (from outside to inside),
place transparent board #N2, use 8 bolts #13 to fix
part #N1 & part #N (from inside to outside).
Repeat the above procedures to assemble another side window.
X2
0 8
Plastic Cap
⑤: Use 2 bolts 9# and gaskets to install 2
support tubes(H6+H5) to wall panel #J2,
then put on the plastic caps.
Repeat the above procedures to
assemble another side.
Front Side
Back Side
Side View
Place part #J2/J/C on the bottom frame
#A6, using 6 bolts 1# and gaskets to fix.
①: Use 2 bolts 9# and gaskets to install 2
support tubes(H6+H5) to wall panel #J,
then put on the plastic caps.
1# x12
9# x8
0 9
Section View
Front Side
Back Side
Plastic Cap
1# x8
9# x12
Place part #J1 on the bottom frame #A4, using 4 bolts 1# and gaskets to fix.
Place part #J1 on the bottom frame #A3, using 4 bolts 1# and gaskets to fix.
③: Use 4 bolts 9# and gaskets to install 2 support tubes(H6+H5) & 2 support
tubes(H4+H3) to part #C, then put on the plastic caps.
⑤: Use 4 bolts 9# and gaskets to install 2 support tubes(H4+H3) to 2 wall
panel #J1, then put on the plastic caps.
④: Use 4 bolts 9# and gaskets to install 2 support tubes(H4+H3) & 2 support tubes
(H6+H5) to part #C, then put on the plastic caps.
1 0
Plastic Cap Plastic Cap
Side View Side View
Use 13 bolts 1# and gaskets to fix 4 part #J on the bottom frame(A5 & A6).
①: Use 10 bolts 9# and gaskets to fix 4 part #J with 2 support tubes(H5+H6) ,
then put on the plastic caps to form a whole side wall.
Repeat the above procedures to assemble another side wall.
Use 19 bolts 1# and gaskets to fix 6 part #J on the bottom frame(A4 & A3).
①/②: Use 14 bolts 9# and gaskets to fix 6 part #J with 2 part#(H3+H4),
then put on the plastic caps to form a whole back wall.
1 1
①/②: Place the assembled frame on the
upper end of the wall panel, and fix with
89 bolts 1# and gaskets.
③: Fix the upper end of the part#C1
with part #C4(already assembled on
part#B1) by using bolts 3#, the gaskets
and nuts are on the back side.
④: Fix the upper end of the
part#C2 with part #C4
(already assembled on part#B2)
by using bolts 3#, the gaskets
and nuts are on the back side.
Inside View
1 2