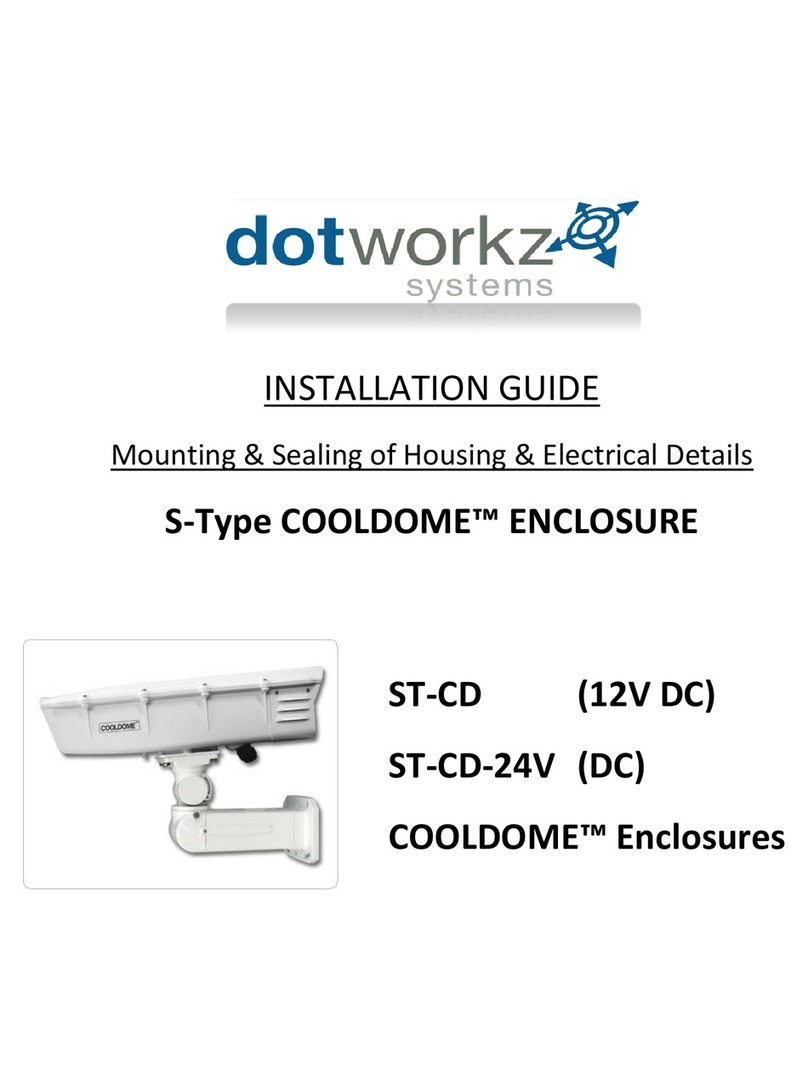
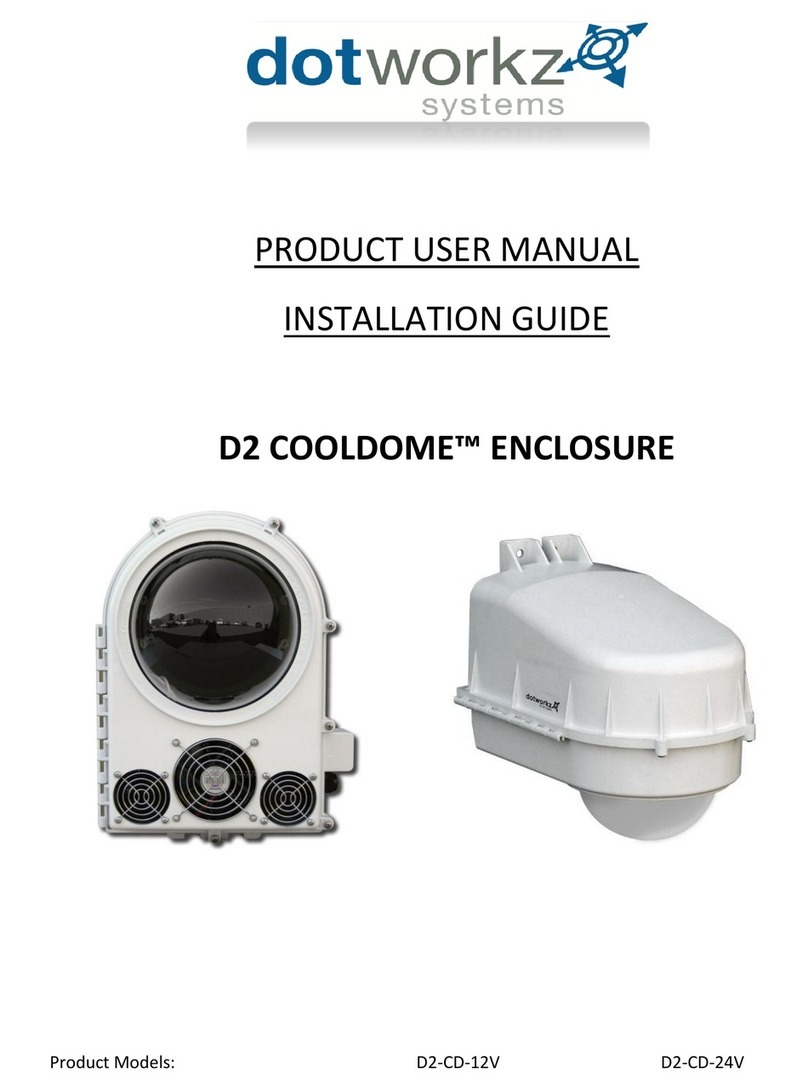
DOTWORKZ STXL-CD User manual

STXL-CD
Installation Guide
Designed and manufactured by Dotworkz

Dotworkz Technical Support
8am-5pm
PST
(866) 575-4689

Contents of Box
A. Enclosure/housing
B. Wall mount arm
C. Outdoor power supply (Can be mounted inside wall mount arm)
D. Power supply mounting screws and washers
E. Camera mounting bolts and washers
F. Cable management sleeve inside wall mount arm
G. Rechargeable desiccant humidity removal pack
H. Allen wrench tool for adjusting knuckle wall mount arm
I. Wall mount screws and anchors
J. Threaded locknut
K. Camera sled pre-installed
Tools needed
1. Phillips screwdriver
2. Socket wrench
3. Electronics size at screwdriver
G
H
I
K
D
F
E
C
B
A
J

21
Loosen the lockable latch on the back side of the
housing.
Loosen 2 screws on the top back side of the
housing.
3
Slowly open the top hatch and be careful not to let
it drop.
4
Remove the 4 screws on the camera mounting
plate and set aside.

5
Align the front of the lens with the front of the
camera mounting plate.
Note: If your lens needs room to zoom in and
out, make sure you align the max zoom position
with the front of the camera mounting plate.
6
8
Carefully ip the camera and plate upside to keep
position of camera on mounting plate. Choose the
camera mounting bolt that best ts your camera
and tighten rmly but do not over tighten.
Check to make sure lens is not touching the glass.
If it is, simply slide the camera mounting plate
backward. Tighten screws to secure position.
7
Locate the 4 camera mounting plate screws and
loosely fasten mounting plate to housing.
X

109
Remove cable gland nut to provide power, network,
or other cables needed in the housing.
Close the hatch to the housing and secure it with
the lockable latch. Flip housing upside down.
11
Carefully remove cable gland rubber cable
sealer with a screw drive so as not to damage it.
Remember which direction the rubber gland ts in
the cable gland.
12
With the smaller Allen wrench (provided) loose the
left and right bolts that allow the arm to swim. 1 full
turn each should do it.

13
With the larger Allen wrench (provided) remove the
bolt on the bottom of the arm that allows it to be
opened.
14
Run necessary cables (power, network, etc...)
through arm and arm knuckle.
See Appendix A if mounting a power supply inside
the arm.
15
Fit the arm knuckle onto the arm with the pivoting
point of the arm knuckle towards the front of the
arm. With the larger Allen wrench (provided) tighten
the 3 bolts.
16
First, add the cable gland nut to your network or
power cable. Second, add the cable gland rubber
seal with the tapper end away from the end of the
cable. Lastly, add the black mesh sleeve to cables.
Pivoting
point of
the arm
knuckle
--------------->

17
Pass the cable end through the cable gland port on
the housing. Carefully insert the cable gland seal
and then very loosely screw on the cable gland nut.
1) 4)
2) 5)
3)
18
Before mounting the other side of the arm knuckle
to the housing, completely hand tighten the cable
glands.
19
Using the larger Allen wrench (provided) tighten the
4 bolts from the arm knuckle to the housing.
20
Flip the camera housing with arm upright so you
can have access to camera inside.

21
23
Open the lid to the housing. Locate the power
cable from the cable gland port and the 12V power
connector.
Connect the network and power cable to the
camera.
22
24
Insert the red cable into the red side of the 12V
power connector. Tighten with a small at screw
driver. Repeat for black cable.
Place the humidity removal pack (included) near
the back of the housing on the insulation pad.
* Reminder: Recharge the desiccant humidity removal
pack when needed per package instructions.

25
For proper closure please follow these steps.
26
Use the latch to pull the lid down.
27
Once latch is pulled down in this position. Use a
screwdriver to tighten the two top fasteners.
28
This will ensure proper seal.
----->
----->
----->
----->
----->

29
Above is a properly sealed lid.

Appendix A: Mounting Power Supply Inside Arm
Open arm and push cable (the end with the
single black and single red cable) through the
knuckle arm hole.
Find 4 Philips head screws and tightening
washers (included). Fasten the power supply
to the arm.
Replace the bolt with the larger Allen wrench
to complete close the arm.
Position the power supply in the arm so that the
holes for the screws align.
Push the other end of the power supply cable
through the back square hole of the arm so the
arm can close without damaging the cables.
1)
3)
5)
2)
4)

LIMITED WARRANTY
DOTWORKZ,INC.PRODUCTS
DOTWORKZ SYSTEMS INC. Warrants this Product to be free from defects in material or workmanship, as follows:
PRODUCT CATEGORY PARTS LABOR
All Enclosures and Electronics One (1) Year One (1) Year
Power Supplies One (1) Year One (1) Year
Accessory Brackets One (1) Year One (1) Year
During the warranty period, to repair the product the purchaser will deliver it to Dotworkz Systems Inc. San Diego, CA or return the defecve product, freight prepaid. The product to be repaired is to
be returned in either its original carton or a similar package presenng an equal degree of protecon with a Return Materials Authorizaon number displayed on the outer box or packing slip. To obtain
RMA # you must contact our Technical Support Team at 866-575-4689. Dotworkz Systems will return the repaired Product, freight paid. Dotworkz Systems is not obligated to provide purchaser with
a substute unit during the warranty period or at any e. Aer the applicable warranty period, purchaser must pay all labor and/or parts and shipping charges.
The limited warranty stated in these product instructions is subject to all of the following terms and conditions:
1. NOTIFICATION OF CLAIMS: WARRANTY SERVICE: If purchaser believes that the product is defecve in material or workmanship, then a wrien noce
with an explanaon of the claim shall be given promptly by purchaser to Dotworkz Systems but all claims for warranty service must be made within the warranty period. If aer invesaon
Dotworkz Systems determines that the reported problem was not covered by the warranty, purchaser shall pay Dotworkz Systems for the cost of invesang the problem at its then prevailing per
incident billable rate. No repair or replacement of any product or part thereof shall extend the warranty period as to the enre product. The specic warranty on the repaired part only shall be in
eect for a period of ninety (90) days following the repair or replacement of that part or the remaining period of the product parts warranty, whichever is greater.
2. EXCLUSIVE REMEDY: ACCEPTANCE: Purchaser's exclusive remedy and Dotworkz Systems sole obligaon is to supply (or pay for) all labor necessary to repair any product found to be defecve
within the warranty period and to supply, at no extra charge, new or rebuilt replacements for defecve parts
3. EXCEPTIONS TO LIMITED WARRANTY: Dotworkz Systems shall have no liability or obligaon to purchaser with respect to any product requiring service during the warranty period which is
subjected to any of the following: abuse, improper use, negligence, accidents, lightning damage or other acts of God (i.e., hurricanes, earthquakes), modicaon, failure of the end-user to follow the
direcons outlined in the product instrucons, failure of the end-user to follow the maintenance procedures wrien and recommended in the product instrucons and service manual, or
recommended by the Internaonal Security Industry Organizaon.Furthermore, Dotworkz Systems shall have no liability where a schedule is specied for regular replacement, maintenance or
cleaning of certain parts (based on usage) that the end-user has failed to abide to such schedule; aempted repair by non-qualied personnel; operaon of the Product outside of the published
environmental and electrical parameters; if such Product's original idencaon (trademark, serial number) markings have been defaced, altered, or removed. Dotworkz Systems excludes from
warranty coverage products sold AS IS and/or WITH ALL FAULTS and excludes used Products which have not been sold by Dotworkz Systems to the Purchaser. All soare and accompanying
documentaon furnished with, or as part of the Product is furnished "AS IS" (i.e., without any warranty of any kind), except where expressly provided otherwise in any documentaon or license
agreement furnished with the Product.
4. PROOF OF PURCHASE: The purchaser’s dated bill of sale must be retained as evidence of the date of purchase and to establish warranty eligibility.
DISCLAIMER OF WARRANTY
EXCEPT FOR THE FOREGOING WARRANTIES, DOTWORKZ SYSTEMS HEREBY DISCLAIMS AND EXCLUDES ALL OTHER WARRANTIES, EXPRESSED OR IMPLIE D, INCLUDING, BUT NOT LIMITED TO ANY AND/OR
ALL IMPLIED WARRANTIES OF MERCHANTABILITY, FITNESS FOR A PARTICULAR PURPOSE AND/OR ANY WARRANTY WITH REGARD TO ANY CLAIM OF INFRINGEMENT THAT MAY BE PROVIDED IN SECTION 2-312(3) OF THE UNIFORM COMMERCIAL
CODE AND/OR IN ANY OTHER COMPARABLE STATE STATUTE. DOTWORKZ SYSTEMS HEREBY DISCLAIMS ANY REPRESENTATIONS OR WARRANTY THAT THE PRODUCT IS COMPATIBLE WITH ANY COMBINATION OF NON-V1DEOLARM PRODUCTS OR
NON-DOTWORKZ SYSTEMS RECOMMENDED PRODUCTS THAT THE PURCHASER CHOOSES TO CONNECT TO THE PRODUCT.
LIMITATION OF LIABILITY
THE LIABILITY OF DOTWORKZ SYSTEMS, IF ANY, AND PURCHASER'S SOLE AND EXCLUSIVE REMEDY FOR DAMAGES FOR ANY CLAIM OF ANY KIND WH ATSOEVER, REGARDLESS OF THE LEGAL THEORY AND
WHETHER ARISING IN TORT DP CONTRACT SHALL NOT BE GREATER THAN THE ACTUAL PURCHASE PRIC E OF THE PRODUCT WITH RESPECT TO WHICH
SUCH CLAIM IS MADE. IN NO EVENT SHALL DOTWORKZ SYSTEMS BE LIABLE TO
PURCHASER FOR ANY SPECIAL, INDIRECT, INCIDENTAL, OR CONSEQUENTIAL DAMAGES OF ANY KIND INCLUDING BUT NOT LIMITED TO COMPENSATI ON, REIMBURSEMENT OR DAMAGES ON ACCOUNT OF THE LOSS OF PRESENT OR PROSPECTIVE
PROFITS, OR FOR ANY OTHER REASON WHATSOEVER.
Table of contents
Other DOTWORKZ Camera Accessories manuals
Popular Camera Accessories manuals by other brands

Nikon
Nikon AF DC-Nikkor 135mm f/2D user manual

Ambient
Ambient LockitSlate Take 2 user manual

Westcott
Westcott Micro Apollo 2200 Setup instructions

Scheppach
Scheppach ABP2.0-20Li Translation from the original instruction manual

Exide
Exide ABSOLYTE GX and Installation and operating guide

i-PRO
i-PRO WV-CF5SA operating instructions