DR. Z Amplification Maz 8 User manual

Maz 8
Manual
Model: ZA-32
www.drzamps.com

Important Safety Instrucons
1) Read these instrucons.
2) Keep these instrucons.
3) Heed all warnings.
4) Follow all instrucons.
5) Do not use this apparatus near water.
6) Clean only with dry cloth.
7) Do not block any venlaon openings. Maintain at least 3 feet of distance around all sides of amplifier.
Do not block any venlaon openings with items such as newspapers, tablecloths, curtains, etc.
8) Do not install near any heat sources such as radiators, heat registers, stoves, or other
apparatus (including amplifiers) that produce heat.
9) Do not defeat the safety purpose of the polarized or grounding-type plug. A polarized plug
has two blades with one wider than the other. A grounding type plug has two blades and a third
grounding prong. The wide blade or the third prong are provided for your safety. If the provided
plug does not fit into your outlet, consult an electrician for replacement of the obsolete outlet.
10) Protect the power cord from being walked on or pinched parcularly at plugs, convenience
receptacles, and the point where they exit from the apparatus.
11) Only use aachments/accessories specified by the manufacturer.
12) Use only with the cart, stand, tripod, bracket, or table specified by the manufacturer, or sold
with the apparatus. When a cart is used, use cauon when moving the cart/apparatus
combinaon to avoid injury from p-over.
13) Unplug this apparatus during lightning storms or when unused for long periods of me.
14) Refer all servicing to qualified service personnel. Servicing is required when the apparatus
has been damaged in any way, such as power-supply cord or plug is damaged, liquid has been
spilled or objects have fallen into the apparatus, the apparatus has been exposed to rain or
moisture, does not operate normally, or has been dropped.
15) Avoid placing any liquids on or near the amplifier that may splash or drip such as those contained in
boles, cans, glasses, etc.
*Dr Z amplifiers are capable of producing very high sound pressure levels which can cause temporary or
permanent hearing damage.
*If any screw that is actually on the amp chassis needs to be replaced contact Dr Z Amps for the proper size.
Screw size is crical for inner chassis clearances.
This symbol warns the user of dangerous voltage levels localized within the enclosure.
This symbol advises the user to read all accompanying literature for safely operang
the unit

Updated for 2016! Improved Master Volume circuitry, improved Reverb circuit, and new variable boost
footswitch. All Maz 8 amps come stock with a NOS Russian mil-spec 6n14n power tube, as used in the Maz
18 and Z Wreck.), improved Reverb circuit, and new variable boost footswitch. All Maz 8 amps come stock
with a NOS Russian mil-spec 6n14n power tube, as used in the Maz 18 and Z Wreck.
Based on the modern day classic Maz 18 plaorm, the Maz 8 is set to become the new standard in single
ended class A amps. If you are red of thinking of ways to win the volume wars with sound guys, club
owners, and recording engineers the Maz 8 is the soluon. The Maz 8 is a full featured 8 wa amp that will
give you an incredible range of shimmering cleans to full on rock acon at reasonable volume levels.
The Maz 8 gives you the true class A experience. The single 6n14n (EL84) output secon can be run in
Pentode or Triode mode. In Pentode mode you get the sonic signature of the Maz 18. The chimey top end
and sweet low end bloom are all there, but at a significantly lower volume. The pentode seng gives you
plenty of dynamic range for clean country picking to grinding riff rock bliss. You can even take it a step
beyond with the footswitchable EQ bypass funcon. This gives you a great gain boost for effortless leads that
will sustain for days. The Maz 8 takes on a much different tone dialect in triode mode with more of a vintage
feel and sound. In triode, the volume level drops back and the tone faens up making you think you plugged
into a lost gem from the 1950s. Kicking on the EQ bypass in triode mode will have you reaching for your slide
in no me.
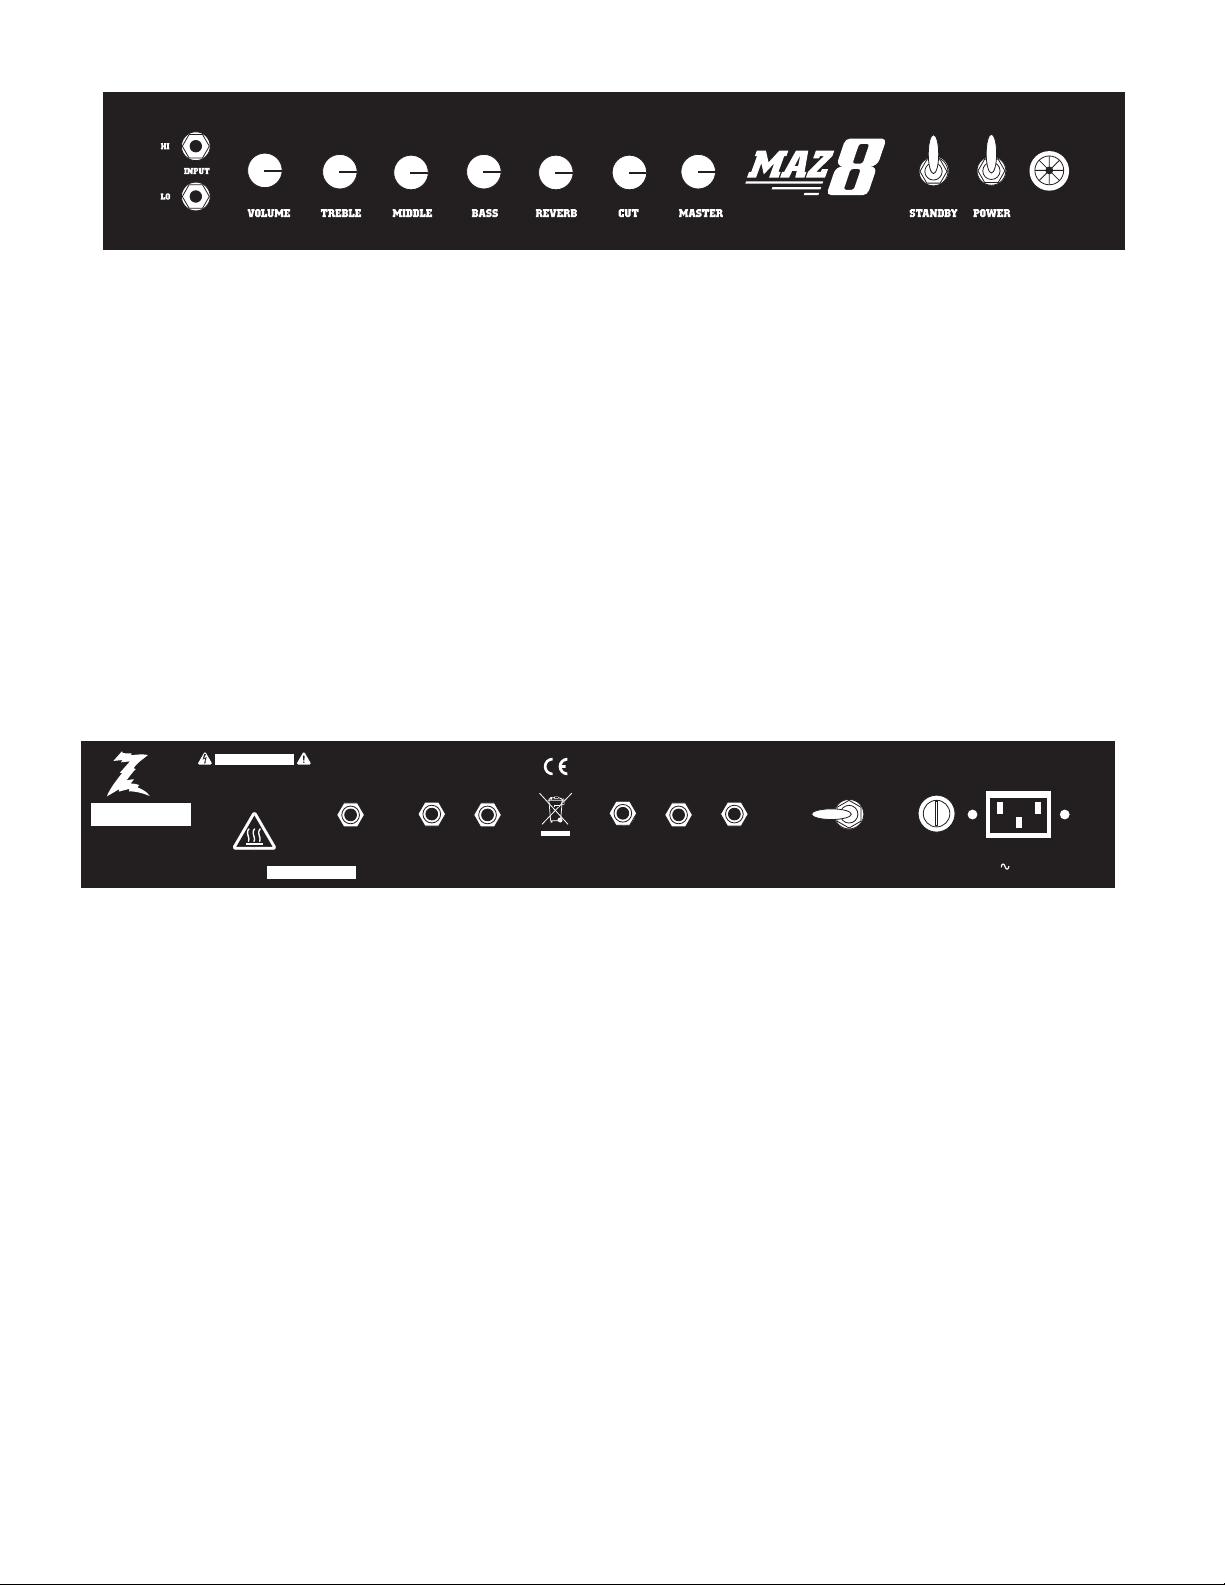
The front panel features Volume, Treble, Middle, Bass, Reverb, Master, and the ever versale cut control.
Think of the cut control as a tone knob for the output secon. The back panel features a 4, 8, and 16 ohm
speaker out. An effects loop and EQ bypass are standard. The back panel also has the pentode/triode switch.
The Maz 8 is available as a head, 2×10, and 1×12 combo. The 1×12 comes standard with a Celeson H30
speaker. You get a choice of our new smaller 1×12 Studio combo cab or the standard size 1×12. The 1×12
Studio cab makes for a great grab and go amp.
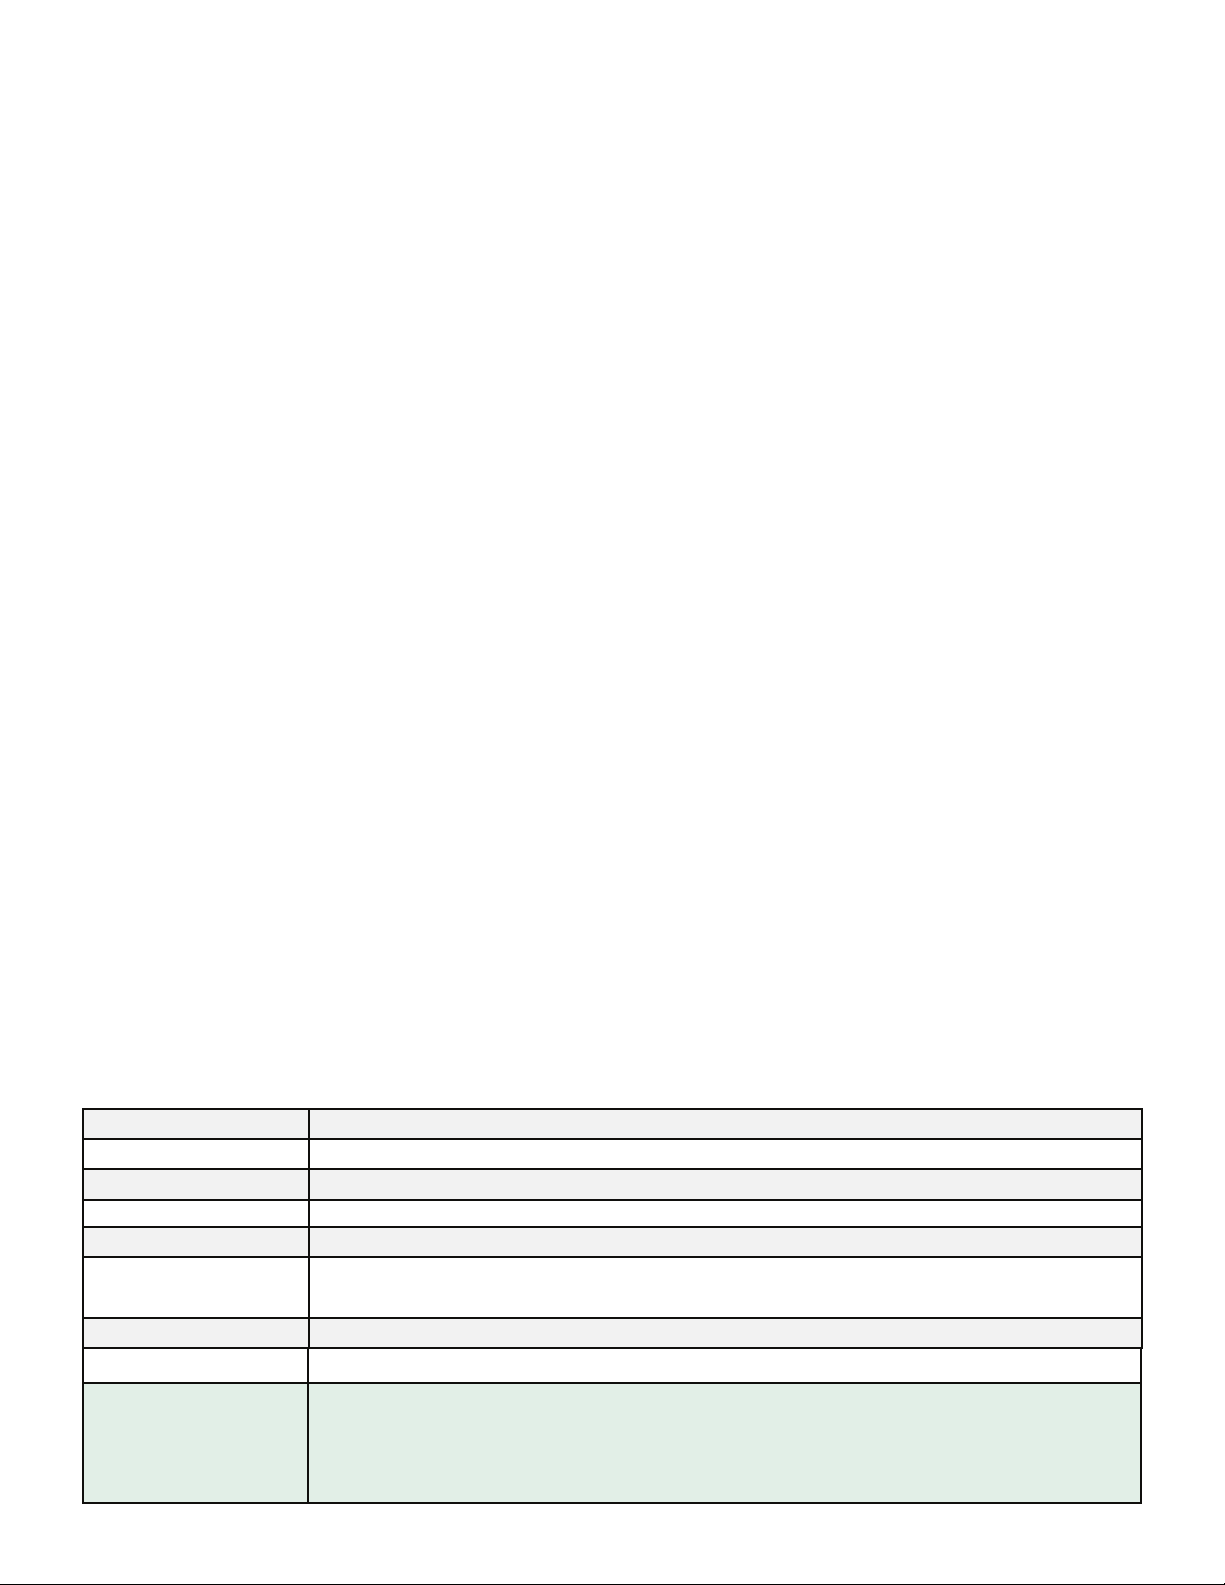
General Informaon
Specificaons
Power Output
Output Tubes
Preamp Tubes
Recfier
Controls
Other
Configuraons
Colors
Dimension & Weight
8 Was
1 - 6N14N (EL84)
1 - EF86, 1 - 12AX7
1 - 5AR4
Volume, Treble, Mid, Bass, Cut, Reverb, Master Volume, Pentode/Triode switch
4, 8, 16 Ohm speaker outs, effects loop
EQ Bypass (New variable boost footswitch included)
Head, 1×12 Studio Combo, 1×12 Standard combo, 2×10 Standard Combo
Black, Blonde, Red
Head: 19” W, 9 3/4” H, 9 1/2” D; 32 lbs.
1×12 Studio Combo: 19 ¼” W, 19 ½” H, 10 ½ ” D; 45 lbs.
1×12 Standard Combo: 23” W, 20 1/8” H, 10” D; 60 lbs.
2×10 Standard Combo: 23” W, 20 1/8” H, 10” D; 66 lbs.
4 - 12AX7, 1-12AT7

Front Panel:
Rear Panel:
1 2 3 4 5 6 7 8 9 10 11
SPEAKER OUTPUT
C L AS S 2 W I R I N G
4 OHM 8 OHM INPUT POWER
USE ONLY 1 OUTPUT
AT A TI M E
R I S K O F E L E C T R I C A L S H O CK
D O N O T O P E N
R I S Q U E D E C H O C E L E C T R I Q U E
N EP AS O U V R IR
CAUTIONAVIS
FUSE
DATE OF MFG:
F 1AMP 250V
120V~6 0 H z 6 5W
16 OHMFOOT SWITCH SEND RETURN
EQ
BY-PASS
- AMP
®
SERIAL NO.
M O D E L # Z A - 3 2 PENTODE TRIODE
CLASS 1 WI R I N G
12 13 14 15 16 17 18 19 20
1. Input: Input jack for your guitar. Hi is for normal use. LO has 3 dB less gain. Use LO with Humbucker equipped
guitars for a cleaner sound.
2. Volume: Controls overall gain. Set over half way for over-driven sounds. Set below half way for cleaner sounds.
3. Treble: Controls overall high frequency response.
4. Mid: Controls overall mid frequency response.
5. Bass: Controls overall low frequency response.
6. Reverb: Turn clockwise to add reverb.
7. Cut: Controls overall tone/presence of amp. Turn clockwise for chime.
8. Mater: Controls overall amp volume and output tube compression.
9. Stand-By: Leave in off posion for 1 minute when powering up the amp. Turn on for play. Place in off posion
for extended break periods.
10. Power: Switch up to turn on amplifier. Switch down to turn off amplifier.
11. Power Indicator: Lights up when power is switched on. If bulb fails replace with type T47.
12. EQ bypass footswitch jack: Plug supplied single buon footswitch in here. This will enable you to engage the
EQ bypass/gain boost mode. The new variable boost footswitch features an added knob to control the amount of
boost. Simply turn this knob clockwise to increase the amount of boost.
13. Send Jack: Plug “In” effects here.
14. Send Jack: Plug “Out” here.
15. 4 OHM Speaker Jack: Plug in 4 ohm speaker here. Always have a speaker plugged into the amp when it is
powered on. Always match the speaker impedance to the proper speaker out jack. This will allow the amp to sound
its best and avoid damage.
16. 8 OHM Speaker Jack: Plug in 8 ohm speaker here. Always have a speaker plugged into the amp when it is
powered on. Always match the speaker impedance to the proper speaker out jack. This will allow the amp to sound
its best and avoid damage.
17. 16 OHM Speaker Jack: Plug in 16 ohm speaker here. Always have a speaker plugged into the amp when it is
powered on. Always match the speaker impedance to the proper speaker out jack. This will allow the amp to sound
its best and avoid damage.
18. Pentode/Triode Switch: This switch will change how the power tube is configured; in pentode all 5 elements
are used, in triode 3 elements are used. Triode will lower the headroom and change the tonal characteriscs and
response. Note that this does not drop volume by 50% but will decrease the volume overall.
19. Fuse: The fuse protects the amp from electrical faults. Replace only with the same rang and type stated below
fuse holder (1.5A 250v SLO BLO). If the amp repeatedly blows the fuse contact your dealer or Dr Z Amps.
20. AC Inlet: (Class I Wiring). This device is used for disconnecon from power mains and must remain readily
opearable. The power indicator light does not indicate connecon to power mains. The power cord must be
disconnected to disconnect amplifier from power mains.

MADE IN USA
MODEL: ___________________
SERIAL NUMBER: ___________
INPUT VOLTAGE: ____________

Dokument -Name TT.MM.JJJJ 1 of 1
Document:
CE –ZA-32
Manufacturer:
Dr. Z Amplication
17011 Broadway Ave.
Maple Heights, OH 44137 -3407
USA
We declare that the designated product (s)
DR. Z MAZ 8
is/are in conformity with the European Directives:
2014/30/EU EMC Directive of 26 February 2014
20 11/65/EU
2014/35/EU
RoHS Directive of 8 June 2011
Electrical equipment designed for use within certain voltage limits
This declaration certies compliance with the indicated directives but implies no warranty of
properties. The safety instructions of the accompanying documentation shall be observed.
This declaration of conformity is issued under the sole responsibility of the manufacturer.
Issuer:
Dr. Z Amplication
17011 Broadway Ave.
Maple Heights, OH 44137 -3407
USA
Place, date: Maple Heights, OH USA , 01.AUGUST.2016
Legally binding signature:
M.D. Zaite, General Manager, Dr. Z Amps
EC/EU Declaration of Conformity
This manual suits for next models
1
Table of contents
Other DR. Z Amplification Music Pedal manuals