manuals.online logo
Brands
  1. Home
  2. •
  3. Brands
  4. •
  5. Draper
  6. •
  7. Rack & Stand
  8. •
  9. Draper Ceiling Trim Kit Programming manual

Draper Ceiling Trim Kit Programming manual

Other Draper Rack & Stand manuals

Draper FOUNDATION 303001 User manual

Draper

Draper FOUNDATION 303001 User manual

Draper Foundation 302005 User manual

Draper

Draper Foundation 302005 User manual

Draper Revelation User manual

Draper

Draper Revelation User manual

Draper 85629 User manual

Draper

Draper 85629 User manual

Draper FlyCages Programming manual

Draper

Draper FlyCages Programming manual

Draper FlatScreen Lift FSL-F-50 User manual

Draper

Draper FlatScreen Lift FSL-F-50 User manual

Draper 227025 Programming manual

Draper

Draper 227025 Programming manual

Draper Foundation User manual

Draper

Draper Foundation User manual

Popular Rack & Stand manuals by other brands

Dynex DX-MP3MT Quick setup guide

Dynex

Dynex DX-MP3MT Quick setup guide

Konig & Meyer 24185 manual

Konig & Meyer

Konig & Meyer 24185 manual

ECG LD 326501 instruction manual

ECG

ECG LD 326501 instruction manual

Philips SB7S19S/00 quick start guide

Philips

Philips SB7S19S/00 quick start guide

Woodline KIT-250 lb instructions

Woodline

Woodline KIT-250 lb instructions

ricoo S1222 installation instructions

ricoo

ricoo S1222 installation instructions

Kanto P301 user manual

Kanto

Kanto P301 user manual

VidaBox VB MNT FFS2 installation guide

VidaBox

VidaBox VB MNT FFS2 installation guide

PROEL PLWIN60C user manual

PROEL

PROEL PLWIN60C user manual

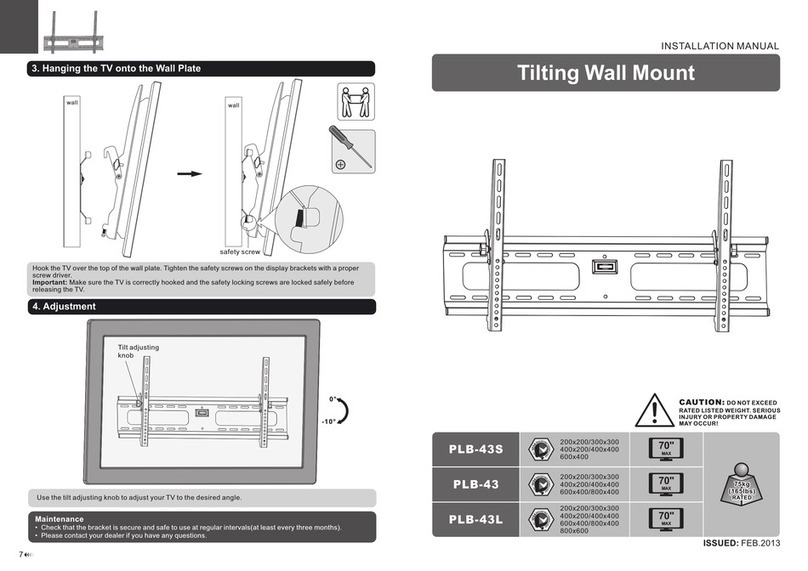
AllMounts PLB-43S instruction manual

AllMounts

AllMounts PLB-43S instruction manual

VMP VH-001 instruction sheet

VMP

VMP VH-001 instruction sheet

Nederman SYSTEM 920/400 instruction manual

Nederman

Nederman SYSTEM 920/400 instruction manual

Glasdon ORBIS POST MOUNTING KIT installation guide

Glasdon

Glasdon ORBIS POST MOUNTING KIT installation guide

Songmics LGR105 manual

Songmics

Songmics LGR105 manual

Grape GM401 user manual

Grape

Grape GM401 user manual

FourStarGroup 11225296 manual

FourStarGroup

FourStarGroup 11225296 manual

CHIEF FLR100 installation instructions

CHIEF

CHIEF FLR100 installation instructions

FEC XDCAM EX PMW-EX30 manual

FEC

FEC XDCAM EX PMW-EX30 manual

manuals.online logo
manuals.online logoBrands
  • About & Mission
  • Contact us
  • Privacy Policy
  • Terms and Conditions

Copyright 2025 Manuals.Online. All Rights Reserved.

A
B
G
F
C
H
E
D
CAUTION
1.
Read instructions through completely before proceeding.
2.
Follow instructions carefully. Installation contrary to instructions invalidates warranty.
3.
Should be installed level
(using a carpenter’s level)
.
4.
Before assembling ceiling slot trim kit, slot fascia must be cut to size
(see drawings)
.
5.
Mount ceiling slot trim kit to screen case before suspending case.
6.
Hardware for assembling ceiling slot trim kit and attaching to screen case is provided;
installer is responsible for providing appropriate hardware for suspending or
otherwise mounting screen case.
7.
Please also refer to the drawing on page 2.
The Ceiling Opening Trim Kit is for use in an
acoustical, drop ceiling only. Not recommended
for drywall or hard ceilings.
Excess metal hanger
material can be cut off
or folded over. Hangers
can also be used to
suspend screen.
Please Note: Case Attachment Brackets
(H)
have two attachment holes. If not using
Rigid Perforated Straps
(D)
to suspend
screen, refer to specific screen instructions
for details on which hole can be used for
attaching ceiling slot kit to screen case.
Please Note:
For the largest size trim
kit - 174"
(4.42m)
- two
Anti-Deflection Brackets
are also provided.
For installation details,
see page 2.
Parts List
A
Slot Fascia
(2)
B
Left Fascia Bracket
(1)
C
Right Fascia Bracket
(1)
D
Rigid Perforated Strap
(4)
E
10-32 Nylon Insert Lock Nut
(10)
F
Hex Head Screw #10-32 x .5"
(12.7mm)
Long
(16)
G
Cross Head Screw #6-32 x
¾
"
(19mm)
Long
(8)
H
Case Attachment Bracket
(2)
Assemble ceiling slot
trim kit and attach to
screen case before
suspending screen case.
Slot fascia may need to be cut to
proper width. Measure total case
width
(from outer edges of endcaps)
and cut slot fascia to match that
width. Make sure cuts are square.
“V” notched end piece fits beneath
7/8
"
(22mm)
hole for electrical connection.
Please Note: Ceiling Trim Kit
NOT FOR USE on Targa XL
and Premier XL screens.
Draper, Inc. | 411 S. Pearl St. Spiceland, IN 47385
draperinc.com | 765.987.7999 | 800.238.7999
© 2020 All Rights Reserved | FORM: CeilingTrimKit_Inst20
Ceiling Trim Kit
For recessing Targa and Premier projection screens
INSTRUCTIONS
INSTALLATION & OPERATION
If you have any difficulties installing or servicing your
Ceiling Trim Kit, call your dealer or Draper, Inc.
Please Note:
For the largest size trim kit - 174"
(4.42m)
- two
Anti-Deflection Brackets are provided to prevent
sagging or deflection in center of trim kit.
Use provided sheet metal screws to attach
bracket as shown in the drawings above.
Then, either use wire to tie off the bracket, or
attach the ceiling grid to the bracket.
#6-
¼
"
(6mm)
Sheet Metal Screws,
Anti-deflection Bracket
page 2 of 2
Ceiling Trim Kit Instructions