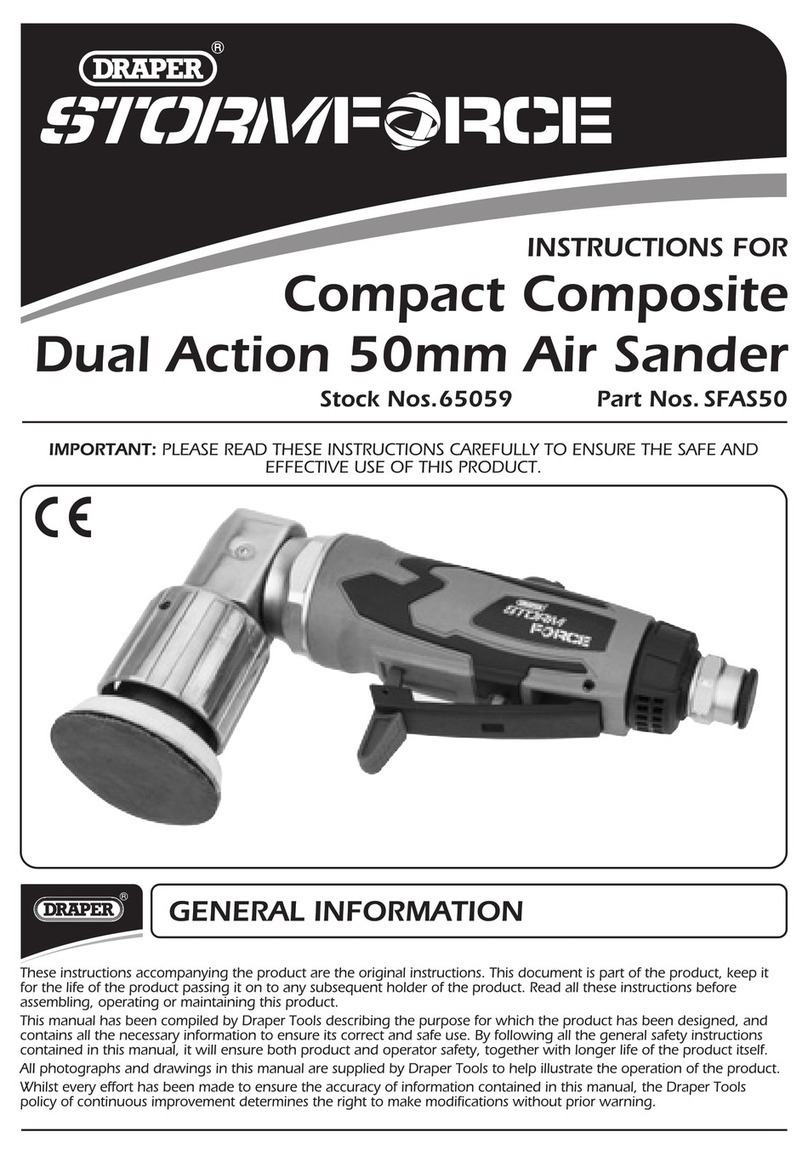
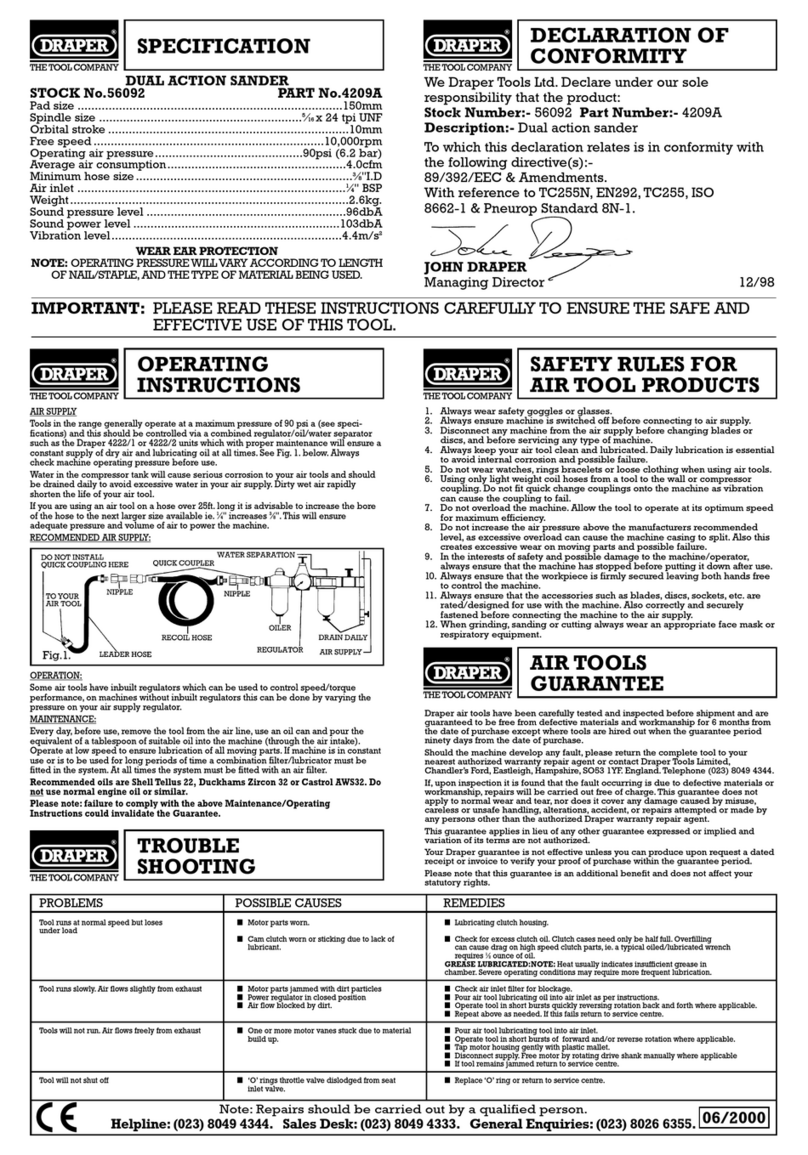
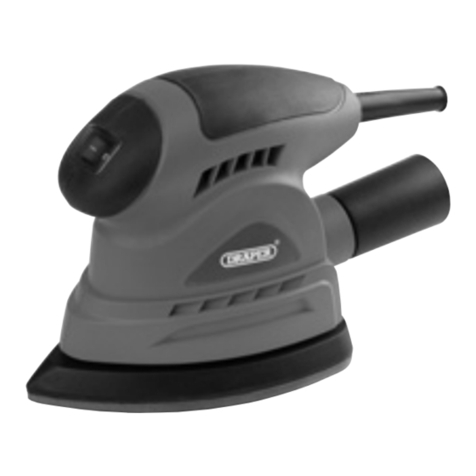
Draper 65084 User manual

EN
Original Instructions
Version 3
65084
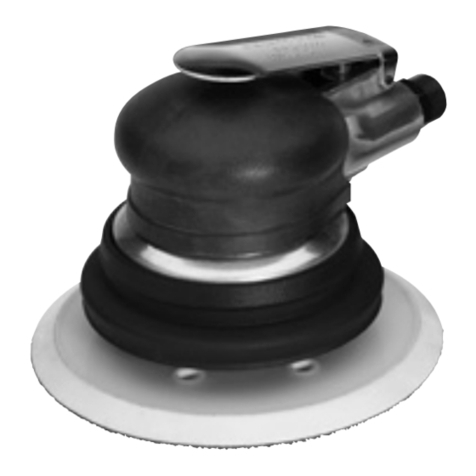
DUAL ACTION AIR
COMPOSITE
SANDER

1.1 Product Reference
User Manual for: Dual Action Air Composite Sander
Stock No: 65084
Part No: DAT-APS-SF
1.2 Revisions
Version 1: November 2014
First release
Version 2: July 2020
Updates to formatting and product marking
Version 3: May 2023
General content and formatting updates
Addition of retaining clip instructions
As our manuals are continually updated, always ensure
that the latest version is used.
Please visit drapertools.com/manuals for the latest
version of this manual and the associated parts list,
if applicable.
1.3 Understanding the Safety Content of
This Manual
WARNING!
– Situations or actions that may result
in personal injury or death.
CAUTION! – Situations or actions that may result
in damage to the product or surroundings.
Important: – Information or instructions of particular
importance.
1.4 Copyright © Notice
Copyright © Draper Tools Limited.
Permission is granted to reproduce this manual for
personal and educational use ONLY. Commercial
copying, redistribution, hiring or lending is strictly
prohibited.
No part of this manual may be stored in a retrieval system
or transmitted in any other form or means without written
permission from Draper Tools Limited.
In all cases, this copyright notice must remain intact.
1. Preface
– 2 –
These are the original product instructions. This
document is part of the product; retain it for the life
of the product, passing it on to subsequent holders.
Read this manual in full before attempting to
assemble, operate or maintain this product.
This Draper Tools manual describes the purpose
of the product and contains all the necessary
information to ensure its correct and safe use.
Following all the instructions and guidance in
this manual will ensure the safety of both the
product and the operator and increase the
lifespan of the product.
All photographs and drawings within this manual are
supplied by Draper Tools to help illustrate correct
operation of the product.
Every eort has been made to ensure the
information contained in this manual is accurate.
However, Draper Tools reserves the right to amend
this document without prior warning. Always use the
latest version of the product manual.
EN

– 3 –
EN
2. Contents
1. Preface 2
1.1 Product Reference 2
1.2 Revisions 2
1.3 Understanding the Safety Content of
This Manual 2
1.4 Copyright © Notice 2
2. Contents 3
3. Product Introduction 4
3.1 Intended Use 4
3.2 Specication 4
4. Health and Safety Information 5
4.1 Health and Safety Instructions for this
Air Sander 5
4.2 Additional Safety Instructions for
Pneumatic Tools 7
4.3 Residual Risk 7
5. Identication and Unpacking 8
5.1 Product Overview 8
5.2 What’s in the Box? 9
5.3 Packaging 9
6. Preparation Instructions 10
6.1 Air Tool Oil Specication 10
6.2 Preparing the Air Supply for Use 10
6.3 Connection to the Air Supply 11
6.4 Attaching Sanding Pads 11
6.5 Dust Extraction 11
7. Operating Instructions 12
8. Maintenance and Storage 13
8.1 General Maintenance 13
8.2 Replacing the Backing Plate 13
8.4 Troubleshooting 14
8.3 Storing the Air Sander 14
9. Spares, Returns and Disposal 15
10. Warranty 16
11. Explanation of Symbols 17

– 4 –
EN
3. Product Introduction
3.2 Specication
Stock No. 65084
Part No. DAT-APS-SF
Disc diameter: 150mm (6")
Orbit diameter: 5mm
Speed (no load): 10,500rpm
Max. air pressure: 6.3bar (90psi)
Average air consumption: 85L/min
Minimum air line size: 3/8” inner diameter
Air inlet: 1/4” BSP
Spindle thread: 5/16” x 24
Emissions:
Sound pressure level (LPA): 85dB(A)
Sound power level (LWA): 96dB(A)
Vibration levels: 6.3m/s
Weight (net): 0.88kg
Important: The declared vibration total values and noise emissions values have been measured in accordance with a
standard test method and may be used for comparing one tool with another. These values may also be used in a
preliminary assessment of exposure.
WARNING!Thevibrationandnoiseemissionsduringactualuseoftheproductcandierfromthedeclared
values depending on the tool speed and the workpiece upon which it is used. Before each use, estimate the
likely exposure resulting from the actual conditions of use. Take into account all parts of the operation
cycle in order to identify any safety measures required to protect the operator.
3.1 Intended Use
This product is intended for sanding and smoothing
wooden surfaces using both rotary and orbital actions
at variable speeds. It is suitable for use with a
compressed air supply and centralised dust extraction
vacuum systems. Any other application beyond the
conditions established for use will be considered misuse.
Draper Tools accepts no responsibility for improper use
of this product.
Part of our core range, this product is suitable for use by
enthusiasts and tradespersons alike.
WARNING! This product is not a toy and must
be respected.
Read this manual in full before attempting to assemble,
operate or maintain the product and retain it for later use.

– 5 –
EN
4. Health and Safety Information
Important: These instructions are intended as a guide to
the safe use of this product. Additional or specic risks
associated with each operation and workpiece material
must be undertaken before each operation. DO NOT
operate this tool if you are unfamiliar with the risks
associated with its use.
4.1 Health and Safety Instructions for this
Air Sander
WARNING! Read and understand the safety
instructions before installing, operating,
repairing, maintaining, replacing accessories,
or working near the sander. Failure to do so can
result in serious bodily injury.
General Safety Instructions
• Only trained and authorised personnel may install,
adjust or operate the sander.
• DO NOT modify this sander.
− Modications can reduce the eectiveness of
safety measures and increase the risk of injury.
• Retain these instructions for the life of the
product and pass them on with the tool to any
future operators.
• DO NOT use this sander if it shows any evidence of
damage or disrepair.
• Regularly inspect the sander to ensure that all safety
markings remain legible.
− Contact Draper Tools if the safety markings need
to be replaced and DO NOT use the tool.
Projectile Hazards
• Be aware that failure of the workpiece, accessories or
tool itself may generate high-velocity projectiles.
• ALWAYS wear impact-resistant eye protection during
operation of the sander and assess the grade of
protection required with each use.
• When working overhead, ALWAYS wear a
safety helmet.
• Carefully assess the risk to others before every
operation and ensure that all bystanders are clear
of the work area or equipped with suitable
protective equipment.
− Keep this product out of reach of children at
all times.
• ALWAYS ensure that the workpiece is rmly
gripped by a clamp or vice; NEVER hold the
workpiece by hand.
Entanglement Hazards
• Keep loose clothing, gloves, hair and jewellery well
away from the sander at all times.
− Entanglement in the spinning pad can cause
signicant injury.
Operating Hazards
• Wear suitable protective gloves to guard against
injury from cuts, abrasion and heat.
• If the workpiece becomes hot during operation,
stop the tool and allow the material to cool
before continuing.
• Hold the tool correctly and rmly and brace
yourself against sudden movements, keeping both
hands available.
• Maintain good balance and secure footing at all times
while operating the tool.
• Release the trigger lever immediately if the air supply
is interrupted.
• ONLY use lubricants recommended by Draper Tools.
• ALWAYS wear protective safety glasses while using
this tool.
− Draper Tools also recommends wearing protective
gloves and other protective clothing appropriate
to the specic conditions of the operation.
• Inspect the backing plate for signs of damage before
EVERY use.
− DO NOT use the sander if the backing pad is
broken or cracked or the tool has been dropped.
• NEVER touch the backing plate or sanding sheet
while the tool is in operation.
− ALWAYS allow the tool to come to a complete stop
and disconnect the air supply before handling or
adjusting the sanding pad or backing plate.
• NEVER use the tool without a suitable sanding
pad attached.
• Use on plastic or other non-conductive materials
increases the risk of electrostatic discharge.
• Dust and fumes caused by sanding operations may
create potentially explosive environments.
− ALWAYS ensure that dust extraction or
suppression systems are used with this tool and
are suitable for use with the workpiece materials.

– 6 –
EN
4. Health and Safety Information
Repetitive Motion Hazards
• When operating a sander frequently or for extended
periods, the operator may experience discomfort in
the hands, arms, shoulders, neck and other parts of
the body.
• While using the sander, adopt a comfortable posture
while maintaining secure footing and avoiding
awkward or o-balance positions.
− Change posture and operating positions regularly
during extended use to help avoid discomfort
and fatigue.
• DO NOT ignore symptoms such as persistent or
recurring discomfort, pain, throbbing, aching,
tingling, numbness or burning sensations.
− If these symptoms occur, stop using the tool and
consult a qualied health professional.
Accessory Hazards
• ALWAYS disconnect the sander from the air supply
before tting or changing accessories.
• Avoid direct contact with the sanding pad and
backing plate during and immediately after operation
as it may become hot during use.
• ONLY use accessory types and sizes recommended by
Draper Tools.
• DO NOT attach grinding wheels or cutting-o
accessories to this tool and do not use it for
these purposes.
• ALWAYS ensure that the maximum operating speed
of the backing pad is higher than the rated speed of
the sander.
• Self-xing sander discs must be placed concentrically
on the supporting pad.
Workplace Hazards
• Stay alert for surfaces that may become slippery as a
result of use of this tool and for trip hazards caused by
the air line.
• This sander is not suitable for use in potentially
explosive atmospheres and is not insulated against
contact with electric power.
• Ensure that there are no electrical cables, gas pipes,
etc. present in the workpiece that may cause a hazard
if damaged by the tool.
Dust and Fume Hazards
• Dust and fumes generated by sanding operations can
cause ill health (e.g., cancer, birth defects, asthma
and/or dermatitis).
− Perform a risk assessment and implement any
appropriate controls for identied hazards before
performing any operation.
− Any risk assessment performed must include dust
created by use of the tool and disturbance of any
existing dust.
• Operate and maintain the sander appropriately to
minimise the dust or fume emissions.
• Direct the exhaust so as to minimise disturbance of
existing dust in dusty environments.
• Where dust or fumes are created, priority must be
given to controlling them at the point of emission.
• All integral features and accessories for the collection,
extraction or suppression of airborne dust or fumes
must be correctly used and maintained in accordance
with the manufacturer’s instructions.
• Select, maintain and replace the backing plate and
sanding pads as recommended in the manual to
prevent any unnecessary increase in the emission of
dust or fumes.
• Use appropriate respiratory protection in accordance
with local occupational health and safety regulations.
Noise Hazards
• Exposure to high noise levels can cause permanent
hearing loss and other problems.
− Perform a risk assessment and implement any
appropriate controls for identied hazards before
performing any operation.
• Implement appropriate controls, such as dampening
materials, to prevent the workpiece from “ringing”
during operation.
• Use appropriate hearing protection in accordance
with local occupational health and safety regulations.
• Operate and maintain the sander appropriately to
prevent unnecessary increase in noise emissions.

– 7 –
EN
4. Health and Safety Information
Vibration Hazards
• Exposure to vibration can cause disabling damage to
the nerves and blood supply of the hands and arms.
• Wear warm clothing when working in cold conditions
and keep your hands warm and dry.
• If you experience numbness, tingling, pain or
whitening of the skin in your ngers or hands,
stop using the sander and consult a qualied
health professional.
• Operate and maintain the sander appropriately to
prevent unnecessary increase in vibration emissions.
• The risks from vibration hazards are increased when
grip force on the tool is higher.
− Hold the sander with a light but safe grip,
keeping in mind that your grip may need to be
altered to react to unexpected forces.
4.2 Additional Safety Instructions for
Pneumatic Tools
WARNING!
Compressed air can cause severe injury.
− ALWAYS turn o and disconnect the air supply
before making any adjustments or repairs to the
product or leaving it unattended.
− NEVER direct compressed air towards yourself
or others.
− Ensure that compressed air is not blocked by or in
contact with any part of your body.
• ONLY use clean, dry and regulated compressed air.
WARNING! NEVER use oxygen, combustible
gases or other bottled gases as a supply for
this product. Use of these substances may
cause the product to explode.
• Draper Tools recommends the use of a whip hose
between the tool and the air supply to reduce
vibration.
WARNING! Whipping hoses can cause severe
injury. Always check for and replace
damagedorloosehosesandttings.
• Ensure that the product is compatible with the air
supply before use.
• Ensure all connections are securely tightened.
• Where universal twist couplings (claw couplings) are
used, lock pins must be installed and whipcheck
safety cables must be used to safeguard against
possible hose-to-tool or hose-to-hose failure.
• DO NOT exceed the maximum stated air pressure.
• DO NOT obstruct the ability of the trigger to release
once depressed.
• NEVER carry the tool by the air line.
4.3 Residual Risk
The safety instructions in this manual cannot account
for all possible conditions and situations that may
occur. Exercise common sense and caution when using
this product and protect against any additional
conceivable risks.

– 8 –
EN
5.1 Product Overview
5. Identication and Unpacking
(1) Air line inlet
(2) Backing plate
(3) Dust outlet
(4) Exhaust
(5) Inlet bung
(6) Retaining clip
(7) Shroud
(8) Speed control lever
(9) Trigger lever
(3)
(1)
(8)
(9)
(2)
(4)
(7)
(6)
(5)

– 9 –
EN
Please visit drapertools.com for our full range of accessories and consumables.
5.3 Packaging
Keep the product packaging for the duration of the
warranty period for reference should the product need to
be returned for repair.
WARNING! Keep packaging materials out of reach of
children. Dispose of packaging correctly and
responsibly and in accordance with local regulations.
5.2 What’s in the Box?
Carefully remove the product from the packaging and
examine it for any signs of damage that may have
occurred during shipment.
Before assembling the product, lay the contents out and
check them against the parts shown below. If any part is
damaged or missing, do not attempt to use the product.
Please contact the Draper Helpline; contact details can
be found at the back of this manual.
5. Identication and Unpacking
(A) 1 x Air sander (not shown)
(B) 1 x Air line coupling
(C) 1 x 24mm (M16) spanner
(B)
(C)

– 10 –
EN
6.2 Preparing the Air Supply for Use
1 Fig.
This air tool operates at a max. pressure of 6.3bar (90psi).
The compressed air system must be controlled by a
combination pressure regulator, in-line lubricator and
moisture lter. This will ensure a constant supply of dry
air at all times, provided it is properly maintained.
Important: Always check the machine operating pressure
before use.
Water in the compressor tank may cause considerable
corrosion to air tools; the compressor should be
drained daily to avoid excessive water in the air supply.
Dirty or wet air can signicantly shorten the lifespan of
the product.
When using an air tool with a hose over 25ft long,
Draper Tools recommends increasing the bore of the hose
to the next largest available size (i.e. increase 3/8" to
1/2"). This will ensure adequate pressure and volume of
air to power the tool.
Important: Before operating this product, read and
understand all the safety and preparation instructions
listed in this manual.
6.1 Air Tool Oil Specication
Air tool oil viscosity refers to the thickness and ow of the
oil used in the product and the way in which it reacts with
heat. Liquids with low viscosity are thinner than liquids
with high viscosity.
As the viscosity of the air tool oil is reduced when heated,
choosing the right viscosity is essential. If the oil
viscosity is too low, it may not lubricate the tool
appropriately when heated. If the oil viscosity is too high,
the uid may cause excessive resistance within the air
lines when cold.
ISO grade 22–32 (SAE grade 5W–15W) monograde oil
should be used in this product. Draper Tools
recommends the use of Draper Air Tool Oil:
• 500ml: Stock No. 34681
• 1L: Stock No. 34862
During use, the oil must be constantly supplied to the
equipment to ensure complete lubrication and optimum
performance.
6. Preparation Instructions

– 11 –
EN
6. Preparation Instructions
6.3 Connection to the Air Supply
Important: Draper Tools recommends using a 1/4" BSP
male-threaded thread whip hose (Stock No. 54438,
not supplied) to connect the spray gun to an air line in
order to reduce vibration.
WARNING! To prevent unintentional starting,
ALWAYS ensure that the retaining clip is
installed and that the trigger lever is not
depressed while connecting the air line.
1. Wrap a length of PTFE tape around the air line
coupling (B) or whip hose thread.
Important: For a more secure seal, the PTFE tape
should be wrapped in the opposite direction to
the thread.
2. Remove the inlet bung (5) and screw the air line
coupling or whip hose into the tool air line inlet (1).
2 Fig.
3. Connect the air line to the air line coupling or
whip hose.
4. Pressurise the air line when you are ready to begin.
6.4 Attaching Sanding Pads
Important: ALWAYS ensure that the air line is
disconnected before installing, adjusting or removing
sanding pads.
This product is compatible with hook-and-loop-backed
sanding pads.
To install a sanding pad, align the edges and holes
of the sheet with the backing plate and press it rmly
into place.
3 Fig.
Sanding pads should be replaced when they become
damaged, excessively worn or fail to ware the workpiece
appropriately during use.
Important: If the sanding pad is not punched, use a
suitable tool to pierce the sheet in line with the backing
plate openings. This allows dust to be extracted from the
workpiece and reduces the risk of inhalation.
CAUTION! The sanding pad MUST be suitably
sized for the backing plate. Use of over- or
under-sizedpadsmaycausesignicantdamage
to the backing plate or spindle.
6.5 Dust Extraction
Important: To reduce the risk to health, ALWAYS use
appropriate dust extraction facilities when working with
this tool.
Firmly insert a suitable dust extraction hose
(not supplied) into the dust outlet (3) and attach the
other end of the hose to an appropriate dust extractor.
4 Fig.
(B)
(5)
(1)
(3)

– 12 –
EN
Important: ALWAYS ensure that the product is correctly
prepared and lubricated before operation. Read all the
safety and preparation instructions in this manual
before use.
WARNING!TheworkpieceMUSTbermly
secured in place before operation. DO NOT
hold the workpiece by hand.
1. Ensure that the air line is securely connected
and pressurised.
2. Rotate the exhaust (4) to position it so that any
disturbance of existing dust or dust generated by
the operation is minimised.
3. Pull the retaining clip (6) out from under the trigger
lever (9) to remove it and retain it for future use.
5 Fig.
CAUTION! DO NOT attempt to operate the
tool with the retaining clip still in place.
4. Place the tool against the workpiece and depress the
trigger lever to start the tool.
Important: Start the operation with the tool against
the workpiece to prevent gouging upon rst contact.
5. Adjust the position of the speed control lever (8) to
alter the airow into the tool and set the sanding
speed as appropriate.
6 Fig.
6. To stop the tool, release the trigger lever as you lift it
away from the workpiece.
Important: Reinstall the retaining clip and
depressurise and disconnect the air line when the
tool is not in use for extended periods.
The direction of rotation is indicated on the shroud (7).
Important: When operating the sander, use only the
at surface of the sanding pad against the workpiece;
DO NOT use the edges of the sanding pad and
backing plate.
7. Operating Instructions
(8)
(9)
(6)

– 13 –
EN
Important: ALWAYS ensure that the air supply is
disconnected from the tool before performing any
maintenance or storing the product.
8.1 General Maintenance
• Keep the air line inlet, exhaust and dust outlet free
from dust, debris and other obstructions.
• Regularly check the tightness of the backing plate
to ensure a rm t that does not exhibit resistance
when rotated.
• Periodically check the sanding pads and backing
sheets for damage or wear and replace them
as necessary.
• Keep the hook and eye pad of the backing plate
free from debris to ensure a secure grip on the
sanding pad.
• Lubricate the mechanism by pouring a few drops
of air tool oil into the air line inlet before and after
every use.
• Ensure that the air line is suciently lubricated and
apply additional lubrication into the air line inlet if
evidence of binding occurs.
• Maintain the air line appropriately:
− Drain the compressor reservoir and air
lines of condensate and dispose of the
liquid appropriately.
− Drain the water trap.
− Drain and ll the combined separator lter,
regulator and lubricant reservoir.
− Ensure that the air line pressure is appropriate for
the tool.
8.2 Replacing the Backing Plate
The backing plate should be replaced if it becomes
damaged, can no longer be suciently fastened, or no
longer grips the sanding pads securely.
1. Lift the rubber shroud (7) slightly and locate the
spindle locking nut.
2. Insert the 24mm spanner (C) under the shroud and
locate it around the spindle locking nut.
7 Fig.
3. Use the spanner to hold the spindle locking nut in
place and rotate the backing plate (2) forwards as
indicated on the shroud.
8 Fig.
4. Install a new backing plate onto the spindle, using the
spanner to hold the locking nut in place and rotating
the plate in the reverse direction.
CAUTION! DO NOT overtighten the backing
plate as this may restrict the motion of
the plate.
Important: ALWAYS ensure that the spanner has been
removed before reconnecting the air line.
8. Maintenance and Storage
(7)
(C)
(2)

– 14 –
EN
8. Maintenance and Storage
Problem Possible Cause Remedy
The sander no longer operates. The air pressure is too low. Check that the air line is connected
and not damaged.
The trigger mechanism has
malfunctioned.
Inspect and repair the trigger
mechanism as necessary. Pour a
little air tool oil into the air line
inlet and squeeze the trigger
several times.
The sander operates with
reduced power.
The air line is obstructed. Switch o and detach the air line.
Clean the air line and air inlet and
remove any obstructions.

The air pressure is low. Check the CFM rating of the air
compressor, set the pressure
appropriately, and check for
loose connections.
The rotor vane is seized. Pour a little air tool oil into the air
line inlet and squeeze the trigger
several times.
The trigger is sti or resists
excessively when depressed, or
does not release easily.
The hydraulics mechanism requires
lubrication or is obstructed.
Pour a little air tool oil into the air
line inlet and squeeze the trigger
several times.
The spindle does not turn. The rotor vane is broken. Contact Draper Tools for support.
The tool will not switch o. The o-rings at the throttle valve are
broken or dislodged.
Replace the o-ring seal or contact
Draper Tools for support.
8.4 Troubleshooting
8.3 Storing the Air Sander
• Disconnect the air line and remove the air line
coupling or whip hose when storing the product.
Important: Lubricate the mechanism by pouring a
few drops of air tool oil into the air line coupling
and depressing the trigger lever several times
before storage.
• Wipe the sander clean and remove any obstructions
from the dust outlet (3) before storage.
• Ensure that the retaining clip (6) is installed beneath
the trigger lever (9).
• Store the product in a clean and dry location, out of
reach of children.
If the issue cannot be resolved, contact Draper Tools for support.

– 15 –
EN
For spare parts, servicing, and repair and replacement
options, please contact the Draper Tools Product
Helpline for details of your nearest authorised agent.
Draper Tools will endeavour to hold any spare parts,
if applicable, for seven years from the date that it sells
the nal matching stock item.
Any servicing or repairs carried out by unauthorised
personnel or installation of spare parts not supplied by
Draper Tools will invalidate your warranty.
Important: For safety, ALWAYS drain and clean the
product of any oil, fuel, chemicals or other substances
before returning it to Draper Tools or its authorised
agent. Store these materials in suitable containers and
dispose of them in accordance with local regulations.
Draper Tools and its agents cannot be responsible for the
disposal of these substances.
At the end of its working life, dispose of the product
responsibly and in line with local regulations.
Recycle where possible.
Dispose of oil and condensate separately and in
accordance with local regulations; DO NOT abandon
them in the environment.
9. Spares, Returns and Disposal

– 16 –
EN
Draper Tools products are carefully tested and inspected
before shipment and are guaranteed to be free from
defective materials and workmanship.
Should the tool develop a fault, return the complete tool
to your nearest distributor or contact Draper Tools
directly. Contact information can be found at the back of
this manual.
Proof of purchase must be provided.
If, upon inspection, it is found that the fault occurring is
due to defective materials or workmanship, repairs will
be carried out free of charge. This warranty period covers
parts and labour for 6 months from the date of purchase.
Where tools have been hired out, the warranty period
covers 90 days from the date of purchase.
This warranty does not apply to any consumable parts,
batteries or normal wear and tear, nor does it cover any
damage caused by misuse, careless or unsafe handling,
alterations, accidents, or repairs attempted or made by
any personnel other than the authorised Draper Tools
repair agent.
In all cases, to make a claim for faulty workmanship or
materials within the standard warranty period, please
contact or return the product to the place of purchase.
Proof of purchase may be required.
If the place of purchase is no longer trading or if you
experience any diculties with your warranty, please
contact Customer Services with the product details and
your proof of purchase. Contact details can be found at
the back of this manual.
If the tool is not covered by the terms of this warranty,
repairs and carriage charges will be quoted and charged
accordingly.
This warranty supersedes any other guarantees
expressed or implied and variations of its terms are not
authorised.
Your Draper Tools guarantee is not eective until you can
produce, upon request, a dated receipt or invoice to
verify your purchase within the guarantee period.
Please note that this warranty is an additional benet
and does not aect your statutory rights.
Draper Tools Limited
10. Warranty

– 17 –
EN
90
psi
Max. air pressure
85
L/minAverage air consumption
3
cfm Average air consumption
0.88
kg Product weight (bare)
UK Conformity Assessed
European Conformity
Read the instruction manual
Warning!
Do not abandon in the environment
Wear suitable eye protection and a
dust mask
Wear protective gloves
Wear ear defenders
+
+
+
+
+
+
+
+
+
+
+
+
+
+
+
+
+
+
+
+
+
+
+
+
+
+
+
+
+
+
+
+
+
+
+
+
+
+
+
+
+
Keep long hair tied back
150
mm
6" Backing plate diameter
10,500
R/minNo load speed
1/4"
BSPAir inlet
ID
3/8"
Min. hose size
6.3
bar Max. air pressure
11. Explanation of Symbols

Notes
– 18 –
EN

Notes
– 19 –
EN

© Published by Draper Tools Limited© Published by Draper Tools Limited
Delta International
Delta International BV
Oude Graaf 8
6002 NL
Weert
Netherlands
Contact Details
Draper Tools
Draper Tools Limited
Hursley Road
Chandler’s Ford
Eastleigh
Hampshire
SO53 1YF
UK
Website: drapertools.com
Email: [email protected]
Product Helpline: +44 (0) 23 8049 4344
Telephone Sales Desk: +44 (0) 23 8049 4333
General Enquiries: +44 (0) 23 8026 6355
General Fax: +44 (0) 23 8026 0784
Please contact the Draper Tools Product Helpline for repair and servicing enquiries.
Other manuals for 65084
1
Table of contents
Other Draper Sander manuals

Draper
Draper RS230KA User manual

Draper
Draper BDS368 User manual

Draper
Draper 300W Firmware update

Draper
Draper 56490 User manual

Draper
Draper ANGLE POLISHER & SANDER User manual

Draper
Draper Storm Force DA650SF User manual

Draper
Draper PT125V User manual

Draper
Draper PT180 User manual

Draper
Draper RS480KA User manual

Draper
Draper PT240 User manual

Draper
Draper PT75B User manual

Draper
Draper 98427 User manual

Draper
Draper 4209A User manual

Draper
Draper PT260V User manual

Draper
Draper PT220 User manual

Draper
Draper PT1200SF Firmware update

Draper
Draper PT180A User manual

Draper
Draper 57941 User manual

Draper
Draper PT75 User manual

Draper
Draper Stormforce SFAS50 User manual