GUIDE D’INSTALLATION RF612 AIR
INSTALLATION GUIDE RF612 AIR
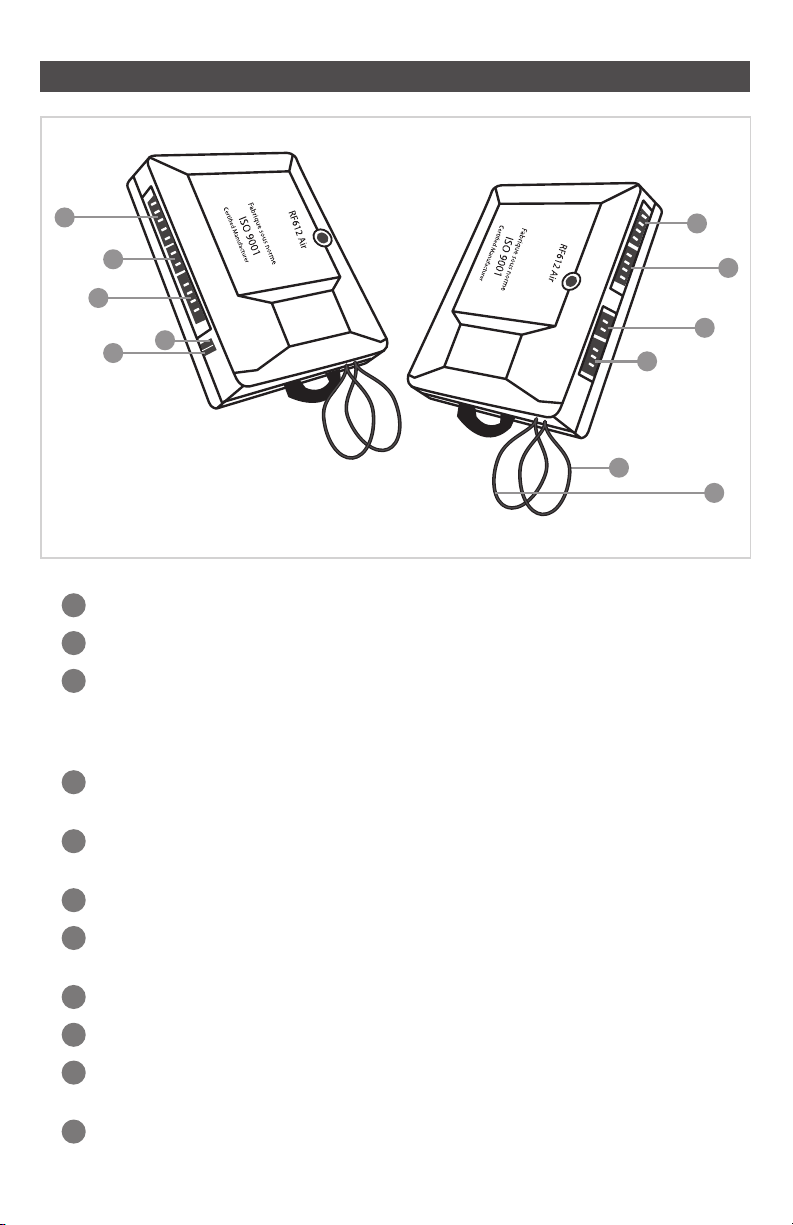
Version 612A-1
Version 612A-1
TABLE 1 FONCTIONS DÉFAUT
APPUYER SUR LOCK APPUYER SUR UNLOCK APPUYER
SUR 3eBOUTON APPUYER SUR START
1.01 Réinitialisation Dernières préférences Préférences par défaut
1.02 Temps de marche 20 minutes 15 minutes 10 minutes 3 minutes
1.03 Démarrage de nuit 6 minutes 10 minutes 15 minutes 20 minutes
1.04 Verrouillage par ign/frein Désactivé Activé Unlock seulement Lock seulement
1.05 Impulsion déverrouillage 1 fois 2 fois Unlock
1.06 Mode antidémarreur Actif (détecte ignition) Passif (détecte ignition)
1.07 Mode alarme Désactivé Activé
1.08 Passif (automatique) Désactivé Activé Toujours activé
1.09 Avec ou sans verrouillage Sans Avec
1.10 N/A
1.11 Clignotement du Del Activé Désactivé
1.12 N/A
1.13 Diagnostique alarme Sélectionné Relevé des 6 derniers événements, voir annexes
1.14 Diagnostique démarreur Sélectionné Relevé des 6 derniers événements, voir annexes
1.15 Mode démarrage Normal *Quick start *Quick Start avec tach
TABLE 2 FONCTIONS DÉFAUT
APPUYER SUR LOCK APPUYER SUR UNLOCK APPUYER
SUR 3eBOUTON APPUYER SUR START
2.01 Impulsion de valise Impulsion standard
2.02 Porte coulissante aux 2 Impulsion standard
2.03 Porte coulissante aux 1 Impulsion standard
2.04 Enclenchement Valise Démarrage
2.05 Valet/contournement Par bouton poussoir 6 fois pédale de frein
2.06 Type de carburant Gaz Diesel (voir 2.07)
2.07 Sélection mode Diesel Minuterie Bougie de préchauffage
2.08 Durée de retardement 8 sec 12 sec 15 sec 20 sec
2.09 Verrouillage des portes après démarrage Désactivé Activé Activé après démarrage
seulement
2.10 Tentative de démarrage 1 essai *2 essais *3 essais
2.11 *Mode turbo *45 sec *60 sec *90 sec *120 sec
2.12 Sélection sorties AUX Valise Portes coulissantes et valise
2.13 N/A
2.14 Détection entrée de valise pour
transmission manuelle Hors fonction En fonction
TABLE 3 FONCTIONS DÉFAUT
APPUYER SUR LOCK APPUYER SUR UNLOCK APPUYER
SUR 3eBOUTON APPUYER SUR START
3.01 Sélection Klaxon Klaxon
3.02 Durée Klaxon Défaut Allongé Allongé -3ms Allongé +3ms
3.03 Conrmation Klaxon Activé Activé au 2e Lock Muet complet Muet seulement
sur UNLOCK
3.04 Conrmation sonore au démarrage Désactivé Activé
3.05 Choix du bouton Start Standard Appuyer Lock
et après Start Appuyer 2 fois Start
3.06 Rebarrage sécuritaire Activé avec
mode Alarme
Désactivé avec
mode Alarme
Activé sans alarme
(entrée de porte doit
être connecté)
3.07 Impulsion avant ignition 1.5 sec 0.5 sec 3 sec
3.08 Mode voiturier par ignition
Seulement quand système est désarmé Désactivé Activé Ignition On 5 Fois
3.09 *Réglage du mode transmission manuelle *Moteur arrêté à la
fermeture de porte
*Moteur arrêté par télécom-
mande avec délai de 2 min
*10 sec délai après
fermeture des portes
*20 sec délai après
fermeture de porte
3.10 *Réglage du mode transmission manuelle *Avec verrouillage des portes *Sans verrouillage
3.11 Débarrer prioritaire porte conducteur Désactivé Activé Utilisé seulement avec RS232 Data Port
3.12 Choix sortie Passkey Sécuritaire Non sécuritaire Utilisé seulement avec RS232 Data Port
3.13 Débarrer portière démarrage à dist. Hors fonction En fonction Utilisé seulement avec RS232 Data Port
3.14 *Réglage manuel d’activation du démarrage *Démarrage standard *Surdémarrage +2 sec
TABLE 4 FONCTIONS DÉFAUT
APPUYER SUR LOCK APPUYER SUR UNLOCK APPUYER
SUR 3eBOUTON APPUYER SUR START
4.01 Sélection de la sortie du Passkey Passkey standard Passkey négatif en conduisant
4.02 Sélection sortie réarmement 2003 GM Hors fonction Téléverrouillage avec le moteur
en marche
4.03 Ignorer le plafonnier 60 sec Désactivé Activé
4.04 Diagnostique du plafonnier 4 coups Activé Désactivé
4.05 *Choix du temps de crankage *Minimum .07 sec *Minimum 0.9 sec *Minimum 1.2 sec *Minimum 1.5 sec
4.06 *Choix du temps de crankage *Maximum 10 sec *Maximum 3.5 sec
4.07-08 N/A
4.09 Arrêt des feux de stationnement
après 3 minutes Désactivé Activé
4.10 Sélection des fonctions du bouton
Option/ Silence Muet Valise Arrêt
4.11-12-13 N/A
4.14 Pulse de réarmement Standard Avant pulse de verrouillage
4.15 Désarmer/Déverrouiller Standard Gwr + Ignition Gwr + Ignition + Acc Gwr + Acc
En choisissant *Quick Start, les fonctions avec une * ne seront pas valides (cancelées).
TABLE 1 FONCTIONS DEFAULT
PRESS LOCK PRESS UNLOCK PRESS 3RD BUTTON PRESS START
1.01 Reset Mode Go to last setting Go to default setting
1.02 Running Time Mode 20 minutes 15 minutes 10 minutes 3 minutes
1.03 Cold Start Timer Mode 6 minutes 10 minutes 15 minutes 20 minutes
1.04 Ignition Lock / Foot Brake Disable Enable Unlock only Lock only
1.05 Door Lock / Unlock Pulse Single pulse Double pulse Unlock
1.06 Starter Kill Mode Active (detect ignition) Passive (detect ignition)
1.07 Alarm Mode Disable Enable
1.08 Last Door Arming Disable Enable All Time Enable
1.09 Last Door Arming Without door lock With door lock
1.10 N/A
1.11 LED ash Enable Disable
1.12 N/A
1.13 Diagnostic mode alarm Select This will reproduce the last 6 triggered zone events
1.14 Diagnostic mode for remote stater Select This will reproduce the last 6 start failure events
1.15 Remote start Standard *Quick start *Quick Start with tach
TABLE 2 FONCTIONS DEFAULT
PRESS LOCK PRESS UNLOCK PRESS 3RD BUTTON PRESS START
2.01 Trunk Pulse Regular pulse
2.02 Sliding Doors Aux 2 ( Mute 1.5 sec ) Regular pulse
2.03 Sliding Doors Aux 1 ( Unlock 1.5 sec ) Regular pulse
2.04 Trigger input Trunk Start
2.05 Valet / Override Via push button 6 times Foot Brake
2.06 Fuel Type Selection Gaz Diesel (go to 2.07)
2.07 Detection mode Timer Glow Plug
2.08 Diesel Timer Selection 8 sec 12 sec 15 sec 20 sec
2.09 When Remote Start Door Relock Disable Enable Enable after start only
2.10 Numbers of Tries for Start Attempt One try *Two tries *Three tries
2.11 *Turbo mode timer adjustment *45 sec *60 sec *90 sec *120 sec
2.12 Auxiliary Output Selection Trunk release Sliding Doors & Trunk Enable
2.13 N/A
2.14 Trunk input detect for
manual transmission Disable Enable
TABLE 3 FONCTIONS DEFAULT
PRESS LOCK PRESS UNLOCK PRESS 3RD BUTTON PRESS START
3.01 Horn / Siren Selection Horn
3.02 Horn Setting Default Extended Extended - 3ms Extended +3ms
3.03 Horn Conrmation Chirp Enable Chirps only when lock
button is pressed a second time Full mute Mute only on Unlock
3.04 Horn Ignition Monitor Disable Enable
3.05 Start Mode for TX Regular Start Safe Start
Press Lock then Start
Safe Start
Press Start 2 Times
3.06 Safety Auto Relock Enable with Alarm mode Disable with Alarm mode
Enable with no alarm
(door input must be
connected)
3.07 Pulse Before Ignition 1.5 sec 0.5 sec 3 sec
3.08 Ignition Valet
when system is disarmed only Disable Enable
Ignition On 5 Times
3.09 *Manual Transmission Setting *Automatic Shut Off *Shut Off by TX
with 2 min. Delay *10 sec delay after
door close *20 sec delay after
door close
3.10 *Manual Transmission Setting *With door lock *Without door lock
3.11 Unlock Driver Door Disable Enable To be used only with RS232 Data Port
3.12 Passkey Output Selection Passkey Secure Non-Secure To be used only with RS232 Data Port
3.13 Protocol unlock while remote start Disable Enable To be used only with RS232 Data Port
3.14 *Manual Setting Cranking *Standard Crank *Overcrank +2 sec
TABLE 4 FONCTIONS DEFAULT
PRESS LOCK PRESS UNLOCK PRESS 3RD BUTTON PRESS START
4.01 Passkey Output Passkey Standard Stay ground with ignition
4.02 Rearm Wire Output 2003 GM Disable Enable to remote lock when
engine running
4.03 Domelight Bypass 60 sec. Disable Enable
4.04 Dome Diagnostic 4 Chirp Enable Disable
4.05 *Crank Time Adjustments *Min cranking 0.7 sec *Min cranking 0.9 sec *Min cranking 1.2 sec *Min cranking 1.5 sec
4.06 *Crank Time Adjustments *Max cranking 10 sec *Max cranking 3.5 sec
4.07-08 N/A
4.09 Parking light off after 3 min Disable Enable
4.10 Mute button selection Mute Trunk Stop
4.11-
12-13 N/A
4.14 Arm pulse Standard Before lock pulse
4.15 Disarm / Unlock Standard Gwr + Ignition Gwr + Ignition + Acc Gwr + Acc
By choosing *Quick Start, the functions with a * will not be valid.