DuTCH audio MC1 User manual

DuTCH audio MC1 monitor-controller
www.dutch.audio

DuTCH audio MC1 manual
(v1.0 20-11-2018)
Thank you for purchasing the DuTCH audio MC1 monitor controller. In this manual we will
explain how this device works and how to use it.
Basics:
The MC1 is a 1u 19 inch monitor-controller with durability and easy control in mind.
The MC1 is based around a passive 4 steps, 1dB per step, parallel relay-based attenuator.
Compared to a standard serial attenuator or even worse, a potmeter, a parallel attenuator
keeps almost the same impedance throughout it’s complete range. This means that it’s way
more transparent because of a constant load. Another plus is that because it has way less
resistors in-line, it also reduces the Johnson noise to an absolute minimum.
The MC1 has 4 balanced inputs, 2 balanced outputs, a class-A headphone amp and high
quality dual color LED lightened pushbuttons for it’s functions (dim, mute, diff, mono,
monitor 1/2)
Rearpanel:
On the rearpanel you will find 4 balanced inputs, 2 balanced outputs and the AC input.
Input 1 and 2 are balanced Neutrik XLR’s and input 3 and 4 have .3mm Neutrik jack
inputs. Both outputs 1 and 2 are balanced Neutrik XLR’s.
Next to the AC input (100 to 240VAC) you will find the 1amp fuse.
Frontpanel:
On the left side of the frontpanel you will find the headphones output and level potmeter. In
the middle you will find the LED display and rotary encoder. On the right you will find the 5
enlightened push-buttons.
Headphone amp:
The headphone amp is a real powerful class-A based amp. The amp is working pre-
attenuator which means that the selected input is going directly into the amp and the
attenuator is not doing anything to the signal of the headphone.

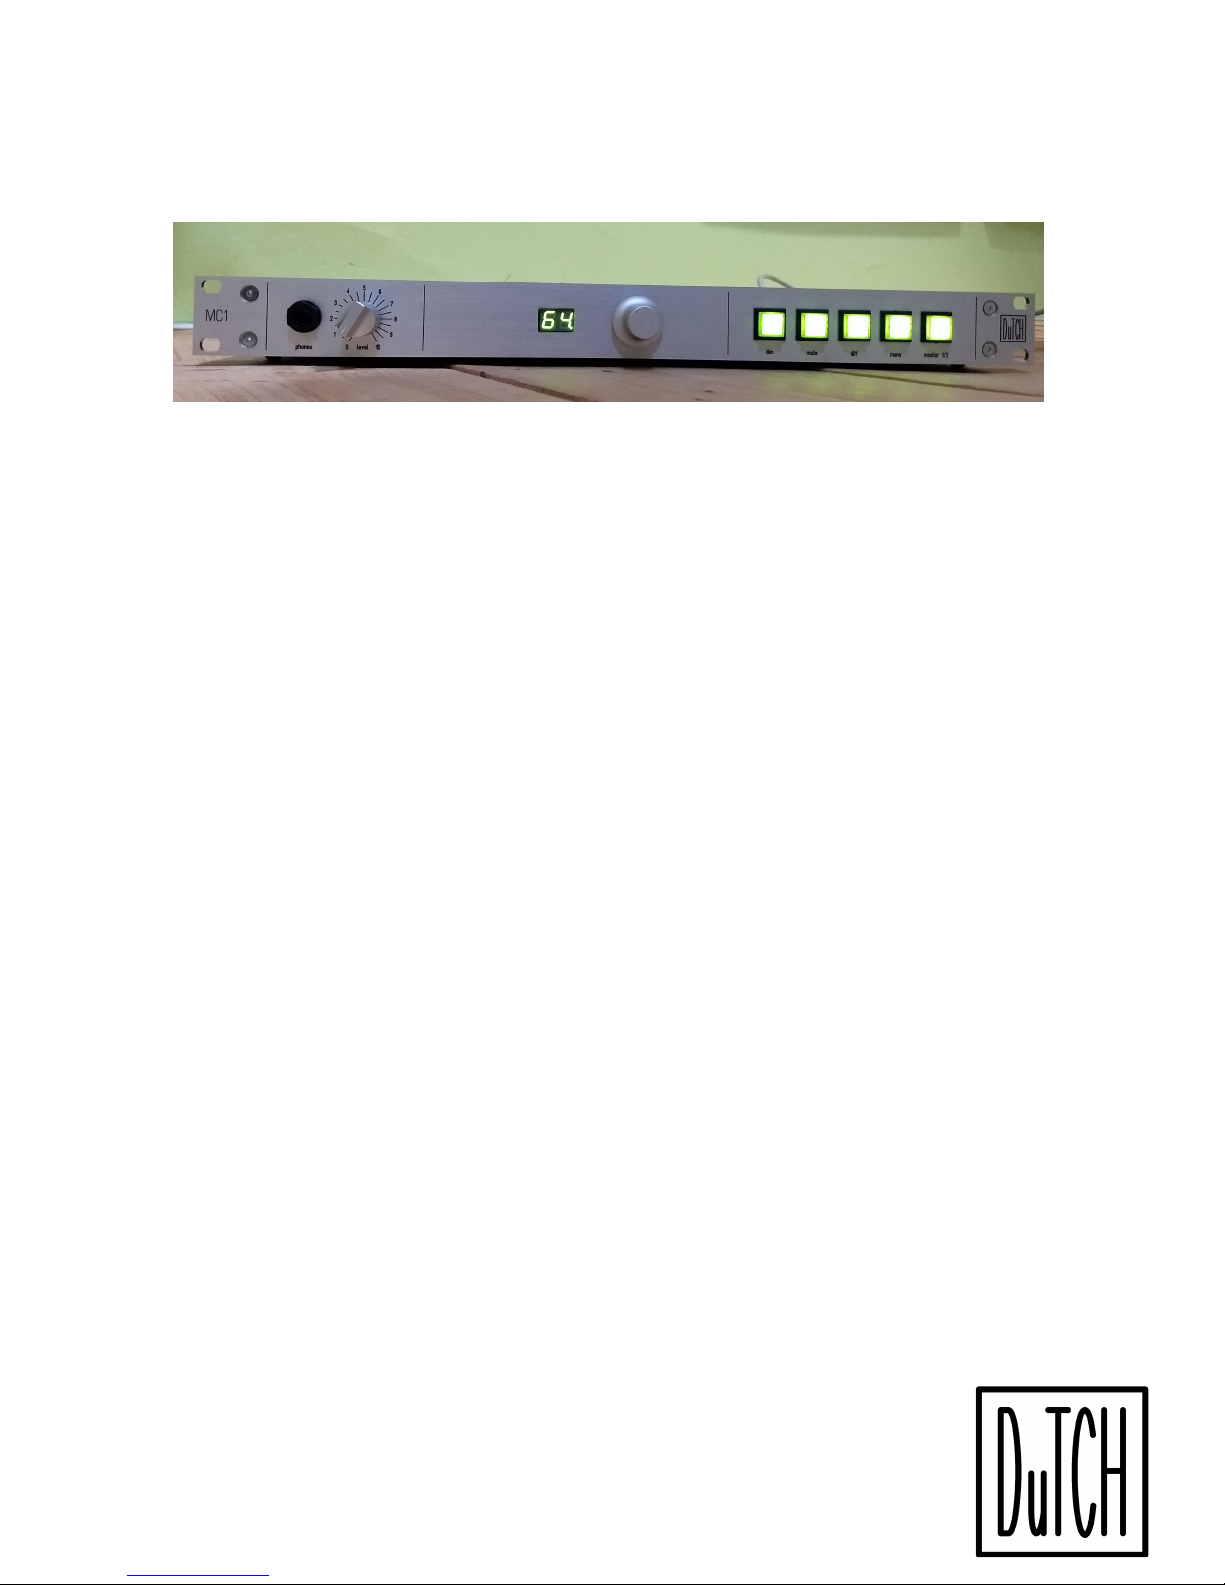
Rotary encoder and display
Monitor level
In the centre of the panel you will find the multifunctional rotary encoder and the LED
display. When you turn the encoder, you will change the monitor output level with a 4
steps range. Every step is ~1dB attenuation, 4 is no attenuation and the maximum
attenuation at 01 is approximately ~- 4dB, 00 means silence/muted.
Input selector
The input selection is done by pushing the encoder, the display shows the selected input
(C1 to C4). After about 3 seconds the display reverts back to showing the attenuation value.
Balance control
When you push the encoder and at the same time turn it to left or right you have a
balance/pan control. The range goes from -9 (left) to 9 (right) and the centre is shown as 0.
tandby
When you push and hold the encoder for 2 seconds the attenuator goes in bypass and
mutes the signal, the display just shows a ‘decimal dot’. When you push the encoder again,
it comes out of standby with a soft start and shows 00 and after about 3 seconds it reverts
the last known value again (just like when powering on).
IR Remote
It’s possible to use the functions of the encoder with an IR remote control. By default it
uses the Philips RC5, RC5X, RC6 and Sony SIRC protocol in its 12-bit and 15-bit version
protocols. Other options are possible as well, please contact s for more info.
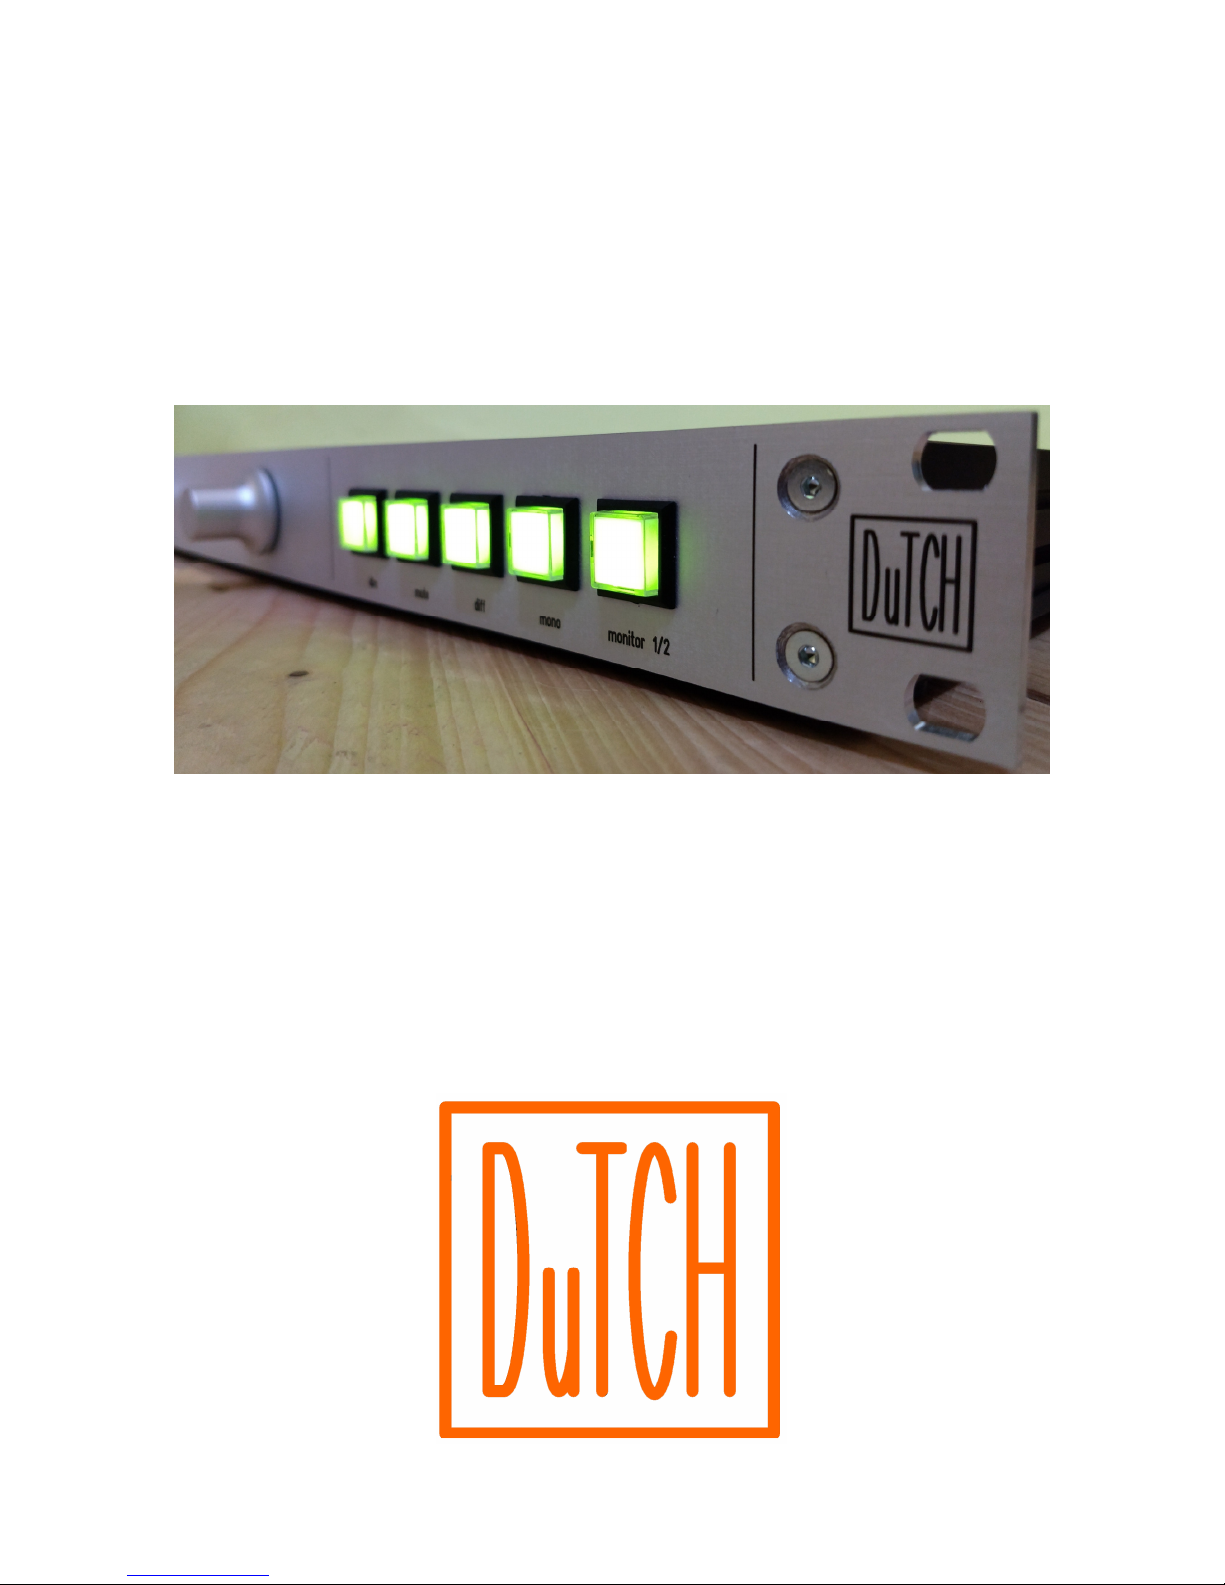
Push-buttons
Mute
When you push the ‘Mute’ button, the signal cuts and the led in the switch becomes red
showing that it’s in mute.
Dim
When you push the ‘Dim’ button, the output signal is instantly attenuated by 15dB. The
switch turns red for visual feedback. For more info on changing the 15dB attenuation, see
the technical details.
Diff
When you push the ‘Diff’ button, the left side will be polarity flipped to check if things might
be out of phase, but also when combined with the ‘Mono’ button you can listen to just the
diff/side channel. The switch turns red for visual feedback. Note: the diff function only
works with balanced signals because of it’s passive nature.
Mono
When you push the ‘Mono’ button the left and right signals are summed to mono. The
switch turns red for visual feedback.
Monitor 1 / 2
With the ‘monitor 1/2’ button you can select which monitor output is used. Green is monitor
1, yellow is monitor 2.

Technical:
Specifications:
Input resistance: 10Kohm
Output resistance: between 0 and 4.5Kohm (depending on atten ator setting)
Dynamic range: >110dB(A)
Input voltage 100 to 240VAC 50/ 0HZ.
Power consumption approx 5 watt
Unit size: standard 1u 19 inch, depth 25cm
Weight: approx 2kg
Some notes on passive circuitry:
This device is built around passive circuits (relays and resistors), basically meaning it’s a
straight wire. In most cases this works great and by nature 100% transparent. There could
be the odd monitor/amp that ‘doesn’t like’ this passive nature. In those rare cases it’s
possible to add an active buffer (balanced) stage at a small extra fee.
Dim attenuation:
The Dim function is set to an attenuation of 15dB, which could be changed by changing the
resistors mounted on the sockets on the inside (with dim adjust written next to it). There
are 8 resistors in total, but only 4 needs to be changed to change the Dim attenuation. The
‘to gnd’ resistors are 3k3 and the ‘serial’ resistors are 10k (these can be changed).
Changing the ‘serial’ resistors to 5k1, changes the attenuation to -12dB.
Changing the ‘serial’ resistors to 18k, changes the attenuation to -20dB.
You can also change to other resistor values to find your attenuation level ‘sweetspot’.
pecifications subject to change because always improving.
Warranty:
We offer a standard 3 year limited warranty on all of our prducts.
In the event that you or a third party has (partly) altered or repaired anything, the
warranty will expire, and you will be held responsible for the damages caused by any
possible misfunctioning of the product.
We are not responsible for any malfunction of or damage caused by parts that are not
produced by Dutch.audio.
This agreement is governed by Dutch law only. Any disagreement, redemption or any other
claim will be judged under Dutch law only.
© DuTCH.audio 2018
Handmade in Holland on Solarpower
https://dutch.audio
Phone: +31 53998 8
Table of contents