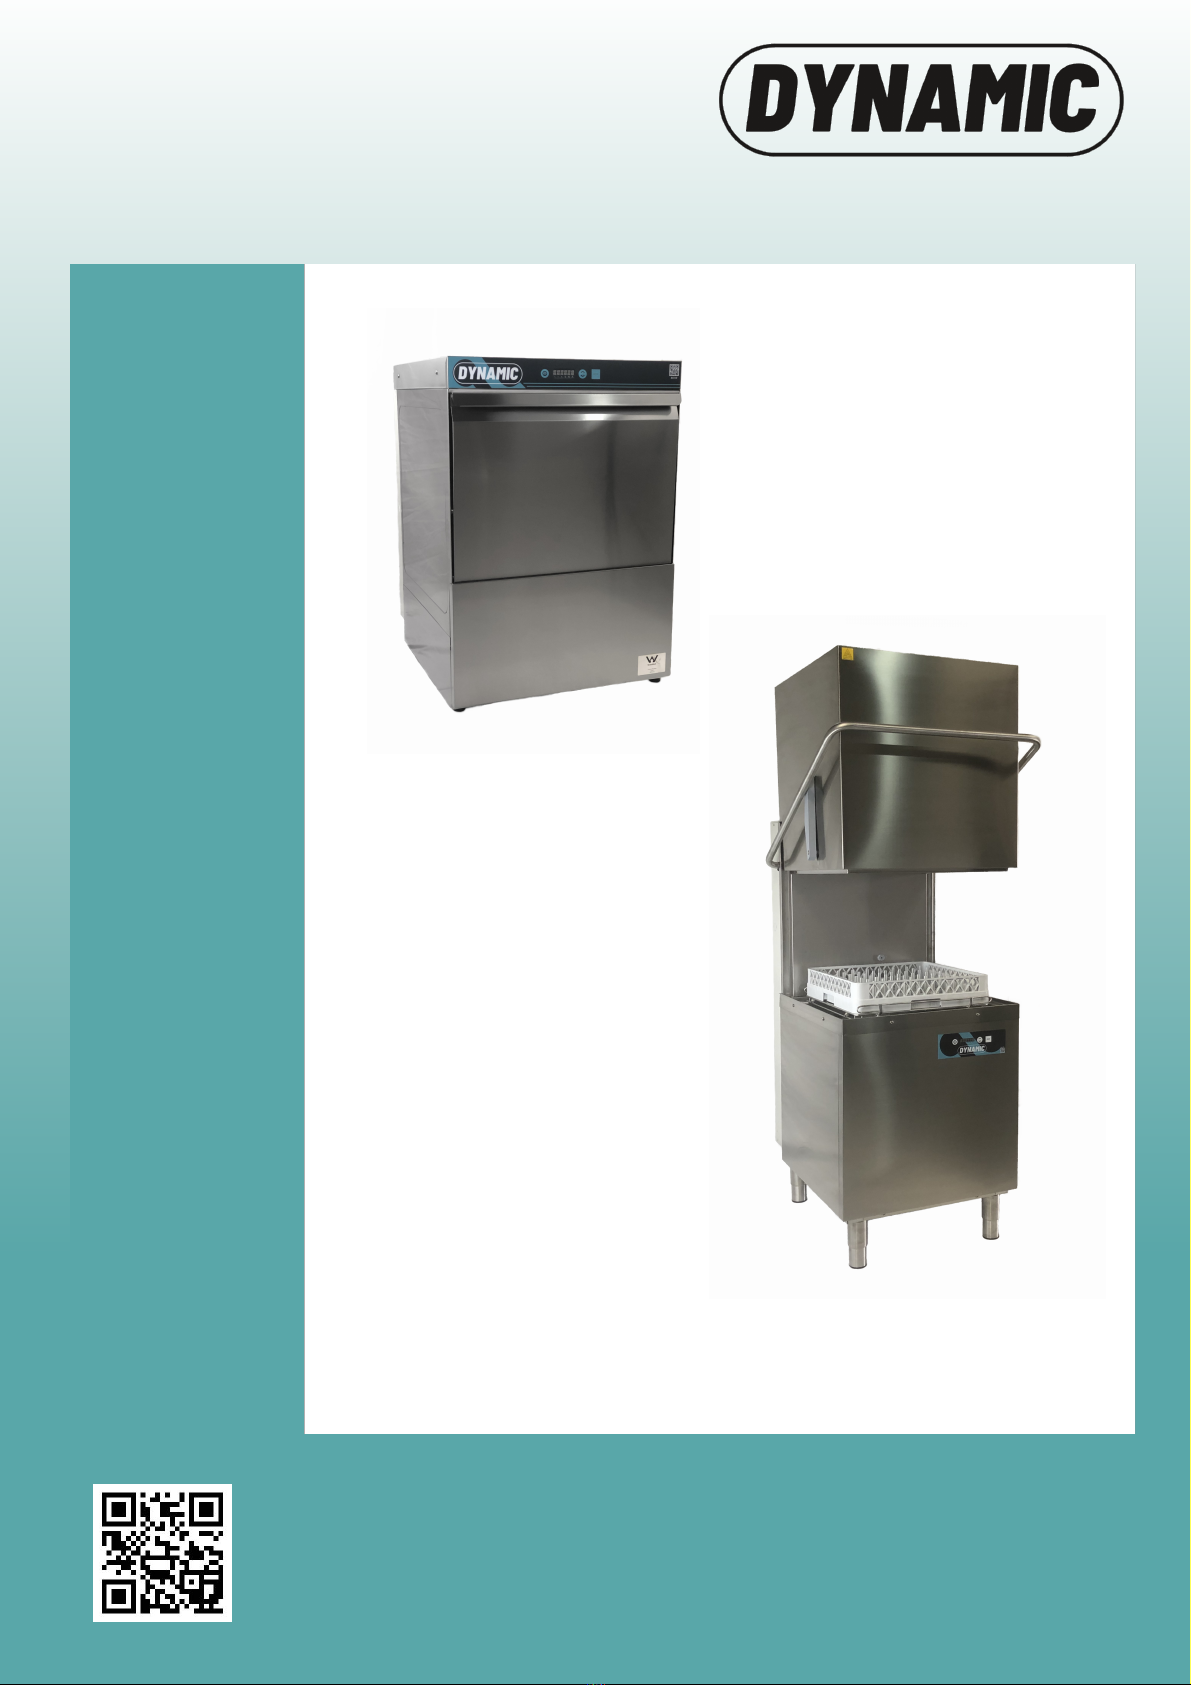
INSTRUCTION MANUAL FOR DISHWASHERS
Read the instruction manual carefully before starting the machine. The
warnings contained in the manual provide important information on safety
and installation, use and maintenance. Failure to observe the instructions in
the enclosed documentation may compromise the safety of the appliance and
immediately voids the warranty.
RISKS AND IMPORTANT WARNINGS
The machine must NOT be kept powered up when not in use or when cleaning.
NEVER use the machine to wash objects of any form, size or material not
guaranteed to be machine-washable or not in good condition.
NEVER use the machine or any of its assemblies as steps or support for
persons, property or animals.
NEVER place your bare hands in the wash solution.
NEVER overturn the machine after it has been installed.
If you notice any malfunction or fluid leak, immediately disconnect the power
supply and shut off the water supply.
Do not install the dishwasher in the vicinity of heat sources over 50°C.
NEVER leave the dishwasher exposed to the weather (rain, direct sunlight,
etc.)
The dishwasher may not be installed outdoors without proper cover.
Never start a wash programme without the overflow in the tub, as applicable.
Never place magnetic objects in the vicinity of the machine.
Do not use the top of the machine as a table or support.
The installer is responsible for checking that the grounding system is fully
operational.
Max inlet water temperature: 50°C - 65°C
Max inlet water pressure: 2.0bar - 4.0bar (200kPa - 400kPa)
Appliance designed for permanent connection to the water supply
Do not clean the appliance with steam or water jets.
NEVER overload the open door of front-loading machines, which is rated only
to support the basket loaded with dishes.
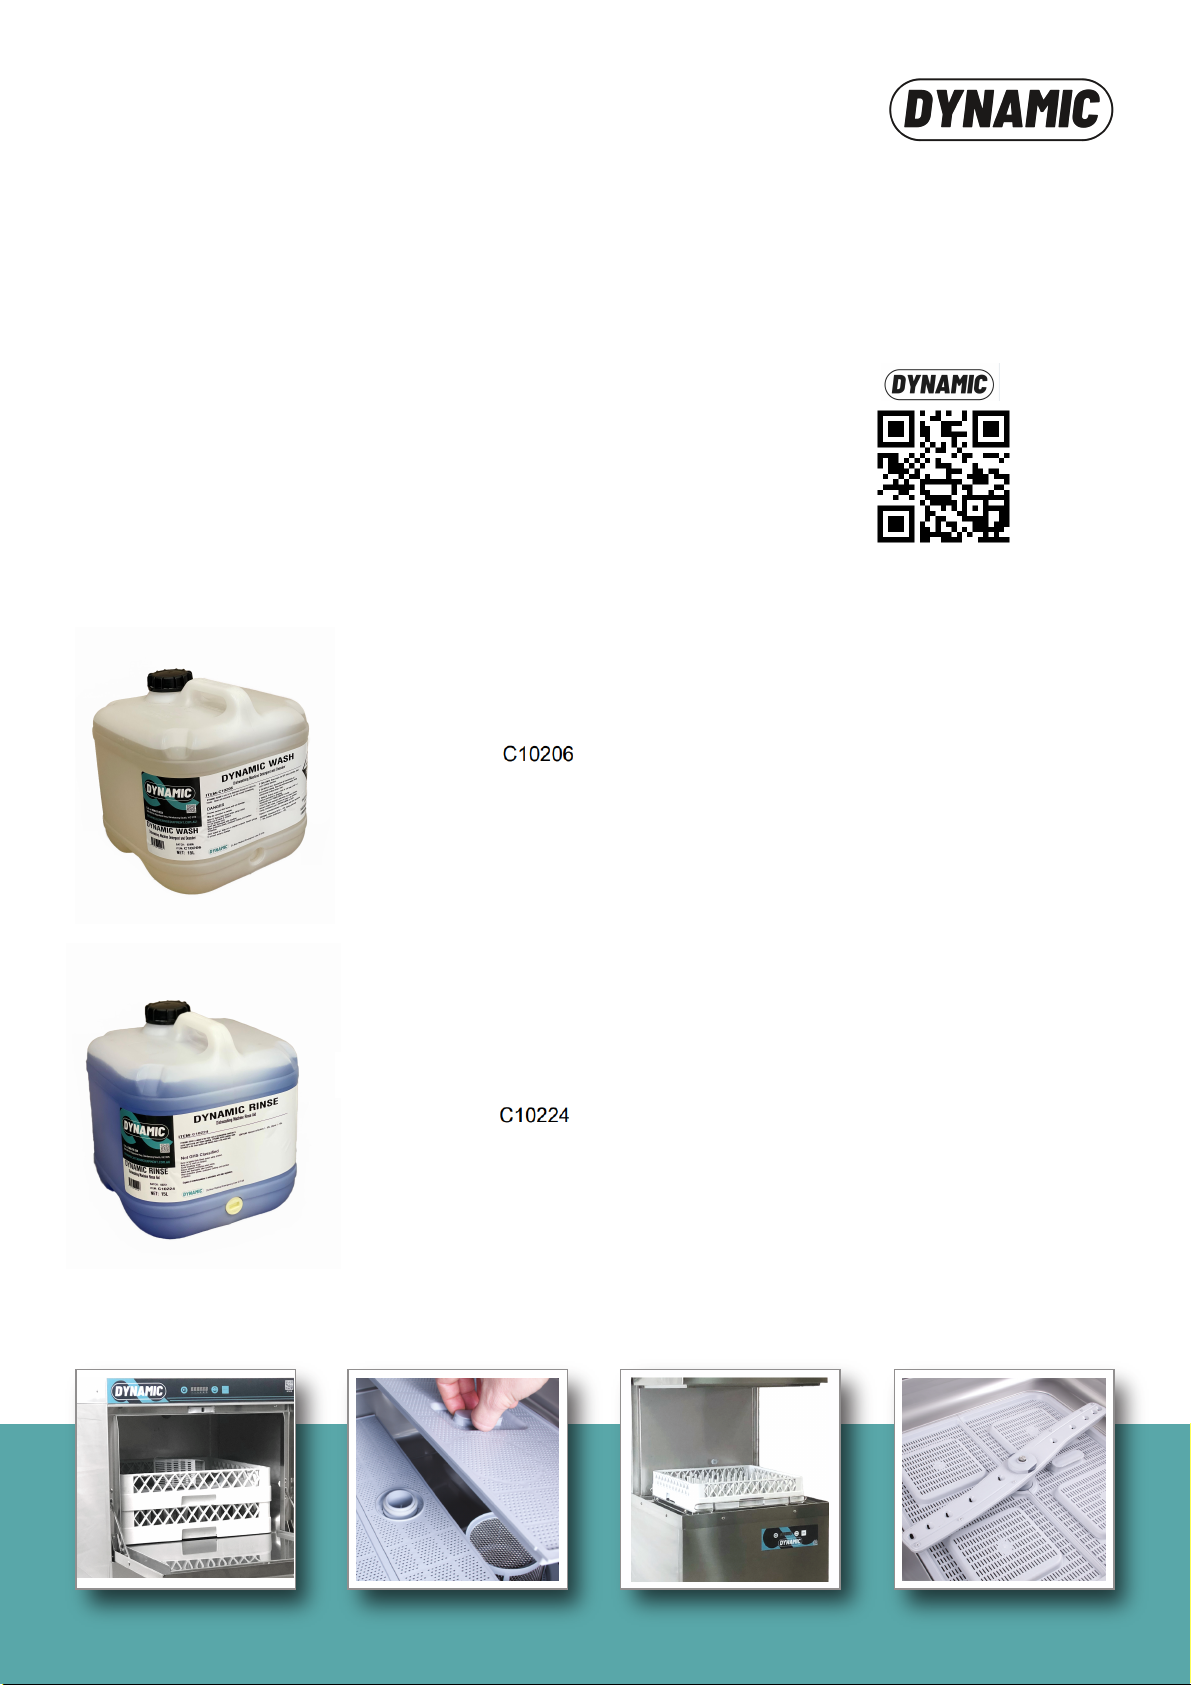
NEVER use detergents or rinse additives not supplied by DYNAMIC in this
machine. The use of chemicals supplied by others may cause damage to the
machine and is in contravention the warranty terms and conditions.