E.N.Z. Engineering Ricoo F7064 User manual

E.N.Z. Engineering GmbH
Salzmatten 6
79341 Kenzingen
(Germany)
Tel:
+49 (0) 7644-565310
Fax:
+49 (0) 7644-5653199
F7064 DE
E-Mail: support @ ricoo.de
www.ricoo.eu
DE EN FR ES IT
v.21.07
70kg70kg
154lbs154lbs
MAXMAX
IT
Attenzione: Non superare mai il peso massimo ammesso. La mancata
osservanza di questa precauzione può causare danni materiali o lesioni gravi!
ES
Precaución: Nunca exceda el peso máximo admisible de la carga. La inobservancia
de esta advertencia puede ocasionar daños materiales o lesiones graves!
FR
Attention: Ne dépasser jamais le poids de charge admissible. Le mépris de
ces consignes peut aboutir des dommages matériels; ou des blessures graves!
EN
Warning: Do not exceed listed load weight. Property damage oder serious
injury may occur!
DE
Achtung: Niemals das maximal zulässige Belastungsgewicht überschreiten.
Missachtung kann zu Sachschäden oder schweren Verletzungen führen!
ACHTUNG: LESEN SIE DIE GESAMTE BEDIENUNGSANLEITUNG DURCH, BEVOR SIE MIT DER MONTAGE BEGINNEN.
Bitte beachten: Bilderin dieser Montageanleitung stellen nurtechnische Darstellung des Produktes dar. Tatsächliches Produktdesign kann minimal abweichen.
Beginnen Sie nicht mit der Montage, bis Sie alle Anweisungen und Warnungen, welche in dieser Montageanleitung vorhanden sind, durchgelesen undverstanden
haben. Wenn Sie Fragen zu den Anweisungen oder Warnungen haben, kontaktieren Sie bitte Ihren Händler.
Dieses Produkt darf NUR,wie in dieser Anleitung beschrieben, installiert und verwendet werden. Unsachgemäße Installation dieses Produkts kann Schäden
verursachen oder zu schwerenVerletzungen führen. Dieser Artikel darf nurvom Fachpersonal montiert / installiert werden. Stellen Sie sicher, dass die Anbaufläche
das Gesamtgewicht von diesem Produkt inkl. aller angeschlossener Komponente sicher tragen kann.Verwenden Sie immereine technische Vorrichtung oder lassen
Sie sichvon einer zweiten Personunterstützen,wenn Sie die Konstruktion oderangeschlossene Komponente hebenoderausrichten möchten.Stellen Sievorund
während der Produktmontage sicher, dass weder Sie noch andere Personen verletzt werden und keine Gegenstände beschädigt werden. Holen Sie sich im Zweifelsfall
Beratung bei einem Fachmann.Dieses Produkt ist nur fürden Innenbereich gedacht.Verwendung dieses Produkts im Freien kann zu Produkt- und Personenschäden
führen. Ziehen Sie die Schrauben fest an, jedoch nicht überziehen / überdrehen. Überziehung der Schrauben kann zu Schäden an der Konstruktion führen und
reduziert die Haltbarkeit dergesamten Konstruktion.
Aufgrund zahlreicher Fernseh-Bauarten auf dem Markt, können wirunser Bildschirm-Montagematerial nicht auf jedes Bildschirm-Modell abstimmen. Deshalb
kann es vorkommen,dass unsere mitgelieferten Schrauben, trotzVielfalt, für Ihren Fernseher/Monitoreventuell zu kurz oderzu lang sein können.Wir bitten um Ihr
Verständnis, dass wir aufgrund vieler Bildschirm-Modelle bzw. -Hersteller nicht alle Möglichkeiten abdecken können.
Da esvonWand zu Wand zuverschiedenerMaterialbeschaffung bis hin zum Spezialbedarf kommen kann, habenwir uns auf die Lieferungvon Montagematerial
ausschließlich für die Massivbetonwand konzentriert.Wenden Sie unsermitgeliefertes Montagematerial daher nurfür die Massivbetonwand an.
Bei der Montage an die Holz-Wandbalken, stellen Sie sicher, dass die Befestigungsschrauben in der Mitte der Balken verankert sind. DieVerwendung eines
Balkenfinders wird dringend empfohlen. Sollten Sie Wände mit besonderen Materialansprüchen haben, raten wir Ihnen zu einer Fachmarkt-Beratung und
entsprechenderSpezialbeschaffung an Montagematerial.
DE
NOTE: READ THE ENTIRE INSTRUCTION MANUAL BEFORE YOU START INSTALLATION AND ASSEMBLY
Please note: Images in these assembly instructions are only technical presentation of the product. Actual product design may vary minimally.
Do not begin the installation until you have read and understood all the instructions and warnings contained in this installation sheet. If you have anyquestions
regarding any of the instructions or warnings, please contact your local distributor.This product was designed to be installed and used ONLY as specified in this
manual. Improper installation of this product may cause damage or serious injury.This product may only be assembled / installed by the technical staff. Make sure that
the supporting surface will safely support the combined weight of the equipment and all attached hardware and components. Always use an assistant or mechanical
lifting equipment to safely lift and position the equipment. Make sure that before and after the installation of the product neitheryou nor somebody else can be injured
and otherobjects can be damaged. In case of doubt request for help from an expert.This product is intended for indoor use only. Using this product outdoors could
lead to product failure and personal injury. Tighten screws firmly, but do not over tighten. Over tightening can cause damage the items, this greatly reduces their
holding power.
By reason of large television construction types on the market, we can’t adjust our screen installation materials for each screen type.Therefore it is possible that
the screws which are numerously delivered don’t fit with yourTV/Monitor. We ask foryour understanding that we can’t cover up all possibilities of many screen
types.
Each wall is built up of different materials which can result a special requirement. Therefore we are concentrated on the delivery of installation materials only for
mass concrete walls.Use our included installation accessories only for mass concrete walls.
When mounting on the wooden beams wall, make sure that the fastening screws are anchored in the center of the beams. It is highly recommended to use a
beamfinder. Ifyour walls have a special demand of materials, we advise you to ask in an expert shop for a suitable acquirement of the installation materials.
EN
ATTENTION : LISEZ TOUTE LA NOTICE D’UTILISATION AVANT DE COMMENCER LE MONTAGE.
Veuillez noter: Les photos de cette notice de montage servent uniquement à l'illustration technique du produit. La conception réelle du produit peut diverger
légèrement. Ne commencez pas le montage avant d’avoirlu intégralement et compris toutes les instructions et avertissements présents dans cette notice de montage.
Si vous avez des questions sur les instructions ou les avertissements,veuillez contactervotre revendeur. Ce produit doit être UNIQUEMENT installé et utilisé tel que
décrit dans cette notice. Une installation non conforme de ce produit peut entraînerdes dégradations ou des blessures graves. Cet article doit être uniquement monté /
installé par le personnel technique. Assurez-vous que la surface de montage peut supporter en toute sécurité le poids total de ce produit, avec tous les composants
raccordés. Utilisez toujours un dispositif technique ou faites-vous assister parune seconde personne si vous souhaitez souleverou orienterla structure ou les
composants raccordés. Assurez-vous avant et pendant le montage du produit que personne ne peut être blessé et qu’aucun objet ne peut être endommagé. En cas de
doute, faites-vous conseillerpar un spécialiste. Ce produit est uniquement destiné à une utilisation en intérieur. L’utilisation de ce produit en extérieur peut entraîner des
dégradations du produit et des blessures physiques. Serrez lesvis, ne les serrez et tournez cependant pas trop.Trop serrer lesvis peut endommager la structure et
réduit sa solidité.
En raison des nombreux types de téléviseurs du marché, nous ne pouvons pas adapter notre matériel de montage d’écran à tous les modèles d’écran. Pour cette
raison, il peut arriverque nos vis fournies soient trop courtes ou trop longues pourvotre téléviseur/écran, malgré leurdiversité. En raison des nombreux modèles et
fabricants d’écrans, nous ne pouvons pas couvrir toutes les possibilités, merci devotre compréhension.
Étant donné quedu matériel différent voire des éléments spécifiques peut être nécessaire en fonction du mur, nous nous sommes exclusivement concentrés sur la
livraison du matériel de montage pour les murs en béton massif. Ainsi, utilisez le matériel de montage que nous fournissons exclusivement pour un mur en
béton massif.
En cas demontage surles poutres muralesen bois,assurez-vous que lesvis de fixation sont bien ancrées au centre des poutres. L’utilisation d’un localisateurde
montant est fortement conseillée. Si vous avez des murs spécifiques, nousvous recommandons de demanderconseil à un magasin spécialisé et devous procurer le
matériel de montage spécifique.
FR
ATENCIÓN: LEA TODO EL MANUAL DE MANEJO ANTES DE COMENZAR CON EL MONTAJE.
Porfavor, tenga en cuenta: las imágenes que contienen estas instrucciones de montaje solo describen el producto técnicamente. Elverdadero diseño del producto
puede presentardiferencias mínimas.
No comience con el montaje hasta que haya leídoycomprendido todas las instruccionesy advertencias presentes en este manual de montaje. Si tiene preguntas
relacionadas con las instrucciones y advertencias, póngase en contacto con el distribuidor.Este producto SOLO puede describirse, instalarse yutilizarse como se
explica en las presentes instrucciones. Una instalación inadecuada deeste producto puede provocardaños o lesiones graves.Este artículo solo puede montarlo/instalar-
lo personal autorizado para ello. Asegúrese de que la superficie de montaje pueda soportarde forma segura el peso total de este producto,incluidos todos los
componentes conectados.Utilice siempre un dispositivo técnico o déjese asesorar poruna segunda persona cuando desee elevar u orientar la construcción o el
componente conectado. Antes ydurante el montaje del producto asegúrese de que ni usted ni otras personas resulten heridas yque no se dañen los objetos. En caso de
duda, pida asesoramiento a un especialista. Este producto solo está pensado para el área interior. El empleo de este producto al aire libre puede provocardaños en los
productosy daños personales.
Apriete los tornillos, pero noen exceso. Apretar lostornillos en exceso puede provocardaños en la construcción,y reduce la durabilidad de toda la construcción.
Debido a los numerosos tipos de televisión que hayen el mercado, no podemos ajustar nuestro material de montaje de monitores a cualquier modelo de monitor. Por
eso podría ocurrirque los tornillos que incluimos en elvolumen de suministro, a pesar de su diversidad, sean demasiado cortos o demasiado largos para su
televisión/monitor. Le rogamos que comprenda que, debido gran número de modelos de monitory de fabricantes, no podemos cubrir todas las posibilidades.
Puesto que los materiales pueden cambiar depared a pared, e incluso presentar necesidades especiales, nos hemos concentrado exclusivamenteen la entrega de
material de montaje para la pared de hormigón macizo. Portanto, aplique nuestro material de montaje suministrado solo para paredes de hormigón macizo.
Durante el montaje en lasvigas de madera de la pared, asegúrese de que los tornillos de sujeción están anclados en el centro de lasvigas. Se recomienda encarecida-
mente el uso de un detectorde vigas. Si tuviera paredes con requisitos de material especiales, le recomendamos un asesoramiento en el mercado especializadoyque
adquiera el material de montaje concreto que necesite.
ES
ATTENZIONE: PRIMA DI PROCEDERE AL MONTAGGIO, LEGGERE ATTENTAMENTE QUANTO RIPORTATO NELLE ISTRUZIONI PER L’USO.
N.B.: le figure presenti nelle istruzioni di montaggio, sono solamente rappresentazioni grafiche del prodotto. Il design reale del prodotto potrebbe differire
leggermente.Non iniziare il montaggio prima di aver letto e inteso tutte le istruzioni e le avvertenze riportate nelle presenti istruzioni di montaggio. In caso di dubbi o
domande, si prega di contattare il fornitore.Questo prodotto può essere installato e utilizzato UNICAMENTE come descritto nelle istruzioni d’uso. Un’installazione
impropria del prodotto potrebbe causare danni o gravi lesioni. Questo articolo deve essere montato / installato solamente da personale tecnico qualificato.
Assicurarsi che la superficie di montaggio sia in grado di sostenere il peso totale del presente prodotto, inclusi tutti i suoicomponenti aggiuntivi. Utilizzare sempre
degli appositi dispositivi tecnici o avvalersi dell’aiuto di una seconda persona quando si necessita di sollevare o di orientare la costruzione o i componenti ausiliari.
Prima di iniziare e durante il montaggio, assicurarsi che né lei né altre persone possano essere ferite e che nessun oggetto possa venire danneggiato. In caso di
dubbi, rivolgersi ad un professionista per un consulto. Questo prodotto è stato progettato esclusivamente per uso interno. L’utilizzo di questo prodotto in ambienti
esterni potrebbe causare danni al prodotto e lesioni alle persone. Serrare accuratamente leviti senza però superare il momento torcente/spanare le stesse. Serrare
troppo le viti potrebbe causare danni alla costruzione e ridurne la durata di vita utile.
A causa della grande varietà di televisori presenti sul mercato, non ci è possibile adeguare con esattezza il nostro materiale di montaggio per tutti i modelli di
schermi esistenti. Proprio per questo motivo potrebbe succedere che le viti da noi fornite, anche se numerose e varie, potrebbero non essere adatte al suo
schermo/televisore. Confidiamo nella sua comprensione che, vista la grande varietà di schermi e di produttori presenti attualmente sul mercato, non possiamo
prevedere tutte le opzioni.
Poiché le caratteristiche possono variare da parete a parete, fino ad arrivare a costruzioni speciali, abbiamo assemblato la fornitura del materiale di montaggio
concentrandoci esclusivamente su pareti massicce.Utilizzare quindi il materiale di montaggio da noi fornito esclusivamente in corrispondenza di pareti
massicce.
In caso di un montaggio su travi di legno a parete, assicurarsi che le viti di fissaggio siano state posizionate esattamente al centro della trave. Si raccomanda
fortemente l’uso di un localizzatore di travi. In corrispondenza di pareti con requisiti speciali, consigliamo di richiedere una consulenza dedicata e di procurarsi quindi
il materiale di montaggio specifico necessario.
IT
OK?
B
min. : 200 mm
400 mmmax. :
min. : 200 mm
600 mmmax. :
A
B
A
VESA
Bitte überprüfen Sie VOR der Montage den VESA Lochabstand zwischen
den Befestigungslöchern an Ihrem Bildschirm!
VESA - Lochabstände = Abstände zwischen den Montagelöchern auf der Bildschirm-
rückseite.
DE
Prima del montaggio, controllare la distanza tra i fori di montaggio VESA
sullo schermo!
Distancias entre agujeros VESA = Distancia entre los orificios de montaje en
la parte posterior de la pantalla
FR
Veuillez vérifier l'espacement des trous VESA avant le montage entre les
trous de montage de votre écran!
Distances des trous VESA = les distances entre les trous de montage à l'arrière de
votre écran.
EN Please check BEFORE installation distance between VESA mounting
holes on your display!
VESA - Hole distance = Distances between the mounting holes on the screen back.
ES
Por favor, compruebe la distancia de los orificios VESA entre los orificios
de montaje en su pantalla antes del montaje!
Distanza dei fori VESA = Distanza tra i fori di montaggio sul retro dello
schermo.
IT
1
DE Die Durchnummerierung auf dem Plastikbeutel kann abweichen / komplett fehlen!
EN The numbering on the plastic bag may differ / missing completely!
FR La numérotation sur le sac plastique peut différer / manquer complètement!
ES Tenga en cuenta: La numeración de la bolsa de plástico puede variar / faltar completo!
IT La numerazione sul sacchetto di plastica potrebbe essere diversa / mancare completo!
DE Wir empfehlen den Einsatz einer professionellen Wasserwaage.
EN We recommend using a professional level.
FR Nous conseillons l'utilisation d'un niveau à bulle professionnel.
ES Recomendamos el uso de un nivel de burbuja profesional.
IT Si raccomanda l'uso di una livella a bolla d'aria professionale.
Ax1
Bx1 Cx8
Dx2
Ex4 Fx1
M-A x4
M5x14
M-E x4
M8x50
M-F x4
D5
M-G x4
D8
M-H x8
W-A x4 W-B x4 W-C x4
M-I x8
M-B x4
M6x14
M-C x4
M6x30
M-D x4
M8x30
2
200x200
300x200
300x300
400x200
400x300
400x400
600x400
E
B
C
A

DE
EN
FR
ES
IT
Fertig!
Done!
Fait!
Hecho!
Fatto!
DE DE EN FR ES IT
E-Mail: support @ ricoo.de
www.ricoo.eu
Tel: +49 (0) 7644-565310
Fax: +49 (0) 7644-5653199
E.N.Z. Engineering GmbH
Salzmatten 6
79341 Kenzingen (Germany)
3
a
IIII II
Ø4,5mmØ4,5mm
Ax4
W-A
x0
W-B
x4
W-C
Ax4
W-A
x4
W-B
x4
W-C
5
6
4
b
1
2
W-A
W-C
DE Achtung: Mitgelieferte Dübel sind nur für
Massivbetonwände geeignet!
EN Warning: Supplied plastic anchors are only suitable
for solid concrete walls!
FR Attention: Les chevilles fournies ne conviennent
qu'aux murs en béton massif!
ES Atención: ¡Los pasadores suministrados sólo son
adecuados para paredes de hormigón macizo!
IT Attenzione: I tasselli in dotazione sono adatti solo
per pareti in calcestruzzo massiccio!
3
b
I
Ø10mmØ10mm
II
4
a
F
F
W-C
W-B
W-A
M-A
M-F
M-B
M-G
M-C
M-D
M-G
M-H
M-C
M-D
M-G
M-I
M-C
M-D
M-G
M-H
M-I M-I
M-E
M-G
M-E
M-G
M-H
M-I
M-E
M-G
M-H
M-I
IT Utilizzare le viti e i distanziali appropriati per lo schermo.
ES Use los tornillos y espaciadores apropiados para su pantalla.
FR Utilisez les vis et les entretoises appropriées pour votre écran.
EN Use the matching screws and spacers for your display.
DE Benutzen Sie die für Ihren Bildschirm passenden Schrauben und Abstandshalter.
1
2
Other E.N.Z. Engineering TV Mount manuals
E.N.Z. Engineering
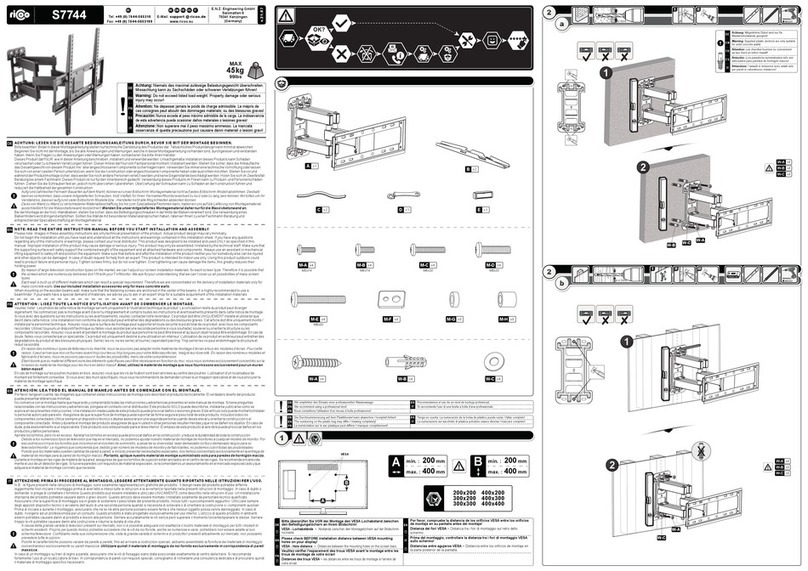
E.N.Z. Engineering ricoo S0944 User manual
E.N.Z. Engineering
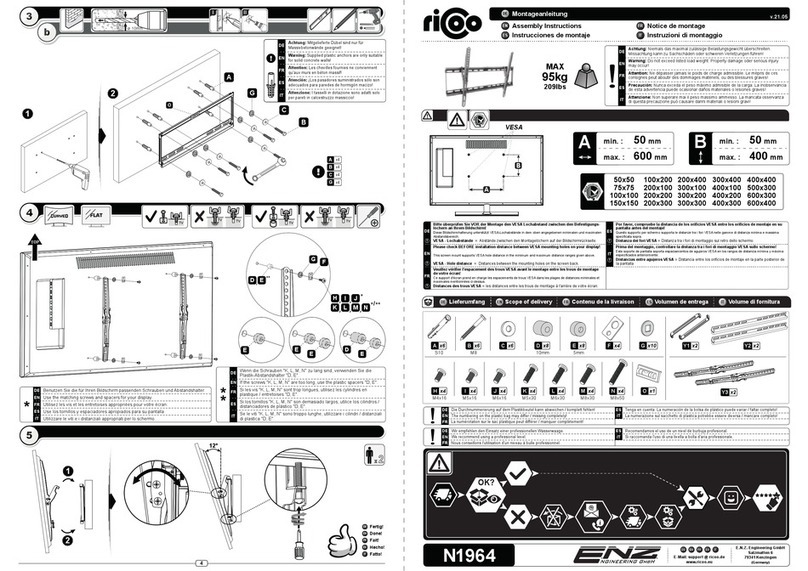
E.N.Z. Engineering ricoo S7744 User manual
E.N.Z. Engineering
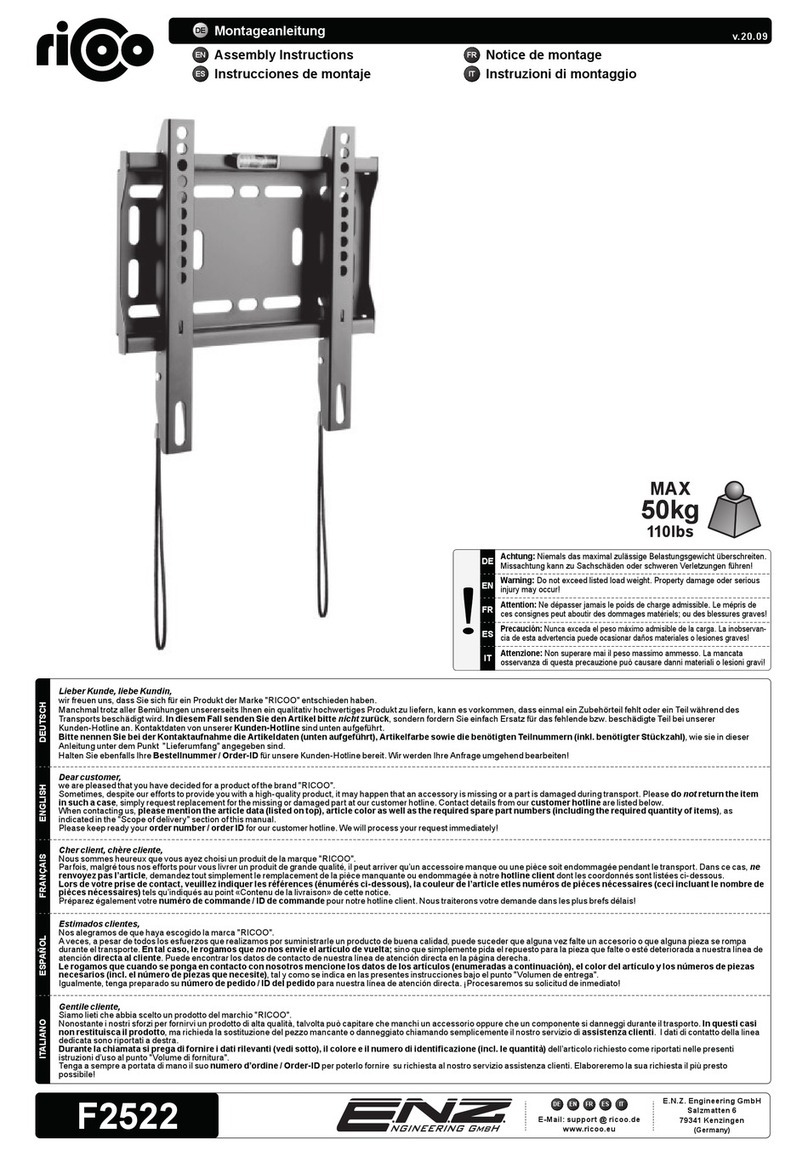
E.N.Z. Engineering Ricoo N1964 User manual
E.N.Z. Engineering
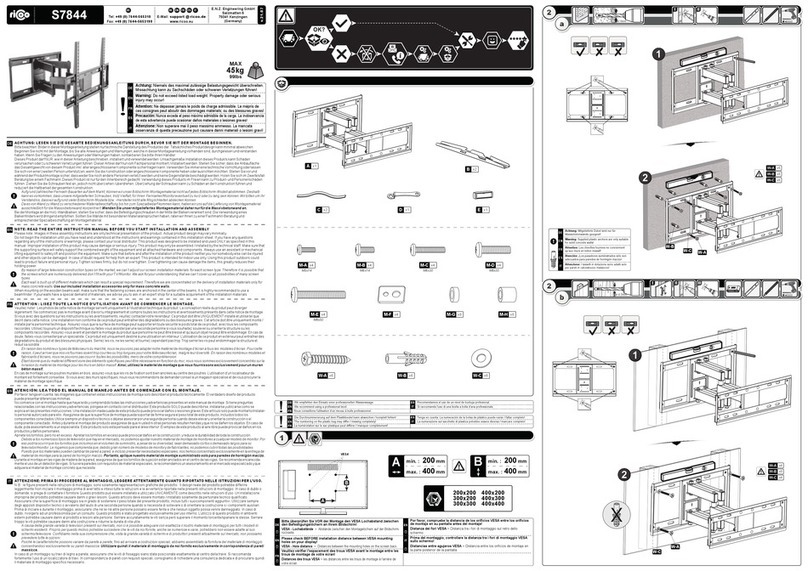
E.N.Z. Engineering Ricoo F2522 User manual
E.N.Z. Engineering
E.N.Z. Engineering Ricoo S7844 User manual
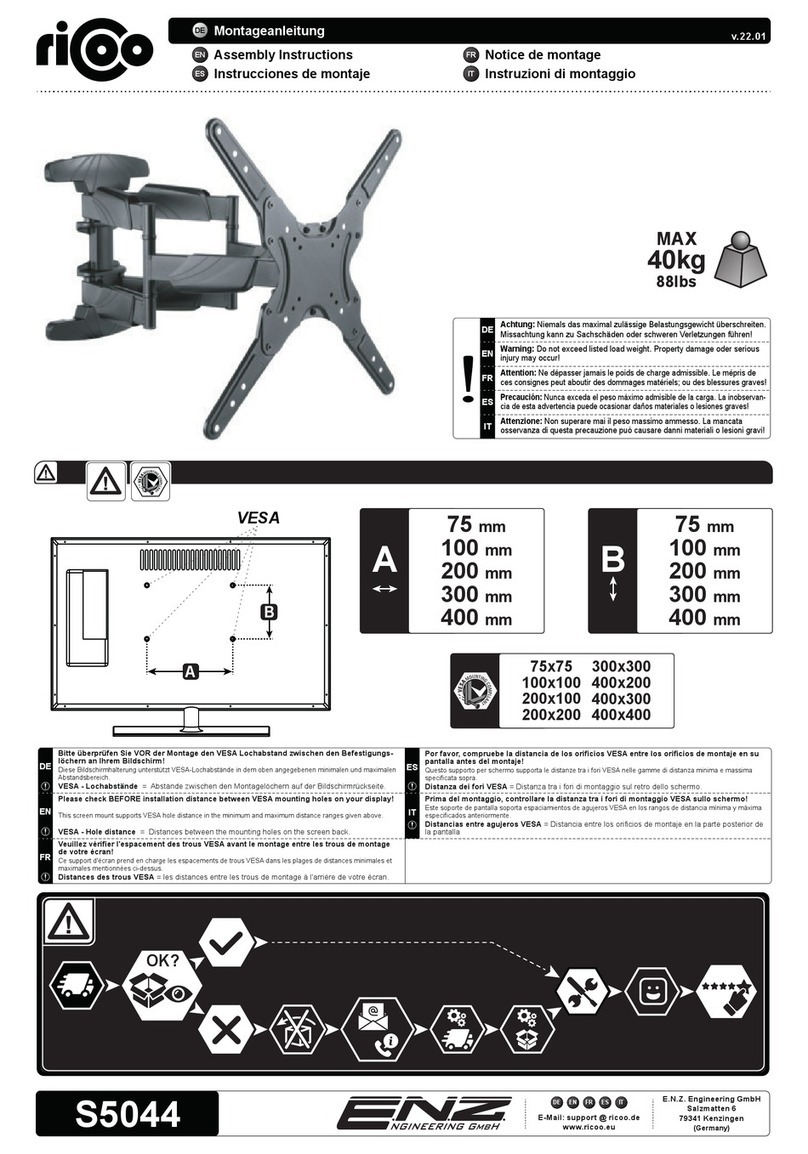
E.N.Z. Engineering
E.N.Z. Engineering Ricoo S5044 User manual
Popular TV Mount manuals by other brands

Philips
Philips SF007521/10 Assembly instruction
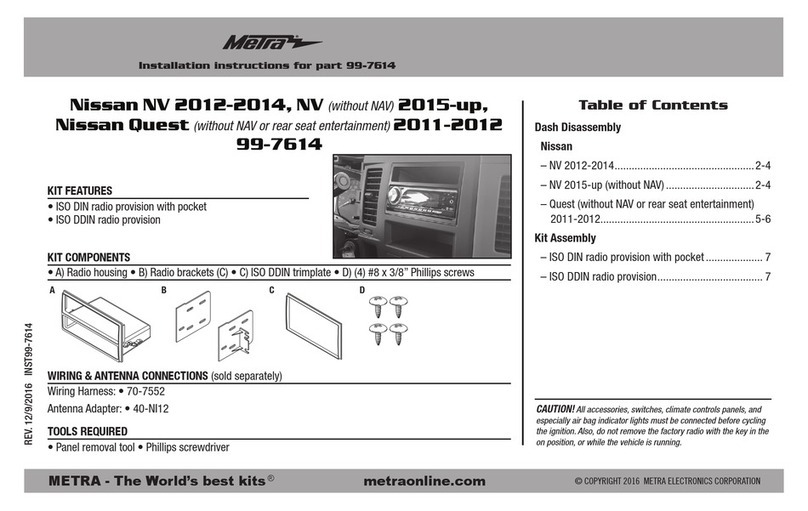
Metra Electronics
Metra Electronics 99-7614 installation instructions
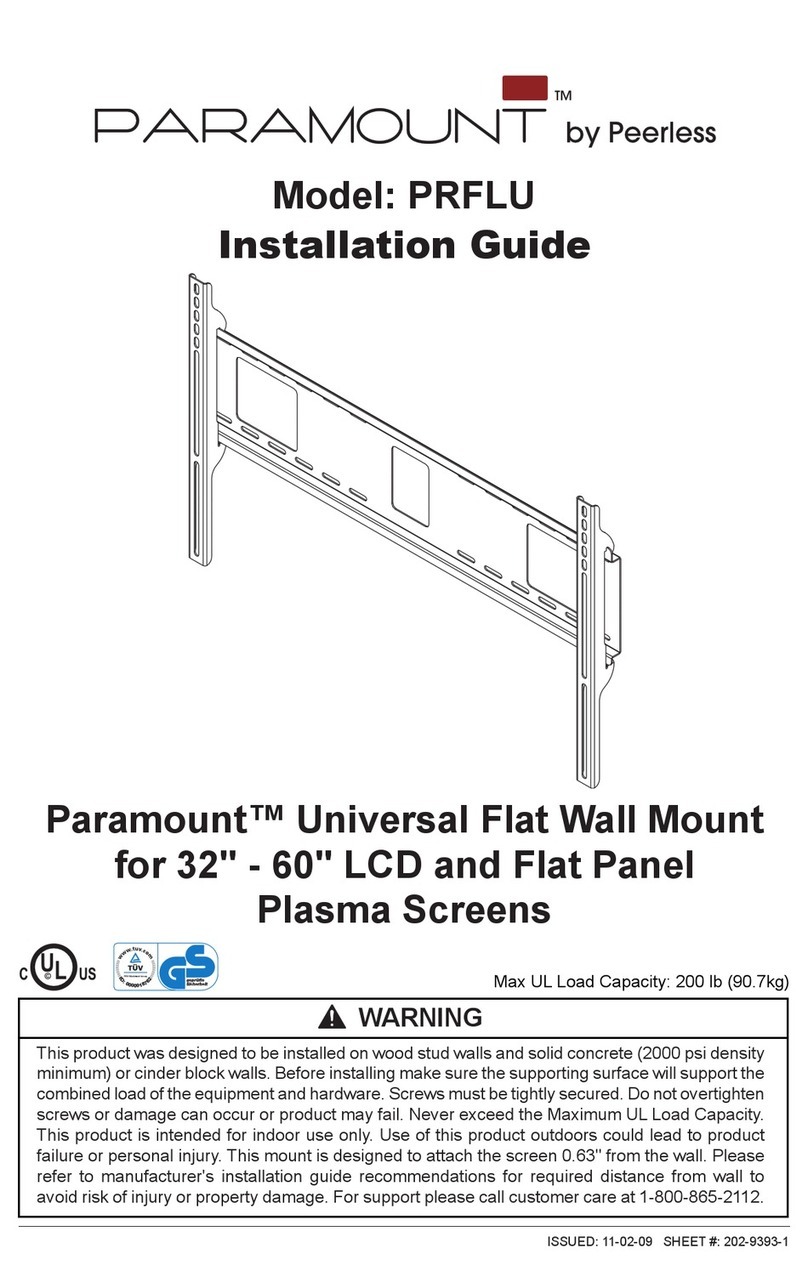
PEERLESS
PEERLESS PARAMOUNT PRFLU installation guide
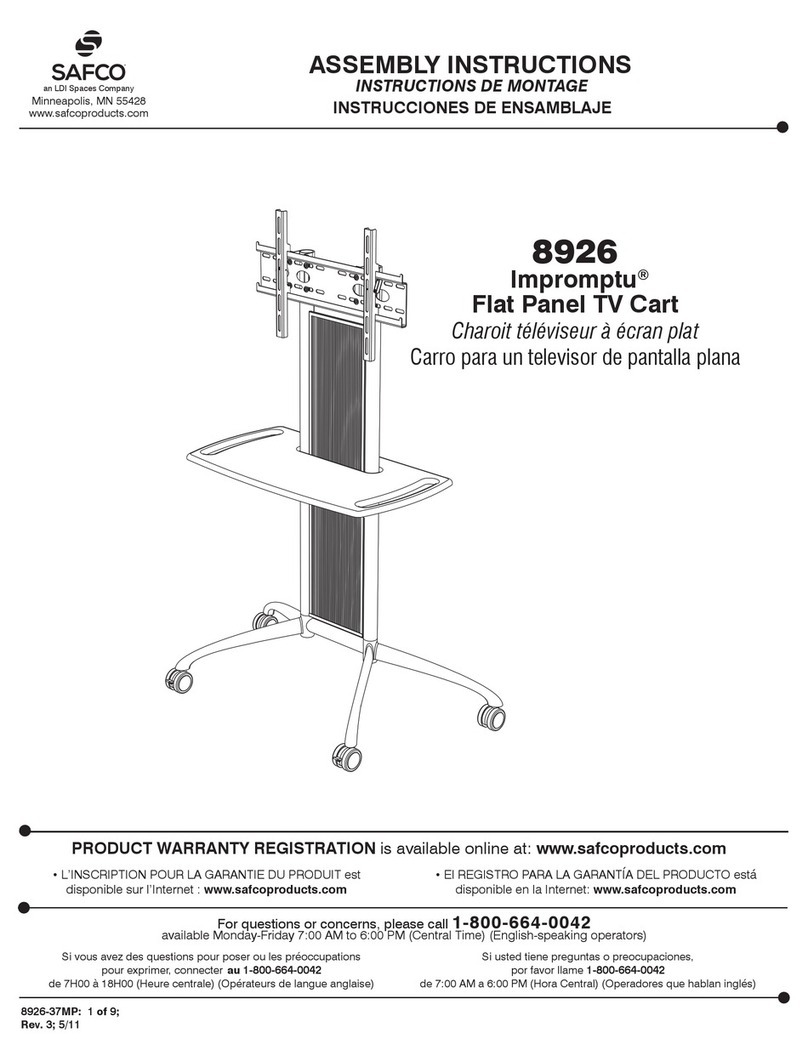
LDI Spaces
LDI Spaces SAFCO Impromptu 8926 Assembly instructions
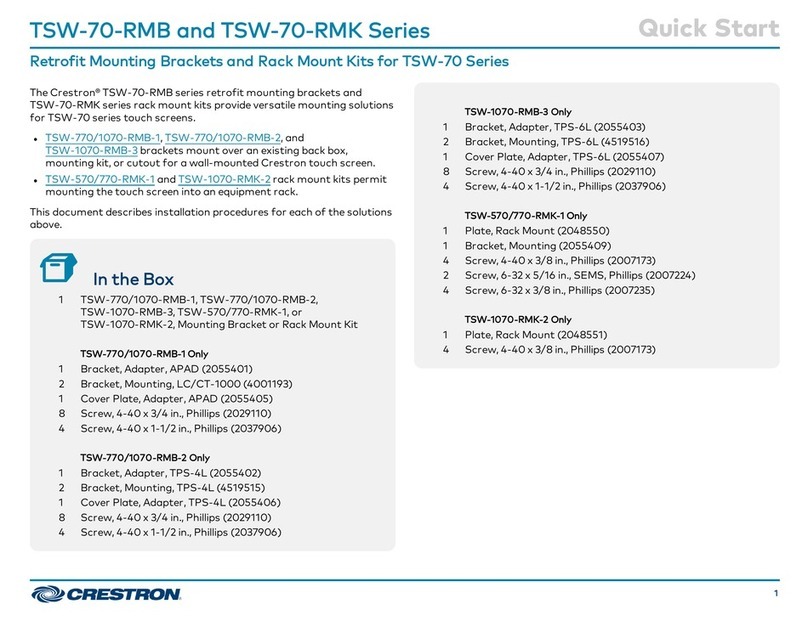
Crestron
Crestron TSW-70-RMB Series quick start
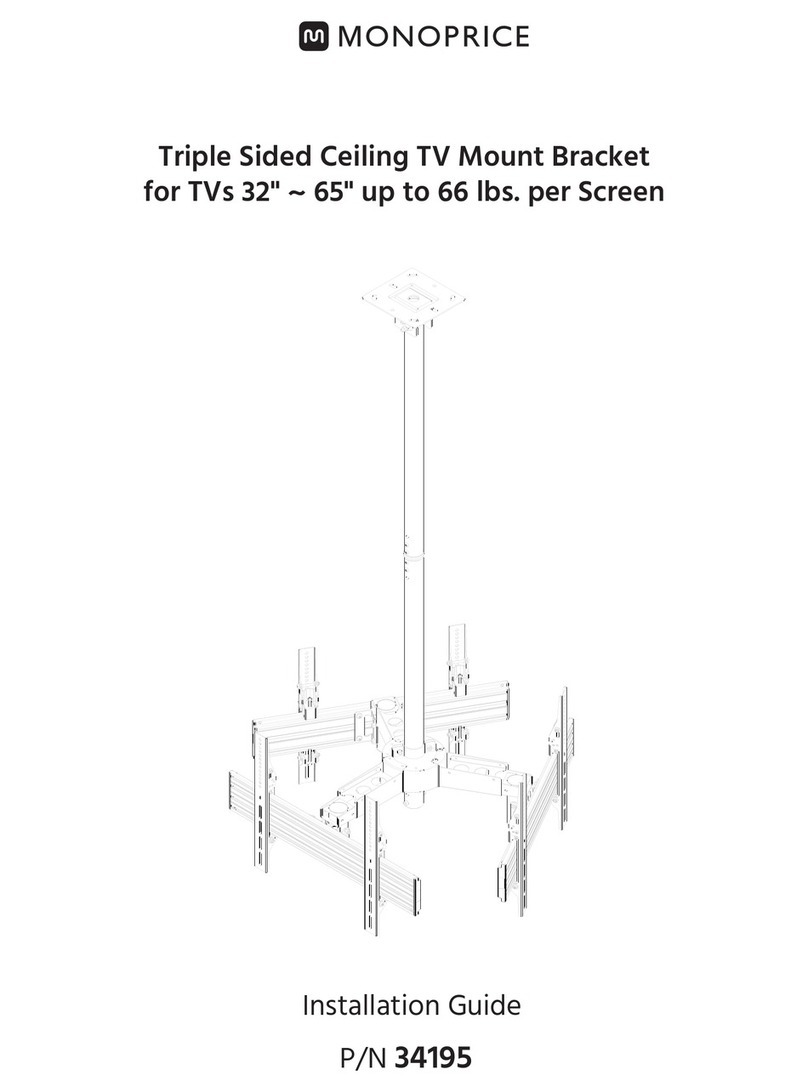
Monoprice
Monoprice 34195 installation guide

