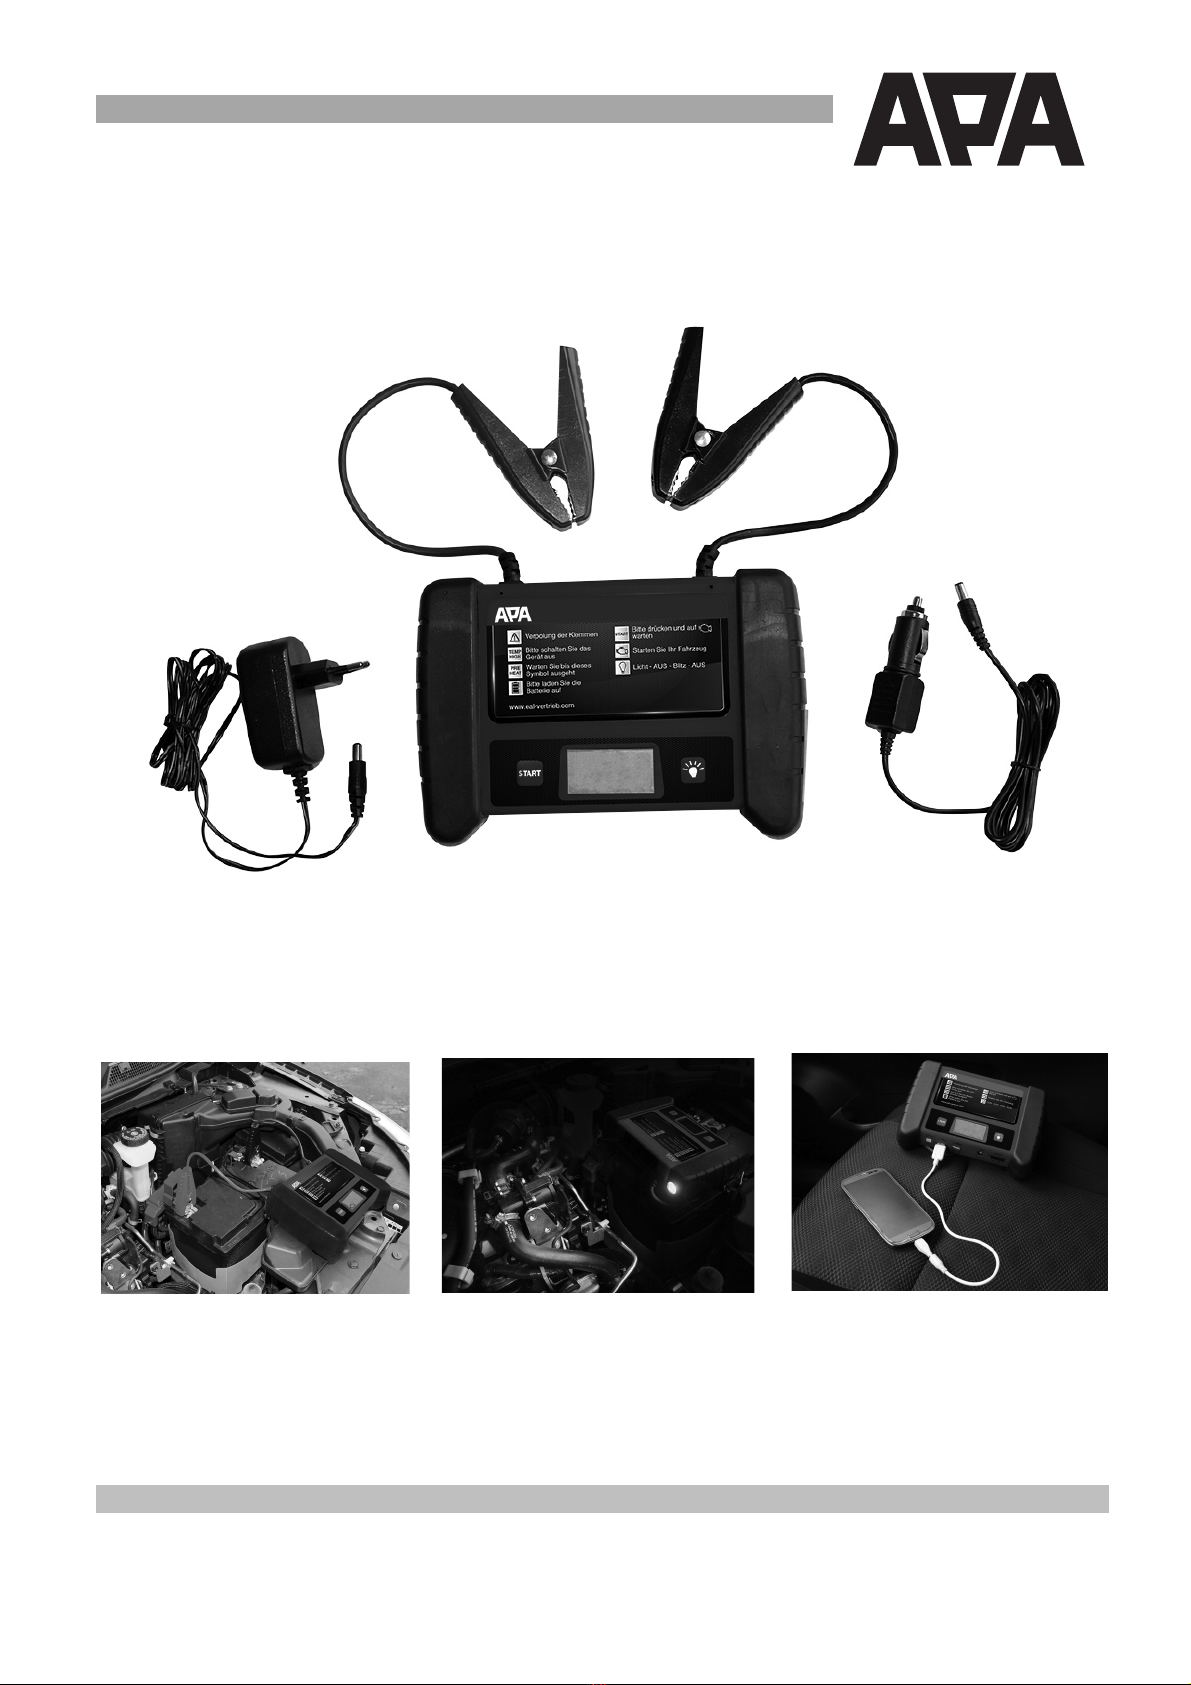
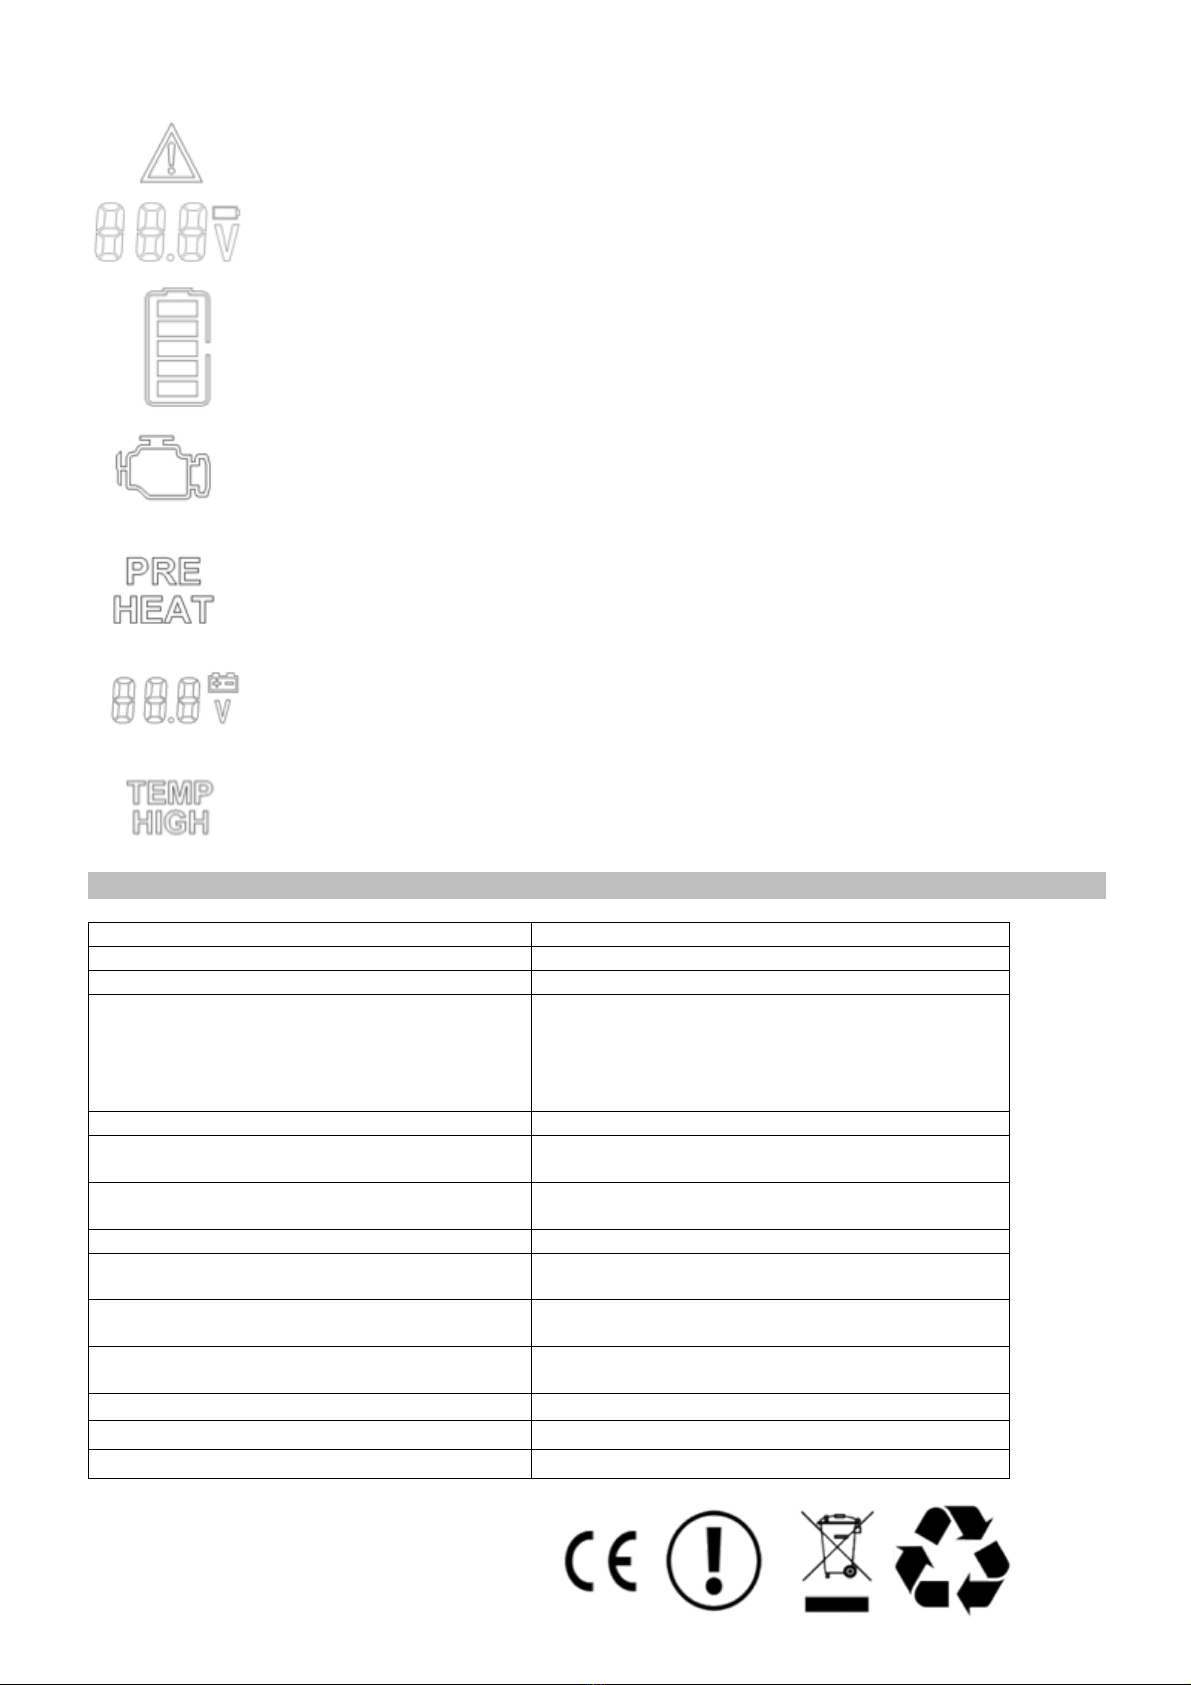
Turn the POWER-Switch a)c to ON. Plug-in the delivered 12V charger to the unit´s 12V INPUT a*c. The bars on
the right side (10) of the LCD-Display aLc indicate the state of the battery capacity. The bars will show up from
bottom to top to signify that the charging process (up to 10 hours) is running.
'
,>='A,!9C,N?CO'j'9N?&!,%,N?CO'
The built-in ultra-bright LED Light helps you to jump-start your car in a dark environment. The FLASH-mode can
be used e.g. to secure an accident site (lasts up to 120 hours).
•Turn on the POWER-Switch a)c
•Press the LED-LIGHT-Button ahc to switch between the Light-Modes:
LIGHT ON –OFF –FLASH-Mode -OFF
T9@%1EHO9'
'''
'
!OO>&ONE&f'=2Gn#'/F4'#.4'T9@%12"#F'V/"-GI'e/05%F#6"#-GI'Y'
Use the built-in 5 Volts USB-Ports aKc to power or charge your USB-devices:
e.g. cell phones, sat nav, car electronics.
The 1st USB Port delivers a current up to 1 A (5 Watts)
The 2nd USB Port delivers a current up to 2.1 A (10,5 Watts)
9OEH!?>'
After use, this unit should be fully charged and stored in a dry, well ventilated place out of the reach of children. If
the unit is not frequently used, turn the POWER-Switch a)c to OFF in order to ensure a low self-discharge (10µA).
Recharge at the latest every 6-8 month. Only charge with the provided charging unit.
Do not store in locations where temperature may exceed 45°C/113°F or get lower than 0°C/32°F. Protect the unit
from direct sunlight, heat and moisture.
>l1>HO'SE=>'
'''
=!&?>H'Y'k'>l1>HO%SE=>''
aEG:Z'#2'B4'/F4V'BZ'p/6:-;-4V'54"F2GFY'>d4"7-F4'4d#"404'76/#-2GYc'
'
'
If the car battery is absolutely discharged (voltage lower than 3V), the device cannot identify the battery and boost
it. NG'#.-F'76F4'#.4'>l1>HO%SE=>'76G'B4'67#-\6#4V'BZ'5"4FF-GI'#.4'9O!HO%B/##2G';2"'*'F472GVF'a,R='
V-F5:6Z'3-::'F.23'72/G#V23G^'#.4G'5"4FF'9O!HO%B/##2G'6I6-G';2"'72G;-"06#-2Gcf'The device behaves now
as a Li-Ion-battery - 12V and max. 300A are now available directly to its clamps (for jumpstarting or other
purposes).
M!H&N&?f'9CEHO%RNHRTNO'1HEO>RONE&'!&='OC>'!TOES!ONR'9MNORC%EAA%AT&RONE&'a!AO>H'
H>SEPN&?'OC>'R,!S19c^'=>!RONP!O>'N&'>l1>HO%SE=>'Y'
'
mTS1%9O!HON&?'gETH'R!H'a(LP'E&,g'Yc'
'
&EO>f H46V'Z2/"'76"nF'23G4"oF'06G/6:Y Some vehicle manufacturers have special requirements before
jumpstarting the vehicle (e.g. fuses that have to be removed or certain security demands). Some vehicles
manufacturers place the battery in the cargo area or trunk. These vehicles often have designated jump-start
terminals.
1. Preparation:'Make sure there’s no oxide or dirt on the vehicle battery’s terminal.
2. Turn the unit´s power switch a)c to ON and check the battery'capacity a(<c (more than 3 bars or 12.8V are
required for the unit to work properly)
3. Connect the red (+) clamp to your vehicle´s positive (+) battery terminal
4. Connect the black (–) clamp to your vehicle´s negative (-) battery terminal (GND)
5. Check whether the !OO>&ONE& a+)-icon appears. If no error occurs, press the START-Button (required for
each start attempt) and wait until the device is ready to jump-start your car a-72G'(('65546"Fc$'
6. Start your car. If the jump-start fails, check all connections and repeat the last step.
7. Turn off the device (POWER-Switch a)c OFF) and disconnect the black and the red clamps. (For your security:
Disconnecting the clamps will turn off the device, too.)
'