Eaton Crouse-hinds series Use and care manual

Instruction manual
MTL HMI and visualisation
GECMA WS
KVM Firmware Update EN
Rev 4
Update

2MTL GECMA RT –KVM Firmware Update EN
1. Foreword
Please read the entire operating instructions before starting the firmware update.
This manual describes how to perform firmware updates for the KVM modules in the terminals and
transmission units of the save area.
Before updating make sure the latest firmware has been downloaded from www.gecma.com.
If you have any questions or require technical support, please contact:
Eaton’s Crouse-Hinds division
Gecma Components electronic GmbH
Heinrich-Hertz-Strasse 12
50170 Kerpen, Germany
Tel: +49 2273 9812 0
Fax: +49 2273 9812 100
technicalsupportgecm[email protected]
www.gecma.com
Technical Developments
The given data is only intended as a product description and should not be regarded as a legal
warranty of properties or guarantee. In the interest of further technical developments, we reserve the
right to make design changes.
Trademarks used
IBM is a registered trademark of International Business Machines Corporation.
Microsoft and Windows are registered trademarks of Microsoft Corporation.
All other trademarks mentioned and shown in the text are trademarks of the respective owners and
are recognized as protected.
© 2018 by Gecma Components electronic GmbH

MTL GECMA RT –KVM Firmware Update EN 3
Content
1. Foreword............................................................................................................. 2
2. General Reference ............................................................................................. 4
3. Introduction........................................................................................................ 6
3.1 Requirements for a Direct Update........................................................................... 6
3.2 Overview of the firmware update variants for a direct update (bitmap) .................... 7
4. Implementation .................................................................................................. 8
4.1 Determine the current firmware version................................................................... 8
5. How to perform a Direct Update ....................................................................... 9
6. Automatic Update ............................................................................................ 13
6.1 Requirements for an Automatic Update..................................................................13
6.2 Preparation for an Automatic Update .....................................................................13
7. How to perform a Network Update (Option switching)................................. 20
8. How to perform an Automatic Update............................................................ 24
9. Appendix........................................................................................................... 26
9.1 Special features when switching from VGA- to DVI-signal......................................26
9.2 Possible errors.......................................................................................................28

4MTL GECMA RT –KVM Firmware Update EN
2. General Reference
Gecma products belong to the category of equipment groups for potentially explosive atmospheres
according to the ATEX Directive 94/9 / EC. The manufacture of the device must be strictly according
to the guidelines. Deviations from the described processes and work instructions are not permitted.
Any discrepancies must be reported.
This guide uses the following symbols to alert the user to important information.
IMPORTANT
: Indicates important details for the user.
Note: Indicates useful hints for the user.
2.1 The different firmware versions
We are constantly working on the improvement of our products and also on the improvement of the
used software / firmware. We always try to ensure downward-compatibility, but this is not always
possible without interfering with the existing system.
All new devices are delivered with an "automatic update", which checks at power on, which firmware is
running on the other side and this is then possibly updated automatically.
2.1.1 Overview
There are currently three basic versions for the RT series.
12 series - 1242-1273 (used until about early 2018) - is the initial version
43 series - 4346-4362 (used until April 2019) - Advantages are a higher compatibility with USB, better
visualization of the operating status and better update options, available on homepage
www.gecma.com
80 series - 8007-84xx (used from about April 2019 until now) - Support of a new RAM type, further
feature improvements.

MTL GECMA RT –KVM Firmware Update EN 5
2.1.2 Compatibility
The firmware runs both on the transmission unit and on the receiver (COM module of the terminal).
For a smooth communication, the same version or at least the same series must be used.
The hardware is compatible with each other for all firmware versions. The newest firmware (8000
series) always runs on the completely new modules, as there is another RAM type used.
The 12er firmware is only compatible with other 12er versions. In general, our recommendation is to
update the 12 firmware to version 43xx or later if the devices are causing problems.
The 43er and 8er firmware is able (if the feature Automatic Update has been activated) to fully
automatically update 12 series devices.
However, it does matter which side of the signal chain is supposed to do the update (sender or
receiver) because there are slight differences in the procedure (the sender has no menu, for example).
Version 8xxx is in principle compatible with version 43xx, but should only be used to pull up the 43xx
devices to 8xxx, there is no permanent use in mixed operation and manual intervention may be
necessary.

6MTL GECMA RT –KVM Firmware Update EN
We strongly recommend to disable screensaver during the update procedure.
3. Introduction
3.1 Name agreement
In later text or screenshots you see the words Console module and PC module.
Console refers to the remote unit (COM in Terminal), remote terminal.
PC refers to the local unit (Transmission Unit –Rack or Desktop). In the following text this
device is called SATU (Save Area Transmission Unit)
3.2 General remarks
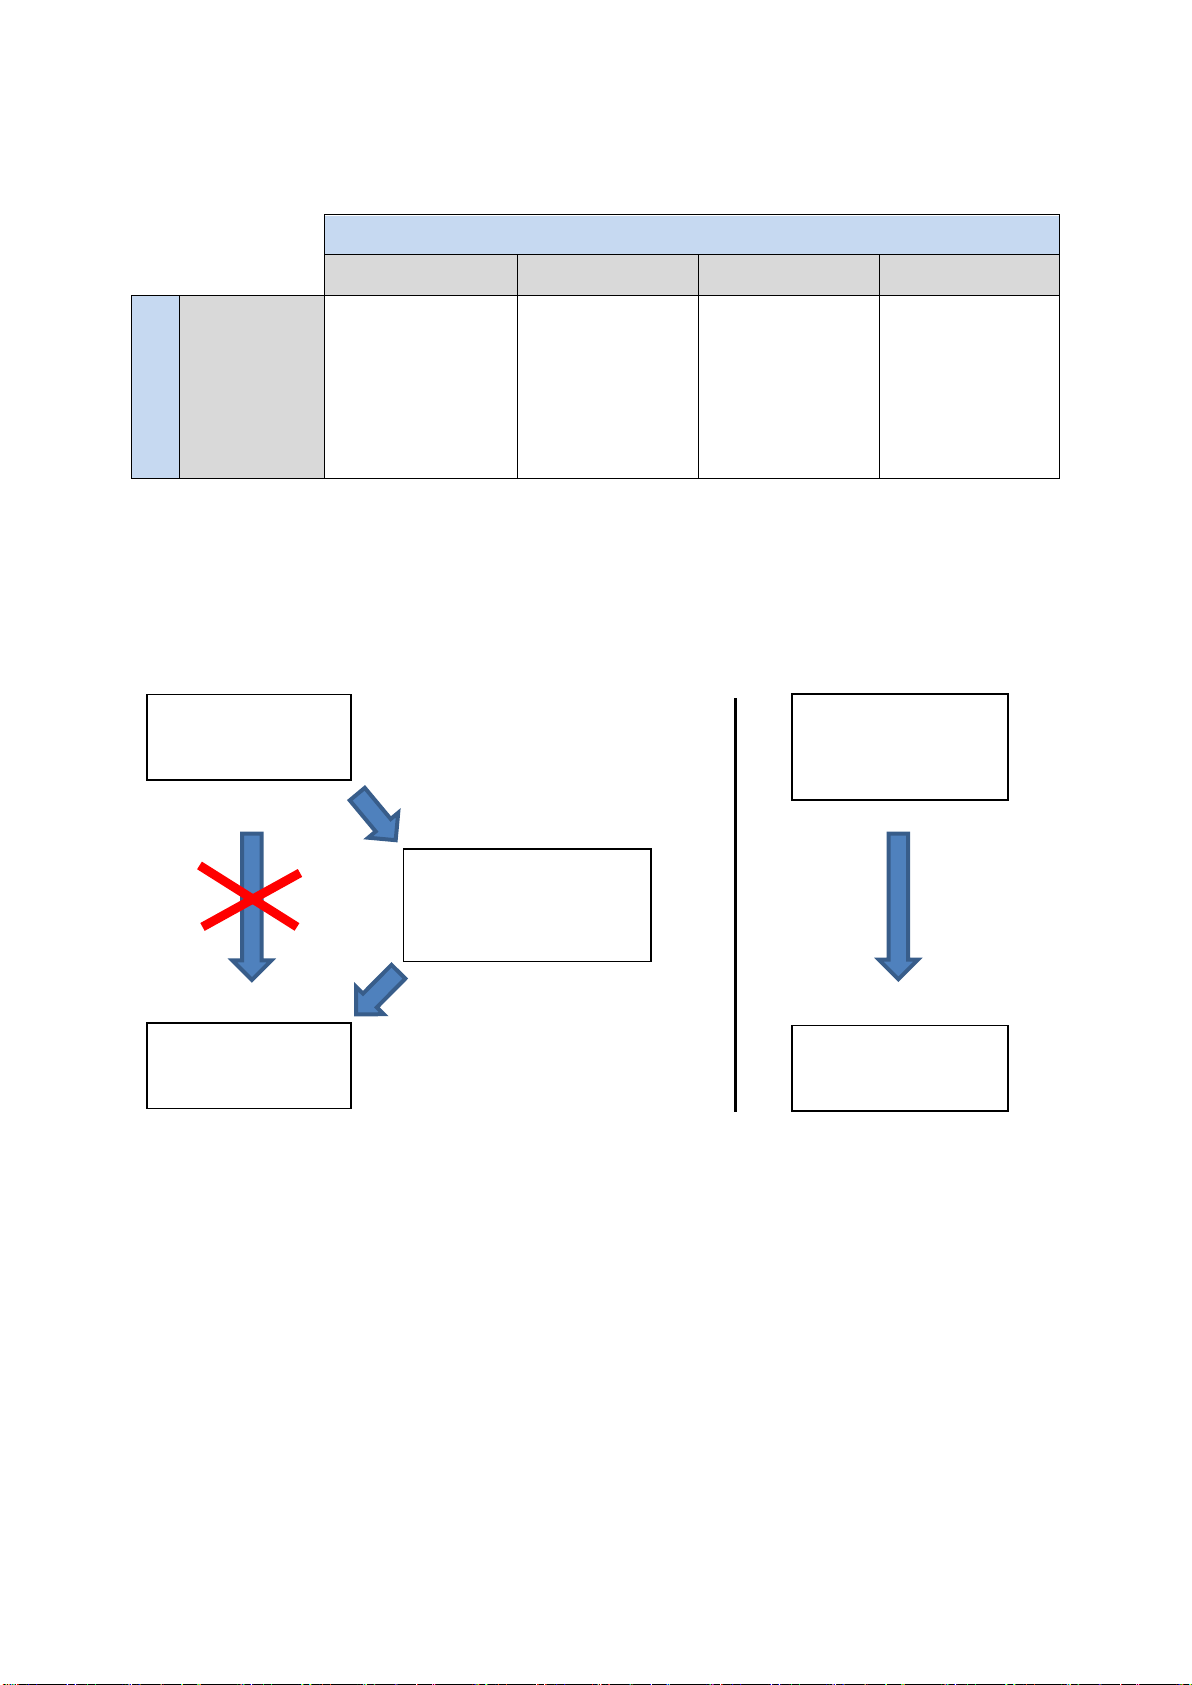
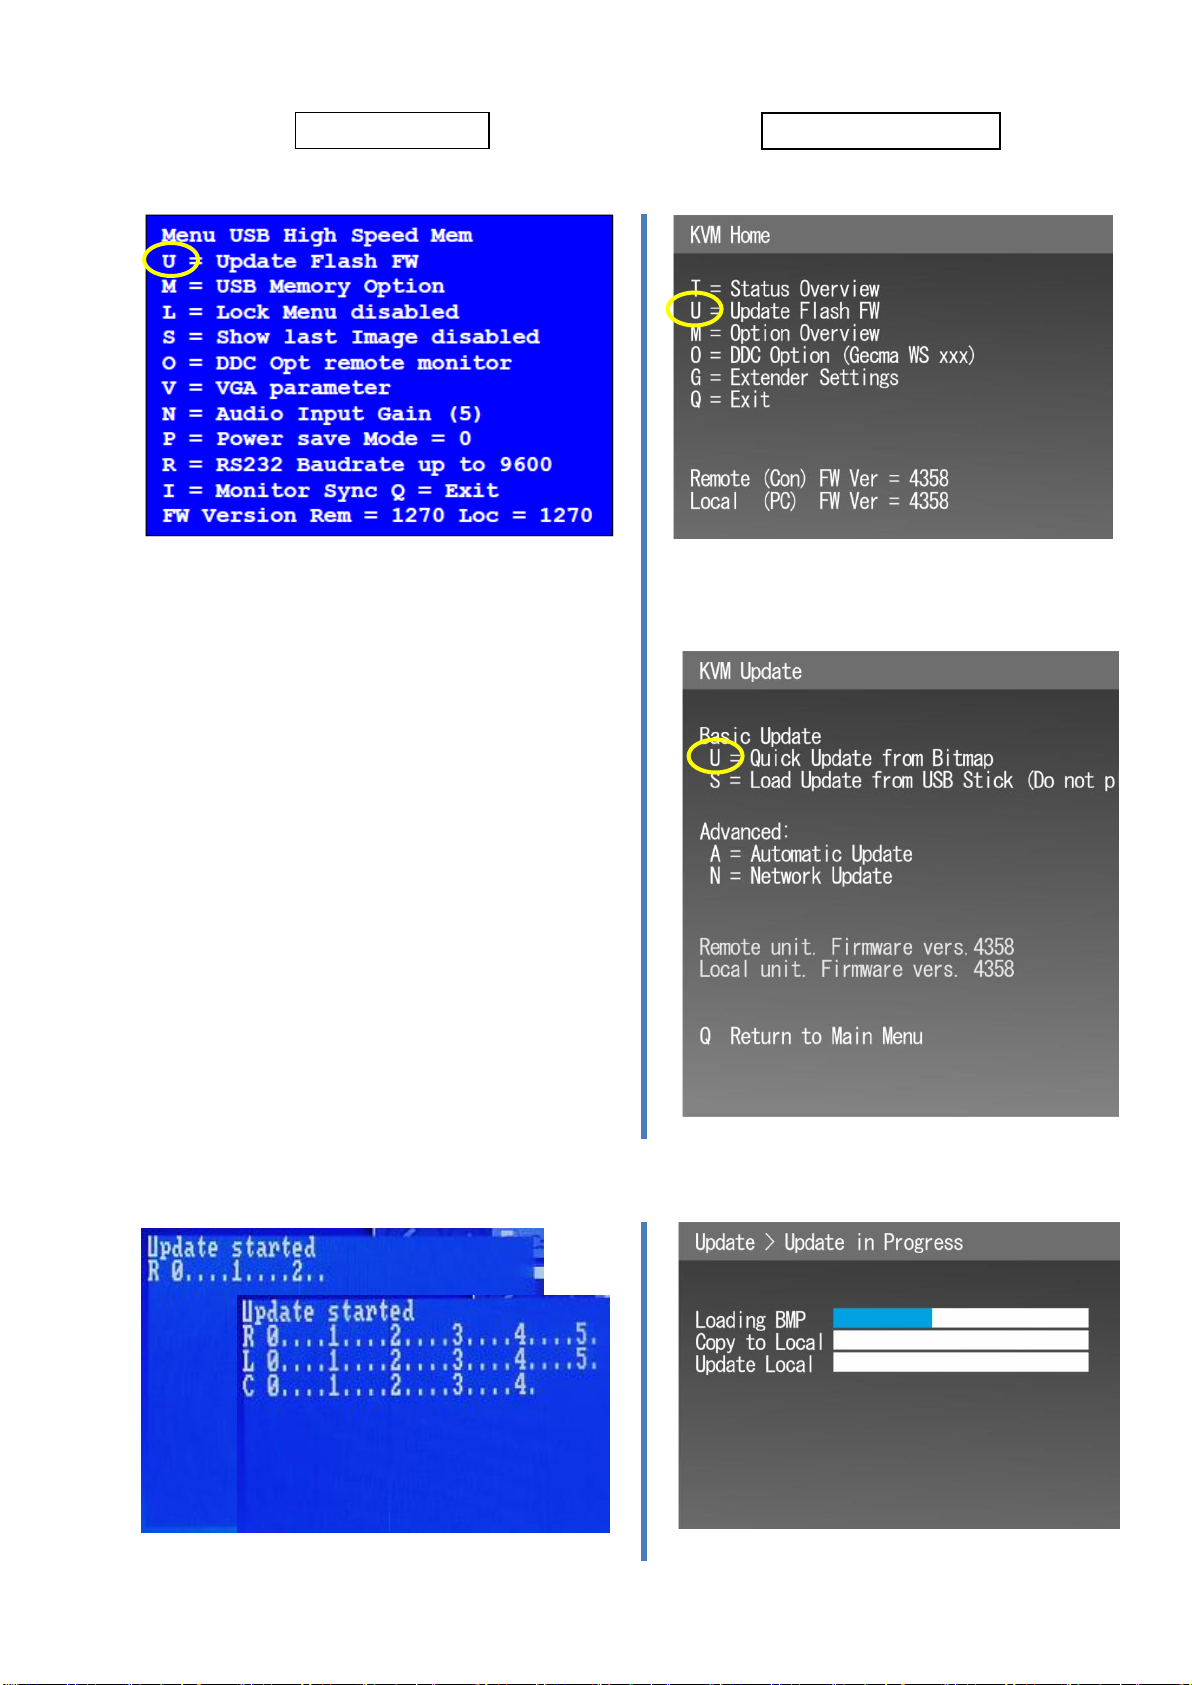
There are two methods to update the firmware on your devices: Direct Update and Automatic Update.
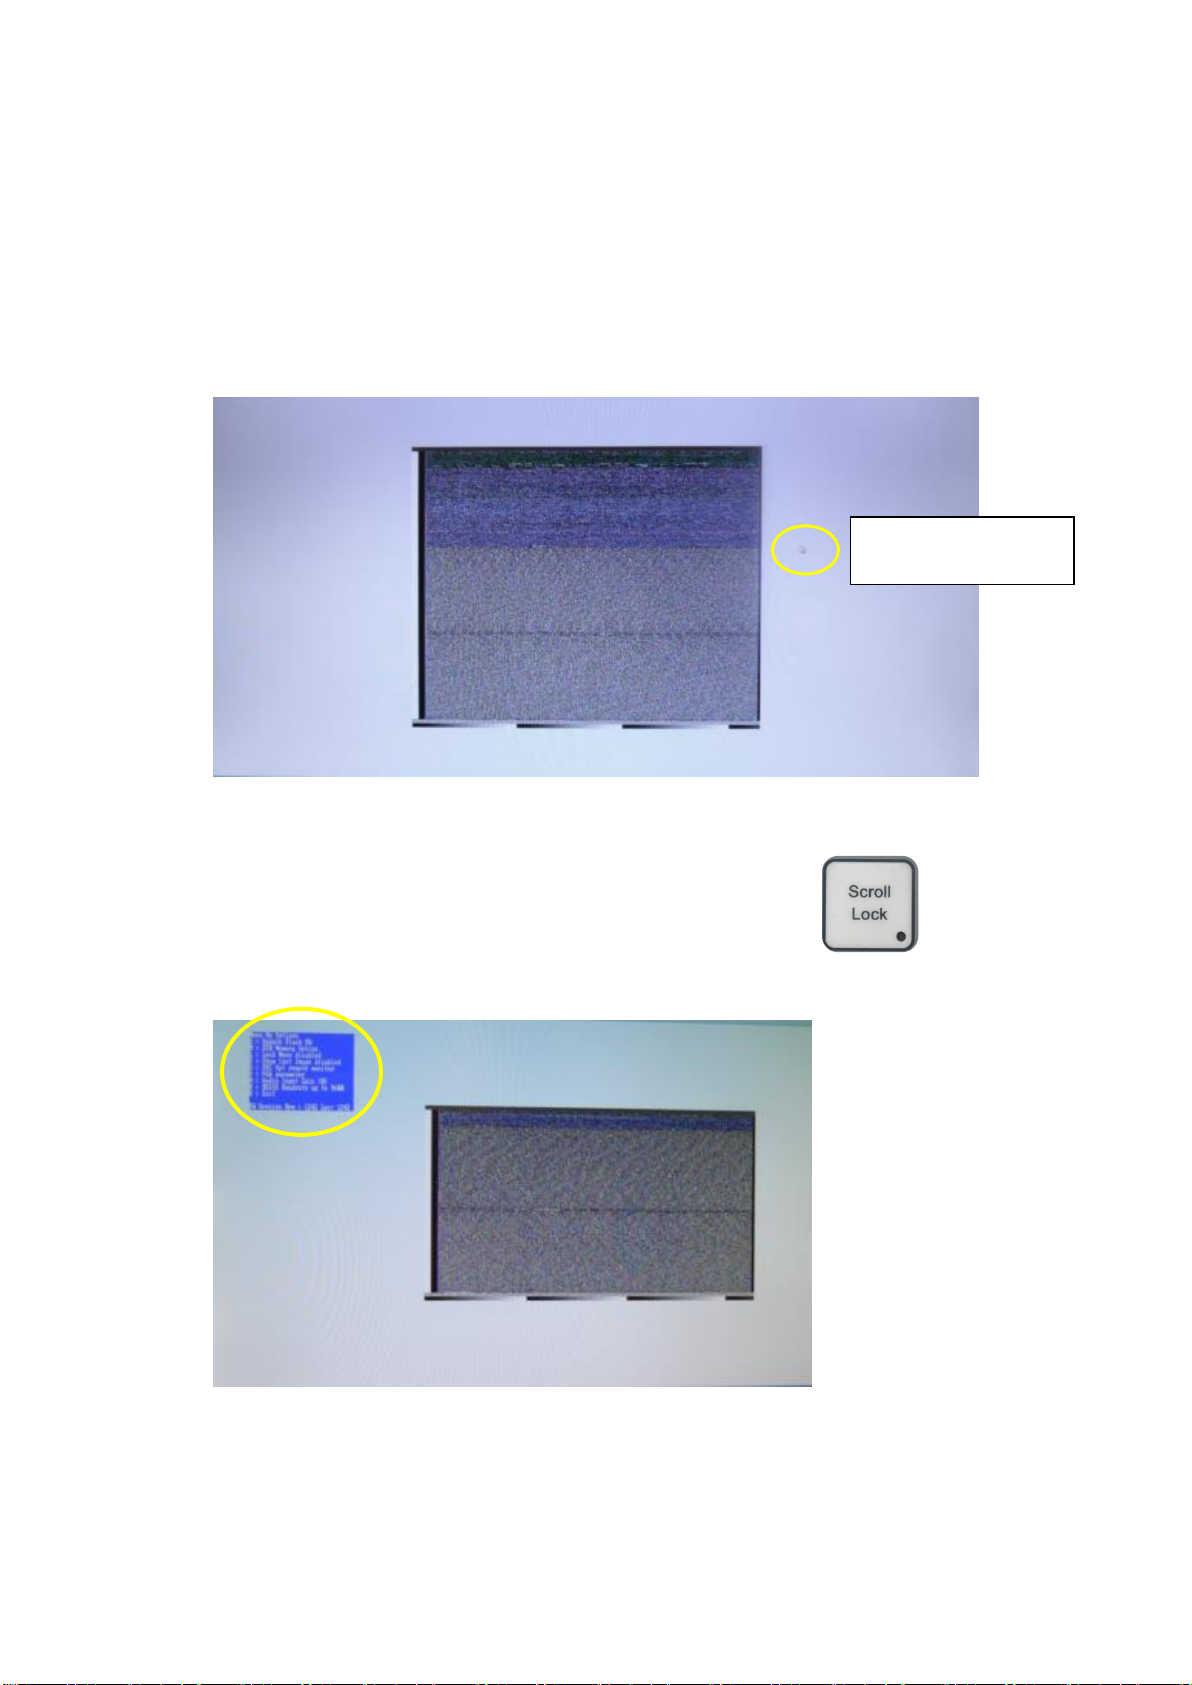
These are all available from the Update Menu, which can be access by pressing the Scroll Lock key
5 times.
A Direct Update is the preferred method for a SATU and a remote terminal.
An Automatic Update is the preferred method when you would like to update multiple terminals or
SATUs, or if an update from an early firmware version is required.
Firmware updates are provided in the form of a bitmap image. The pixels in the image contain all the
data required for the update.
KVM stands for Keyboard, Video, Mouse. It is an interface to transmit these signals to another unit.
3.3 Requirements for a Direct Update
For an update you need:
Free access to the remote terminal and the ability to disconnect it from the mains.
The current update file (KVM-xxxx_MVX_GECMA_FW.bmp)
An installed image viewer like Microsoft Paint or Microsoft Internet Explorer on the controlled
PC is suggested.
During the update process, we recommend the connection to the transmitting unit via DVI
signal. Due to the analogue nature of VGA it is not possible to guarantee a successful update
process with a VGA video input, see Appendix.

MTL GECMA RT –KVM Firmware Update EN 7
3.4 Overview of the firmware update variants for a direct update (bitmap)
Starting Firmware Version
1242 –1270
1273 –1275
43xx
8xxx
Target Firmware
Version
84xx
Perform an update
to 1273 or 1275,
followed by an
update to 43xx
Perform a direct
update to new
version
Perform a direct
update to new
version
Perform a direct
update to new
version
3.4.1 Firmware Revision Update Path - Note
You may not be able to upgrade to the latest version in a single pass. In the following case (left side),
a transitional update must first be made:
KVM Firmware
primary 1242 –1270
KVM Firmware
new 84xx
KVM Firmware
Temporary solution 1273
or 1275
KVM Firmware
primary 1273 –1275 /
4xxx / 8xxx
KVM Firmware
new 84xx

8MTL GECMA RT –KVM Firmware Update EN
4. Implementation
The firmware file to be installed must be located on the controlled PC.
The firmware update is carried out at the remote terminal.
The Direct Update Method is always automatically applied to both devices, the
local (SATU) and the remote unit.
4.1 Determine the current firmware version
First, the currently used version is checked.
This is done by calling up the firmware menu pressing the Scroll Lock key five times.
Figure 1
Now the menu window is shown on the top left of the display:
Figure 2
The version numbers for Remote Rem and Local Loc should be the
same.
If you see a variation here (i.e. 1247 on Loc and 1270 on Rem) then you may have an Issue like “no
USB Function” and you need to perform an Emergency Update which can be performed without
Keyboard interaction. Ask the Technical Service then for the Emergency Procedure.
Press the Qkey to exit the menu.
Press 5 times
Menu 12xx series
Menu 43xx / 8xxx series

MTL GECMA RT –KVM Firmware Update EN 9
5. How to perform a Direct Update
Depending on the determined update option from Table 3.4, the corresponding version is installed as
follows:
Locate the update file (KVM-xxxx_MVX_GECMA_FW.bmp)
Open this file (we suggest Microsoft Paint or Microsoft Internet Explorer)
The update image must be displayed in 100% scaling. The picture should be displayed in full
screen mode. The bitmap should be displayed in a 1:1 pixel mapping size.
Figure 3
The mouse pointer must be outside the image.
Opening the firmware menu can now be triggered by pressing the
"Scroll lock" button five times.
The update menu is displayed
Figure 4
The menus differ depending on the version.
Mouse pointer outside
of the bitmap

10 MTL GECMA RT –KVM Firmware Update EN
Pressing the Ukey initiates the update process:
Figure 5
The process runs independently without further operation.
The process takes several minutes.
Figure 7
Menu 12xx series
Menu 43xx / 8xxx series
The 43xx / 8xxx series menu branches to a
submenu. Pressing the U key a second time
initiates the update process.
.
Figure 6

MTL GECMA RT –KVM Firmware Update EN 11
Attention: Do not switch off the terminal, the SATU nor the computer during the update! Do
not press any buttons during this time and do not operate the mouse!
Notice: Both units (remote and local) receive the update simultaneously.
After a successful update the following menu will be displayed at the end of the update
process:
Figure 8
A reboot of the SATUs is initiated.
At this point, we recommend disconnecting the power supply from the transmitter and the
remote terminal for about 60 seconds. It may also be helpful to temporarily remove the DVI
and USB cables to ensure that the memory is completely reinitialized.

12 MTL GECMA RT –KVM Firmware Update EN
5.1.1 Checkout
To check the versions the setup menu is viewed again. Press Scroll lock button 5 times. Depending
on the version the following menu is shown:
Figure 9
For another update repeat steps 4.1 and 5.
For detailled information the status menu can be
called up with the Tkey:
Figure 10
Press the Qor Esc key to quit the menu.
This completes the update process for a Direct Update.
Menu 12xx series
Menu 43xx / 8xxx series

MTL GECMA RT –KVM Firmware Update EN 13
6. Automatic Update
Note - Activating the automatic update extends the power-on process and the time required
to establish a connection between the Safe Area Unit and the terminal. The devices first
check if a partner device needs an update.
The Automatic Update transfers the firmware from one device (it can be a SATU from the Safe Area or
a receiver from the Terminal) to another terminal/SATU. We recommend to do it from the terminal-side
because the menu is available and it is possible to see the update progress. During an Automatic
Update the stored firmware of a terminal (for example) will be transferred to the flash memory of the
SATU.
The target SATU will then transfer its newly stored firmware into its active firmware and complete the
update on its own. You would typically choose an Automatic Update when you want to update multiple
units quickly without much manual interaction or when you have a very old firmware and a newer one
on a new device which is restricting the Video-Mode from working.
The devices can be updated by a direct connection with a network cable (same type as of existing
cabling Safe Area to Terminal - Fibre or Copper).
6.1 Requirements for an Automatic Update
The source device where you want to enable this feature must have a running firmware 43xx /
8xxx or above.
Only firmware with a number of 43xx / 8xxx can send firmware updates to other devices.
The target device (transmission unit from the Safe Area “SATU” or a receiver from the
Terminal) can be running any firmware, provided it is lower than version one you want to
update to.
We highly recommended to use a remote extender (Terminal) as the source extender.
The automatic update will only run within a 5 minute countdown after powering on the SATU,
after that time it is locked.
6.2 Preparation for an Automatic Update
General procedure: You need to update one device pair (SATU from the Safe Area and a receiver
from the Terminal) manual with the Bitmap Update (Direct Update) to firmware 43xx / 8xxx –see
Section 5 for detailed instruction.
Depending on the determined update option from Table 0, the corresponding version is installed as
described in Section 5.
Note: In later screenshots you see the words Console module and PC module.
Console refers to the remote unit (COM in Terminal) and PC refers to the local unit
(Transmission Unit –Rack or Desktop), here called SATU (Save Area Transmission Unit).

14 MTL GECMA RT –KVM Firmware Update EN
Note: The following assumes that you have updated a pair of device to 43xx / 8xxx, as explained in
section 5.
Step 1: Preparing a remote unit (Terminal) for rolling out automatic updates:
Press the Scroll lock button 5times. The main menu of a 43xx / 8xxx firmware opens as shown in
Figure 11.
Figure 11
Step 2: Press the Ukey.
The Update menu will open as shown in Figure 12. Depending on firmware improvements the exact
appearance may vary slightly.
Figure 12
Step 3: Press the Akey.

MTL GECMA RT –KVM Firmware Update EN 15
The Autoupdate Settings menu will now be displayed. You need to verify if a firmware is stored
(saved) into the flash memory. Only this stored version can be sent out via the automatic update
function.
If ‘none’is shown as the saved firmware then you need to perform the following steps.
If there is a firmware saved under Console module has saved then proceed to Step 7.
Figure 13
You need to save the firmware into the flash memory with the Bitmap Update procedure (Direct
Update) –see section 5 for detailed instruction how to open the bitmap.
Now you need to use the Network Update to save the bitmap firmware file into the memory of the
current device. Return to Update Menu by pressing Esc key.
Figure 14
Step 4: Press the Nkey. The Network Overview menu appears:

16 MTL GECMA RT –KVM Firmware Update EN
This menu lists all the devices currently connected. In the example (Figure 15) there are only the two
corresponding modules shown. There are no names assigned yet (shown as <untitled>).
The device you’re using is marked in green. The active firmware and saved firmware version numbers
are listed for each device. Devices shown in red have been connected to the network previously but
are no longer connected.
Figure 15
Step 5: Open the bitmap file if not already done. Press the Lkey. The new firmware version will be
loaded from the bitmap and saved to the flash memory area on your remote terminal (marked in
green).
Figure 16
Wait until the next figure appears. This procedure takes a time.

MTL GECMA RT –KVM Firmware Update EN 17
Figure 17
This completes the procedure of loading the new firmware to terminal.
Press any key:
Figure 18
Now mark the PC module with space bar. Move the white arrow on the left using the up-down cursor
keys.
Step 6: Press S Key to send the saved version to marked modules.

18 MTL GECMA RT –KVM Firmware Update EN
Figure 19
Return to Update Menu by pressing the ESC key.
Figure 20
Step 7: Press the Akey to enter the submenu for setting the automatic update function.

MTL GECMA RT –KVM Firmware Update EN 19
The firmware is shown as saved. Now you can enable the automatic update function by pressing the
Ckey. The Console will then be set to automatically update.
Figure 21
In the case of a PC (SATU) you can enable the automatic update function by pressing the Pkey. The
PC will then be set to automatically update.
Figure 22
The terminal or the PC is now prepared to update any other terminals or SATUs.
Step 8: Check that the function is enabled in general (content in yellow frame).
No further steps are required. For rolling out the update to other devices go to Section 8.
Press the Esc key to close the Main Menu.

20 MTL GECMA RT –KVM Firmware Update EN
7. How to perform a Network Update
This feature is an option. Please contact our Service Team for more information.
technicalsupportgecm[email protected]
Press the Scroll Lock key rapidly five times. The main menu opens.
Figure 23
Press the Nkey
Figure 24
Select all modules that you want to update: use the Up and Down arrows to navigate to the modules
which were connected to this unit in the past but currently not present. Press the space bar to mark or
unmark a device in the list, or press the Akey to mark all devices in the list.
Note! A marked module has a filled rectangle. An unmarked one has an empty rectangle.
Other manuals for Crouse-hinds series
95
This manual suits for next models
1
Table of contents
Other Eaton Desktop manuals