EB A-038105-03 User manual

WWW.ECOBATTERY.COM
®
877.ECO.BATT WWW.ECOBATTERY.COM
MODELS COVERED:
A-038105-03
A-051072-03
A-051105-01
A-051105-03
A-070105-06
A-051160-06
38V 105Ah
51V 72Ah
51V 105Ah
51V 105Ah
70V 105Ah
51V 160Ah
REV 1.0/3.23
GEN2 LITHIUM BATTERY
USER MANUAL

1
User Manual - 2nd Gen Batteries
Positive
Terminal
State of Charge Meter
COM Port
Lifting Handles
Power Button
Negative
Terminal
Meter / CAN Cable
CAN
Connectors
BATTERY COMPONENTS

2
User Manual - 2nd Gen Batteries
Eco Battery Gen2 batteries are only compatible with Gen2 SOC meters.
BATTERY VOLTAGE
The voltage will vary based on the current load or charge placed on the battery.
STATE OF CHARGE (SOC)
The state of charge is displayed in percent. 0% = empty and 100% full.
BATTERY CURRENT
Discharge current (in amps) is diaplayed as a negative number.
Charging current (in amps) is displayed as a positive number.
METER CALIBRATION
The Eco Battery SOC meter does not require calibration by the end user. The SOC meter performs a
self-calibration at the end of each full charge cycle. Accuracy is +/- 5%.
Due to lithium’s flat voltage curve, SOC % is the most accurate method for monitoring a lithium batteries
state of charge. Please monitor the SOC % rather than battery voltage when determining when to charge.
Avoid running the battery completely dead. Although the BMS protects against detrimental discharge,
it is not advised to run your battery below 20%. When driving your cart, be aware of your state of charge,
just as you would monitor your vehicle's fuel gauge. The further you are from a charging location, the
more battery you should reserve.
Your meter may be programmed with a sleep timer that will darken the meter after a few hours of inactivity.
To wake the meter, the battery needs to see current in or out of it. Driving your cart a few feet or connecting
the charger, or cycling the power button will awaken the meter.
Some Gen2 gauges are programmed to display DTCs (Diagnostic Trouble Codes)
if a battery fault has been detected. These faults can vary in severity depending
on the situation. SEE PAGE 7 FOR TROUBLE CODES.
If a trouble code appears on your meter, please record the trouble
code and contact your dealer to discuss the code and, if necessary,
take any actions required to correct it.
CAN LCD METER
STATE OF CHARGE METER (SOC Meter)

3
User Manual - 2nd Gen Batteries
The two connectors located on your meter cable are CAN
communication ports used for diagnostics, or communicating
with a charger or motor controller. In most cases, they are not
used and can be left unplugged.
Some battery chargers are CAN enabled, and will have a male
CAN plug to connect to either one of the two CAN ports. If your charger
is CAN enabled, the charger will NOT charge unless CAN is connected.
If your motor controller is CAN enabled and compatible with the Eco Battery CAN protocol, connect the CAN
connector from the controller into either of the CAN ports on the meter cable.
The power button controls flow of power in and out of the battery.
It functions as a safety device to allow for safe handling of
the battery during installation and maintenance. It also serves
as a way to completely disconnect the battery during storage
to prevent unnecessary discharge over extended periods.
To power on the battery, press and release the power button until the green light illuminates.
To power off the battery, press and release the power button until the green light turns off.
If the battery is not charged or driven for an extended period of time, the battery will automatically
power off to conserve power. (See POWER SAVE MODE pg. 4 )
The power button does not need to be turned off with each use. It is recommended to leave
the power button on and the battery charger connected if the cart will be used within 30 days.
If the cart will be unused for longer than 30 days, fully charge the battery, disconnect the charger
AC power cord, and turn the battery off.
The power button MUST be turned on to charge or discharge the battery.
POWER BUTTON
CAN CONNECTORS
POWER
BUTTON
CAN CONNECTORS

4
User Manual - 2nd Gen Batteries
POWER SAVE MODE
If your battery was built after 08/01/2022 (or has updated firmware) it will be programmed to enter
Power Save Mode after extended periods of inactivity. Power Save Mode will ensure that your battery
will not be fully depleted in the event that your cart sits for an extended time. The time that must elapse
before Power Save Mode will be activated, is dependent on SOC (see below). When Power Save is active,
the battery will be completely powered off (no charge or discharge) and the meter will turn off.
SOC = 21% - 100%
The battery power and gauge will power off after 7 days of inactivity.
SOC = <20%
The battery power and gauge will power off after 24 hours of inactivity.
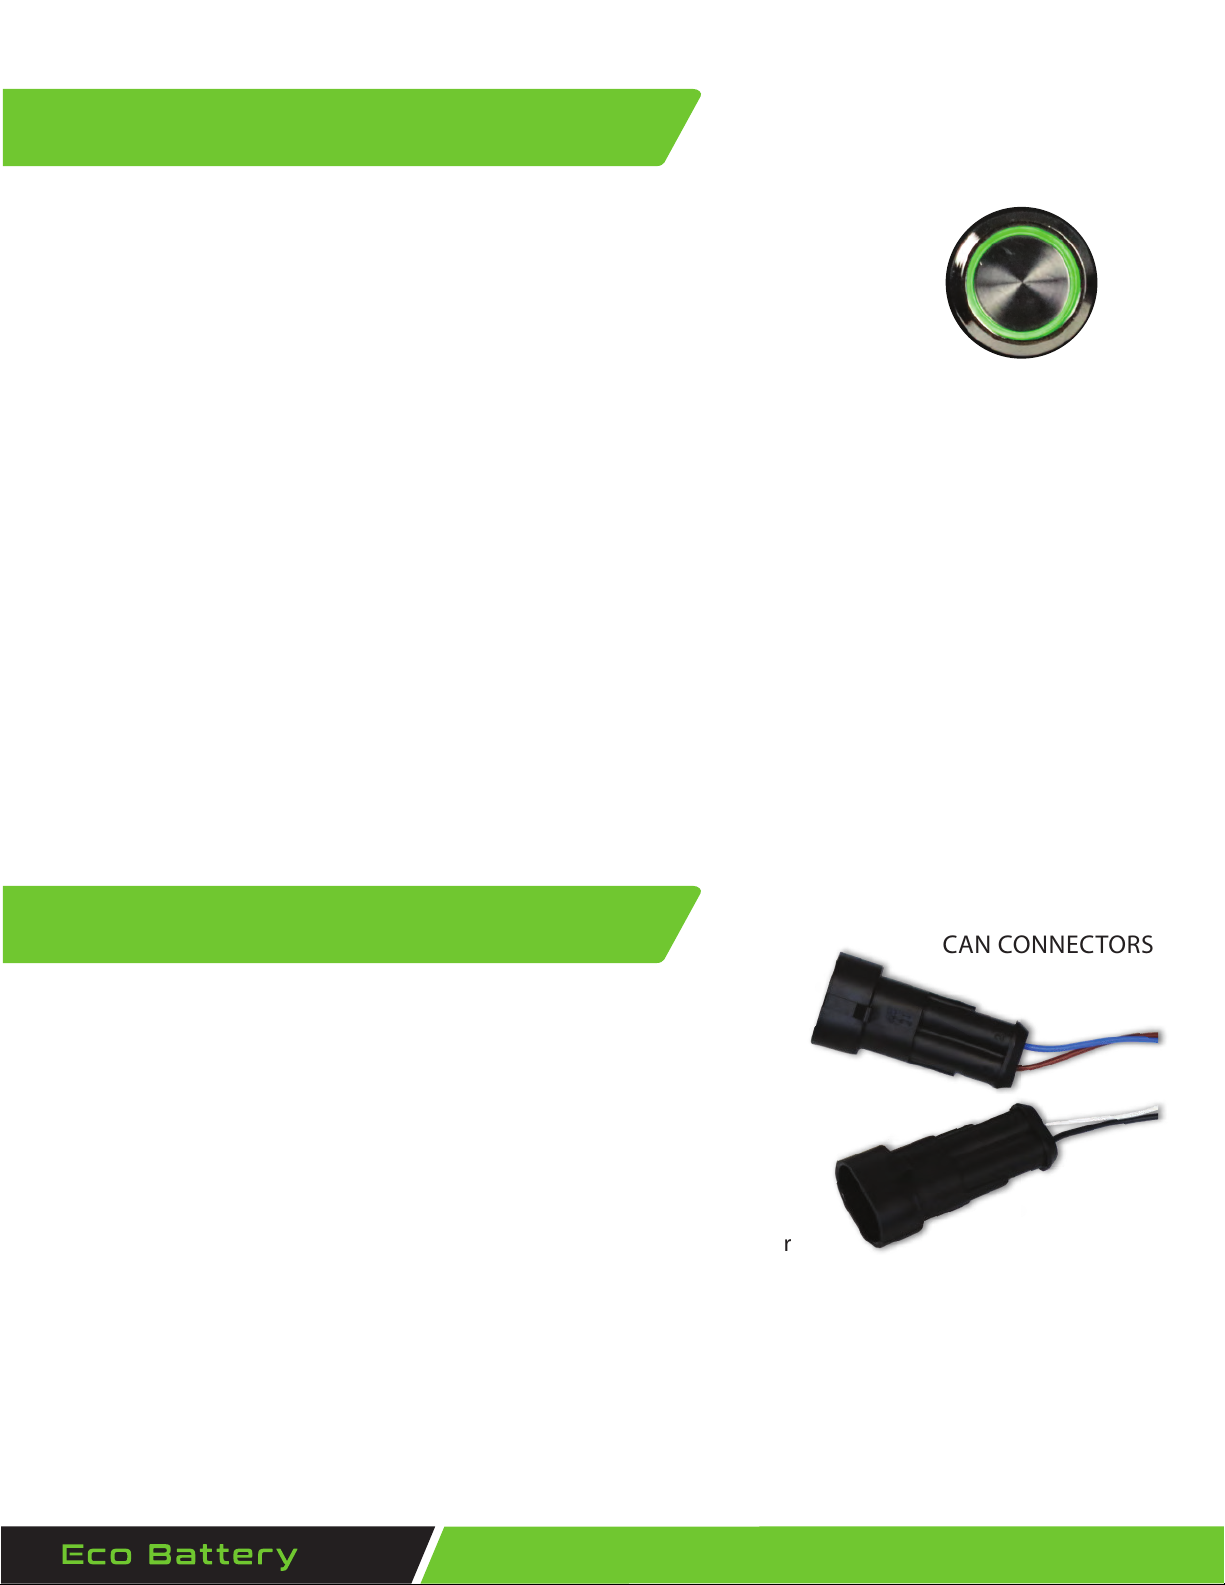
When in Power Save Mode, the green LED on the power button will not be illuminated, even if the
power button is in the on position. To wake the battery from Power Save Mode, turn the battery’s
power button off, then back on.
If your battery has gone to sleep on its own, we suggest fully charging it before using it again.
It is always good practice to turn the key off to your golf cart when not in use.
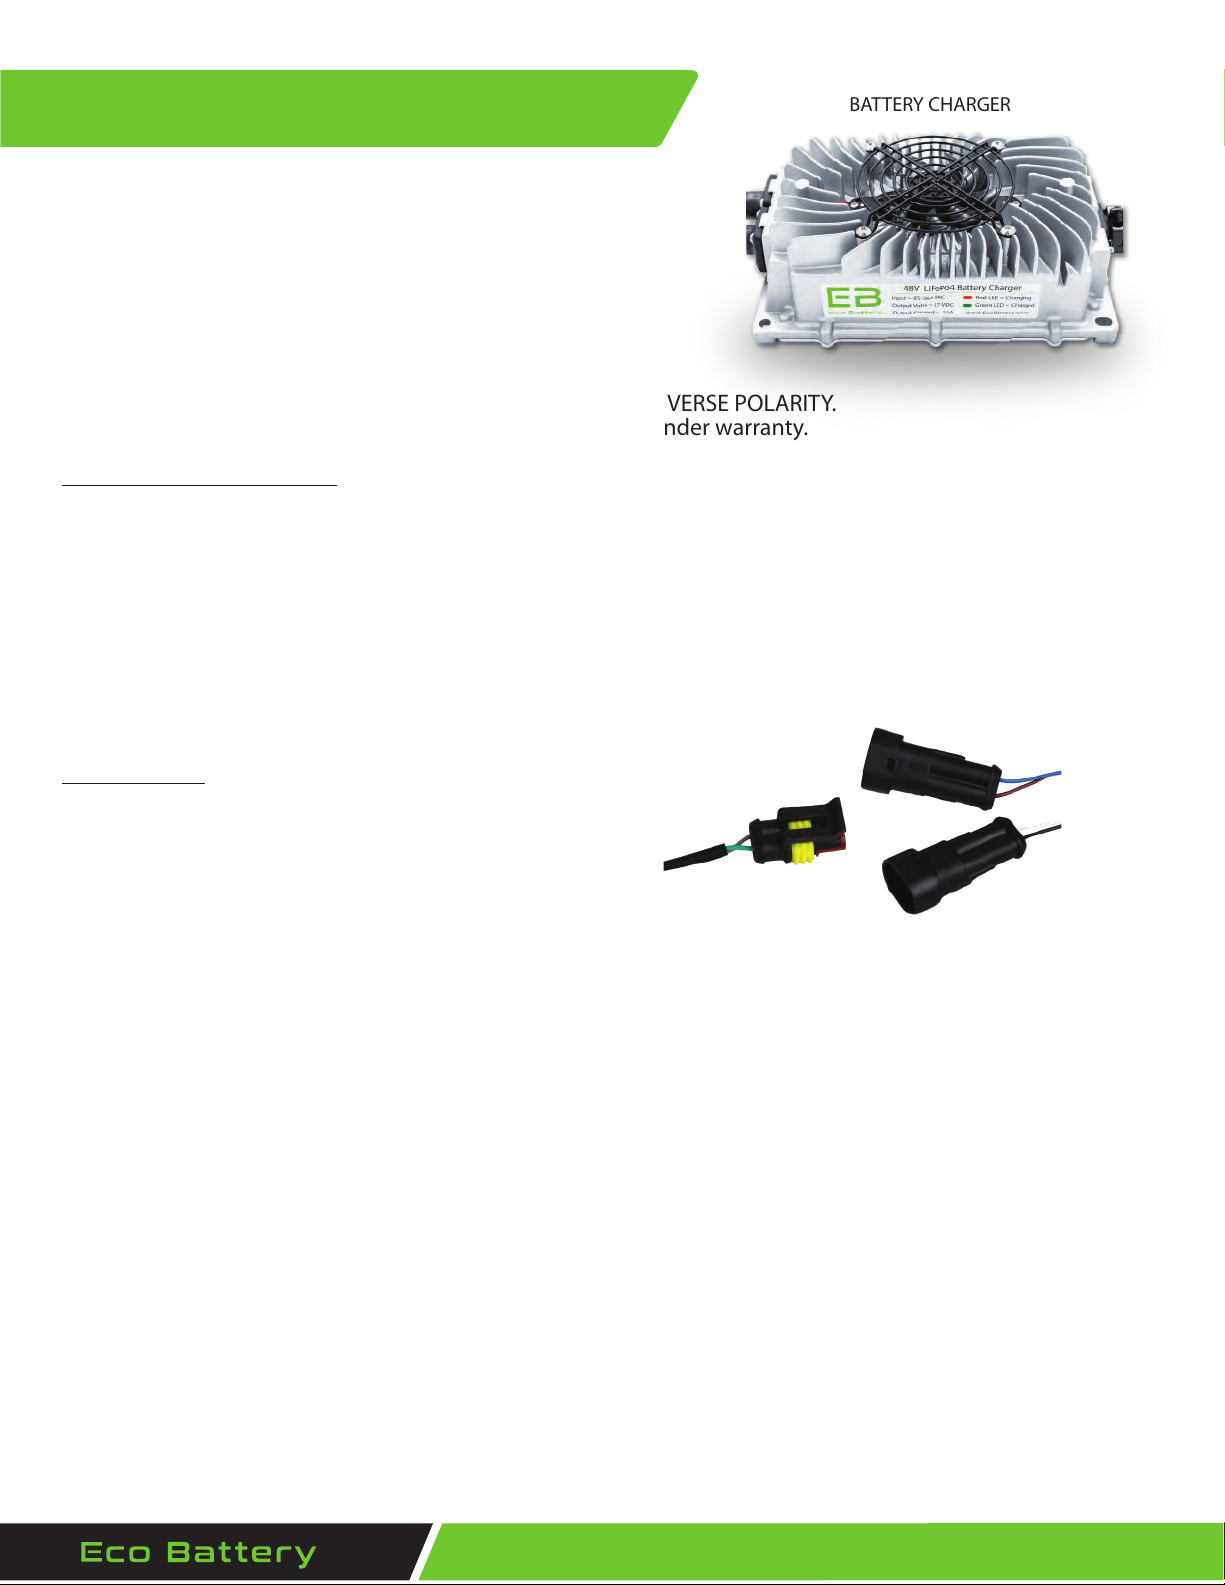
For long term storage, fully charge the battery, unplug the AC power source to the charger,
and turn off the power button.
After long term storage, it is advised to fully charge the battery before use, regardless of SOC displayed.
During long term storage, the calibrated SOC may drift, and must be fully charged to re-calibrate.
The battery must be charged at least once every 6 months. Failure to charge for 6 months may
permanently damage the lithium cells, and is not covered under warranty.
If your golf cart will be stored below -20°F, remove the battery from the cart and store in ambient
temperature above -20°F. Also, keep in mind, while the battery will still function between -20°f and 32°f, the
battery will not take a charge below 32°f. (See Cold Weather pg 6)
DO NOT USE THIRD PARTY BATTERY TENDERS.
STORAGE
This manual suits for next models
5
Table of contents
Popular Camera Accessories manuals by other brands

Trojan
Trojan GC2 48V quick start guide

Calumet
Calumet 7100 Series CK7114 operating instructions

Ropox
Ropox 4Single Series User manual and installation instructions

Cambo
Cambo Wide DS Digital Series Main operating instructions

Samsung
Samsung SHG-120 Specification sheet

Ryobi
Ryobi BPL-1820 Owner's operating manual