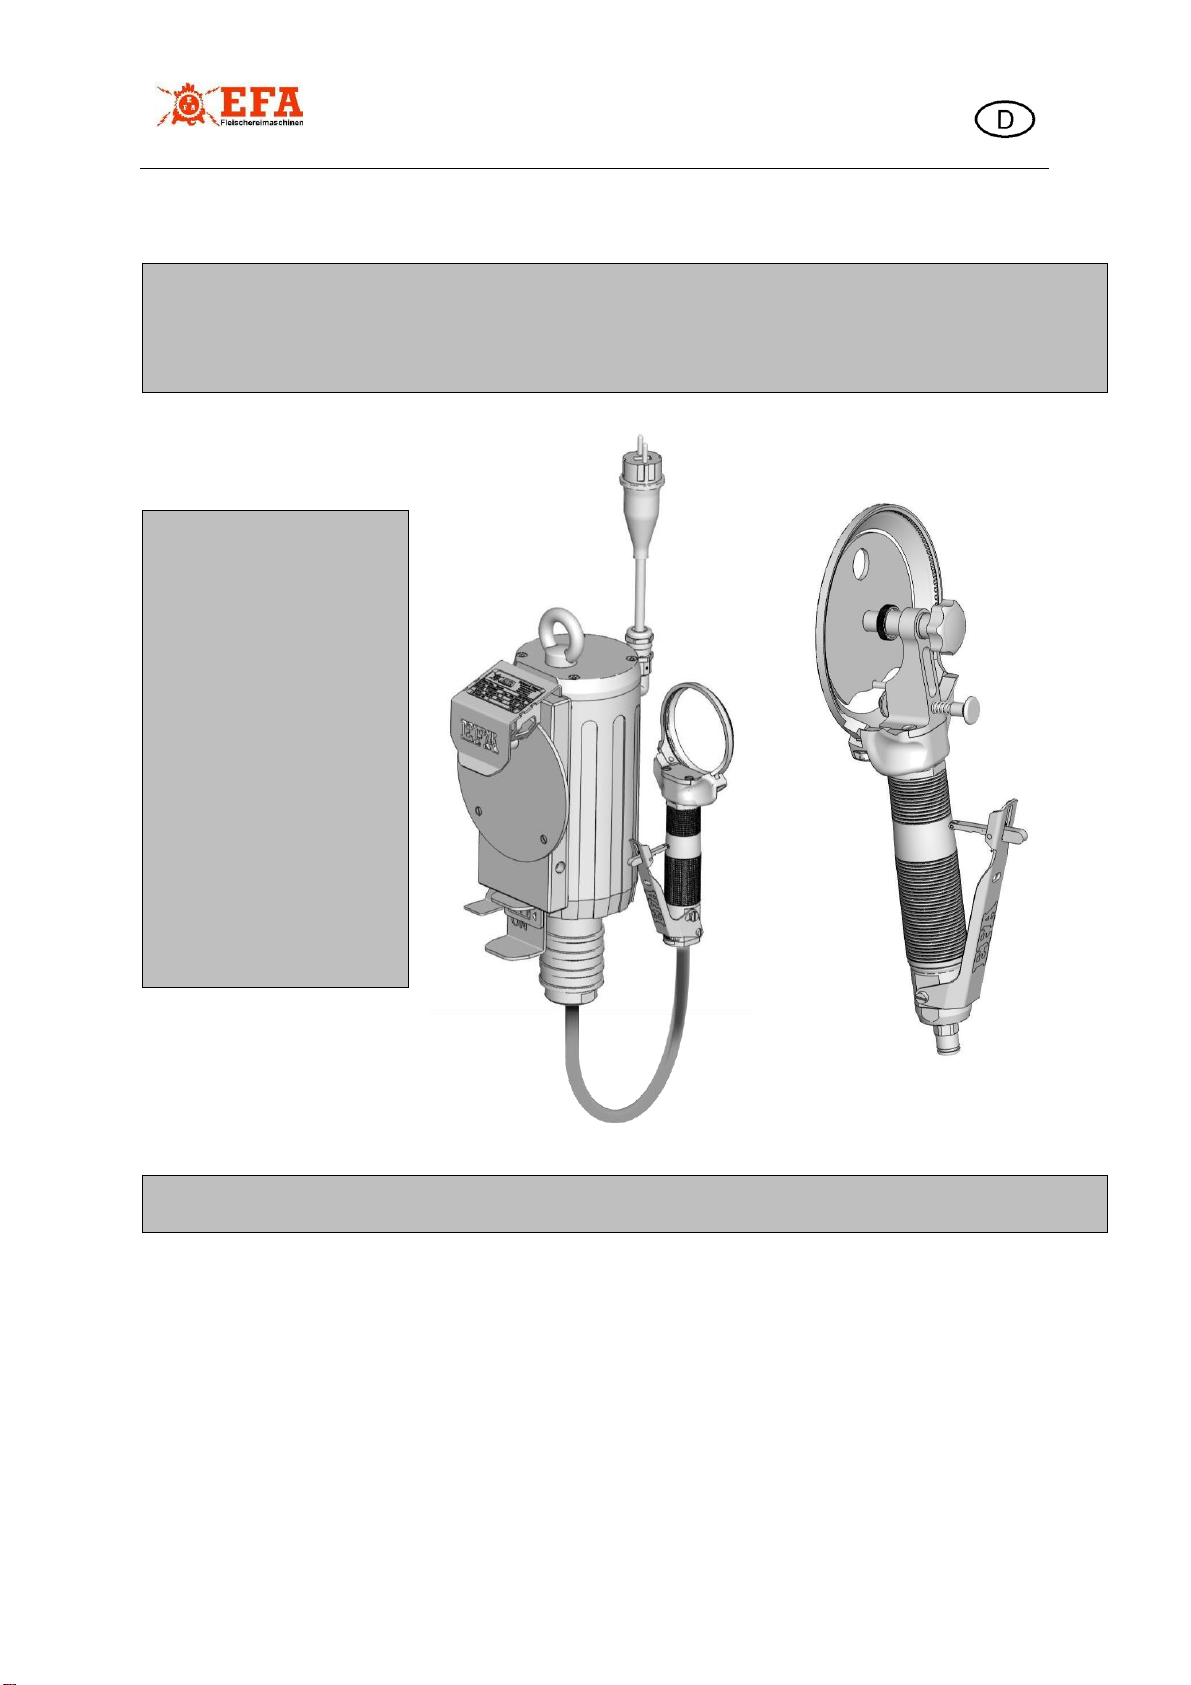
Translation of original operating
manual
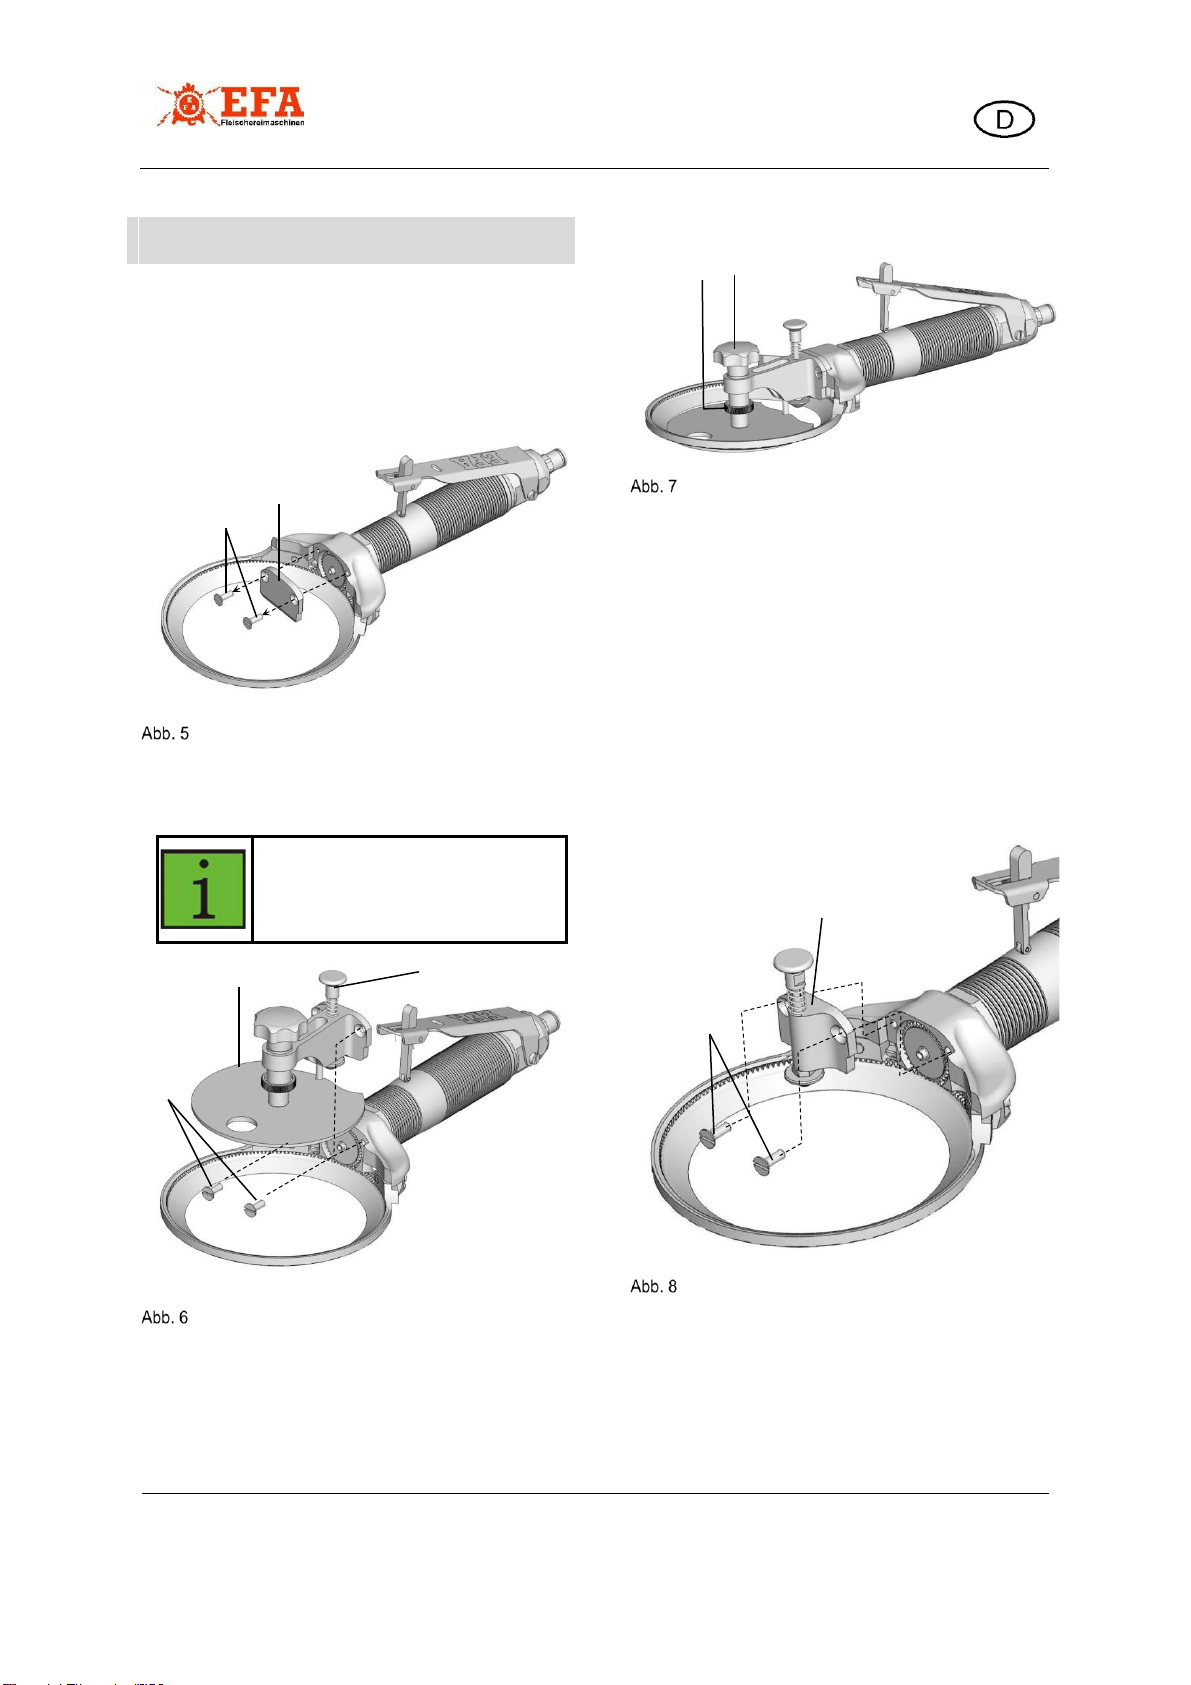
EFA Trimmer
4. Pull slightly in order to check whether the
shaft is properly locked and protected
against accidental disconnection
The trimmer is now ready for use.
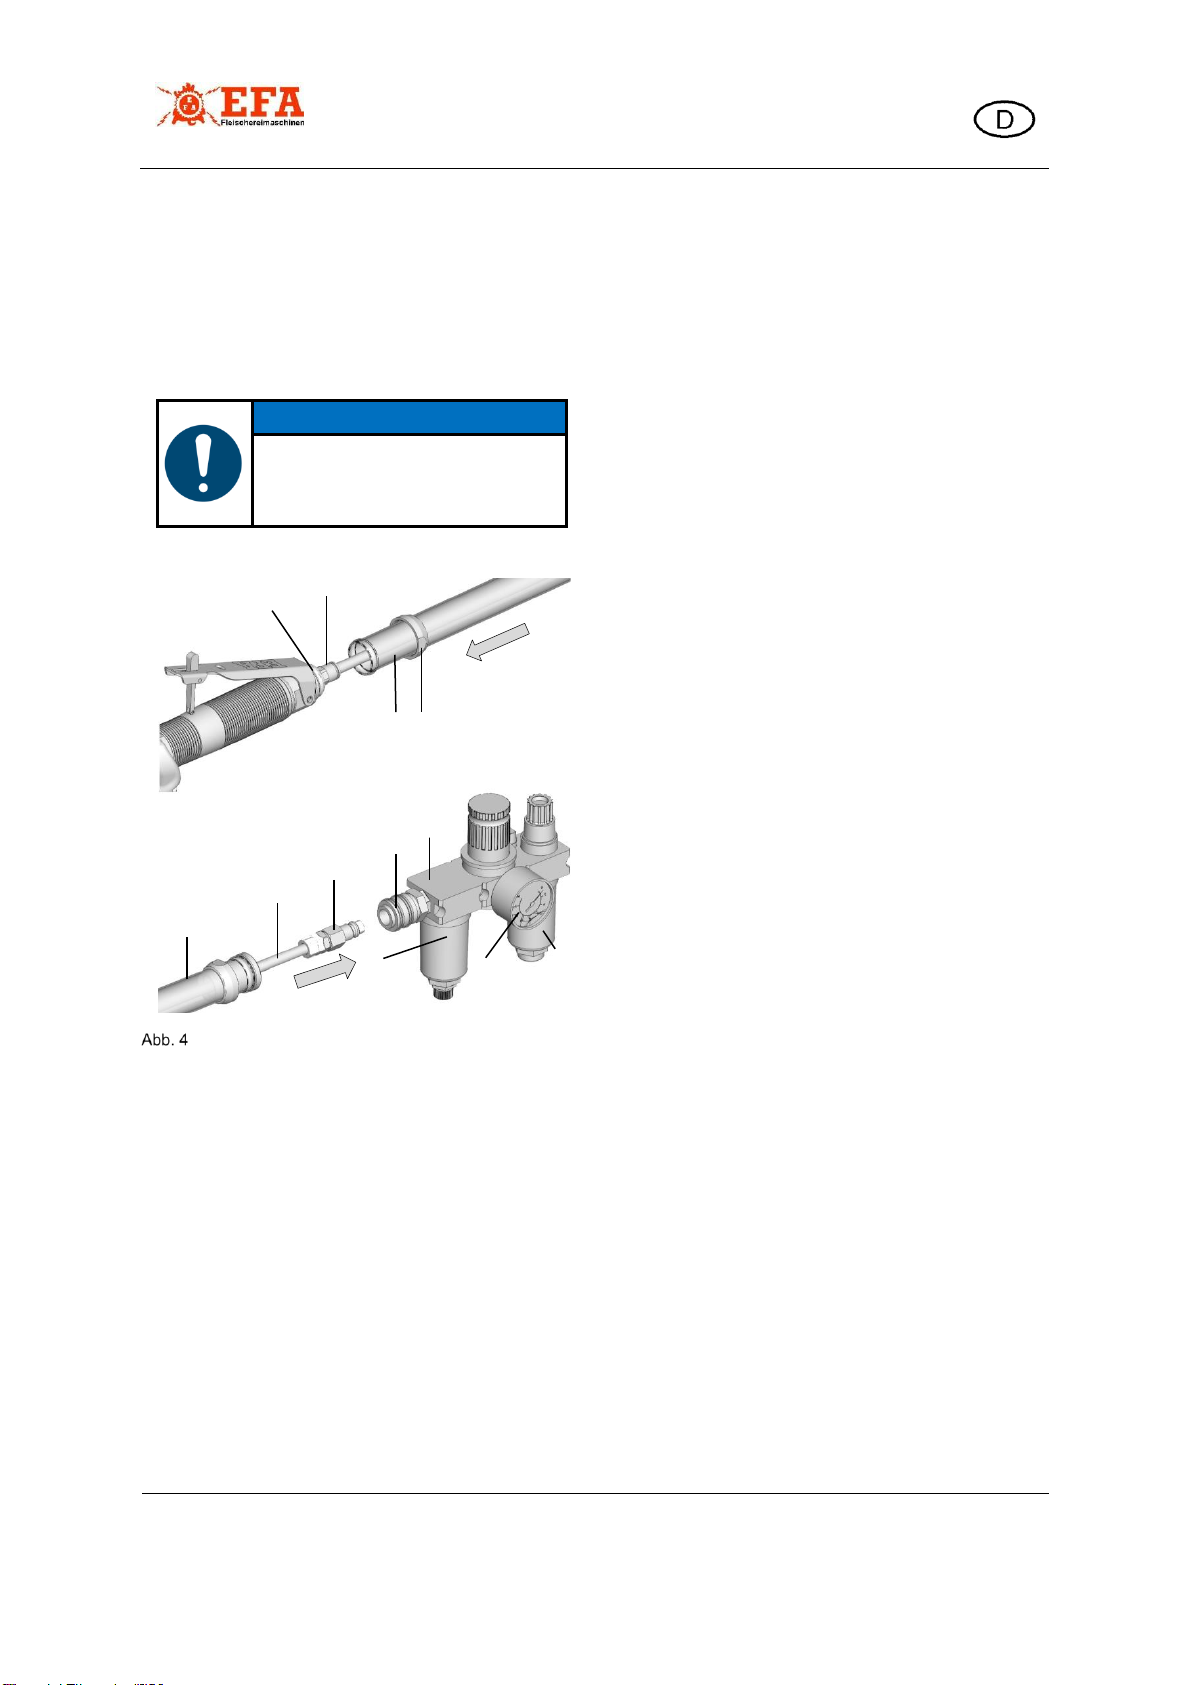
4.2.4 Connecting the pneumatic trimmer
(EFA Trimmer 90D and EFA Trimmer 130D)
Device damage!
Operate the trimmer only with clean,
anhydrous, and oiled air!
Pneumatic hose connection
1. Insert the pneumatic hose (1) into the
screw connection (2) on the valve housing
(3) of the trimmer up to the stop.
2. Pass the exhaust hose (4) through union
nut (5) and slide it onto the valve housing
of the trimmer.
3. Screw the union nut to the valve housing
of the trimmer.
4. Screw one-hand coupling (6) (with sealing
ring) into maintenance unit (7) (with filter
pressure reducer). Make sure to assemble
the maintenance unit in the following order:
Water separator (8), pressure gauge (9),
oil mist blower (10).
5. Insert plug nipple (11) into coupling
To ensure lubrication of the pneumatics motor,
the maintenance unit must be set to 1-2 drops
of oil per minute (or one drop of oil for
approximately 15 cuts).
A faulty compressed air connection and a high
proportion of water in the compressed air may
cause water to escape at the connection point.
Therefore, ensure that the hose connection is
correct and that the water content in the
compressedair is low(drain thewater separator
regularly).
If no dried air is available, the customer must
install a water absorber.
4.2.5 Filter pressure reducer
The air from compressed-air systems is usually
contaminated and has accumulated moisture.
Therefore, a filter pressure reducer with water
separator must be installed between the
compressed air system and the tool. This not
only controls the operating pressure but cleans
and drains the compressed air. In addition, this
improves on the usefulness and increases the
service life of the pneumatic trimmer
significantly.
The filter pressure reducer should be installed
as close as possible to the pneumatic trimmer.
Set the operating pressure on the filter
pressure reducer to max. 6 bar.
You can purchase a suitable filter pressure
reducer on request from our sales department
at Schmid & Wezel.