EFOY 600 User manual
User Manual
Interface Adapter IA1 / Computer Interface
EFOY 600 / EFOY 900 / EFOY 1200 / EFOY 1600

2

1. Introduction
3
1. Introduction
1.1
Introduction
Thank you for choosing an EFOY product.
Please read this manual as well as the EFOY Fuel Cell
user manual before using the interface adapter.
Please note the instructions for installation and the
warnings in both manuals.
Contact the EFOY hotline should you have any questions
about installation or operation.
SFC Smart Fuel Cell AG
Eugen-Sänger-Ring 4
D-85649 Brunnthal-Nord
Hotline: +49 89 673 5920
Toll-free: 00800 732 762 78*
www.efoy.com
*Toll-free in the following countries: Germany, Austria,
Belgium, Denmark, France, Great Britain, Italy, the
Netherlands, Norway, Spain, Sweden and Switzerland.

1. Introduction
4
1.2 Safety Precautions
Read the user manual beforehand and keep the manual
handy at all times. Follow all instructions in the
manual.
Connect the EFOY fuel cell to a computer using an
interface adapter only. Otherwise, damage to the EFOY
fuel cell may result.
Damage may also result from improper use or
improper connection to other electrical devices.
In addition to these safety precautions, please note any
passages in bold type to avoid creating a hazard to
yourself and others.
1.3
Intended Use
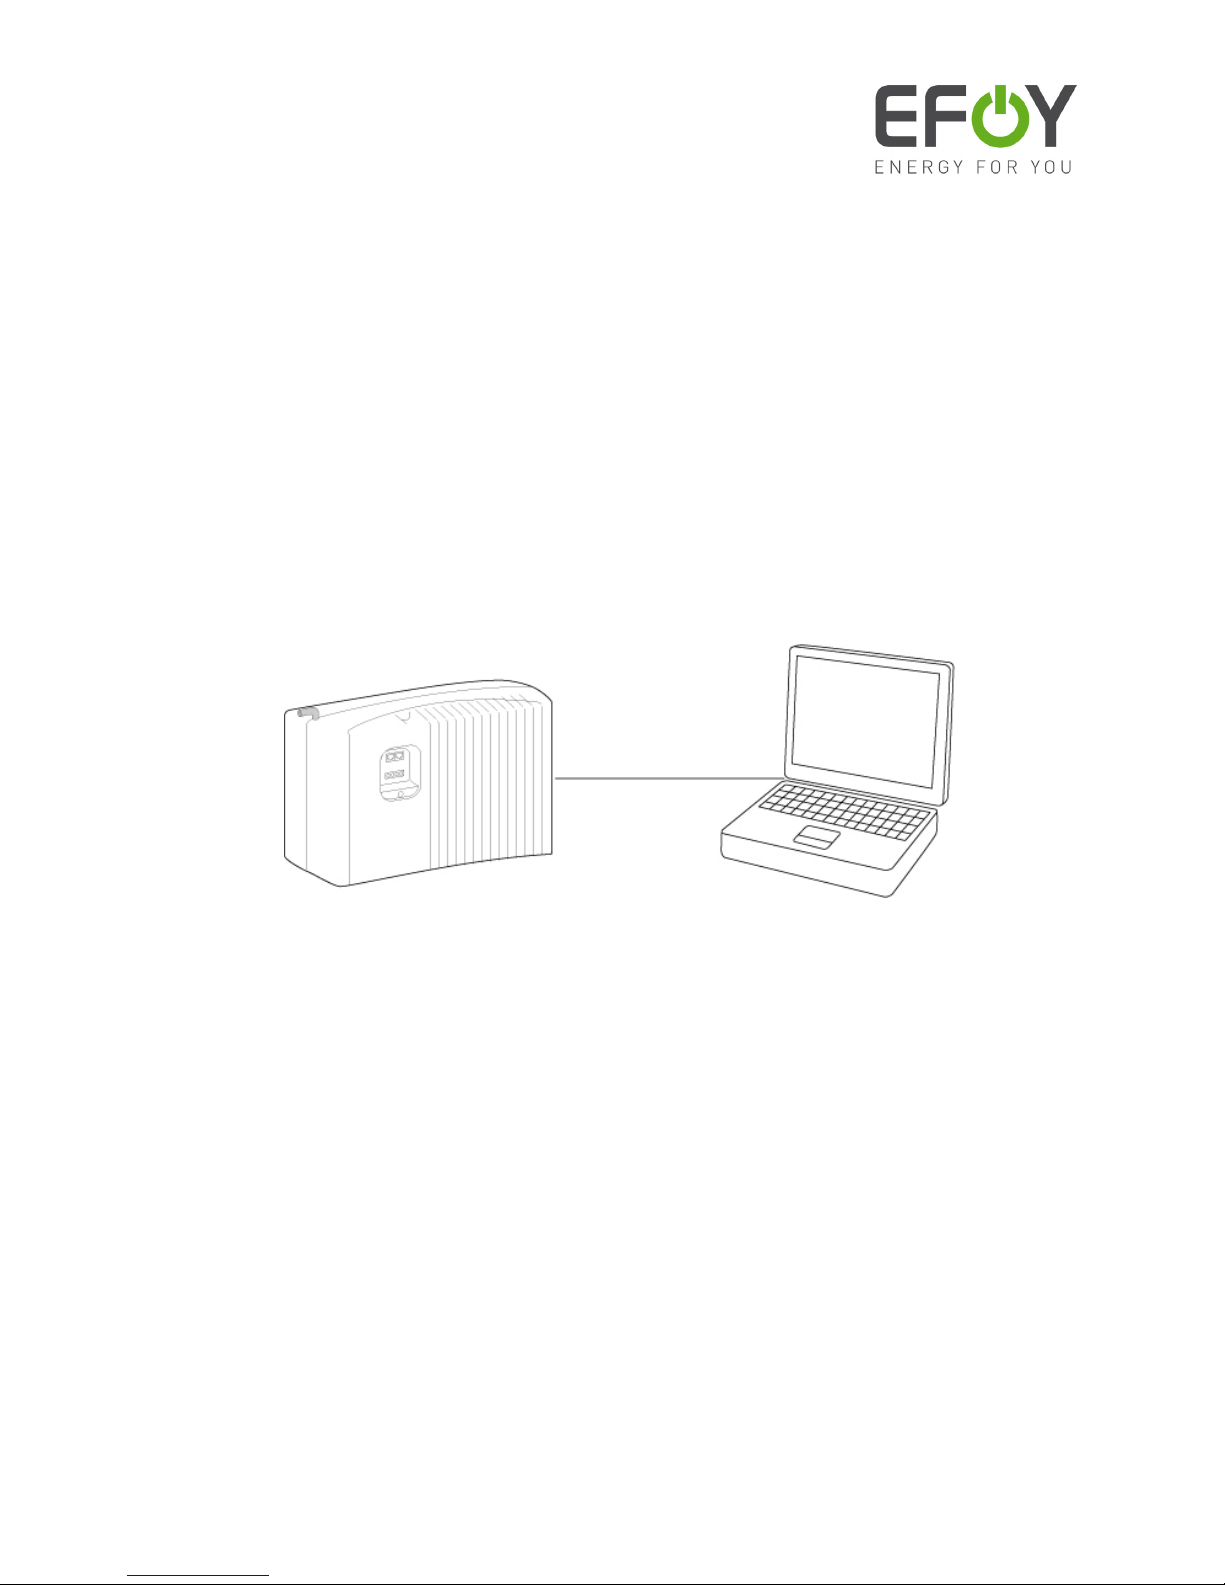
You can connect a computer to an EFOY fuel cell with an
IA1 interface adapter and a data line (Cat.5 patch cable)
for the following functions:
•to retrieve information
•to modify operating parameters
•to operate the EFOY unit via a computer
1.4 Conformity Declaration
SFC Smart Fuel Cell AG, Eugen-Sänger-Ring 4, 85649
Brunnthal-Nord declares that the IA1 interface adapter
conforms to EU guidelines for electromagnetic
compatibility (89/336/EWG). The following norms apply:
DIN EN 61000-6-1, DIN EN 61000-6-3

1. Introduction
5
1.5 Disposal
Packaging
Packaging protected your interface adapter during
shipping. All materials are environmentally friendly and
recyclable. Please help protect our environment by
disposing of packaging properly.
Your dealer or community authorities can inform you
about proper disposal.
Risk of suffocation!
Keep packaging and parts out of children’s reach.
Plastic wrap or cardboard can cause suffocation.
Used devices
Used devices are valuable! They contain raw materials
that can be recycled if disposed of properly. Proper
disposal contributes to a cleaner environment.
The EFOY hotline can provide information about
returning used devices.
Hotline: +49 89 673 5920 oder 00800 732 762 78*

2. Table of Contents
2
6
. Table of Contents
1. Introduction 3
1.1 Introduction 3
1.2 Safety Precautions 4
1.3 Intended Use 4
1.4 Conformity Declaration 4
1.5 Disposal 5
2. Table of Contents 6
3. Interface Adapter 7
3.1 Parts Included 7
3.2 Interface Adapter 7
3.3 Interface Adapter - Specifications 8
4. Configuring the Data Port 9
4.1 PC System Requirements 9
4.2 Connection to the Computer 9
4.3 Setting Up the Terminal Program 11
5. Data Port Commands 18
5.1 Commands 18
5.2 Commands for Selecting Operating Parameters 20
5.3 Commands for Modifying Preset Operating Parameters23
5.4 Commands for Operating the EFOY Unit 25
6. Additional Information 28
6.1 Explanation of the Operating Parameters 28
6.2 Permissible Ranges of Operating Parameters 30
6.3 Explanation of Measured Values 31
7. Troubleshooting 32
3. Interface Adpater
3
7
. Interface Adapter
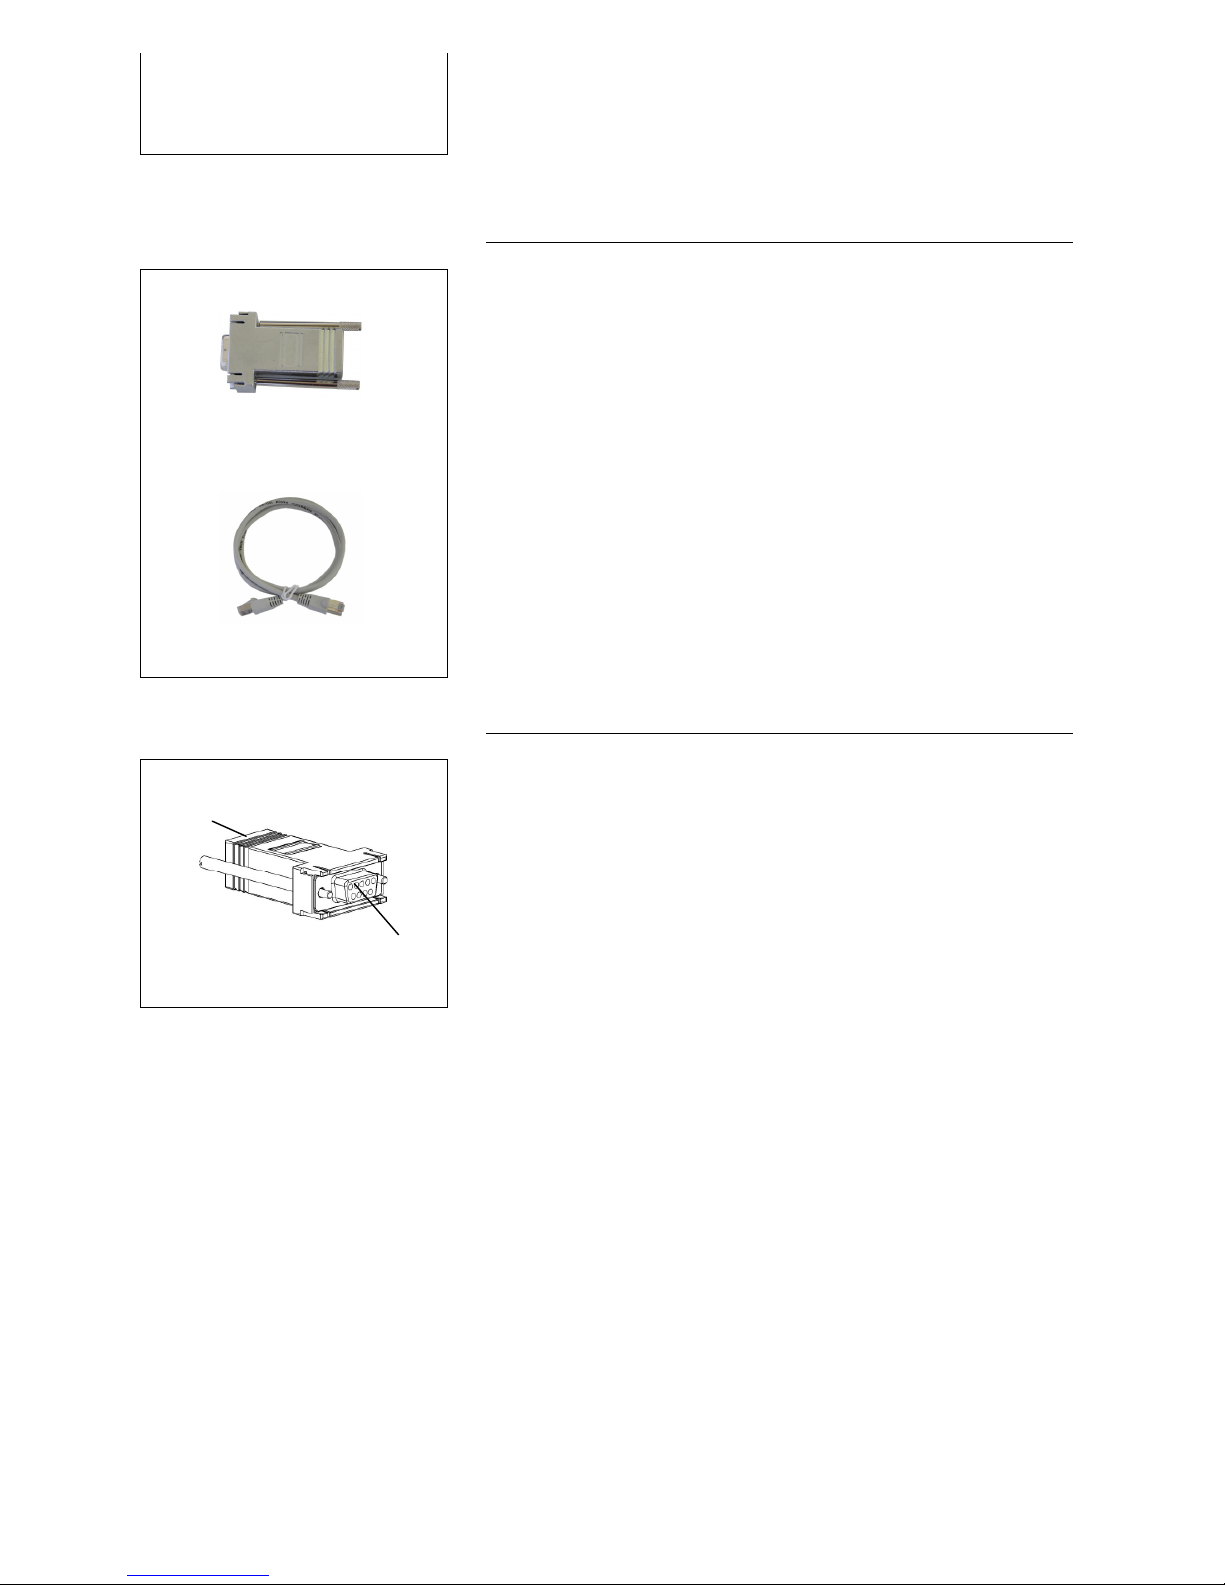
3.1
Parts Included
IA1 interface adapter
data line
Parts included:
•IA1 Interface adapter
•data line (Cat. 5)
•user manual
3.2
Interface Adapter
1 RJ45 port to connect either a data line or a Cat. 5
patch cable
2 9-prong D-Sub 9 (RS232) serial interface to connect
to PC
1
2
3. Interface Adpater
8
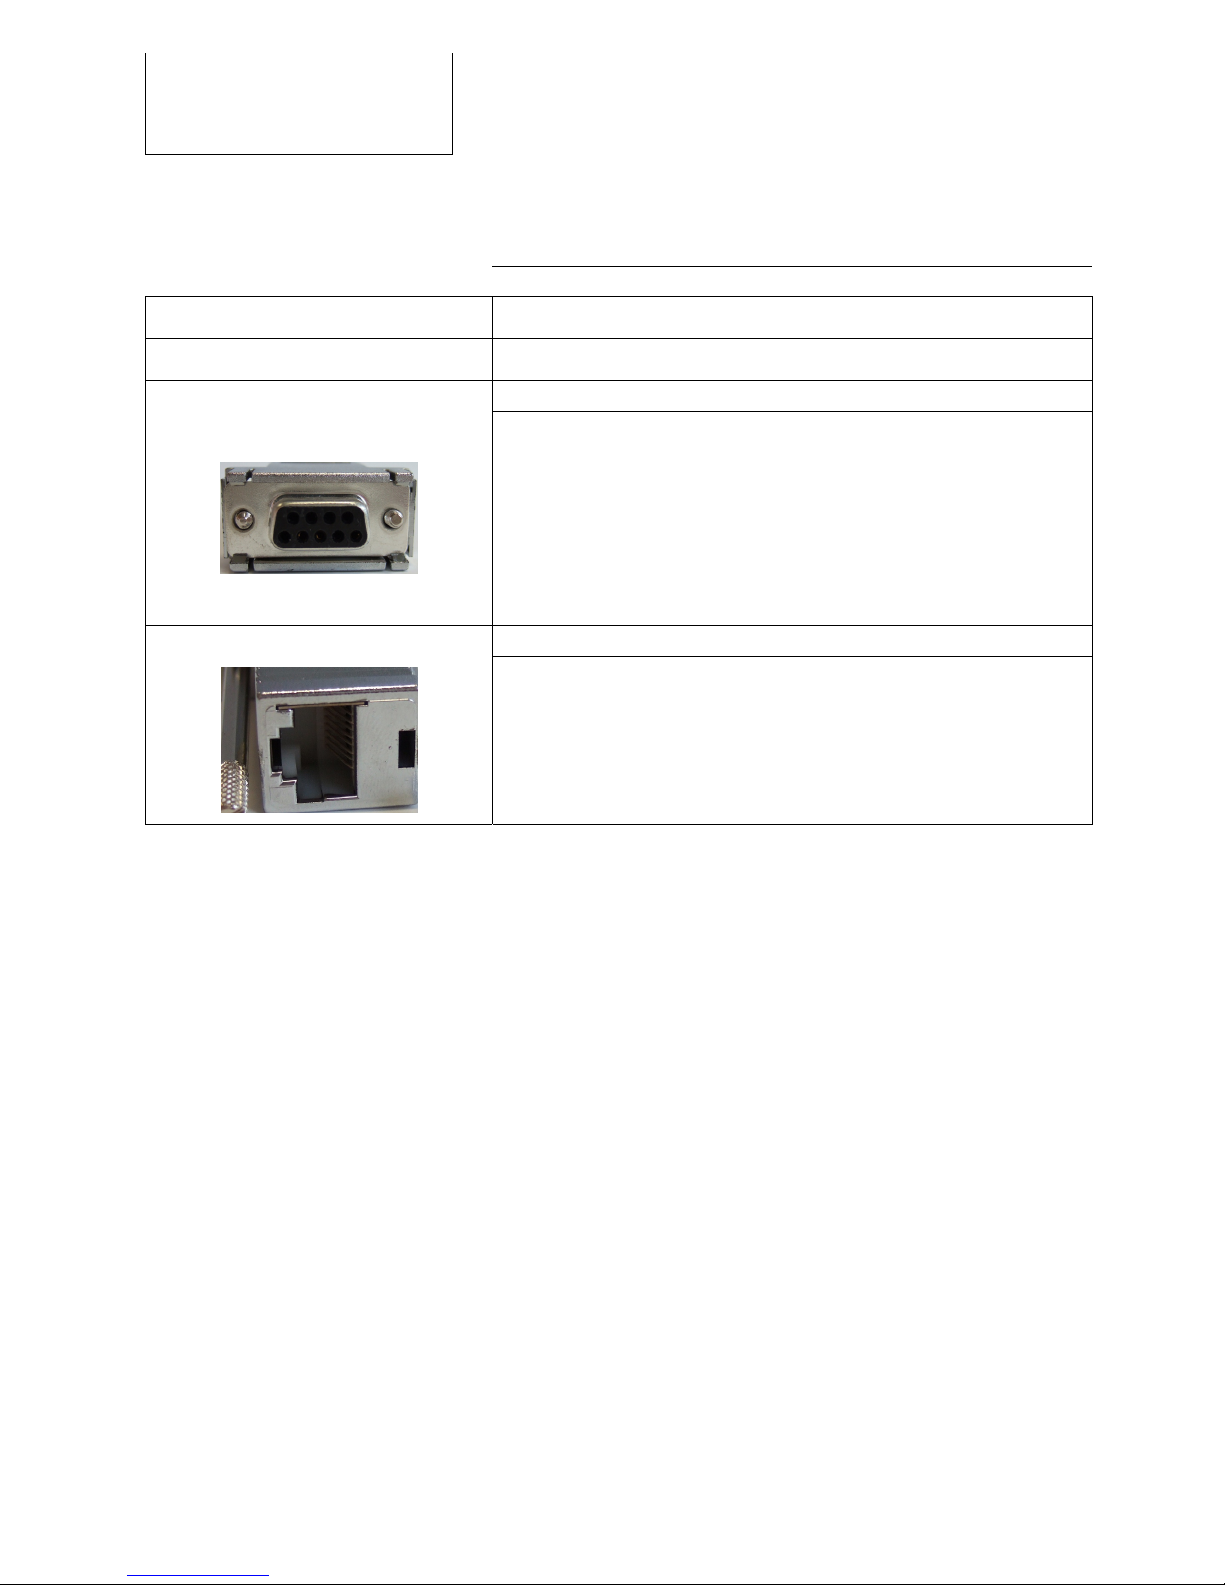
3.4
Interface Adapter - Specifications
Dimensions (L x W x H): 53 x 33 x 16 mm
Operating temperature: -35 to +45° C
D-Sub 9-pin, female
Serial port:
Pin assignment (PC):
2 receive data RxD
3 transmit data TxD
5 ground GND
RJ45 8-pin port
RJ45:
Pin assignment (EFOY):
2 receive data RxD
3 transmit data TxD
4 ground GND
4. Configuring the Data Port
4
9
. Configuring the Data Port
4.1 PC System Requirements
In order to connect an EFOY fuel cell to a computer with
an interface adapter, the computer must meet the
following requirements:
•Terminal program for transmitting and receiving
serial data to a port
•D-Sub 9 serial plug, male (RS232)
4.2 Connection to the Computer
Improper use or connection to other electrical devices
may result in damage.
Connect the EFOY fuel cell to a computer only with an
interface adapter. Otherwise, damage may result to
the EFOY fuel cell.
Follow the directions for installation and operation
contained in the EFOY fuel cell user manual.
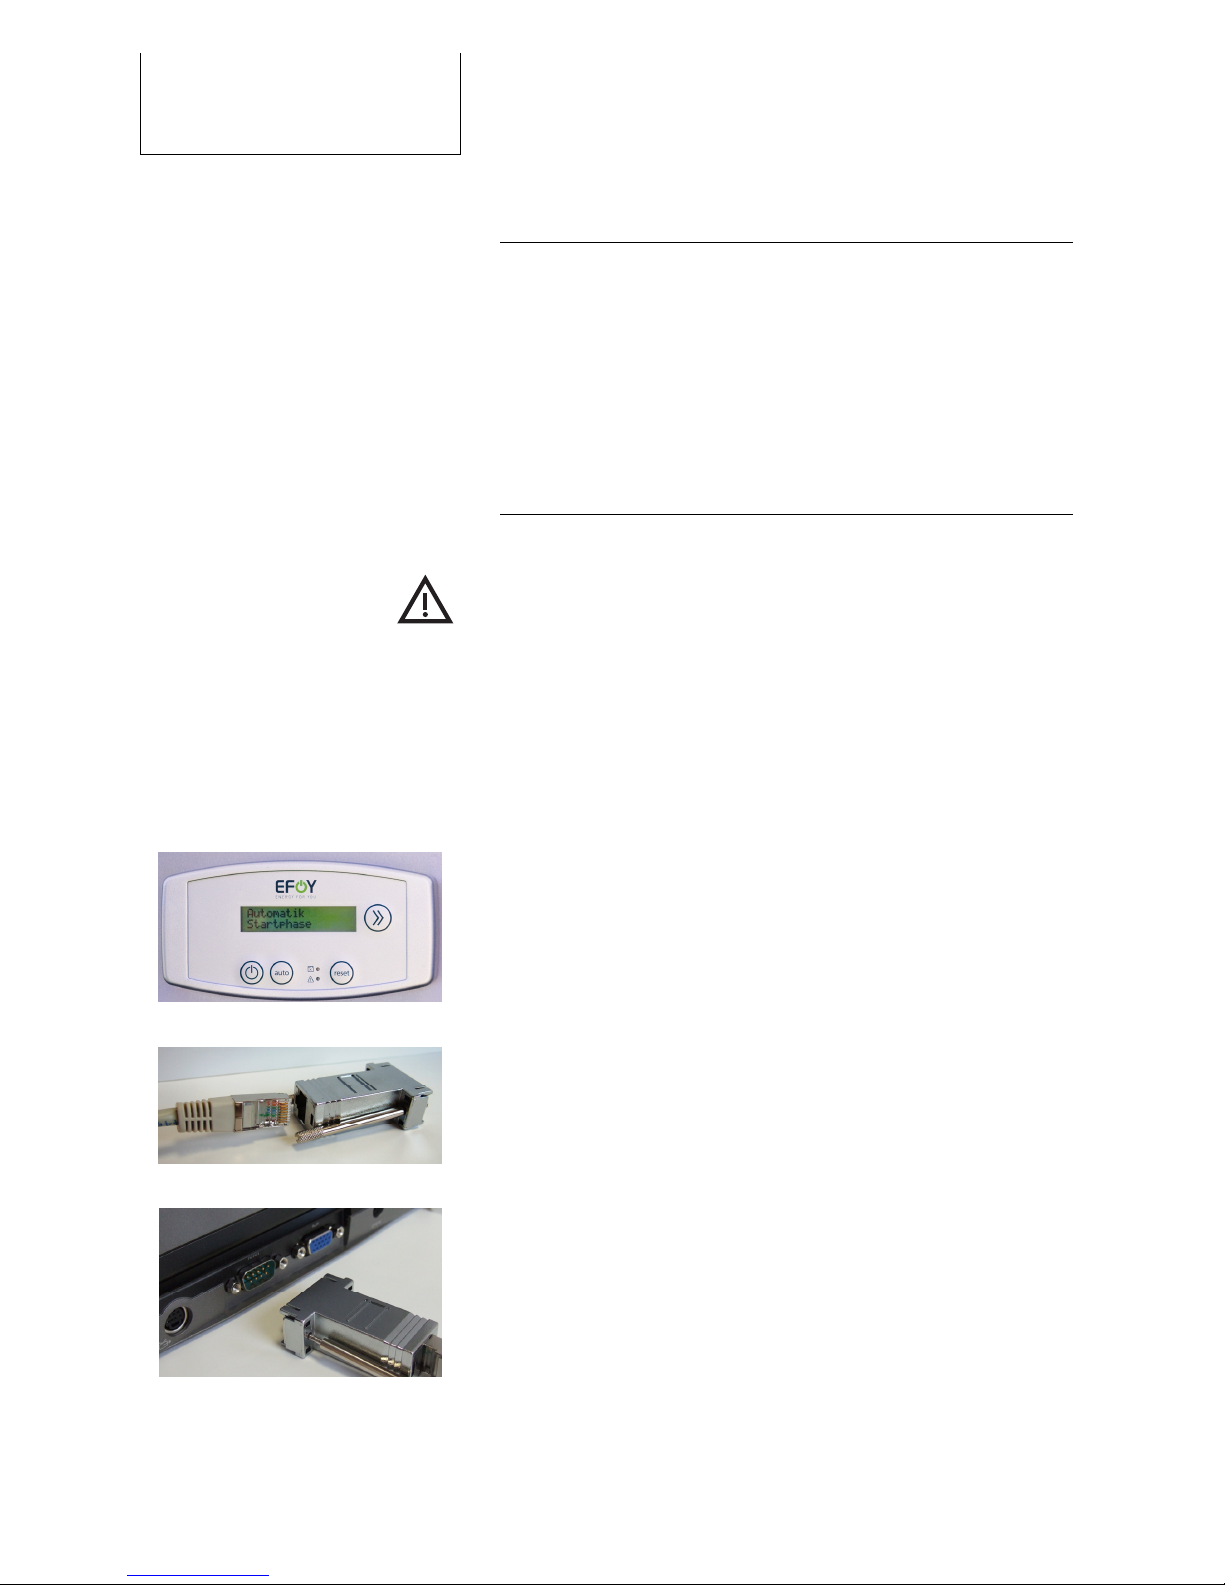
1. The EFOY fuel cell must be in either the On, Off or
Automatic mode and connected to a functional battery.
2. Connect the end of the data line to the interface
adapter.
3. Connect the adapter to your computer with an RS232
type free serial plug.
Use only a Cat. 5 data line. Do not use any other kind of
line such as ISDN.

4. Configuring the Data Port
10
If you have a serial port, please follow the instructions
contained in Point 4.
If you do not have an RS232 serial port, please use a
USB adapter on RS232.
USB adapters are usually installed on the computer.
Follow the manufacturer’s installation directions.
Then connect the interface adapter to the USB adapter.
Use a free USB port to connect the adapter to your
computer.
4. Connect the RJ45 plug on the data line to the data
interface of your EFOY fuel cell.
5. Check the connection between computer and EFOY
fuel cell by selecting the terminal program on your
computer.
If the prompt
SFC>
appears after you press the Enter key
then the connection to the EFOY fuel cell has been
established.
If you have not yet set up the terminal program, follow
the instructions in Chapter 4.3 Setting Up the Terminal
Program.
4. Configuring the Data Port
11
4.3 Setting Up the Terminal Program
No additional software is necessary to operate an EFOY
fuel cell with a computer. Terminal programs are an
application on many operating systems and often come
preinstalled.
The following illustrations will show you how to configure
a terminal program such as Windows HyperTerminal so
that you can operate your EFOY.
First, start the terminal program - in this illustration,
Windows HyperTerminal.
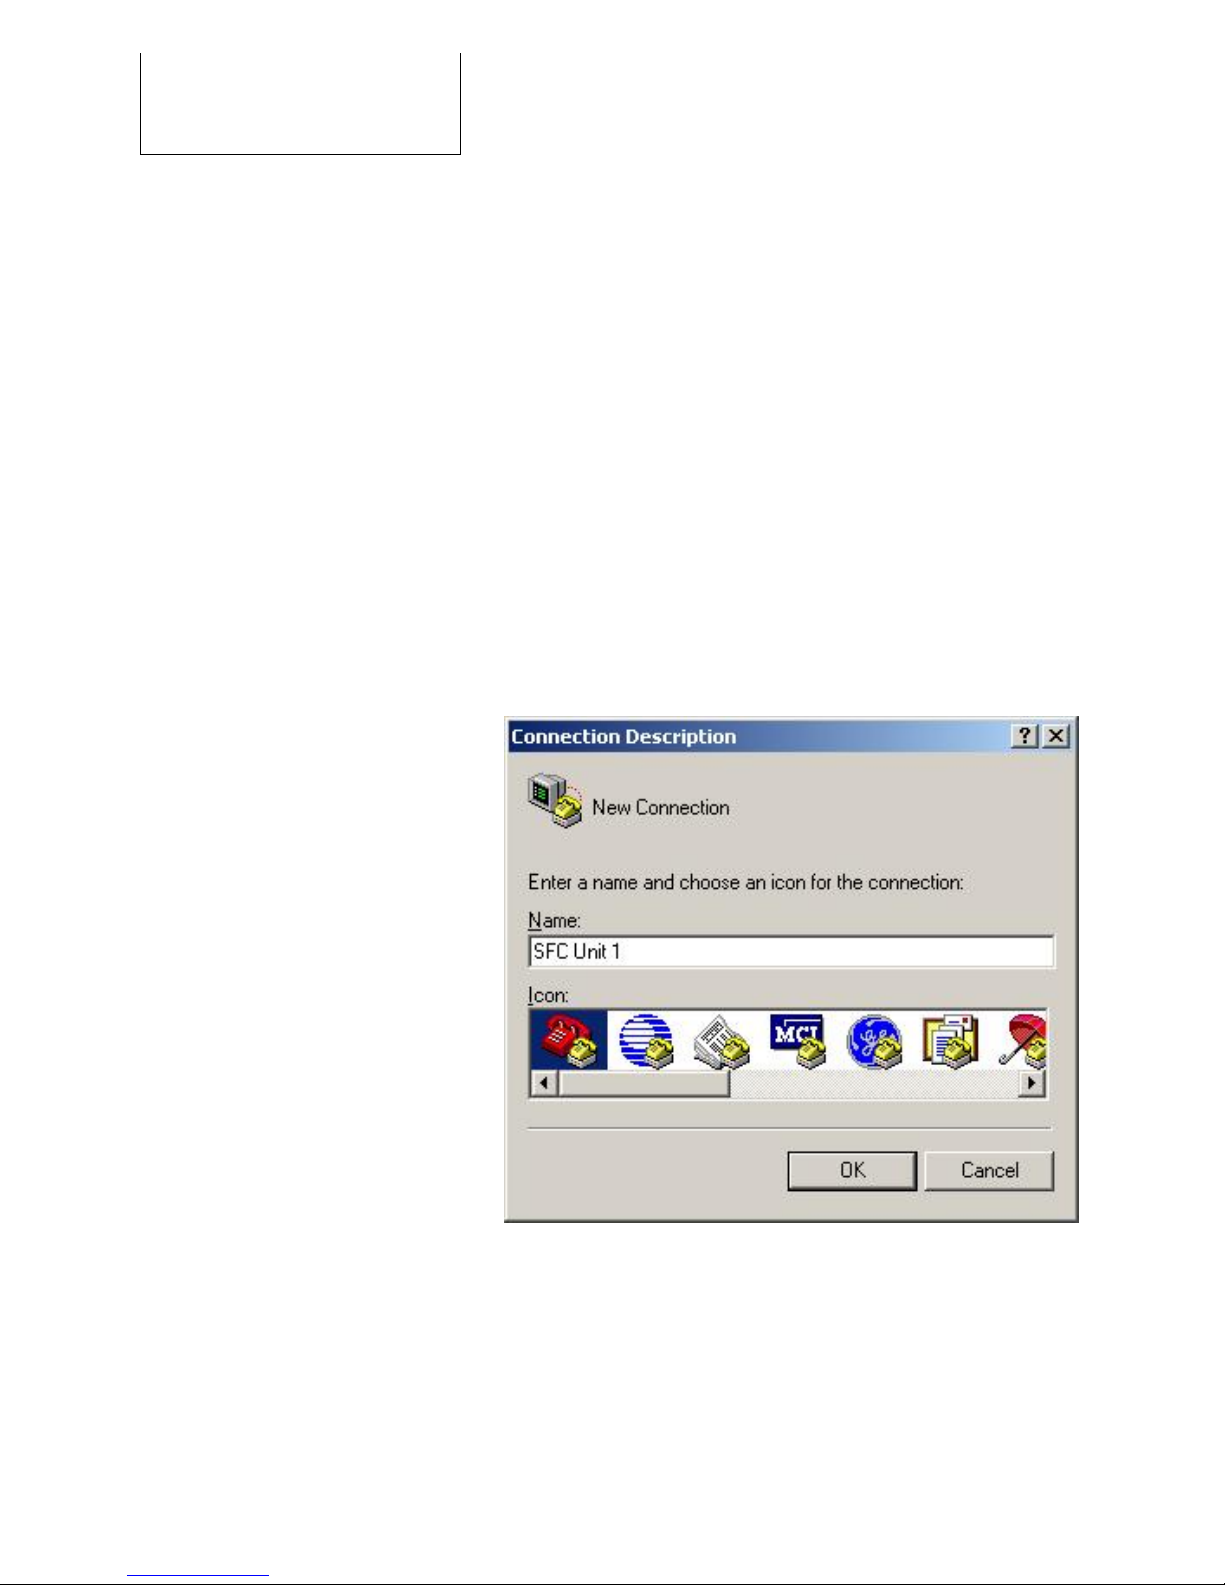
Once the program is opened, the following window will
appear:
Enter a name (like SFC unit 1) into the name field.
Confirm with OK.
4. Configuring the Data Port
12
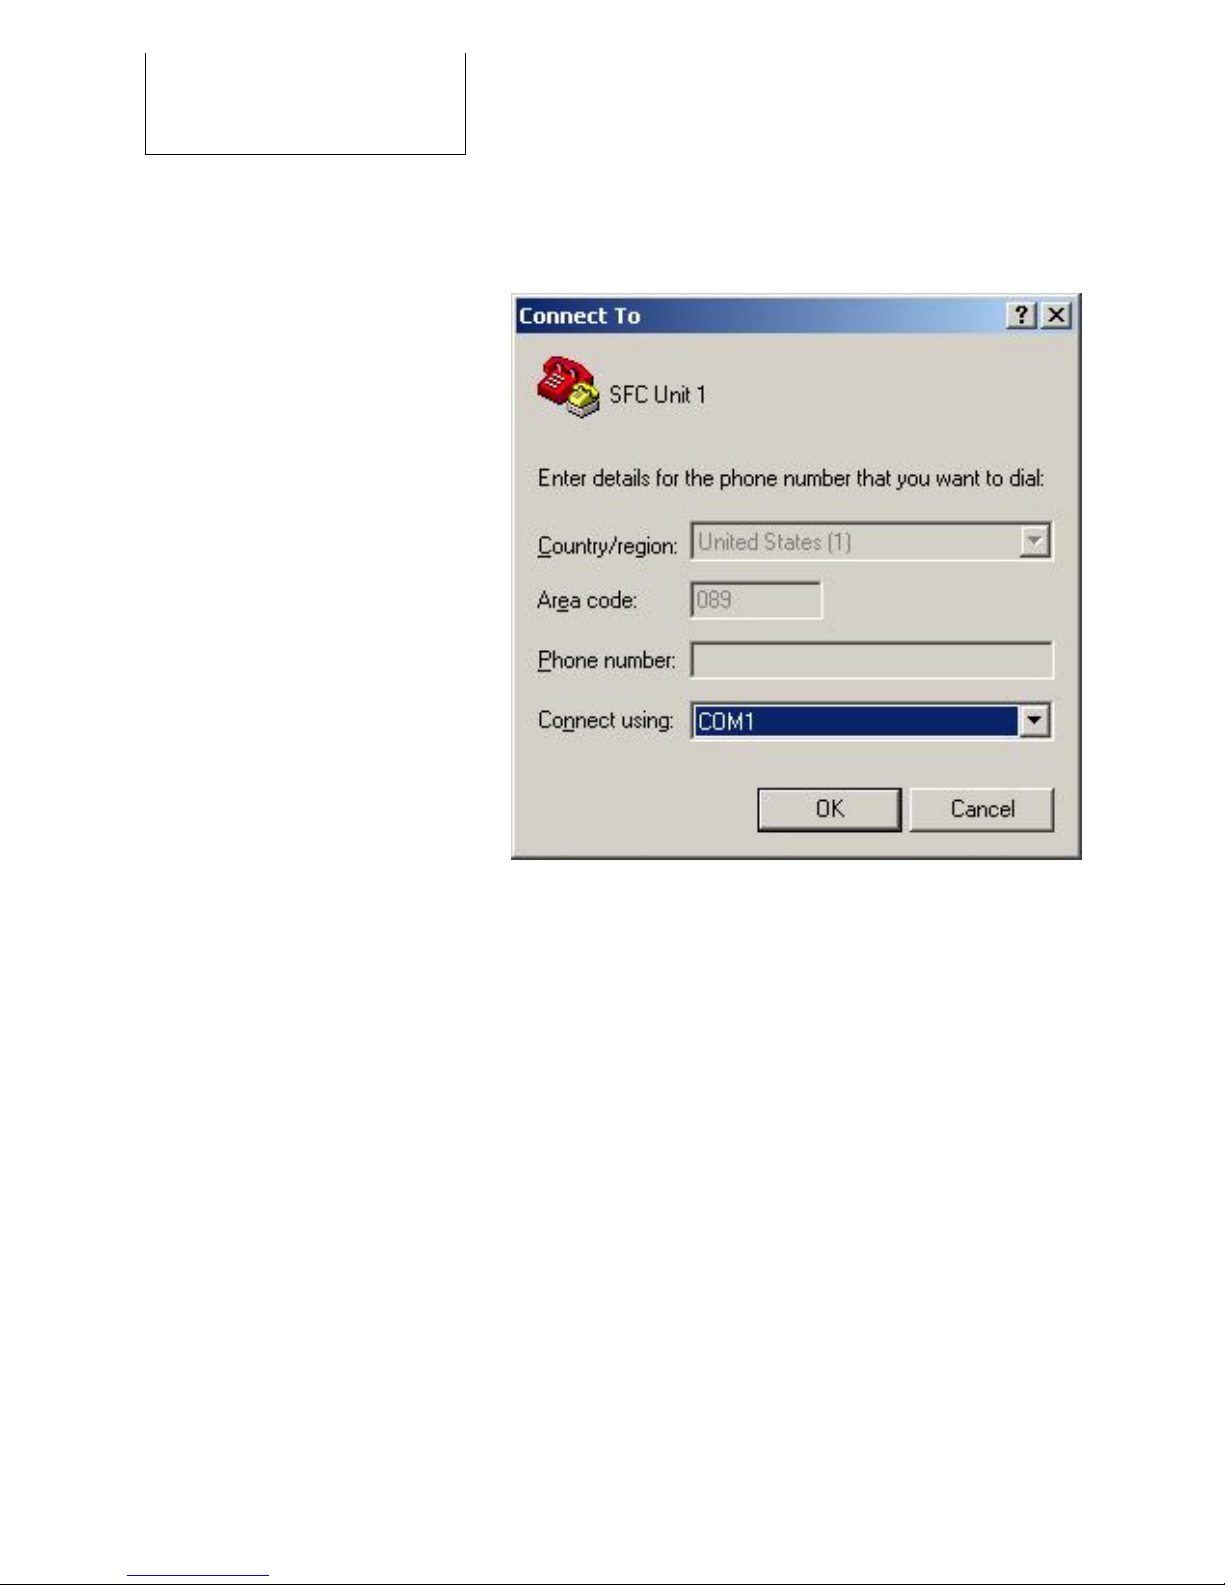
The window that allows you to select a port will open
automatically.
Select under “Connect using” the port to which you have
connected the interface adapter, such as COM1.
If you are not sure to which port the interface adapter is
connected, you can change the setting later.
You will find information on the available ports in your
computer’s Device Manager.
Confirm with “OK“. The window for configuring the port
will then appear.
4. Configuring the Data Port
13
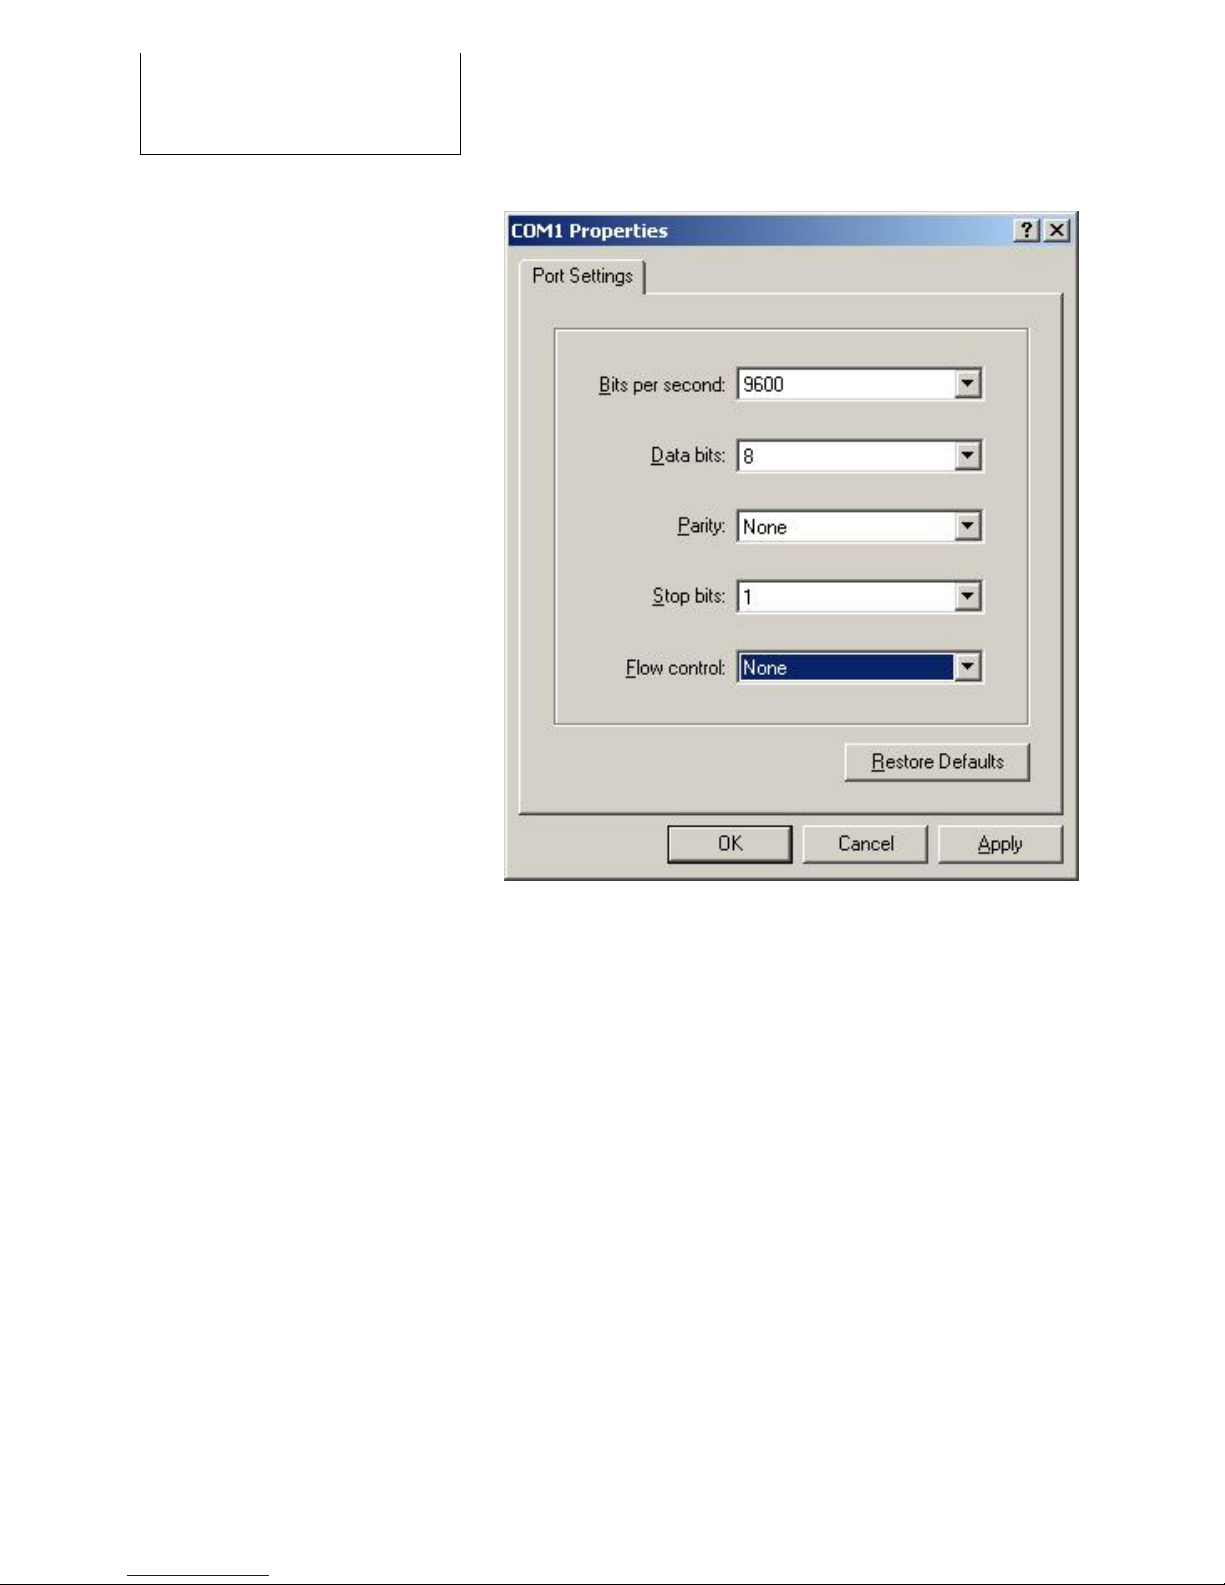
The following settings are necessary to establish the
connection to the EFOY unit:
Bits per second: 9600
Data bits: 8
Parity: none
Stop bits: 1
Flow control: none
Use the settings as given above and confirm with “OK“.
All settings must be entered correctly. Otherwise, a
faulty connection may result or the terminal program will
not be able to connect to the EFOY unit.
4. Configuring the Data Port
14
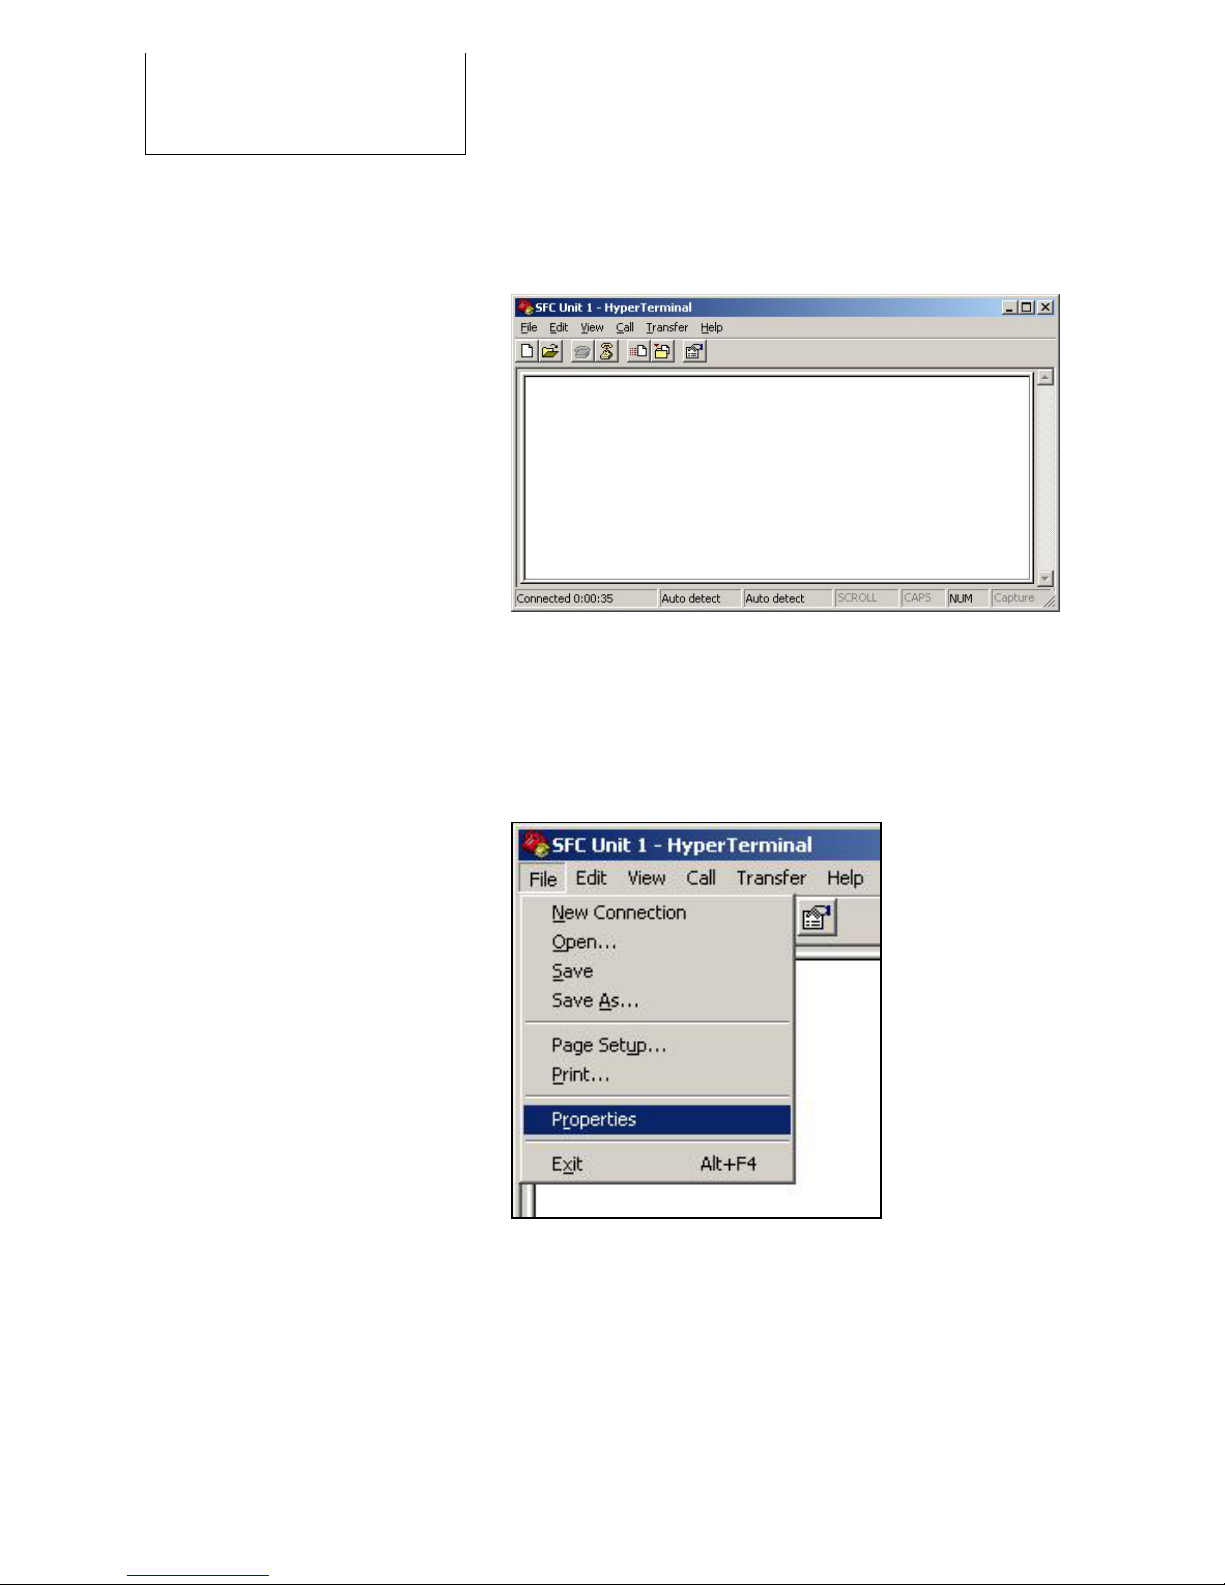
After confirming, you should now see a blank terminal
screen.
You will also need to perform the following settings for
the HyperTerminal’s line feed:
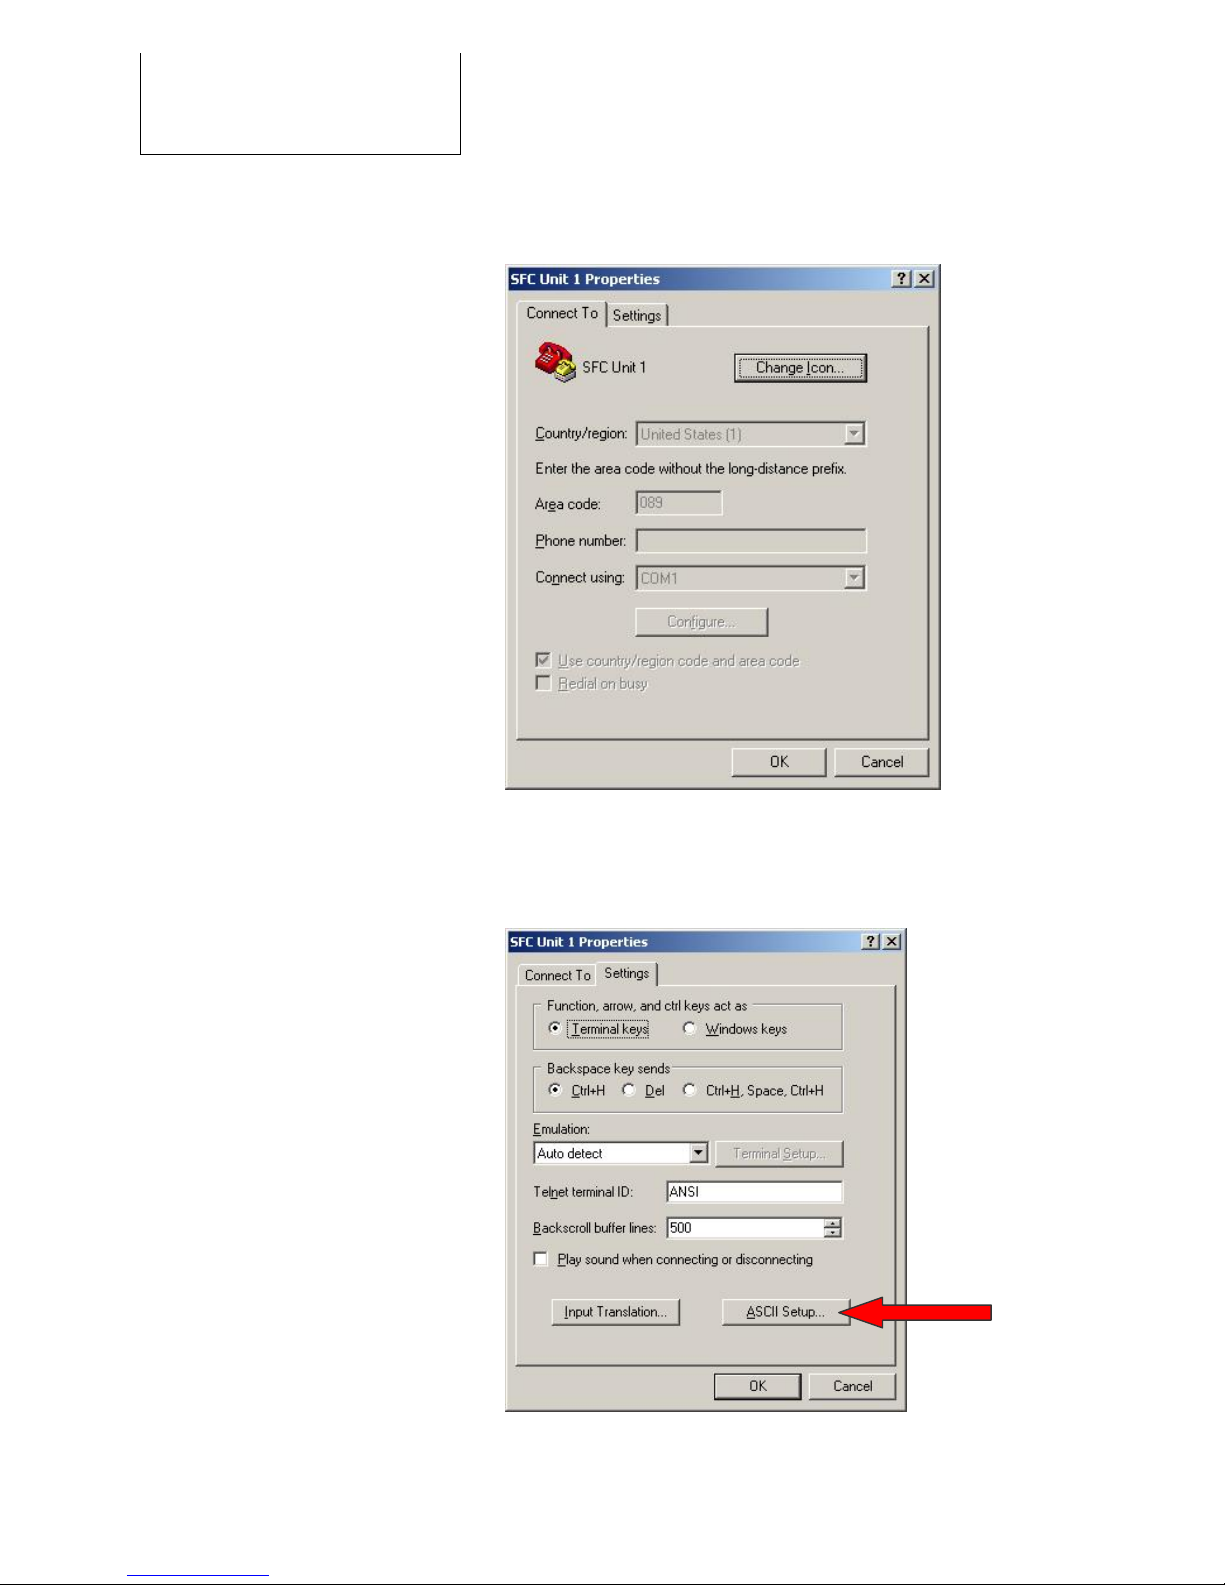
Open “File” and select “Properties”
4. Configuring the Data Port
15
The following window will appear:
Select the tab “Settings”; then press the “ASCII
Configuration” button.
4. Configuring the Data Port
16
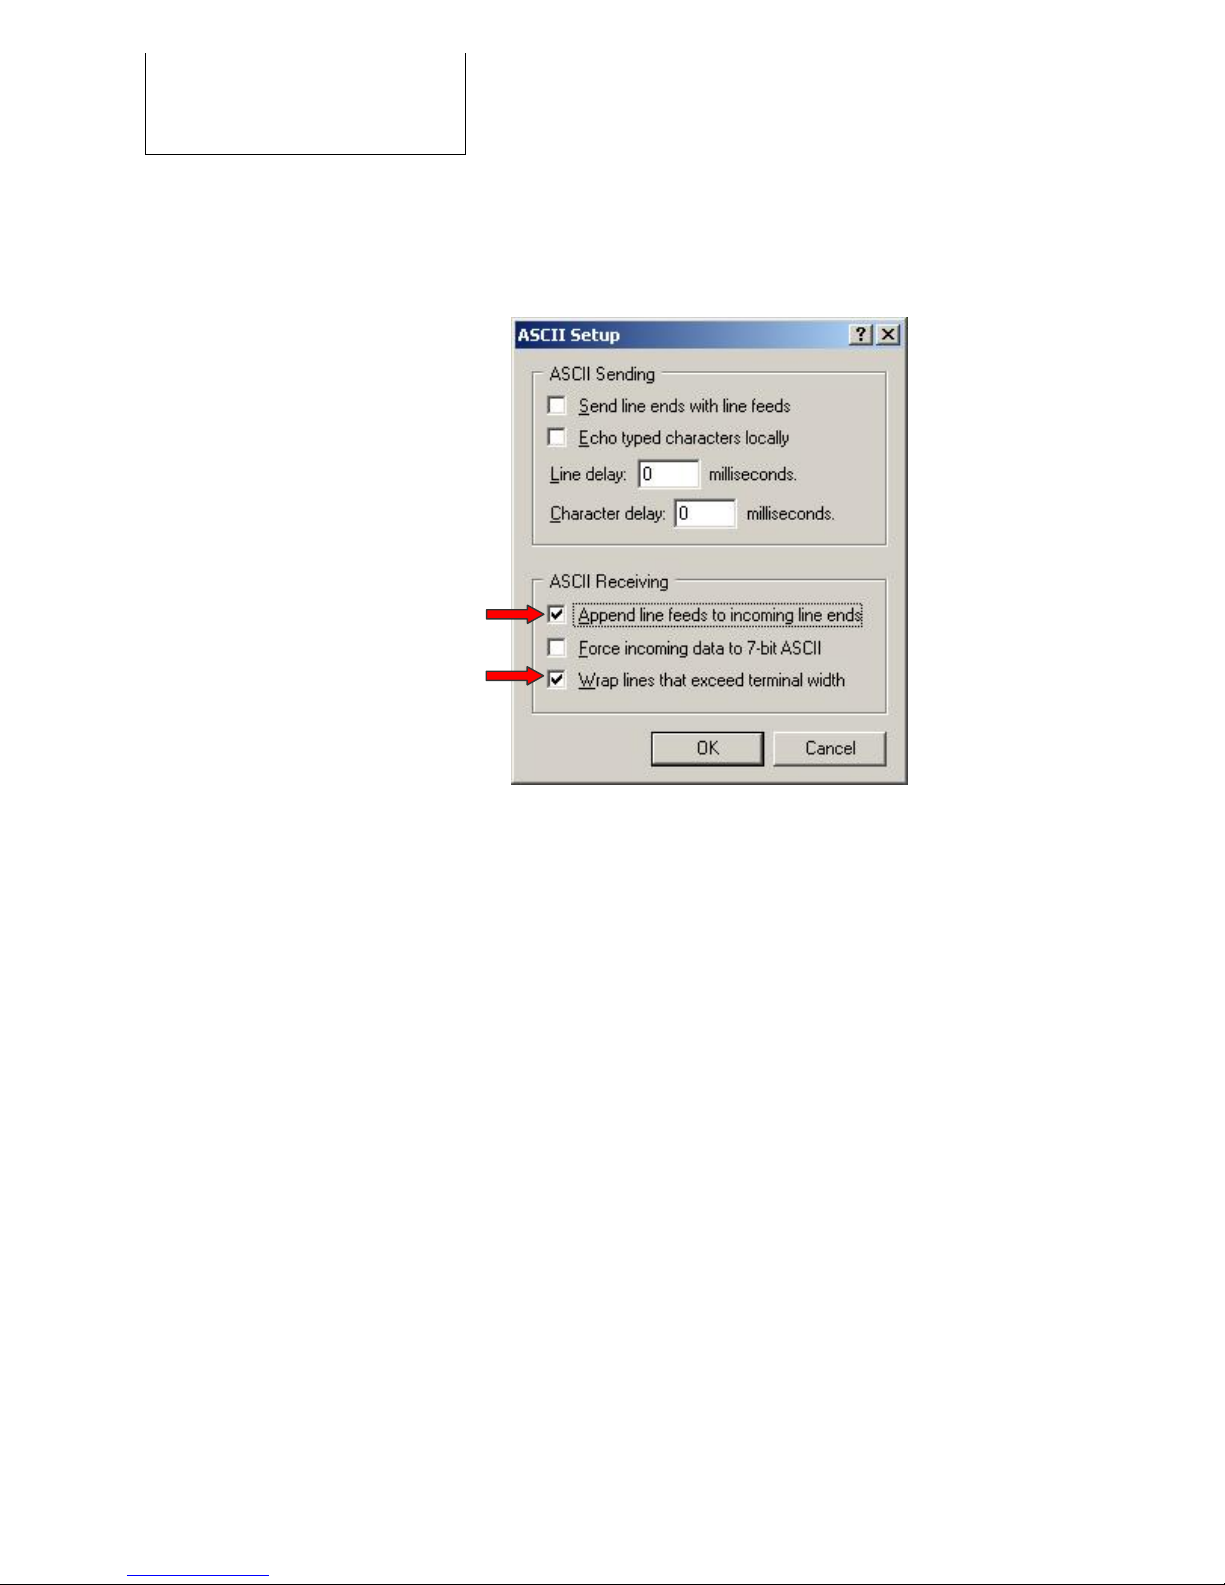
The following window will open. Please perform the
settings as indicated:
Close the window by clicking “OK” and confirm the
“Properties” window with “OK”.
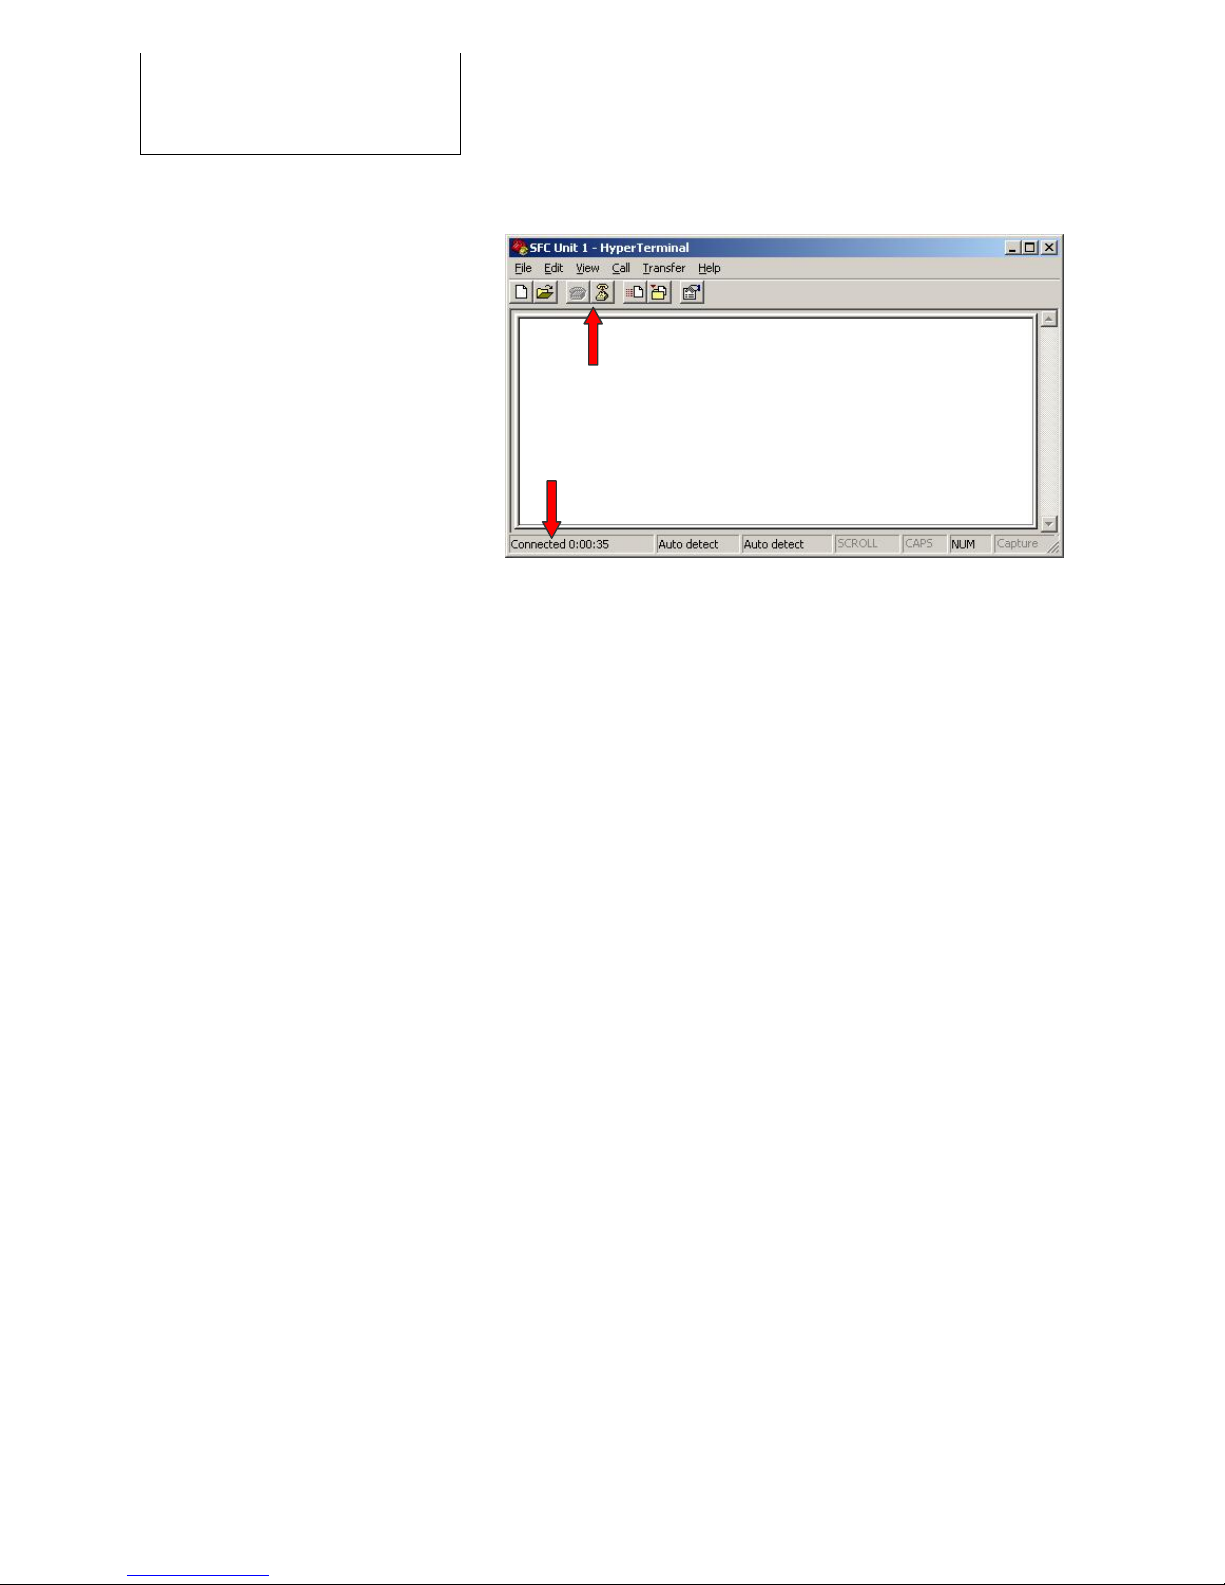
The terminal is now configured and is ready to operate.
You can connect or disconnect using the two telephone
symbols in the upper left. The connection is
automatically activated after the initial configuration. You
can verify this by viewing the status bar at the lower left.
4. Configuring the Data Port
17
Test the EFOY connection by pressing the “Enter” key.
The EFOY unit will respond with the prompt
SFC>
If there is no response, the connection is incorrect.
Check to see whether the interface adapter is connected
to the port (Com) and whether the connection is active.
You can modify the settings in the menu
“File\Properties” only after you close the connection.
If you change the port, you must reconfigure the settings
as described above. You can open the appropriate menu
by clicking the “Configure” button.
Connect or disconnect
Connection status

5. Data Port Commands
5
18
. Data Port Commands
5.1 Commands
You can view the operating status, modify operating parameters or
set up external control via the terminal interface.
There are various commands in the terminal interface. They are
divided into three categories:
•commands for selecting operating parameters
(see Chapter 5.2)
•commands for modifying preset operating parameters
(see Chapter 5.3)
•commands for operating the EFOY unit
(see Chapter 5.4)
The various chapters describe the function of all commands. The
following is intended to provide a synopsis of the commands.
Enter commands only in upper case, i.e. SFC, and make sure that
you have spelled them correctly.
Commands for selecting operating parameters
Command Brief description Chapter
? Displays all available commands. 5.2
LIMITS Displays the permissible range for every operating
parameter.
5.2
SFC Displays the current operating status. 5.2
STDVALUE Displays the default settings for operating parameters
set by the command DEFAULT.
5.2
VALUE Displays the current settings for the operating
parameters. Use CONFIG to modify them.
5.2
VER The firmware version installed on the EFOY unit. 5.2

5. Data Port Commands
19
Commands for modifying preset operating parameters
Commands Brief description Chapter
CONFIG Permits modification of operating parameters such as
forward transient voltage.
5.3
DEFAULT Returns all operating parameters to the default settings.
5.3
Commands for operating the EFOY unit
Commands Brief description Chapter
BUTTON Replaces pressing the On/Off and the Auto buttons on
the remote control.
5.4
LANGUAGE Verifies and modifies the language selection on the
remote control.
5.4
LOCKED Locks the software, thus preventing remote control of
the EFOY unit via the Remote-On contact.
5.4
REMOTE This control replaces the function of the Remote-On
contact for remote control of the EFOY unit that is
contained in the CC1 cluster controller.
5.4
RESET Replaces pressing the Reset button on the remote
control.
5.4

5. Data Port Commands
20
5.2 Commands for Selecting Operating
Parameters
The following commands are purely for information
purposes i.e., you can retrieve data without modifying
the configuration.
Command Output in the terminal program
? This command (only a question mark) summons up the
available set of commands with brief descriptions.
Example:
SFC>?↵?
Set of commands
? shows the set of commands
BUTTON software controlling of device
CONFIG setting customized operation parameters
DEFAULT setting default operation parameters
LANGUAGE setting language for panel
LIMITS reading out limits of operation parameters
LOCKED locking control contacts
REMOTE remote controlling via software interface
RESET restarts the device
SFC reading out actual operation state
STDVALUE reading out default values for operation
parameters
VALUE reading out actual set of operation
parameters
VER reading out version of firmware...
...
SFC>
Other manuals for 600
1
This manual suits for next models
3
Table of contents
Popular Adapter manuals by other brands

CC&C
CC&C BT330SV5 quick start guide

Radial Engineering
Radial Engineering BT-PRO user guide

Philips
Philips AEA2000/05 user manual

Cace Technologies
Cace Technologies AirPcap Wireless Capture Adapters user guide

ZyXEL Communications
ZyXEL Communications G-220F Quick installation guide

Dixon
Dixon 4530SG operating instructions


