ELECRAFT XV50 User manual

Elecraft XV Series Transverters
Models XV50, XV144, XV222
Rev B, November 7, 2003

Table of Contents
Introduction..........................................................................................................................................................................................1
Specifications.......................................................................................................................................................................................3
Preparing for Assembly .......................................................................................................................................................................4
Parts Inventory...................................................................................................................................................................................10
Front Panel Board Assembly.............................................................................................................................................................24
RF Board Assembly – Part I ..............................................................................................................................................................29
RF Board Assembly – Part II .............................................................................................................................................................42
RF Board Assembly – Part III ............................................................................................................................................................51
Final Assembly ..................................................................................................................................................................................54
Alignment and Test............................................................................................................................................................................58
Installation..........................................................................................................................................................................................64
Using Your Transverter......................................................................................................................................................................76
Options and Modifications..................................................................................................................................................................78
Circuit Description..............................................................................................................................................................................82
Schematic and Parts Layout Diagrams……………………………………………….……………………………...……………..Appendix A
Troubleshooting...................................……………………………………………….……………………....……...………….....Appendix B

——1
Introduction
The Elecraft XV Series high-performance transverters may be used with
any transceiver or transmitter/receiver pair that covers 28 MHz. Separate
transverters are offered for the following bands:
•Model XV50: 50 to 52 MHz.
•Model XV144: 144 to 146 MHz.
•Model XV222: 222 to 224 MHz
I.F. connections to the transceiver can be either single-port (single RF
cable) or dual port (separate receive and transmit cables).
The transverters include an adjustable input level control that will provide
full output from I.F. power levels from as low as 0.01 watts up to 8 watts
continuous. Full protection against accidental high-power transmit of up
to 100 watts into the I.F. port is also included.
The receiver features a very low noise figure with a PHEMT RF stage for
weak-signal work. Relays are used for transmit/receive switching to avoid
receive performance degradation by diode switches in the signal path.
The transmitter is conservatively rated at 20 watts output PEP SSB, CW
or data modes. The RF output is displayed on the front panel with a 10-
segment LED bargraph. The LED display may be switched between dot or
bar modes and has two brightness levels when used with an Elecraft K2
transceiver.
The transverters are housed in attractive, low-profile enclosures that may
be stacked for multi-band operation. An illuminated band label identifies
the transverter in use. Several transverters may be connected to the
transceiver in most cases. Internal relays select only the transverter for the
band in use, avoiding the need to switch I.F. cables.
Using an Elecraft K2 as the I.F. Transceiver
While the transverters will work with nearly any HF transceiver, using
them with our Elecraft K2 (or K2/100) offers additional benefits. The
high-performance K2 provides:
•Low noise, single-conversion, wide dynamic range receiver
•Four adjustable I.F. crystal filter bandwidths per mode
•Automatic transverter band switching with individual menu-
selected output power levels for up to three transverters.
•Direct display of the transverter operating frequency to 10 Hz,
including per-band adjustable offsets of +/- 9.99 kHz
•Four RIT ranges from +/- 0.6 to +/- 4.8 kHz
We recommend that K2’s with serial numbers 3445 and below be
equipped with Elecraft-approved modifications that reduce spurious
responses and enhance frequency stability. See page 68 for details.
Figure 1. Three Transverters May Be Controlled by an Elecraft K2.

——2
Transverter Kits
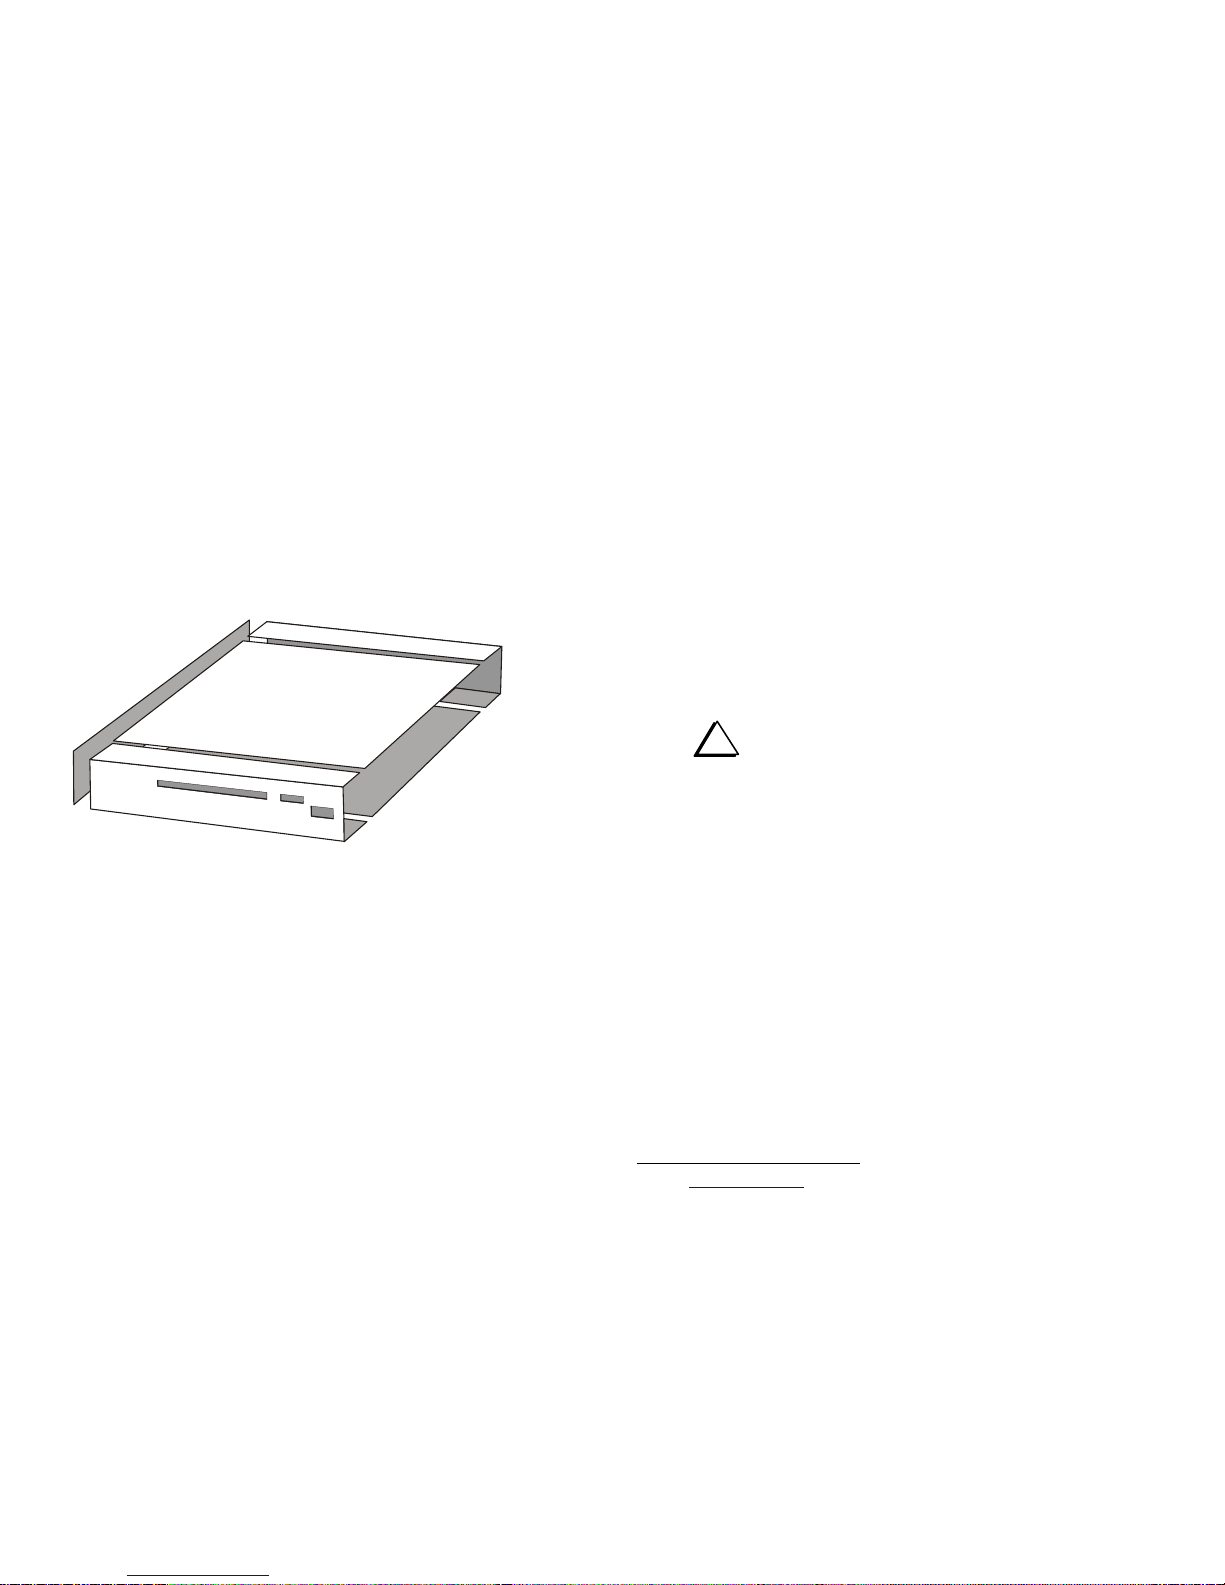
The XV Transverters are intermediate-to-advanced kits, yet you'll be
surprised at how uncomplicated they are to build. All of the radio
frequency (RF) circuits are on one printed circuit board (PCB). A second
smaller PCB holds the microcontroller and front-panel LEDs. High-
quality, double-sided PCBs are used, with plated-through holes for
optimal RF performance. Point-to-point wiring is minimal. All
components to be installed have wire leads; the few surface-mount devices
required are pre-installed on the circuit board.
This kit uses just one torodial inductor, which is easy to wind. However, if
you prefer not to wind this inductor yourself, you can order one pre-
wound with the leads tinned and ready to install from an Elecraft-qualified
source. Ordering information is on our web site at www.elecraft.com.
Customer Service and Support
Whether you build the kit or buy a factory-built transverter, you’ll find a
wealth of information on our web site at www.elecraft.com. Among the
materials there you’ll find the latest application notes, photographs, any
updates to this manual, and information on new products. We also have a
popular e-mail forum, for which you can sign up from the web site. It's a
great way to interact with other Elecraft owners, exchange ideas and find
answers to many questions.
You can also get assistance by telephone or by sending an e-mail to
[email protected]. E-mail is preferable because it gives us a written
record of your question. Telephone assistance is available from 9 A.M. to
5 P.M. Pacific time, Monday through Friday (except US Holidays) at 831-
662-8345.
Repair Service
Contact Elecraft before returning your equipment to obtain the current
information on repair fees.
To ship the unit, first seal it in a plastic bag to protect the finish. Use a
sturdy packing carton with at least 3-in (8 cm) of foam or shredded paper
on all sides. Seal the package with reinforced tape. (Neither Elecraft or the
carrier will accept liability for damage due to improper packaging.) Ship
the equipment to:
Elecraft
P.O. Box 69
Aptos, CA 95001-0069
Elecraft 1-Year Limited Warranty
If building a kit, complete the assembly, carefully following all instructions in
the manual, before requesting warranty service.
What is covered: During the first year after the date of first consumer
purchase, Elecraft will replace defective parts free of charge (post-paid). We
will also correct any malfunction caused by defective parts and materials. You
must send the unit at your expense to Elecraft. We will pay return shipping.
What is not covered: This warranty does not cover correction of assembly
errors or misalignment; repair of damage caused by misuse, negligence or
builder modifications; or any performance malfunctions involving non-Elecraft
accessory equipment. The use of acid-core solder or any corrosive or
conductive flux or solvent will void this warranty in its entirety.Also
not covered is any reimbursement for loss of use, inconvenience, customer
assembly or alignment time, or cost of unauthorized service.
Limitation of incidental or consequential damages: This warranty does not
extend to non-Elecraft equipment or components used in conjunction with our
products. Any such repair or replacement is the responsibility of the customer.
Elecraft will not be liable for any special, indirect, incidental or consequential
damages, including but not limited to any loss of businesses or profits.

——3
Specifications
Numeric values are typical; your results will be somewhat different. Also,
specifications may be affected by the options or accessories chosen. See
www.elecraft.com for details about options and accessories currently
available. Specifications are subject to change without notice.
General
Size
Cabinet: 1.3” H x 7.8” W x 8.3” D
(3.3 x 19.8 x 21 cm)
Overall: 1.5 H x 7.8 W x 9.5 D incl. feet and connectors.
(3.8 x 19.8 x 21 cm)
Weight: 2.5 lbs (1.1 kg)
Supply Voltage: 13.8 VDC
Current Drain:
Receive: 250 mA (typical)
Transmit1: 4 A (typical)
Frequency Ranges:
XV50: 50 – 52 MHz
XV144: 144 – 146 MHz
XV222: 222 – 224 MHz
T/R Switching Time: 3 ms (typical)
T/R Key Input: Ground for transmit: must pull 5 volt
logic level to within 0.5 volts of ground
at < 1 ma.
I.F. Overload Protection: Survives 100 watts RF input at the I.F.
Port without damage with transverter
un-keyed (in receive mode).
1Current varies with supply voltage, load impedance and power output. We
recommend a minimum 5 A supply.
Amplifier Key Output: Ground on transmit: 200 VDC at 1 A
maximum.
Connectors:
K2 Interface: DB9
Keying Line Input: RCA
Keying Line Output: RCA
I.F. In/Out: BNC
Aux (Rx-Only Ant): BNC
Antenna: SO-239 (UHF) on XVR 50
Type N on XVR 144 & XVR 222
Transmitter
Power Output: 20 watts into 50 ohms
Minimum Supply
Voltage Recommended: 12 VDC
Operating Modes: CW, SSB, AM, FM, PSK
I.F. Input Frequency Range: 28 – 30 MHz
I.F. Input Power Range: 0.01 mW (-20 dBm) to
8 watts (+ 39 dBm)
Harmonic Content: < - 60 dBc at 20 watts output.
Receiver
Noise Figure: < 1 dB
Conversion Gain: 25 dB (typical)
Image Rejection: > 60 dB
3rd-Order Intercept: +20 dBm (typical)

——4
Preparing for Assembly
Overview of the Kit
The Elecraft XV transverters use modular construction, both physically
and electrically. This concept extends to the chassis (Figure 2). Any
chassis element can be removed to provide access for troubleshooting.
Figure 2. XV Transverter Modular Cabinet Parts.
There are two printed circuit boards (PCBs) in the transverter: the front
panel board, which sits vertically behind the front panel, and the large RF
board.
The boards are interconnected using board-to-board connectors which
eliminates the need for a wiring harness. Gold-plated contacts are used on
these connectors for reliability.
Tools Required
You will need the following tools to build this kit:
•Fine-tip temperature-controlled soldering station with 700 or
800°F tip (370-430°C). Do not use a high-wattage iron or gun
with small components since this can damage pads, traces, or the
parts themselves.
•IC-grade, small-diameter (.031”) solder (Kester #44 or
equivalent).
•Desoldering tools and supplies are invaluable if you make any
modifications or need to do any repairs. Narrow solder wick or a
good vacuum desoldering tool such as the Soldapullt® model
DS017LS are recommended. See Soldering, Desoldering and
Plated-Through Holes, on page 9 for more information.
iDO NOT use acid-core solder, water-soluble flux solder,
additional flux or solvents of any kind. Use of any of these will void
your warranty.
•Screwdrivers: a small, #2 Phillips and a small flat-blade for slotted
screws.
•Needle-nose pliers.
•Small-point diagonal cutters, preferably flush-cutting.
•Digital Multimeter (DMM) for voltage checks and confirming
resistor values. A DMM with capacitance measurement capability
is desirable, but not required.
•Noise generator (Elecraft N-Gen or equivalent2) or signal
generator with output in the RF frequency range of the transverter.
•RF power meter capable of measuring RF power levels up to 25
watts at the RF frequency used by the transverter.
•50-ohm dummy load capable of handling 25 watts, minimum.
Refer to www.elecraft.com for tool sources and solder recommendations.
2Check www.elecraft.com for availability.
BACK PANEL
LEFT
SIDE PANEL TOP
COVER
FRONT
PANEL
BOTTOM
COVER
(RIGHT SIDE
PANEL NOT
SHOWN)
.

——5
Preventing Electro-Static Discharge Damage
Your XV transverter uses integrated circuits and transistors that can be
damaged by electrostatic-static discharge (ESD). Problems caused by ESD
often can be difficult to troubleshoot because components may be
degraded but still operating at first rather than fail completely.
To avoid such problems, simply touch an unpainted, grounded metal
surface before handling any such components and occasionally as you
build, especially after moving about.
For maximum protection, we recommend you take the following anti-
static precautions (listed in order of importance):
1. Leave ESD-sensitive parts in their anti-static packaging until you
install them. The packaging may be a special container or
conductive foam (Figure 3). Parts which are especially ESD-
sensitive are identified in the parts list.
2. Ground yourself briefly before touching any sensitive parts or
wear a conductive wrist strap with a series 1 megohm resistor.
DO NOT ground yourself directly as this poses a serious
shock hazard.
3. Make sure your soldering iron has a grounded tip.
4. Use an anti-static mat on your work bench.
Figure 3. A common anti-static packaging is conductive foam which
keeps all of the terminals of a device at the same potential.
Unpacking and Inventory
We strongly recommend that you do an inventory of the parts before
beginning to assemble the kit. Even if you don’t count all the parts, an
inventory is helpful to familiarize yourself with them. A complete parts
list is included in the next section.
Identifying Parts
The parts list contains illustrations of the parts to help you identify them.
Identifying marks on the individual parts are shown in the text in
parenthesis. For example, “Transistor Q4 (PN2222)…” indicates a
transistor, Q4, which may be located in the parts list that has the
characters shown in parenthesis printed on it. Sometimes these letters are
not obvious. They may be printed in light gray on a black body, for
example. Also, there may be other marks on the device in addition to the
letters listed.
Identifying Resistors
Resistors are identified by their power capacity and their resistance value.
The power rating in watts determines the physical size of a resistor. The
most common resistors are 1/4 watt. Higher wattage resistors are
proportionately larger. The resistance value and wattage of each resistor is
shown in the Parts Lists and in the individual steps of the assembly
procedures. The silk screened outlines on the circuit boards indicate the
relative physical size of the resistors as well.
Most resistors use a color code. The color bands are listed in the text along
with the values of each resistor. For example, “R4, 100k (brn-blk-yel)…”
indicates a 100k ohm resistor and the colors to look for are brown, black
and yellow, starting with the band nearest the end of the resistor.
Some resistors use numbers instead of color bands. For example, an 820
ohm resistor might be stamped with the digits 821 instead of having gray,
red and brown color bands. Some larger resistors have their value in ohms
stamped on the body using numbers. For, example the 820 ohm resistor
would be stamped with 820 instead of 821 as described above. Normally,
when the value is shown in ohms it will be followed with the word
“ohms” or the Greek letter omega: Ω

——6
Reading Resistor Color Codes
It is very helpful if you learn to read the color codes. A color-code chart
showing how to read the four-color bands on resistors with a 5% or 10%
tolerance is shown in Figure 4. 1% resistors are similar except that they
use a fifth band to provide a way of showing another significant digit. For
example, a 1,500 ohm (1.5 k-ohm) 5% resistor has the color bands brown,
green and red signifying one, five and two zeros. A 1,500 ohm (1.5 k-
ohm) 1% tolerance resistor has the color bands brown, green, black and
brown signifying one, five, zero, and one zero.
The optional band shown in Figure 4 indicates other performance
specifications for the resistor. When used, it is separated from the other
color bands by a wider space.
iIf in doubt of a resistor’s value, use a DMM. It may be difficult to see
the colors on some resistors, particularly 1% tolerance resistors with a dark blue
body. Do NOT be concerned with minor deviations of your DMM reading from
the expected value. Typical errors in most DMMs and the tolerances of the
resistors normally produce readings that are slightly different from the value
indicated by the color bands.
Identifying Molded Inductors
Small molded inductors have color bands that use the same numeric
values as resistors but they start near the center of the inductor and work
toward the end. These colors are listed in the text after the value of the
inductor, for example: 27µH (red-vio-blk). The red stripe would be near
the center of the inductor and the black strip would be closer to the end.
On very small chokes, the first color will be only slightly farther from one
end than the last color. There may be a variety of other stripes on
inductors as well, indicating their tolerance, conformance to certain
specifications and other data.
FIRST DIGIT TOLERANCE:
OPTIONAL
SECOND DIGIT
MULTIPLIER
Black
Brown
Red
Orange
Yellow
Green
Blue
Violet
Gray
White
Silver
Gold
0
1
2
3
4
5
6
7
8
9
-
-
X 1
X 10
X 100
X 10K
X 10K
X 100K
X 1M
-
-
-
X 0.01
X 0.1
COLOR DIGIT MULTIPLIER
GOLD = 5%
SILVER = 10%
Figure 4. Resistor Color Code.

——7
Identifying Capacitors
Capacitors are identified by their value and the spacing of their leads.
Small-value fixed capacitors usually are marked with one, two or three
digits and no decimal point. The significant digits are shown in
parenthesis in the text. For example: “C2, .01 (103)”.
If one or two digits are used, that is always the value in picofarads (pF). If
there are three digits, the third digit is the multiplier. For example, a
capacitor marked “151” would be 150 pF (15 multiplied by 101).
Similarly, “330” is 33 pF and “102” is 1000 pF (or .001 µF). You may
think of the multiplier value as the number of zeros you need to add on to
the end of the value.
Note: In rare cases, a capacitor manufacturer may use “0” as a
decimal placeholder. For example, “820” might mean 820 pF rather than
82 pF. Such exceptions are usually covered in the parts lists. If possible,
measure the values of all capacitor below .001 µF. Most DMMs include
capacitance measurement capability.
Fixed capacitors with values of 1000 pF or higher generally use a decimal
point in the value, such as .001 or .002. This is the value in microfarads
(µF). Capacitors also may have a suffix after the value, such as “.001J”.
The lead spacing is noted in the Parts Lists for most capacitors. If two
different types of capacitors have the same value, the lead spacing will
indicate which one to use. When the lead spacing is important, both the
value and the lead spacing is shown in the assembly procedure. For
example, “LS 0.1” means that the Lead Spacing is 0.1 in.
Hard-to-Identify Capacitor Values
2.2 pF: These are “disc ceramic” capacitors with round, pillow-shaped
bodies about 1/8” (3 mm) in diameter and a black mark on the top. The
capacitor should be labeled “2.2” but the marking sometimes requires a
magnifying glass to see clearly.
150 pF: These capacitors are marked “151” on one side, but the other side
may be marked #21ASD. The “#21” may look like “821”.

——8
Assembly Process
There are seven steps in the transverter assembly process:
1. Front Panel board assembly.
2. RF Board Assembly, Part I, parts common to all models.
3. RF Board Assembly, Part II, band-specific parts.
4. RF Board Assembly, Part III, installing the RF Power
Module.
5. Final Assembly.
6. Interconnect cabling.
7. Test and alignment.
Follow the assembly process in the order given. Each part builds on what
has been completed before it. For example, the Front Panel assembly
procedure contains details about installing certain parts that are not
repeated when similar parts are installed later.
Forming Component Leads
Sometimes the space provided for a component on the PC board is larger
than the distance between the leads on the part itself. In such cases, you’ll
need to carefully bend the leads out and then down to fit the given space.
Always use long-nose pliers to accomplish this task, and bend the leads –
don’t tug on them. This is especially important with capacitor leads, which
are fragile.
Step-By-Step Procedures
Perform the assembly steps in each procedure in the order given, and
do not skip any steps. Otherwise you may find that you’ve installed
one component that hinders the installation of another. When groups
of components are installed, they are listed in a logical order as you work
around the circuit board to reduce the time needed to find where each part
goes.
Each step in the assembly procedures has a check box.
Some steps have more than one task. For example, you may be installing a
number of components listed. When a step has a number of tasks, each
task is indented with space for a check mark:
Check off each task as you complete it.

——9
Soldering, Desoldering and Plated-Through Holes
CAUTION: Solder contains lead, and its residue can be toxic. Always
wash your hands after handling solder.
The printed circuit boards have circuitry on both sides (“double-sided”).
Boards of this type require plated-through holes to complete the electrical
connections between the two sides.
When you solder components on these boards the solder fills the plated
holes making excellent contact. This means that you do not need to leave a
large “fillet” or build-up of solder on top of the pads themselves. A small
amount of solder will do for all connections.
Unfortunately, removing components from double-sided PC boards can be
difficult. To remove a multi-pin component you’ll need to get all of the
solder out of every hole to free the leads. You will need to use solder wick
or a vacuum desoldering tool (see Techniques below).
The best strategy for avoiding de-soldering is to place all components
properly the first time. Double-check values, component placement and
orientation. Take care to avoid ESD damage to components.
Techniques
•Don’t pull a lead or pin out of a hole unless the solder has been
removed completely, or you are applying heat. Otherwise you can
literally pull the plating out of the plated-through hole.
•Limit soldering iron contact to a few seconds at a time.
•Use small-size solder wick, about 0.1” (2.5 mm) wide. Use wick
on both the top and bottom solder pads when possible. This helps
get all of the solder out of the hole.
•Buy and learn to use a large hand-operated vacuum desoldering
tool such as the Soldapullt® model DS017LS. Small solder
suckers are not effective.
•When removing ICs and connectors, clip all of the pins at the
body first, then remove each pin one at a time, working slowly.
You may damage pads and traces by trying to remove a
component intact, possibly leaving a PC board very difficult to
repair.
•Invest in a PC board vise with a heavy base if possible. This
makes removing parts easier because it frees up both hands.
•If in doubt about a particular repair, ask for advice from Elecraft
or someone with PCB repair experience. Our e-mail reflector is an
excellent source of help.

——10
Parts Inventory
You should do a complete inventory. Contact Elecraft if you find anything missing.
iLeave painted panels wrapped until they are needed during assembly. This will protect the finish.
Cabinet and RF circuit board components used in all transverters.
Picture Ref. Designator(s) QTY Description Part #
1
Printed Circuit Board, XV, 50,144,222
iHandle with care – ESD Sensitive. This board is supplied with
several surface mount components pre-installed. Some of these components
are static-sensitive and are vulnerable until the other parts are installed on
the board. There is a temporary jumper across the solder pads for L1 on the
board to prevent static damage to Q3. Do not remove this jumper until
instructed to do so.
E100169
1 Front Panel E100153
1 Rear Panel E100154
2 Side Panel E100140
1 Top Cover E100146
See Figure 2. 1 Bottom Cover E100155
1 Heat Spreader E100156
8 2D Connector E100078
2 Right Angle Bracket E700073
40 Pan Head Black Machine Screw, 3/16 inch. 4-40. E700015
5 Pan Head Zinc Machine Screw, 5/16 inch, 4-40 E700077
2 Pan Head Black Machine Screw, 1/2 inch, 4-40 E700030

——11
Picture Ref. Designator(s) QTY Description Part #
10 Machine Screw Nut, 4--40 E700011
14 Split Lock washer, #4 (Includes two spares) E700004
8 Internal Tooth Lock washer, #4 E700010
2 Flat Washer, #4 E700044
1 Ground Lug E700062
2 M-F Standoff for DB9 Connector E700078
4
Rubber Foot, Self Adhesive
iA Bail kit is available as an optional accessory if desired. The
Bail will hold the front of the transverter up at a convenient viewing angle.
See www.elecraft.com for details
E980067
2 RCA Jack E620057
3 BNC Connector assy. with nut and lock washer, PC Mount E620020
3 Nut for BNC Connector E700059
3 Lock washer for BNC Connector E700058
1 DB9 Female Connector, PC Mount E620058
1 DB9 Male Cable Connector E620049
1
DB9 Back Shell (Shell components are normally packaged together in a
transparent bag). E620050
4 Anderson Crimp Terminal E620062

——12
Picture Ref. Designator(s) QTY Description Part #
1 Anderson Roll Pin E700071
2 Anderson Power Pole, Shell, Red E620059
2 Anderson Power Pole, Shell, Black E620060
P1 1 Header Connector, 12 Pin , Right Angle E620065
JP5,JP6, JP9 3 Header Connector, 2 Pin E620054
JP1,JP2,JP3,JP4, JP5,
JP6, JP937 Header Connector, 3 Pin E620007
9 Header Shorting Block, 2 Pin E620055
S2 1 DPDT Power switch E640006
SW1 1 4 Pole DIP switch E640014
1 Key Cap, Black E980023
F1 1 Resettable Fuse, 5A PolySwitch (Thin, about 3/8” [9.5mm] square.) E980065
K1, K2, K4, K5, K6, K7,
K8, K9 8 Relay, Small (G6E-134P)E640011
K3 1 Relay, SPDT, 12 A, 12 VDC, Large (KLT1C12DC12). E640012
D3 1 Diode, Zener, 6.8 volt, 1N5235B E560011
D5 1 Diode, SB530 E560003
D10, D11 2 Diode, LED, Red E570007
3JP9 comprises a three pin and a two pin header connector.

——13
Picture Ref. Designator(s) QTY Description Part #
Z1 1 Frequency Mixer, ADEX-10H E600050
U1 1 MMIC Amplifier, ERA-6 E600051
Pre-mounted on the
PCB
U5 1 MMIC Amplifier, MAR-3 E600073
U2 1 Voltage Regulator, 9 volt, LM78L09 E600054
Q6 1 Transistor, NPN, PN2222A E580001
U4 1 Voltage Regulator, 5 volt, LM7805 E600024
Q5 1
Transistor, MOSFET, 2N7000
iHandle with care – ESD Sensitive. Do not remove it from its
ESD-protective packaging until you are instructed to install it.
E580002
Q4 1
Transistor, HEXFET, IRL620
E580018
Pre-mounted on
the PCB Q3 1 Transistor, PHEMT, ATF 34143 E580020
Q2 1 Transistor, NPN , BFR96 E580021
R21 1 Resistor, metal oxide, 1 watt, 5%, 820 ohm (821) E500094
R20, R26, R27 3 Resistor, metal oxide, 3 watt, 5%,160 ohm (160) E500095
R10 1 Trimmer Potentiometer, PC mount, 100K (104) E520001
R13, R22 2 Trimmer Potentiometer, PC mount, 100 ohm (101) E520008
D1, D2, D4, D13, D6,
D12, D9, D14, D15, D16 10 Diode, 1N4148 E560002
D7, D8 2 Diode, 1N5711 E560004

——14
Picture Ref. Designator(s) QTY Description Part #
R25 1 Resistor , 1/4 watt, 5%, 56 ohm (grn-blu-blk) E500096
R14 1 Resistor , 1/4 watt, 5%, 4.7 ohm (yel-vio-gld) E500062
R1, R7, R9, R33 4 Resistor , 1/4 watt, 5% , 10K ohm (brn-blk-org) E500015
R11 1 Resistor, 1/4 watt, 5%, 1K ohm (brn-blk-red) E500013
R18 1 Resistor, 1/4 watt, 5%, 620 ohm (blu-red-brn) E500097
R4, R5 2 Resistor, 1/4 watt, 5%, 5.6K ohm (grn-blu-red) E500007
R23, R34 2 Resistor, 1/4 watt, 5%, 100K ohm (brn-blk-yel) E500006
R40 1 Resistor, 1/4 watt, 5%, 22k ohm (red-red-org) E500090
R31 1 Resistor , Metal Film, 1/4 watt, 1%, 15.0K ohm (brn-grn-blk-red) E500112
R32 1 Resistor, Metal Film, 1/4 watt, 1%, 3.92K ohm (org-wht-red-brn) E500110
R30 1 Resistor, Metal Film, 1/4 watt, 1%, 7.50K ohm (vio-grn-blk-brn) E500111
R35 1 Resistor, Metal Film, 1/4 watt, 1%, 5.11K ohm (grn-brn-brn-brn) E500109
R16, R8 2 Resistor , 1 watt , 5%,120 ohm (brn-red-brn) E500105
R12, R19 2 Resistor, 1 watt, 5%, 180 ohm (brn-gry-brn) E500113
R15 1 Resistor 56 ohm SMD, 1206 size E500099Pre-mounted on the
PCB R17 1 Resistor, .02 ohm SMD, 2512 size E500100
C2,C57 2 Ceramic Capacitor, 100 pF (101) E530117
C35 1 Ceramic Capacitor, 10 pF (100) E530118
C55,C56 2 Ceramic Capacitor, 270 pF (271) E530050
C52,C54 2 Ceramic Capacitor , 150 pF (151) E530049
C53 1 Ceramic Capacitor, 18 pF (180) or (18), LS 0.2 E530088
C3, C17, C15, C7, C39 5 Ceramic Capacitor, .001µF (102), LS 0.1 E530129
C8, C9, C10, C27, C16,
C19, C23, C20, C34,
C38, C37, C36, C63,
C22, C40, C6, C61, C62,
C64, C67, C71
21 Ceramic Capacitor, .01µF (103), LS 0.1 E530130
C65, C68, C29 3 Ceramic Capacitor, .047 µF (473), LS 0.1 E530131
Capacitors shown
are typical. Different
styles may be
supplied.
C30 1
Ceramic Capacitor, .22 µF (224), LS 0.1 E530132
C18 1 Ceramic Capacitor, 2.2 pF (2.2), LS 0.1 E530047
C70 1 Ceramic SMD Capacitor, 27 pF E530121
C72 1 Ceramic SMD Capacitor, 4.7 pF E530125
Pre-mounted on the
PCB C25, C21, C24, C41, C32
C66, C31, C4, C84, C85 10 Ceramic SMD Capacitor, .047 µF, 50 V E530120

——15
Picture Ref. Designator(s) QTY Description Part #
C26, C60 2 Electrolytic Capacitor, 22 µF, 25 volt E530012
L9 1
Molded Inductor, .47 µH (yel-vio-silver) E690020
L8 1
Molded Inductor, 15 µH (brn-grn-blk) E690012
L15,L16,L17 3 Variable Inductor, .243-.297 µH, shielded, grey plastic insert. E690025
L7 2 Ferrite Bead E980029
T1 1 Toroid Core, FT37-43 E680003
12 in.
(30 cm) Solid Insulated Wire, #24 E760005
12 in.
(30 cm) Red magnet wire, , #26 E760002
12 in.
(30 cm) Green magnet wire, #26 E760004
3 in.
(7.5 cm) Bare copper wire, , #14 E760023
5 ft.
(1.5 m) Red/Black 2-conductor wire, #12 stranded (for DC power wiring) E760017
3 ft.
(91 cm) 4-conductor shielded cable (serial I/O cable) E760009
1 Heat sink gasket, large E100170
1 Heat sink gasket, small E100171
1 5” Hex Tuning Tool E980068

——16
Front panel circuit board components.
Picture Ref. Designator(s) QTY Description Part #
1 Printed Circuit Board E100168
2 Screw, Fillister Head, 1/8 inch, 2-56 E700023
U1 1
Microcontroller PIC16F872, Programmed (packaged in foam)
iHandle with care – ESD Sensitive. Do not remove it from its
conductive foam until you are instructed to install it.
E610014
1 IC Socket, 28 pin (packaged in foam) E620011
J1 1 Header Socket, 12 Pin E620008
D1, D2 2 Rectangular LED, Red E570007
D3 1 Rectangular LED, Yellow E570009
D4, D5, D6, D7, D8,
D9, D10, 7 Rectangular LED, Green E570008
R6, R7, R8, R9, R10,
R11, R12, R13,R14,
R15, R16, R21, R22,
R23
14 Resistor, Metal Film, 1/4 watt 120 ohm (brn-red-brn) E500022
R1 1 Resistor, Metal Film 1/4 watt, 5%, 220 ohm (red-red-brn) E500002
R2 1 Resistor, Metal Film 1/4 watt, 5%, 470 ohm (yel-vio-brn) E500003
R3 1 Resistor, Metal Film 1/4 watt, 5%, 10K ohm (brn-blk-orn) E500015
R4, R17 2 Resistor, Metal Film 1/4 watt, 5%, 100K ohm (brn-blk-yel) E500006
R25 1 Resistor, Metal Film 1/4 watt, 5%, 270K ohm (red-vio-yel) E500101
R18, R19, R20,R24 4 Resistor, Metal Film 1/4 watt, 5%, 2.2K ohm (red-red-red) E500104
R5 1 Resistor, Metal Film 1/4 watt, 5%, 1 megohm (brn-blk-grn) E500024
C4 1
Capacitor, Monolithic, .001 µF, (102), LS 0.1 E530129
C2, C3 2 Capacitor, Monolithic, .01 µF, (103), LS 0.1 E530130
C1 1
Capacitor, Monolithic, .047 µF (473), LS 0.1 E530131
D11 1 LED Light Bar, Yellow (packaged in foam) E570011

——17
Picture Ref. Designator(s) QTY Description Part #
Q1,Q2,Q3,Q4,Q5,Q6 6 Transistor, NPN, PN2222 E580001
Z1 1 Ceramic Resonator, 4 MHz E660001
JP1 1 Header Connector, 2 pin E620054
1 Header Shorting block, 2 pin E620055

——18
iThe remainder of the parts in your kit depend upon the band of operation. Check only the list that corresponds to your transverter.
XV50: The following parts are included only in the XV50 transverter.
Picture Ref. Designator(s) QTY Description Part #
1 Front Panel Label, XV50 E980059
Pre-mounted on the
PCB U6 1
SGA7489, Sirenza Gain Block Amplifier (Three-lead device with tab. Two leads
and tab are soldered to the board. Center lead is not connected) E600055
U3 1 Voltage Regulator, 9-volt, LM78L09 E600054
Q1 1 Transistor, NPN, MPS918 E580022
U7 1 RF Power Module, M57735 E600056
J1 1 SO-239 Chassis Mount Connector E620064
R24 1 Resistor, Metal Oxide, 2 watt, 5%, 56 ohm (56J) E500102
Z4 1 Resistor, 1/4 watt, 5%, 56 ohm (grn-blu-blk) E500096
R6 1 Resistor, 1/4 watt, 5%, 330 ohm (org-org-brn) E500103
C69 1 Ceramic Capacitor, LS 0.1, 10 pF (100) E530118
C14, C58, C59 3 Ceramic Capacitor, LS 0.1, 390 pF (391) E530051
C12 1 Ceramic Capacitor LS 0.1, 100 pF (101) E530117
C42,C43 2 Ceramic Capacitor, SMD, 50 V, 82 pF E530133
C44 1 Ceramic Capacitor, SMD, 50 V, 150 pF E530134
C5,C49,C50 3 Ceramic Capacitor, SMD, 50 V, 2.2 pF E530123
C48,C51 2 Ceramic Capacitor, SMD, 50 V, 10 pF E530135
C28 1 Ceramic Capacitor, SMD, 50 V, 15 pF E520127
C45,C47 2 Ceramic Capacitor, SMD, 50 V, 22 pF E530136
Pre-Mounted on the
PCB.
C46 1 Ceramic Capacitor, SMD, 50 V, 27 pF E530121
C1, C33 2 Ceramic Trimmer Cap, 5-30 pF E540001
Other manuals for XV50
1
This manual suits for next models
2
Table of contents
Other ELECRAFT Media Converter manuals