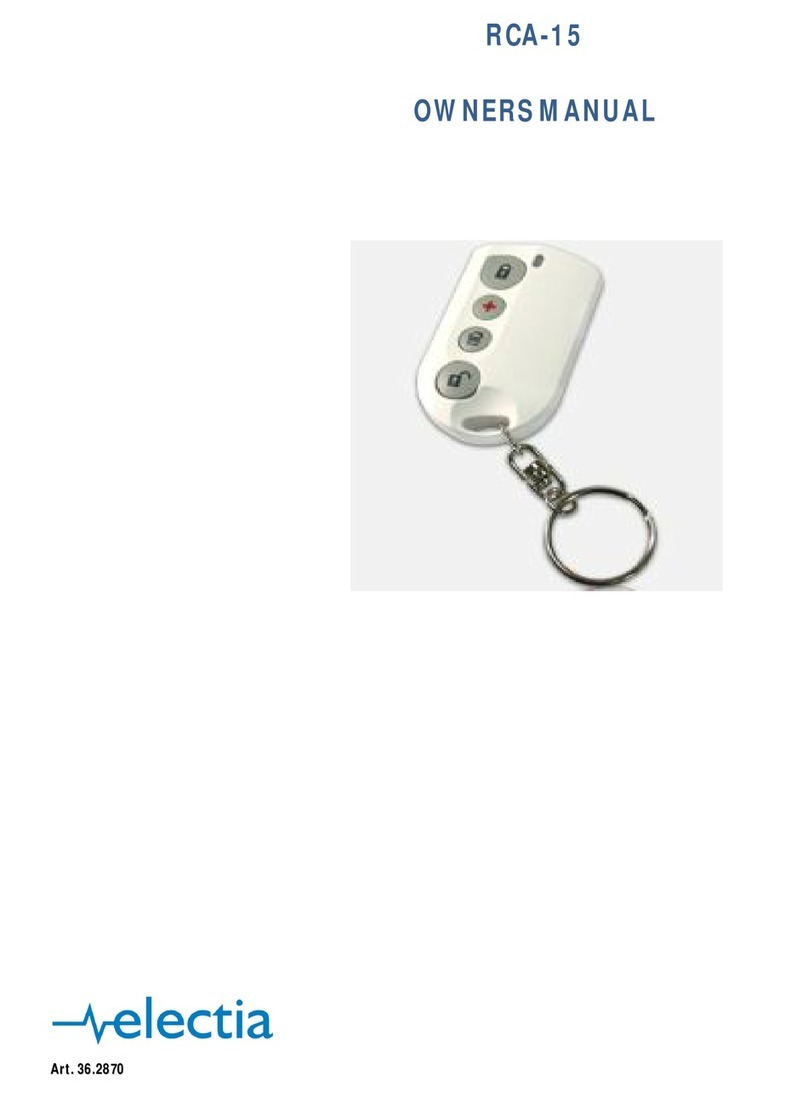
Electia RCA-8N User manual

RCA-8N
OWNERS MANUAL
Art. 36.2870

GB
Remote Controller (RCA-8N)
The Remote Controller is used to remotely arm or disarm the system, activate the panic alarm, and put the system in the "HOME"
mode.
I
Id
de
en
nt
ti
if
fy
yi
in
ng
g
t
th
he
e
p
pa
ar
rt
ts
s
BUTTON
Pressing this button will put the system into the Armed
mode.
BUTTON
Pressing this button for 3 seconds will trigger the panic
alarm regardless of whether the system is Armed,
Disarmed or Home.
BUTTON
Pressing this button will put the system into the Home mode.
BUTTON
Pressing this button will put the system into the Disarmed mode. If the alarm is sounding, pressing this button will stop
the alarm (except when the alarm situation was caused by pressing the Panic button on RCA-8N).
TX INDICATOR
BATTERY COMPARTMENT
1
2
3
4
5
6
T
TX
X
I
In
nd
di
ic
ca
at
to
or
r
When any of these four buttons is pressed, TX LED will on. Please hold the button until the TX LED is
off to indicate the Remote Controller has successfully sent out a signal to the Main Unit.
<
<N
NO
OT
TE
E>
>
Press & hold the Panic button for one second then release. The Tx LED will light on for one sec., press & hold the
Panic Button (one sec) again
“CR2032” 3V 230 mAh Lithium battery as its power source. Battery life is over 2 years in a
normal domestic environment.
sent to the Control Panel along with regular signal transmission, and, the Control Panel will
display the status accordingly.
B
Ba
at
tt
te
er
ry
y
The Remote Controller uses one
The low battery status will be
G
Ge
et
tt
ti
in
ng
g
S
St
ta
ar
rt
te
ed
d
tery facing down.
then select “Add Device” menu.
Please refer to the operation manual of your control panel under the section of “Device +/-“ to complete learn-in process.
Remove the battery cover by using a coin to turn counter-clockwise.
Insert the battery as shown in diagram, with unmarked side (negative) of the bat
Replace the battery cover – secure the cover by using a coin to turn clockwise.
Put the Control Panel into “Device +/-“ menu and
Press any buttons on the Remote Controller.

SE
Fjärrkontroll (RCA-8N)
Fjärrkontrollen används till för att larma på/av systemet, aktivering av överfalls larm, och ställa in systemet på “Skalskydds” läge.
F
Fj
jä
är
rr
rk
ko
on
nt
tr
ro
ol
ll
le
en
ns
s
o
ol
li
ik
ka
a
d
de
el
la
ar
r
KNAPP
Genom att trycka ned denna knapp larmar du på
systemet.
KNAPP
Genom att trycka ned denna knapp I 3 sekunder utöses
ett överfalls larm oavsett om eller systemet är pålarmat,
avlarmat eller i skalskydds läge.
KNAPP
Genom att trycka ned denna knapp larmar du på systemet i
Skalskydds läge.
KNAPP
Tryck ned denna knapp och systmet kommer att ställa in sig på avlarmat läge. Om larmet ger ifrån sig ljud, kan du
stoppa larmet genom att trycka ned denna knapp. (förutom när larm situationen orsakades genom att trycka ned
överfalls knappen på (RCA-8N). OBS! För att kunna larma av kontrollpanelen med fjärrkontrollen måste
standardinställningen under meny fjärrkontroll ändras.
LED lampa
BATTERI LUCKA
1
2
3
4
5
6
T
TX
X
I
In
nd
di
ik
ka
at
to
or
r
När någon av de fyra knapparna trycks ned, sätts LED lampan på. Håll ned knappen till LED lampan slocknar, detta indikerar
att fjärrkontrollen lyckats sända en godkänd signal till kontrollpanelen.
<
<N
NO
OT
TE
ER
RA
A>
>
Tryck ned & håll nere överfalls knappen I en sekund innan den frigörs. Tx LED kommer att lysa upp i en sek.,
tryck ned & håll överfalls knappen (en sek) igen
r ett “CR2032” 3V 230 mAh Litium batteri som dess strömkälla. Batteriets livslängd är över 2 år i en
s till Kontroll Panelen med regelbundna signal överföringar, och, Kontroll Panelen kommer
att visa status på displayen därefter.
B
Ba
at
tt
te
er
ri
i
Fjärrkontrollen använde
normal hemma miljö.
Lågt batteri status kommer att skicka
K
Ko
om
mm
ma
a
i
ig
gå
ån
ng
g
nedåt.
n och välj sedan menyn “Lägg till sensor”.
ar god läs din manual för din Kontroll Panel under sektionen av “Sensor +/-“ för att fullfölja testprocessen.
Ta bort batteriluckan genom att använda ett mynt som vrids moturs.
Sätt I batterierna som visas av diagrammet, med den omärkta sidan (negativa) på batteriet
Sätt tillbaka batteriluckan – säker stängning genom att använda myntet och vrida medurs.
Ställ in Kontroll Panelen på “Sensor +/-“ meny
Tryck ned valfri knapp på fjärrkontrollen.
V

isyydeltä kytkeä hälytysjärjestelmä päälle tai pois päältä, sekä käynnistää paniikkihälytys tai laittaa
järjestelmä “ ”-tilaan.
Osien tunnistaminen
Akti elmän “Armed” –tilaan.
, huolimatta siitä missä hälytystilassa
järj
elmän “Home” –tilaan.
daan myös sammuttaa hälytys tämän soidessa
tetty RCA 8N:n “Panic”-näppäimen kautta).
TX INDIKAATTORI
PARISTON KOTELO
lon sammuminen tarkoittaa että kauko-ohjain on onnistuneesti lähettänyt viestin
<
<T
TI
IE
ED
DO
O
FI
Kaukosäädin (RCA-8N)
Kaukosäätimellä voidaan etä
Home
NÄPPÄIN
voi hälytysjärjest
NÄPPÄIN
Painamalla nappia kolmen sekunnin ajan aktivoi
paniikkihälytyksen
estelmä on.
NÄPPÄIN
1
2
3
4
5
Siirtää hälytysjärjest
NÄPPÄIN
Kytkee hälytysjärjestelmän hälytystoiminnot pois päältä. Näppäimellä voi
(paitsi jos hälytys on käynnis
T
TX
X
I
In
nd
di
ik
ka
aa
at
tt
to
or
ri
i
Kun jotain yllä mainituista näppäimistä painetaan, TX LED:i syttyy. Pidä näppäintä painettuna kunnes
valo sammuu – va
ohjauspaneeliin.
T
TU
US
S>
>
Paina ja pidä painettuna “Panic” –näppäintä yhden sekunnin ajan ja päästä sen jälkeen näppäimestä irti. TX
LED-valo syttyy sekunniksi. Paina uudestaan “Panic” –näppäintä yhden sekunnin verran.
Alhaisen pariston varoitus lähetetään Ohjauspaneeliin aina kommunikoinnin yhteydessä. Ohjauspaneeli näyttää tällöin
P
Pa
ar
ri
is
st
to
o
Kaukosäädin käyttää yhtä “CR2032” 3V 230 mAh litiumparistoa virtalähteenä. Pariston elinikä on yli kaksi vuotta jos
kaukosäädintä käytetään normaalissa kotikäytössä.
kaukosäätimen pariston tilan.
A
Al
lk
ku
uu
un
n
p
uunnataan alaspäin.
Paina jotain näppäintä kaukosäätimestä.
Katso ohjauspaneelin käyttöoppaasta miten laitteen lisääminen tehdään.
pä
ää
äs
se
em
mi
in
ne
en
n
6
Poista pariston kansi kolikon avulla.
Aseta paristo kuten kuvassa näytetään. Pariston tekstitön puoli (miinusnapa) s
Kiinnitä pariston kansi kolikolla, kierrä myötäpäivää.
Valitse ohjauspaneelista “Device +/-“ –valikko ja tämän alta “Add Device”.

TECHNICAL DATA
30 mAh Lithium battery
gh walls and ceilings
imensions: 65mm(L) * 38mm(W) * 15mm(H)
rt nr 36.2870
DECLARATION OF CONFORMITY
Hereby Electia AB declares th ntial requirements and other
relevant provisions of Directive 1999/5/EC.
Härmed intygar E nskapskrav och
övriga relevanta bestämmelser som framgår av direktiv 1999/5/EG.
E 0678
Power: “CR2032” 3V 2
Battery Life 5 years
Range: 15m to 30m throu
Frequency : 868 MHz
D
A
at the RCA-8N is in compliance with the esse
lectia AB att RCA-8N står i överensstämmelse med de väsentliga ege
C
household rubbish. Seek the advice of
our local authority on correct, Environmentally friendly disposal.
sed batteries in the household rubbish! They should be deposited at a collection point
r used batteries.
stra Frölunda
weden
www.electia.se
At the end of it’s life ,those products should NOT be disposed of in
y
Batteries
Do not dispose of u
fo
Electia AB
Fältspatsgatan 3
421 30 Vä
S
Table of contents
Languages:
Other Electia Remote Control manuals
Popular Remote Control manuals by other brands
Hobby King
Hobby King Align Trex SE Setup guide
Paradox
Paradox Magellan REM2 instructions
Range Master
Range Master TXTIMER user manual
Real Fyre
Real Fyre RR-2A Installation and operating instructions
Contro l4
Contro l4 SR-260 Installation and setup guide
Tripp Lite
Tripp Lite Keyspan Wireless Presentation Remote PR-US2 Specifications
Skytech
Skytech 5310P Installation and operation instructions
Nordic Start
Nordic Start NS-1000 SH user guide
Alpic Air
Alpic Air RG09K/BG owner's manual
eControls
eControls Smart WHF Control RT3K Installer manual
Skytech
Skytech RCT-MLT IV Installation and operation instructions
FOR-A
FOR-A MV-42HS Quick setup guide

