manuals.online logo
Brands
  1. Home
  2. •
  3. Brands
  4. •
  5. Electrolux
  6. •
  7. Dishwasher
  8. •
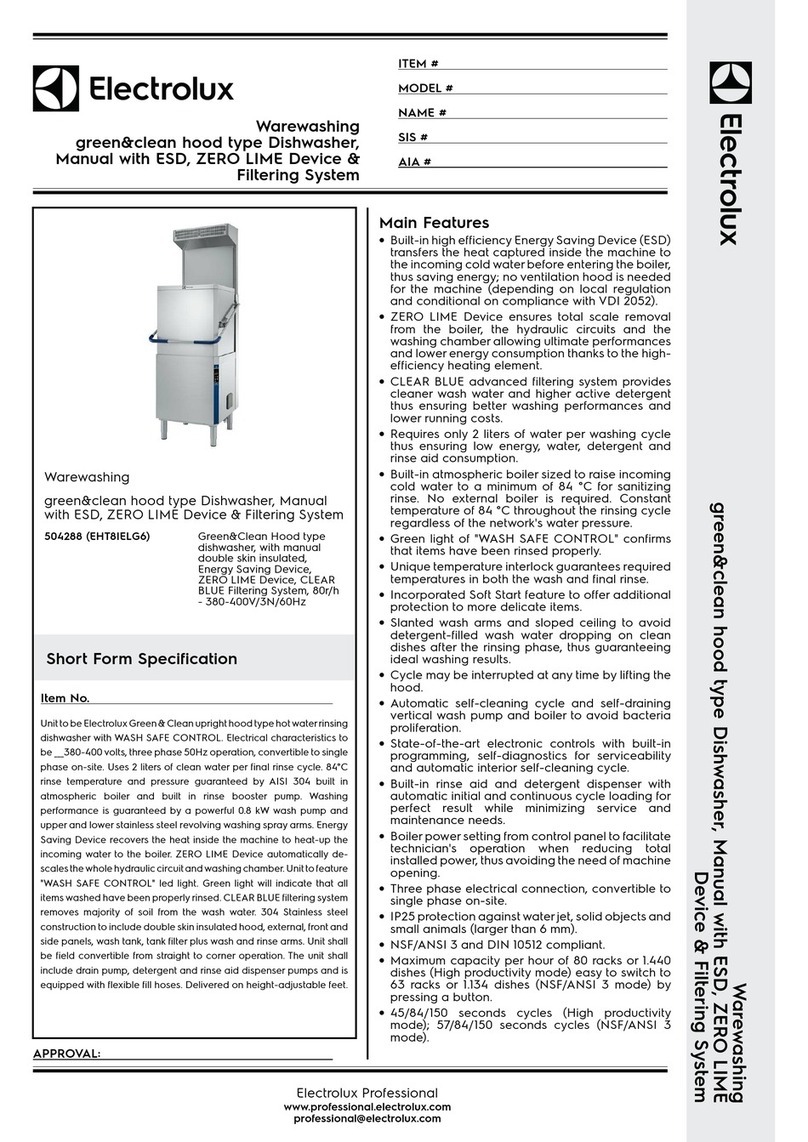
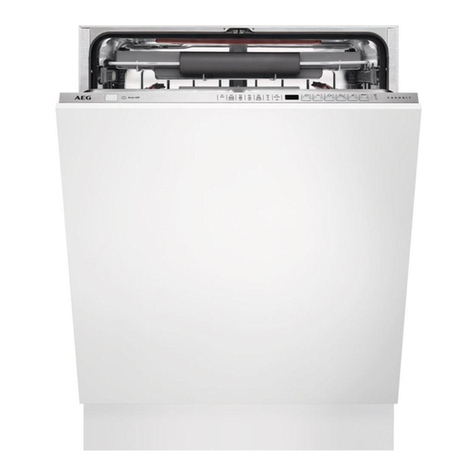
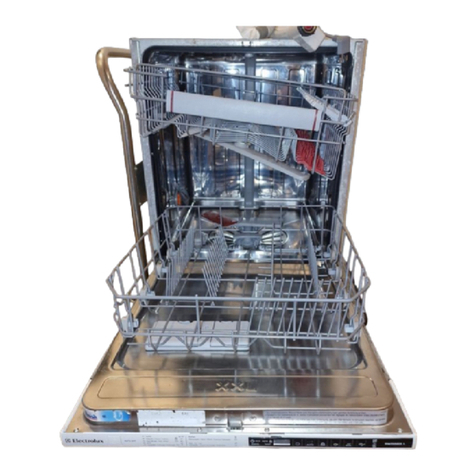
  9. Electrolux EDW 500 User manual

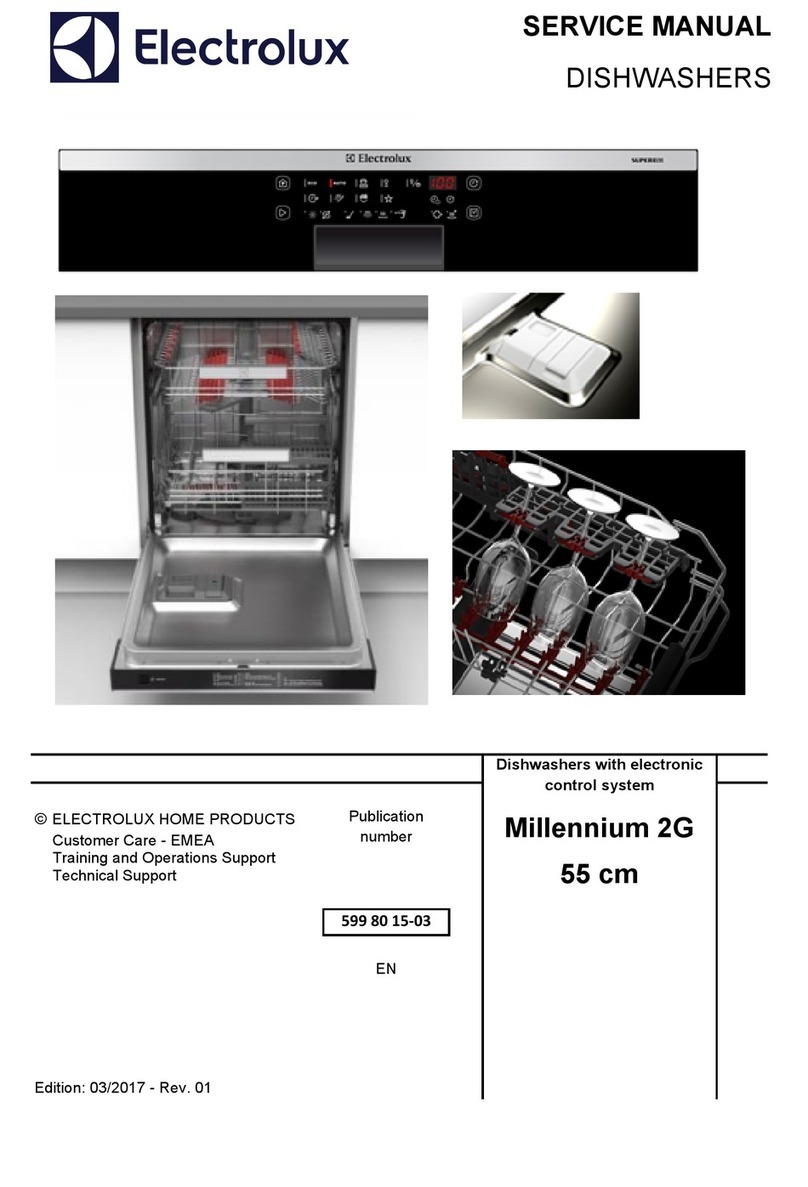
Electrolux EDW 500 User manual

© ELECTROLUX HOME PRODUCTS
Consumer Service - EMEA
Quality & Continuous Improvement - Technical Support
SERVICE MANUAL
DISHWASHERS
FOR INTERNAL AND PARTNERS USE ONLY
For internal and partners use only.
EN
Publication number
599 83 22 - 07
Edition: 08/2019 - Rev. 0
Dishwashers with electronic control system
SERVICE MODE
• EDW 500 • EDW 750
• EDW 1500 • EDW 1510
• EDW 1750
Introduction & Purpose
Technical Support – RA
Chapter
1
CONTENTS:
Introduction & Purpose Chapter 1
User Interface – Introduction Chapter 2
EDW 500 Chapter 3.1
EDW 750 Chapter 3.2
EDW 1500 Chapter 3.3
EDW 1510 Chapter 3.4
EDW 1750 Chapter 3.4
Purpose:
To describe all the Service Mode functions for the User Interfaces included
on this Service Manual
Abbreviations, Acronyms and Definitions
RTA Remaining time adaptation
MCF Machine Configuration File
NTC
PB100
DIVA2
MCB
ADO
Negative Temperature Coefficient resistor
New platform for dual BLDC machines (Global hydraulic)
Platform with single BLDC control in separate unit (MCB)
Motor Control Board (DIVA2)
Auto Door Opener
Document Revisions
Revision Date Description Author
V0.0 08/2019 Document creation Rui Almeida
Electrical appliances must be serviced only
by qualified Service Engineers.
Always use proper safety equipment.
Always remove the plug from the power
socket before touching internal components.
User interface – Introduction
Technical Support – RA
Chapter
2
User Interface – Modes and Function description
Reset
“Reset” is a special kind of User Operation to stop or deselect a
running program. In Dorothea range, when this function is
performed, the appliance will be in Startup mode with ECO program
and its default option selected.
Reset can be performed in any state except the Startup mode.
Reset is done by pressing the reset key combination for at least 2
seconds or press the specific button dedicated to this function by
the custom software.
The Reset key combination or specific Reset key is clearly indicated
on the control panel as ‘Reset’ or ‘Cancel’.
User Mode
The full function User Mode includes:
•Water Hardness Setting
•Rinse Aid Level Setting
•End of Cycle Buzzer Setting
•Display on Floor Display Colour Setting
•ADO Setting
According to hardware configuration of the dishwasher and
marketing requirement, User Mode in individual models can be a
subset of above functions.
The User Mode functions are not described in this Service Manual
since they are available on the User Manual.
Service Mode
The full function Service Mode includes:
•Fault Memory Reading
•Actuator Test
•LEDTest
•Functional Test cycle
•Enable/disable Extra Rinse
•Enable/disable Pulse Wash
•LCD brightness setting
•LCD contrast setting
According to hardware configuration of the dishwasher and
marketing requirement, Service Mode in individual models can be a
subset of above functions.
All the Service Mode functions are described on this user Service
Manual.
User interface – Introduction
Technical Support – RA
Chapter
2
Service Mode – Function description
Alarm Reading and Actuator Test
After accessed Service mode to get the saved alarms and test
actuators.
Details of alarm code displaying are in later Alarm Code section.
LED Test / Delete Alarm Memory
To test the LEDS and erase alarm codes from memory.
Functional Test Cycle
Run a test cycle. It runs as a normal wash cycle. It can be cancelled
or run to its end.
Enable/disable Extra Rinse
An additional cold rinse phase can be added to the cycles to
improve wash performance. In factory (default) settings, this is
disabled.
Use this function to enable or disable the Extra Rinse.
Enable/disable Pulse Wash
Pulse Wash can be disabled from the cycles to improve wash
performance. In factory (default) settings, this is enabled.
Use this function to disable or enable Pulse Wash.
EDW500
Technical Support – RA
Chapter
3
EDW500
Styling Overview
Location of LEDs, Rotary and Push Buttons
Reset
There are variants of EDW500 models which have only 1 button.
For these single-button models, press and hold the single button to
reset.
Access Service Mode
The Service Mode can only be accessed after the Reset function
has been carried out and the appliance is switched off.
When machine is off, press and hold S1 while switching the
appliance on by turning the rotary to the 1
st
position on the left (P3),
keep holding the buttons for 4 seconds.
L1 and L2 blink to indicate that Service mode is accessed.
Rotary
L1
L3
L2
S1
S2
EDW500
Technical Support – RA
Chapter
3
For variants that have only one button, use the only button instead
of S1.
Alarm Reading and Actuator Test
After accessed Service mode (L1 and L2 blinking):
1. Press button S1 to show the first alarm code.
L1 and L2 keeps blinking to indicate the machine is in
service modes.
The first alarm code saved is shown by the blink
sequence of 2 LEDs in the right column. For descriptions
of alarm codes, please see later Alarm Codes section.
2. Press button S1 again to show the second alarm code.
3. Press button S1 once more to show the third alarm code.
4. Press button S1 the fourth time to move to Actuator Test. Press
button S1 repeatedly will sequentially turn on one actuator at a
time.
L1 and L2 blink to indicate the machine is in service
modes. L4 is turned on to indicate the machine is in
Actuator Test.
The following table shows the number of press on S1
and the actuator is turned on.
Num er of
S1 Pressed
Actuator
Num er
in Display
Actuator Comment
4 4 Regeneration Valve
5 5 Drain Pump
6 6 Inlet Valve
O when water
level reached
7 7 Heater
On
only i water
level reached
8 8 Wash Pump
9 9 Dispenser
10 10 Auto door opening
5. Press button S1 when actuator number 10 is activated, the
machine will cycle back to Alarm reading and show the first
alarm code saved.
6. Switching off the appliance will exit Service mode.
For variants that have only one button, use the only button instead
of S1.
LED Test / Delete Alarm Memory
After accessed Service mode (L1 and L2 blinking):
1. Turn the rotary to the 2
nd
position on the left (P2).
EDW500
Technical Support – RA
Chapter
3
2. Press button S1 to start this function
All used LEDs blink 5 second on 1 second off.
If a buzzer is equipped, it beeps for 5 seconds.
The alarm codes saved in memory are erased.
3. Switching off the appliance will exit Service mode.
For variants that have only one button, use the only button instead
of S1.
Functional Test Cycle
After accessed Service mode (L1 and L2 blinking):
1. Turn the rotary to the 3
rd
position on the left (P1).
2. Press button S1 to start the test cycle. The cycle will not start if
door is opened.
The test cycle runs as a normal wash cycle. It can be
cancelled or run to its end.
During running, L1 stays on and L2 blinks. If phase
indication LED presented, the ‘Wash’ LED blinks when
the cycle is running. After the cycle ends, the End LED
turns on.
For variants that have only one button, use the only button instead
of S1.
Enable/disable Extra Rinse
Not available for this User Interface.
Enable/disable Pulse Wash
Not available for this User Interface.
EDW750
Technical Support – RA
Chapter
3
EDW 750
Styling Overview
Location of LEDs, Rotary and Push Buttons
Reset
Access Service Mode
The Service Mode can only be accessed after the Reset function
has been carried out and the appliance is switched off.
When machine is off, turn the rotary to the top position (P5).
L1
L2
L3
S2
S3
S1
Rotary
EDW750
Technical Support – RA
Chapter
3
Press and hold button S1+S3 simultaneously while switching the
appliance on, keep holding the buttons for 4 seconds.
L1, L2 and L3 blink to indicate that Service mode is accessed.
Alarm Reading and Actuator Test
After accessed Service mode (L1, L2 and L3 blinking):
1. Press button S1 to show the first alarm code.
L1 blinks to indicate the machine is in Alarm Reading.
The first alarm code saved is shown in the display.
2. Press button S1 again to show the second alarm code.
3. Press button S1 once more to show the third alarm code.
4. Press button S1 the fourth time to move to Actuator Test. Press
button S1 repeatedly will sequentially turn on one actuator at a
time.
L1 is turned off. L2 blinks to indicate the machine is in
Actuator Test.
The actuator number is shown in the display.
5. Press button S1 when actuator number 10 is activated, the
machine will cycle back to Alarm reading and show the first
alarm code saved.
6. Switching off the appliance will exit Service mode.
Num er of
S1 Pressed
Actuator
Num er
in Display
Actuator Comment
4 4 Regeneration Valve
5 5 Drain Pump
6 6 Inlet Valve
O
when water
level reached
7 7 Heater
On only i water
level reached
8 8 Wash Pump
9 9 Dispenser
10 10 Auto door opening
EDW750
Technical Support – RA
Chapter
3
LED Test / Delete Alarm Memory
After accessed Service mode (L1, L2 and L3 blinking):
1. Press button S2 to start this function.
All used LEDS and display (show “8:88”) blinks 5 second
on 1 second off.
If a buzzer is equipped, it beeps for 5 seconds.
The alarm codes saved in memory are erased.
2. Switching off the appliance will exit Service mode.
Functional Test Cycle
After accessed Service mode (L1, L2 and L3 blinking):
1. Press button S3 to start the test cycle. The cycle will not start if
door is opened.
L3 blinks for the duration of the test cycle.
Display shows the remaining time of test cycle.
Press button S3 to start the test cycle. The cycle will not start if door
is opened.
L3 blinks for the duration of the test cycle.
Display shows the remaining time of test cycle.
3. The test cycle runs as a normal wash cycle. It can be cancelled
or run to its end.
EDW750
Technical Support – RA
Chapter
3
Enable/disable Extra Rinse
After accessed Service mode (L1, L2 and L3 blinking):
1. Press button S1+S2 to enter this function.
L1 blinks indicating it is in Extra Rinse setting mode.
Display show the current setting of Extra Rinse. “0E” for
disabled, “1E” for enabled
2. Press button S1 to change the setting
3. Switching off the appliance will exit Service mode.
Enable/disable Pulse Wash
After accessed Service mode (L1, L2 and L3 blinking):
1. Press button S2+S3 to enter this function.
L2 blinks indicating it is in Pulse Wash setting mode.
Display show the current setting of Pulse Wash. “0P” for
disabled, “1P” for enabled
2. Press button S2 to change the setting
3. Switching off the appliance will exit Service mode.
EDW1500
Technical Support – RA
Chapter
3
EDW 1500
Styling Overview
Location of LEDs, Rotary and Push Buttons
Reset
Access Service Mode
The Service Mode can only be accessed after the Reset function
has been carried out and the appliance is switched off.
When machine is off, press and hold button S1+S3 simultaneously
while switching the appliance on, keep holding the buttons for 4
seconds.
L1, L2 and L3 blink to indicate that Service mode is accessed.
S2
S3
S4
S5
S6
L1
L3
L2
L4
S1
EDW1500
Technical Support – RA
Chapter
3
Alarm Reading and Actuator Test
After accessed Service mode (L1, L2 and L3 blinking):
1. Press button S1 to show the first alarm code.
L1 blinks to indicate the machine is in Alarm Reading.
The first alarm code saved is shown in the display. .
Please see later Alarm Codes section.
2. Press button S1 again to show the second alarm code.
3. Press button S1 once more to show the third alarm code.
4. Press button S1 the fourth time to move to Actuator Test. Press
button S1 repeatedly will sequentially turn on one actuator at a
time.
L1 is turned off. L2 blinks to indicate the machine is in
Actuator Test.
The actuator number is shown in the display.
5. Press button S1 when actuator number 10 is activated, the
machine will cycle back to Alarm reading and show the first
alarm code saved.
6. Switching off the appliance will exit Service mode.
Num er of
S1 Pressed
Actuator
Num er
in Display
Actuator Comment
4 4 Regeneration Valve
5 5 Drain Pump
6 6 Inlet Valve
Off hen ater
level reached
7 7 Heater
On only if ater
level reached
8 8 Wash Pump
9 9 Dispenser
10 10 Auto door opening
LED Test / Delete Alarm Memory
After accessed Service mode (L1, L2 and L3 blinking):
EDW1500
Technical Support – RA
Chapter
3
1. Press button S2 to start this function.
All used LEDS and display (show “8:88”) blinks 5 second
on 1 second off.
If a buzzer is equipped, it beeps for 5 seconds.
The alarm codes saved in memory are erased.
2. Switching off the appliance will exit Service mode.
Functional Test Cycle
After accessed Service mode (L1, L2 and L3 blinking):
1. Press button S3 to start the test cycle. The cycle will not start if
door is opened.
L3 blinks for the duration of the test cycle.
Display shows the remaining time of test cycle.
The test cycle runs as a normal wash cycle. It can be
cancelled or run to its end.
Enable/disable Extra Rinse
After accessed Service mode (L1, L2 and L3 blinking):
1. Press button S1+S2 to enter this function.
L1 blinks indicating it is in Extra Rinse setting mode.
Display show the current setting of Extra Rinse. “0E” for
disabled, “1E” for enabled
2. Press button S1 to change the setting
EDW1500
Technical Support – RA
Chapter
3
3. Switching off the appliance will exit Service mode.
Enable/disable Pulse Wash
After accessed Service mode (L1, L2 and L3 blinking):
1. Press button S2+S3 to enter this function.
L2 blinks indicating it is in Pulse Wash setting mode.
Display show the current setting of Pulse Wash. “0P” for
disabled, “1P” for enabled
2. Press button S2 to change the setting
3. Switching off the appliance will exit Service mode.
EDW1510 / EDW1750
Technical Support – RA
Chapter
3
EDW 1510 / EDW1750
Styling Overview
Location of LEDs and Push Buttons
Reset
Press the S1, which is dedicated to this function.
Access Service Mode
When machine is off, press and hold button S1+S3 simultaneously
while switching the appliance on, keep holding the buttons for 4
seconds.
L1
L2
L3
L4
S1
S2
S3
S4
EDW1510 / EDW1750
Technical Support – RA
Chapter
3
L1, L2 and L3 blink to indicate that Service mode is accessed.
Alarm Reading and Actuator Test
After accessed Service mode (L1, L2 and L3 blinking):
1. Press button S1 to show the first alarm code.
L1 blinks to indicate the machine is in Alarm Reading.
The first alarm code saved is shown in the display.
Please see later Alarm Codes section.
2. Press button S1 again to show the second alarm code.
3. Press button S1 once more to show the third alarm code.
4. Press button S1 the fourth time to move to Actuator Test. Press
button S1 repeatedly will sequentially turn on one actuator at a
time.
L1 is turned off. L2 blinks to indicate the machine is in
Actuator Test.
The actuator number is shown in the display.
5. Press button S1 when actuator number 10 is activated, the
machine will cycle back to Alarm reading and show the first
alarm code saved.
6. Switching off the appliance will exit Service mode.
Number of
S Pressed
Actuator
Number
in Display
Actuator Comment
4 4 Regeneration Valve
5 5 Drain Pump
6 6 Inlet Valve
Off hen ater
level reached
7 7 Heater
On only if ater
level reached
8 8 Wash Pump
9 9 Dispenser
10 10 Auto door opening
LED Test / Delete Alarm Memory
After accessed Service mode (L1, L2 and L3 blinking):
EDW1510 / EDW1750
Technical Support – RA
Chapter
3
1. Press button S2 to start this function.
All used LEDS and display (show “8:88”) blinks 5 second on
1 second off.
If a buzzer is equipped, it beeps for 5 seconds.
The alarm codes saved in memory are erased.
2. Switching off the appliance will exit Service mode.
Functional Test Cycle
After accessed Service mode (L1, L2 and L3 blinking):
1. Press button S3 to start the test cycle. The cycle will not start if
door is opened.
L3 blinks for the duration of the test cycle.
Display shows the remaining time of test cycle.
The test cycle runs as a normal wash cycle. It can be
cancelled or run to its end.
Enable/disable Extra Rinse
After accessed Service mode (L1, L2 and L3 blinking):
1. Press button S1+S2 to enter this function.
L1 blinks indicating it is in Extra Rinse setting mode.
Display show the current setting of Extra Rinse. “0E” for
disabled, “1E” for enabled.
2. Press button S1 to change the setting.
EDW1510 / EDW1750
Technical Support – RA
Chapter
3
3. Switching off the appliance will exit Service mode.
Enable/disable Pulse Wash
After accessed Service mode (L1, L2 and L3 blinking):
1. Press button S2+S3 to enter this function.
L2 blinks indicating it is in Pulse Wash setting mode.
Display show the current setting of Pulse Wash. “0P” for
disabled, “1P” for enabled
2. Press button S2 to change the setting
3. Switching off the appliance will exit Service mode.

This manual suits for next models

4

Other Electrolux Dishwasher manuals

Electrolux KEQB7300L User manual

Electrolux

Electrolux KEQB7300L User manual

Electrolux EIDW6105GS0 Operating manual

Electrolux

Electrolux EIDW6105GS0 Operating manual

Electrolux ESF 6120 User manual

Electrolux

Electrolux ESF 6120 User manual

Electrolux ESL 624 User manual

Electrolux

Electrolux ESL 624 User manual

Electrolux "DIVA" EDW 500 User manual

Electrolux

Electrolux "DIVA" EDW 500 User manual

Electrolux EIDW5705PB Parts list manual

Electrolux

Electrolux EIDW5705PB Parts list manual

Electrolux EI24ID81SS0A User manual

Electrolux

Electrolux EI24ID81SS0A User manual

Electrolux ESF63030 User manual

Electrolux

Electrolux ESF63030 User manual

Electrolux ESL 66910 User manual

Electrolux

Electrolux ESL 66910 User manual

Electrolux ESF 620 Guide

Electrolux

Electrolux ESF 620 Guide

Electrolux Athur Martin ASI67050 User manual

Electrolux

Electrolux Athur Martin ASI67050 User manual

Electrolux ESL4161 User manual

Electrolux

Electrolux ESL4161 User manual

Electrolux ESL5330LO User manual

Electrolux

Electrolux ESL5330LO User manual

Electrolux ESI4501LOX User manual

Electrolux

Electrolux ESI4501LOX User manual

Electrolux ESS47410SX User manual

Electrolux

Electrolux ESS47410SX User manual

Electrolux ESF 6130 User manual

Electrolux

Electrolux ESF 6130 User manual

Electrolux EEC87315L User manual

Electrolux

Electrolux EEC87315L User manual

Electrolux ESL 63010 User manual

Electrolux

Electrolux ESL 63010 User manual

Electrolux TRICITY BENDIX BDW 55 User manual

Electrolux

Electrolux TRICITY BENDIX BDW 55 User manual

Electrolux GA60KVSW User manual

Electrolux

Electrolux GA60KVSW User manual

Electrolux MDB421RHS2 User manual

Electrolux

Electrolux MDB421RHS2 User manual

Electrolux FAVORIT 50872 User manual

Electrolux

Electrolux FAVORIT 50872 User manual

Electrolux ESF 640 Guide

Electrolux

Electrolux ESF 640 Guide

Electrolux ASF65090 User manual

Electrolux

Electrolux ASF65090 User manual

Popular Dishwasher manuals by other brands

Frigidaire 900 Series Use & care manual

Frigidaire

Frigidaire 900 Series Use & care manual

elvita CDM2451X quick start guide

elvita

elvita CDM2451X quick start guide

Bosch SMS4HCW48E INFORMATION FOR USE

Bosch

Bosch SMS4HCW48E INFORMATION FOR USE

Baumatic BYDI630 user manual

Baumatic

Baumatic BYDI630 user manual

NEFF S59T55X0EU manual

NEFF

NEFF S59T55X0EU manual

Zanussi ZI 627 Instruction book

Zanussi

Zanussi ZI 627 Instruction book

Whirlpool DP3880XM Use & care guide

Whirlpool

Whirlpool DP3880XM Use & care guide

Bosch SGU2HVS20E user manual

Bosch

Bosch SGU2HVS20E user manual

AEG FAVORIT 99015 VI user manual

AEG

AEG FAVORIT 99015 VI user manual

Siemens SP61IX05KE user manual

Siemens

Siemens SP61IX05KE user manual

Indesit IDL 63 Installation and use manual

Indesit

Indesit IDL 63 Installation and use manual

Fisher & Paykel DISHDRAWER DD24DTI9 Troubleshooting

Fisher & Paykel

Fisher & Paykel DISHDRAWER DD24DTI9 Troubleshooting

Mach MS/905 INSTRUCTIONS BOOKLET FOR INSTALLATION MAINTENANCE OPERATION

Mach

Mach MS/905 INSTRUCTIONS BOOKLET FOR INSTALLATION MAINTENANCE OPERATION

Whirlpool ADP 7955 TOUCH Quick reference guide

Whirlpool

Whirlpool ADP 7955 TOUCH Quick reference guide

Bosch SPS2HMW54Q INFORMATION FOR USE

Bosch

Bosch SPS2HMW54Q INFORMATION FOR USE

Gram OM 45-07 T instruction manual

Gram

Gram OM 45-07 T instruction manual

Bosch SPS4HKW53E user manual

Bosch

Bosch SPS4HKW53E user manual

Zanussi DCS 14 S Instruction booklet

Zanussi

Zanussi DCS 14 S Instruction booklet

manuals.online logo
manuals.online logoBrands
  • About & Mission
  • Contact us
  • Privacy Policy
  • Terms and Conditions

Copyright 2025 Manuals.Online. All Rights Reserved.