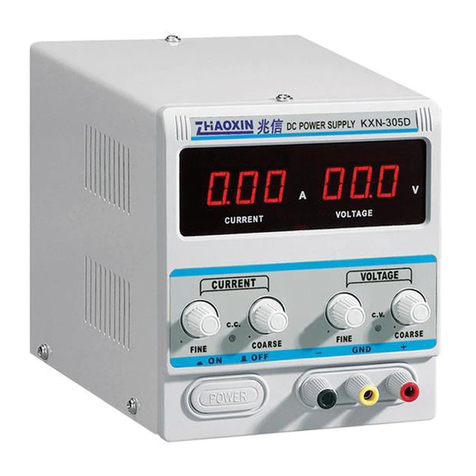
Electrosec DPS-3 User manual

Page 1/2
2008-2 electrosec
R
electrosec
FEATURES
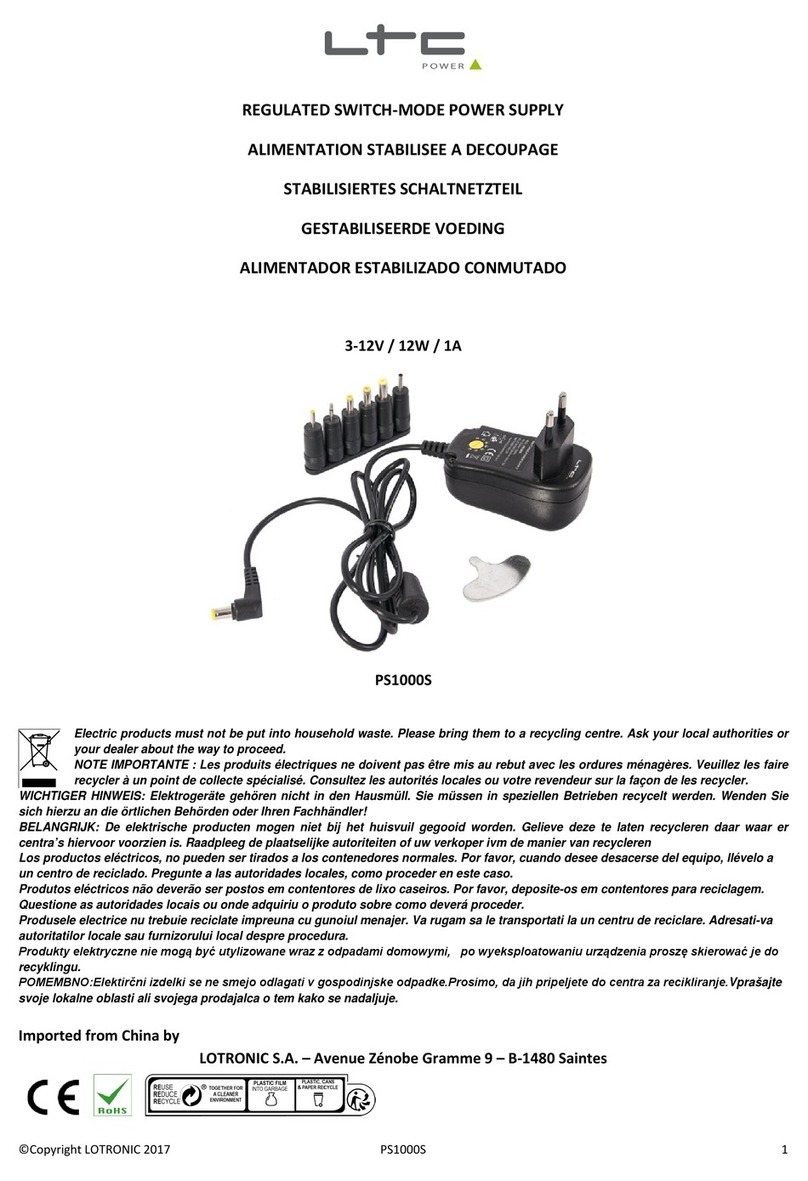
3 ampere 110-240 Vac. Free Input Voltage
Output voltage that is adjusted 3-24 Vdc. from keypad
Output voltage interval 1Vdc.
3x4 Marix Membrane Keypad
2-digit 7-segment Display that displays volt
2-digit 7-segment Display that displays ampere
Automatic Digital Output Current Limitation
Changable 4-digit program entrance code
Restoring Factory Settings Code Function
Stand-by waiting
Audible warning when keys are pressed
Green, red and yellow fonction leds
Audible alarm warning in case of short circuit and overload current
Protection against short circuit, overload current & thermal digital
Power cable with socket for AC input
Metal case, Dimension : W: 110mm. H:90mm D:190mm
Input voltage :
Output voltage :
Output voltage interval :
Output voltage precision :
Current measurement precision :
Regulator type :
Switching frequency :
Output current :
:
Protection overload :
Programmable current Limit :
Thermal protection :
Output leakage current :
Resting current :
Cooler :
Controller :
Voltage Display :
Current Display :
Control lights :
Audible warning :
Keypad :
Operation temprature :
Weight :
Protection against short circuit
110-240 Ac.
3-24 Vdc. Digital adjustment
1V. steps
+ % 1-3
+/- %5
Simple Switcher Step Down
52 Khz.
Continue 2.6 A.
Electronic Voltage closure
2.8 A. Max. Voltage closure
Current that is + 300 Ma.
+ 125 C
Max. 2mA.at 0V.
50 Ua (Stand-by).
Aluminium 50x78x20 mm.
Microprocessor with adj input
2 Digit 7 Segment red
2 Digit 7 Segment red
Yellow, green, red 3mm led
5Vdc. Buzzer
3x4 Matrix
-10 + 60 C
2.200 Kg.
DPS-3
DIGITAL POWER SUPPLY
USER’S GUIDE
www.electrosec.com
TECHNICAL SPECIFICATIONS

Page 2/3
2008-2 electrosec
DPS-3 USER’S GUIDE
The factory setting for the digital adapter is adjusted in accordance with the 2.6 ampere that is the
maximum current you can draw. You can reduce this current to the +300Ma. current limit depending
on the importance of the equipments you use. This helps you protect the equipments that are connected
to you. When the equipments are in the breakdown formation phase, they draw more current than they
normally do. For the digital adapter to feel this, it needs current limit. For this, all the equipments that
are going to be connected to the digital adapter must be put into operation mode and the current that is
drawn in the current display must be under 2.3 ampere.
WHAT IS THE DIGITAL CURRENT LIMIT ?
ENABLE THE DIGITAL CURRENT LIMIT
1234 which is the factory setting code is entered. Then press the key # and digital current limitation is
put into operation with the affirmation sound. From that moment on, the current that is 300Ma more
than the current that is displayed on the screen can not be drawn. When it tries to draw, the output
current is cut and the letters “oL” which is the Over Load symbol starts to blink on the Ampere screen
together with the warning sound. This situation goes on until you press the * key. If the equipment does
not turn back to its normal condition although you press * key, then there mus certainly be a problem
with the equipments that are connected or extra current is being drawn from the digital adapter without
your control. When you find this problem, you can operate the digital adapter again by pressing * key.
1234 which is the factory setting code is entered. Then press the key # and digital current limitation is
put out of operation with the affirmation sound. From that moment on, from the digital adapter, you can
draw 2.6 ampere which is the factory setting value. If more than 2.6 ampere current is drawn, the letters
“oL” which is the Over Load symbol starts to blink together with the warning sound as in the case of
digital current limitation. In this case you can operate the digital adapter again by pressing * key and
diminishing the load that is connected to the digital adapter.
DIGITAL PROTECTION AGAINST SHORT CIRCUIT AND HEAT
Digital Adapter has protection against short circuit. In case of short circuit in the voltage in put, the
letters “oL” which is the Over Load symbol starts to blink together with the warning sound as in the
case of digital current limitation. In this case, you can operate the digital adapter again by checking
equipment connections that are connected and the voltage output of the digital adapter and pressing
* key. In addition to this, protection against thermal heat gets into service at 125 C
INSTALLATION & PROGRAMMING
You can operate the equipment by plugging the power cable, that is given together with the equipment,
to the 220 Vac. input socket that is at the back of the equipment. While the equipment is opennig, the
letters OP En appears on the screen that is on the front side, later on Voltage screen the number 12
appears and on the Ampere screen the numbers 00 appears. The numbers that is written on the voltage
screen represent the voltage. The factory setting is adjusted as 12Vdc. You can draw 2.6 ampere.
DISABLE THE DIGITAL CURRENT LIMIT

Page 3/3
2008-2 electrosec
STAND-BY FUNCTION
Press key #. The writing StbY appears on the screen. In this case, voltage output is cut and the
digital adapter enters into standby function. With key *, it exits the standby function. Digital
adapter saves the conditions it is in against power cut. When the power is on again, it opens in
the last condition it has been.
CHANGING THE USER CODE
When you press the factory setting code 1234, you hear an affirmation sound and the red light starts
to blink. In this case, press the key 0 and hear the affirmation sound again. Subsequently enter the
new 4-digit code that you determine and you will hear an affirmation sound. When you enter the
new 4-digit code that you determine again, the new code is put into service with the affirmation
sound. If the 4-digit new codes are not the same, it gives a warnng with an error sound. In this case,
press key 0 and enter the new code again. After the code changing process is executed appropriately,
you can exit the program by pressing key *. In this case the red light becomes off. It gives warning
as short beep each time a key is pressed, as long beep for an affirmation sound and as short beeps
with intervals for an error.
DIGITAL OUTPUT VOLTAGE ADJUSTMENT
After entering the factory setting code 1234, you can make the output voltage adjustment by entering
a value that you want between 3 Volt and 24 Volt from the key pad. The value that you enter appears
on the Voltage screen. During this operation, output voltage is cut. After the operation is completed,
you can exit the program by pressing the key *
Digital adapter has 8-digit reset code that makes it possible to restore the factory settings against
failure to remember the code. For your own security, you can learn this code by phone from the
recognized dealer from whom you have purchased the digital adapter.
MANUFACTURER COMPANY: ELEKTROSEC Security Systems
Cemal Sururi sokak. No: 33 D.1 Mecidiyeköy/İSTANBUL
Phone: +90 0212 2120310 Pbx. Gsm. (0533) 2364947 Fax: (0212) 3474692
Email: [email protected] Web: www.electrosec.com
DPS-3 USER’S GUIDE
EQUIPMENT RESET AGAINST FAILURE TO REMEMBER THE CODE
MAINTENANCE AND REPAIR
Keep the equipment dry. If it gets wet, wipe it dry immediately, liquids contain minerals that can
give harm to electronic circuits. Store the device in normal temperature environments. Too much
heat and lack of heat reduces the life-span of electronic-powered devices and causes deformation
on plastic sections.
Table of contents
