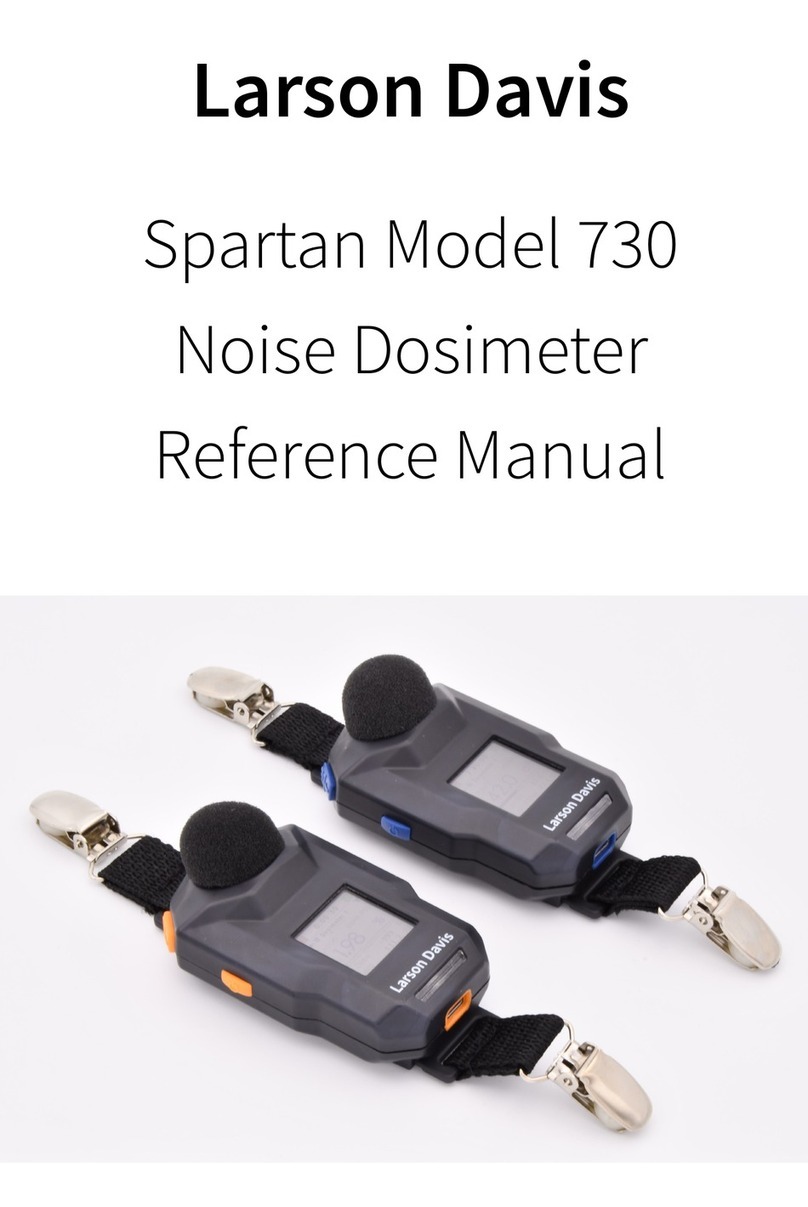
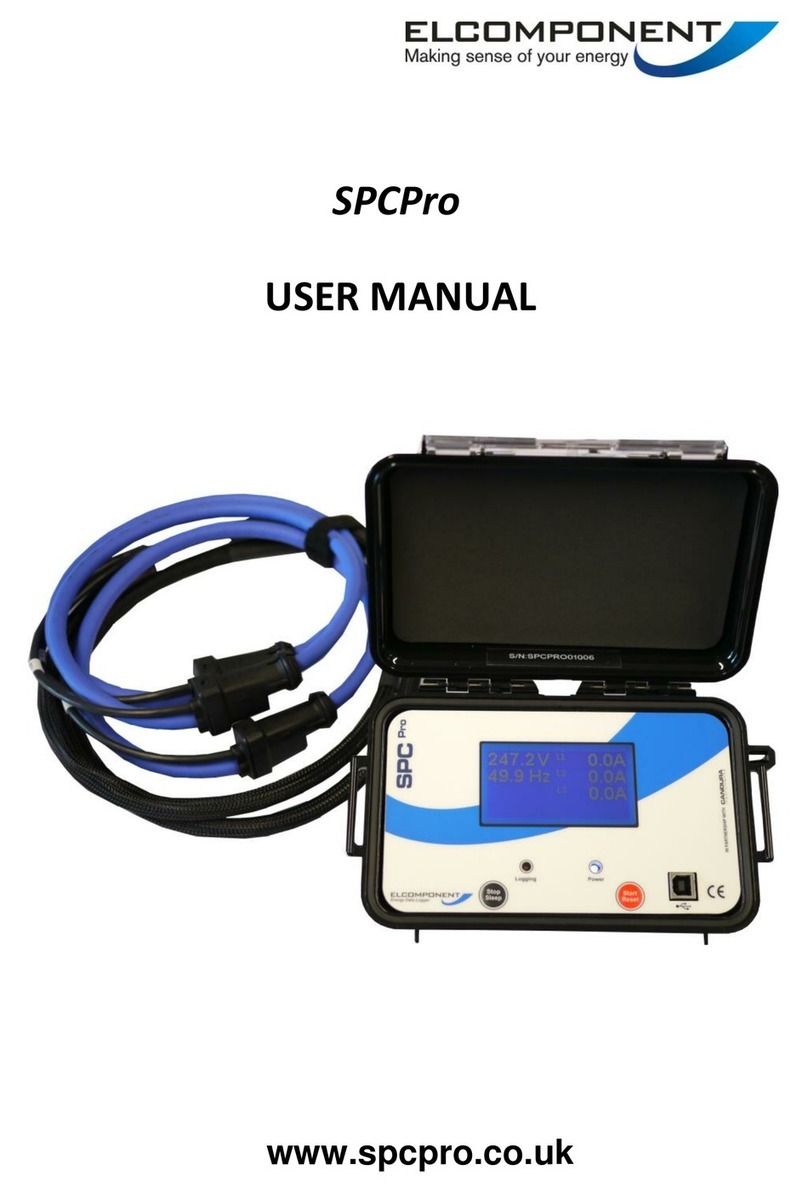
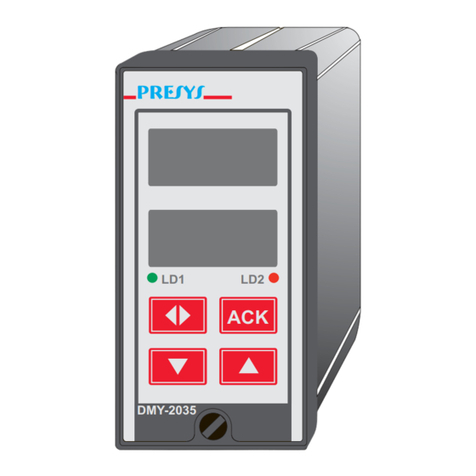
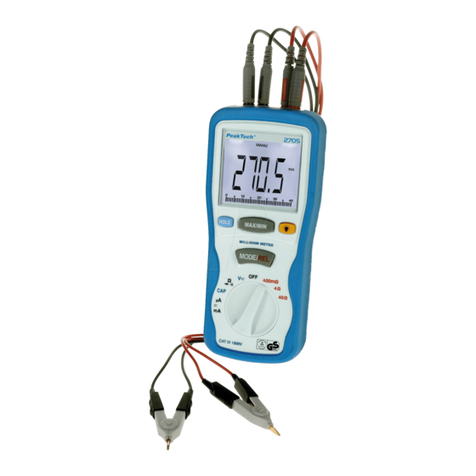
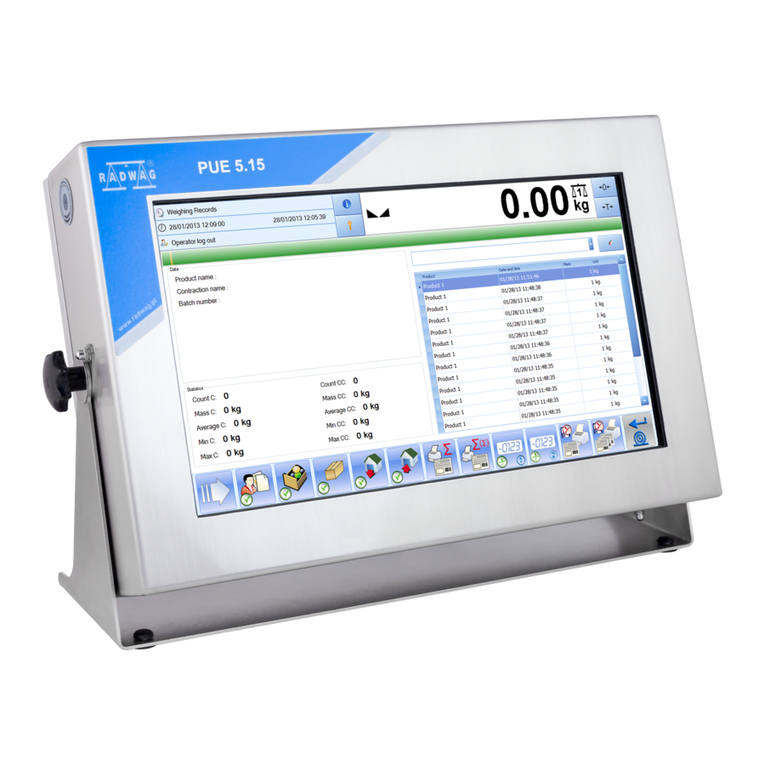
Elite Element DCM-120100C User manual

-1-
InstructionManualforMulti-functionPanel Meter
EliteElement Model DCM-120100C
(English version -edited)
MainFeatures oftheMeter
Both forward (Positive) and reverse(Negative) currentflows canbemeasured.
The CHARGING”LEDon therightlights whenthebatteryis charging.
Other LEDs (V, TIME, W, A, AH, %) showwhatthedisplayto theleftismeasuring.
Themeasured valuesare shown on two-lineseven-segmentmulti-function displays:
On thetop lineis afour-digit display, toggled bytheV/Wbutton between
-Voltage(V), Power (W)and WorkingHours (TIME)
On thebottomlineis athree-digit display, toggledbytheA/AHbutton between
-Current(A), Ampere-hours (AH) and RemainingCapacityPercentage(%).
There is aflexiblecalibration process forvoltage,currentand Amp-hours/%capacity
Themeter does notrequire externalpowerwhenmeasuringbetween 10Vand 90V.
Themeter consumes verylittlepower forits ownoperation.
Thepackageincludes thedisplayunit, connectorblock and current-measuringshunt.
Specification
•Power supplyrequired:DC10 to 90V(externalorinternal)
•Measuringrange:
(1)Usingan externalpower supply-Voltage0 to 120.0V/Amp 0 to 100A
(2)Usingan internalpower supply-Voltage10 to 90.0V/Amp 0 to 100A
•Accuracy:Volts ±0.1%+2byte, Amps ±0.5%+3byte
•Resolution 0.01V, 0.1A, 0.01W, 0.01Ah
•Dimensions:79mm x43mm x30mm
•Panelcutout: 76.5mm x39.2mm
•Samplingrate:5 readingper second
•Displays:4 and 3 digitsRedLED
•OperatingTemperature:0 to 50°C
•OperatingHumidity:35 to 85%RelativeHumidity
•Weight: 130gincludingtheshunt

-2-
Installation
1. Cutrectangular holein thepanelprecisely76.5mmx39.2mmto mountthemeter.
2. Plugthemulti-paircablebetween themeter and theconnectorblock. .
3. Mountthemeter into thecutout, with theconnectorblock accessibleforwiring.
4. Connecttheshuntin series with theheavycableon negativeterminalofbattery.
5. Selecttheconfiguration (internalorexternalpower) fromFigures 1, 2, &3.
6. Cablebetween theshuntand connectorblock accordingto selected configuration.
7. ConnectDCpositive(+) power to meter accordingto theselected configuration.
8. Testthemeter fornormaloperation and calibrateitas follows.
NormalOperation
•Bydefault, when themeter is firstpowered up, thedisplayon thetop lineshows
voltage(V) and thedisplayon thebottomlineshows current(A).
•To switch thetop displaysuccessivelybetween power (W), workinghours
(TIME), and voltage(V),press theV/Wbutton repeatedly.
•To switch thebottomdisplaysuccessivelybetween charge/discharge(AH),
capacitypercentage(%) and current(A), press theA/AH button repeatedly.
•To turn all LEDs off press theSET button momentarily.
•To turn thedisplaybackon press theSET button momentarilyagain.
Debug Mode
Thedebugmodeenablescalibration, savingofsettings and resettingto default values.
Switch themeter to debugmodebypressingand holdingdown theSET button until
thedisplaychanges. Thefirstitemofthedebugmenu will bedisplayed (voltage).
ThevoltageLED(labelled V) on therighthand sideofthedisplaywill light.
To changeto thenextitemin thedebugmenu (current), press theSET button
momentarily. ThecurrentLED(A) in therighthand sideofthedisplaywill belit.
Each successivemomentarypress oftheSET button steps thedisplaythrough the
remainingmenu items (batterycapacity(AH), savesettings (ES)and reset-to-default
(dEF))until thefirstmenu item(voltage)is displayedagain.
To quitethedebugmodewithoutsavinganychanges, press and hold downtheSET
button until thedisplayreverts to normaloperation.
CalibrationofVoltageReadings
•Displaythebatteryvoltagecontinuouslywith aseparatecalibrated voltmeter.
•UsingtheSET button on thepanelmeter, selectthefirstitemofthedebugmenu.
•TheLED(V)to therightofthepanelmeterwill lightup.
•Thetop lineoftheLEDdisplaywill showthevoltagereading.
•Ifthereadingis thesameas on thecalibrated voltmeter, then quit thedebugmode.
•Ifthereadingdiffers fromthecalibrated voltmeterthen adjustthepanelmeter.
•Press theV/Wbutton to increasethereading, or
•Press theA/AH button to reduce thereading.

-3-
•Savethesettings bypressingthe:
-SET button to step thedebugmenu through to save-settings (ES),
-V/Wbutton to changethedisplayto -y-(Yes), and
-SET button to confirmtheselection.
•Repeatthecalibration procedure 2 or3 times to ensure an accurateresult.
CalibrationofHighandZero CurrentReadings:
1. Connectaload to thebatterytocauseacurrenttoflowatavaluecloseto the
maximumthatyou expectto measure with thepanelmeter, forexample80A.
2. Displaythebatterycurrentcontinuouslywith aseparatecalibratedammeter.
3. UsingtheSET button, step to thesecond itemofthedebugmenu.
4. TheLED(A)to therightofthepanelmeterwill lightup.
5. Thethree-digit bottomlineofthedisplaywill showthecurrentreadinginAmps.
6. Ifthereadingis thesameas on thecalibrated ammeter, thengo to step 11.
7. Ifthereadingdiffers fromthecalibratedammeterthen adjustthepanelmeter.
8. Press theV/Wbutton to increasethereading, or
9. Press theA/AH button to reduce thereading.
10. Savethesettings bypressingthe:
-SET button to step thedebugmenu through to save-settings (ES),
-V/Wbutton to changethedisplayfrom –n-(No)to -y-(Yes), and
-SET button to confirmtheselection.
11. Removetheload fromthebattery.
12. Ensure thatthecalibratedammeter displays 0.00 Amps.
13. Repeatsteps 2 to 10, then 1 to 10, until high and zero currents both read correctly.
Setting theRated BatteryCapacity
•Determinetherated capacityofthebattery,expressed in Amp-hours, eg100 Ah.
•UsingtheSET button on thepanelmeter, step to thethird itemofthedebugmenu.
•TheLEDlabelledAH, totherightofthepanelmeter, will lightup.
•Thebottomlineofthenumericaldisplaywill showthebatterycapacity(Ah).
•Ifthereadingis thesameas therated batterycapacity, then quit debugmode.
•Ifthereadingdiffers fromtherated batterycapacitythen adjustthemeter.
•Press theV/Wbutton to increasethereadingto therated value, or
•Press theA/AH button to reduce thereadingto therated value.
•Savethesettings bypressingthe:
-SET button to step thedebugmenu through to save-settings (ES),
-V/Wbutton to changethedisplayfrom –n-(No)to -y-(Yes), and
-SET button to confirmtheselection.
Save settings
•This enables settings madein thedebugmenu items V, Aand AH to besaved.
•UsingtheSET button, step to thefourth itemofthedebugmenu.
•TheLEDdisplaywill show ES”on thetop lineand -n-”on thebottomline.
•Press theV/Wbutton toselect -y-”(Yes), or
•Press theA/AH button to select -n-”(No).
•Savethesettings bypressingtheSET button to confirmthe-y-or –n-selection.

-4-
Resetto FactoryDefault Values
•This resets values fordebugmenu items V, Aand AH to factorydefault values.
•UsingtheSET button, step to thefifth itemofthedebugmenu.
•TheLEDdisplaywill show dEF”on thetop lineand -n-”on thebottomline.
•Press theV/Wbutton toselect -y-”(Yes), or
•Press theA/AH button to select -n-”(No).
•Savethesettings bypressingtheSET button to confirmthe-y-or –n-selection.
Setting theValuefor RemainingAmp-hour andRemainingCapacity%
Such resets arenecessaryfortheinitialinstallation ofeither themeterorabattery, so
thatthedisplaycorrectlyregisters theactualremainingcapacityofthebattery,as
opposed to theratedcapacityofthebattery.
•Chargethebatteryfully.
•Ensure thatthepanelmeter is in normaloperationalmode, notin debugmode.
•Momentarilypress theA/AH button repeatedlyuntil theAH LEDis lit.
•Press and hold theA/AHbutton until theAH LEDblinks.
•Press and hold theA/AHbutton until readingis reduced to thecorrectvalue, or
•Press and hold theV/Wbutton until thereadingis increased to thecorrectvalue.
•Momentarilypress theSET button to savethevalue.
Saving thePresentlyDisplayed Amp-hour and %CapacityReadings
•Ensure thatthepanelmeter is in normaloperationalmode, notdebugmode.
•Momentarilypress theA/AH button repeatedlyuntil theAH LEDis lit.
•Then momentarilypress theSET button to savethevalue.
•Thedisplaywill beextinguished bytheprevious step butcan berestored bya
momentarypress oftheSET button.
Alternative Method for Setting theValueofRemainingAmp-hourCapacity
TheoriginalEnglish manualsuggests dischargingthebatteryfullyand thensetting
theAmp-hour(AH) valueon themeter to zero with thebatteryin this state. The
actualAH capacitycan then bemeasured on themeter bytheamountofcharge
applied to thebatteryto fullychargeit.
Fullydischargingalead-acid batterywill significantlyreduce theservice lifeofthe
batteryorcauseit to fail completely, so do notfully dischargethebattery.
Dischargingthebatteryonlyoncedown to 10.5 Vusingarelativelylowcurrentdrain,
forexampleoneAmp, is unlikelyto causepermanentdamage. Alow-voltagecutout
setto 10.5 Vwould beusefulto controlthedischarge. This pointcould beconsidered
the fullydischarged”state. TheAH valueon themeter can then besetto zero. The
batteryis then charged. When fullycharged, themeter should showtheeffective
capacityofthebatteryinAmp-hours and displayaremainingchargeof100%.

-5-
A. Discharge-Twowiressystem
B. Discharge-Threewires system
Charge-Three wires system
Table of contents
