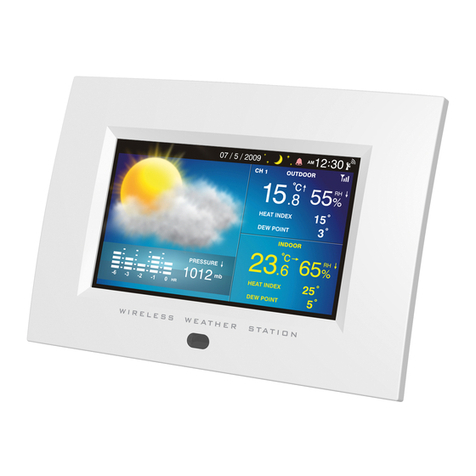
EML EP725 User manual

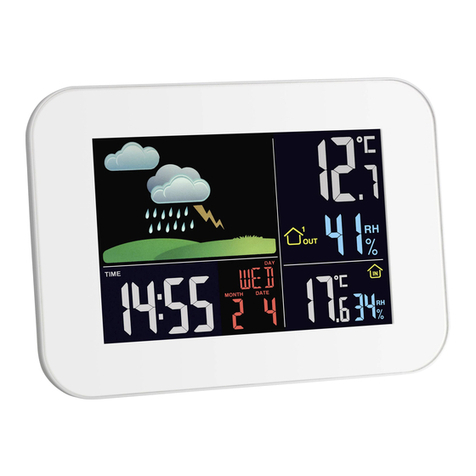
EP725 / 95128 WEATHER STATION WITH DIGITAL CLOCK
Instructions manual
I. Basic Operations
1. Power on (or RESET) and accompanied by a "beep" sound, then turned into the normal clock
status.
2. Press MODE button to switch the time, date and alarm mode.
3. In each mode, press and hold MODE button for 3seconds to enter setup.
4. In each setting mode, press UP/DOWN button to adjust the settings, press and hold UP/DOWN
button to accelerate increment/decrement.
5. In any mode, not setting mode, press DOWN button for °C/°F conversion.
6. In any mode, press UP button to turn on/off the alarm.
7. In any mode, press and hold the UP button for 3seconds to switch 12/24 hour.
8. When the alarm rings, press SNZ(SNOOZE) button to turn on the snooze.
9. Press MAX/MIN button: to view maximum/minimum/current temperature and humidity.
II. Detailed Operation Instructions:
1. Mode Conversion:
•Press MODE key to convert the mode according to the order: Time Mode —Date Mode —Alarm
Mode—Return to Time Mode.
•In date mode and alarm mode, if no button operation in about eight seconds, the system will
return to normal time mode automatically.
2. Clock Mode:
•Power on (or RESET and accompanied by a "beep" sound, then turned into the normal clock
status, default: Time: 0:00 (24-hour): January 1, 2018, MON; alarm clock: 0:00 (closed).
•In any mode, press and hold UP button for 3seconds to switch 12/24 hour. 12HR timing system,
there is a sign "PM" in the afternoon.
•In normal clock state, hold MODE button for 3seconds to set the time according to the order:
Hour- Minute-Exit. Complete the setting by UP/DOWN button and press UP or DOWN button to
accelerate increment/decrement.
•Setting range: hour range is from 1 to 12 or 0 to 23, and minute range is from 0 to 59.
•In the setting mode, press MODE button or no button for 8 seconds to automatically exit the
setting mode and display the time currently set.
3. Date Mode:
•In date mode, the default is " January 1, 2018, MON ".
•In the normal date state, press and hold MODE button for 3 seconds to set the date according
to the order: Year-Month-Day-Exit. When setting, complete the setting by UP/DOWN button, and
press UP or DOWN button to accelerate increment/decrement.
•Setting range, month range is from 1 to 12, day range is from 1 to 31 and year range is from
2000 to 2099.
•While setting the date, the week is automatically changed accordingly from MON to SUN.
•In the setting mode, press MODE button or no button for 8 seconds to automatically exit the
English

setting mode and display the time currently set.
•In the date mode, if no button operation in 8 seconds, the system will automatically return to
time mode.
4. Alarm Mode:
•In alarm mode, the symbol appears with a default of 0:00.
•Under time or date mode, press UP button to turn on/tum off the alarm. After the alarm is on,
the time interface will display the symbol。
•When the alarm symbol is not on, the alarm is turned off; only when the alarm symbol is
turned on, the alarm function is effective.
•In alarm mode, press and hold MODE button for 3 seconds to set the alarm according to the
order:Hour- Minute-Exit. Complete the setting by the UP/DOWN button and press UP or DOWN
button to accelerate increment/decrement.
•Setting range: hour range is from 1 to 12 or 0 to 23, and minute range is from 0 to 59.
•When reaching the alarm time, the alarm rings for two minutes. When the alarm is ringing, press
any key to stop the alarm.
•When the alarm is ringing, press SNZ button to stop the alarm and turn on snooze, and then the
symbol flashes. If you have turned on snooze, snooze interval is eight minutes. During
snooze, press any key to cancel snooze function. As long as the alarm rings, press the SNZ
button to pause, and snooze will be turned on many times.
•In the setting mode, press the MODE button or no button operation for 8 seconds to
automatically exit the setting mode and display the time currently set.
•In alarm mode, if no button operation in 8 seconds, the system will automatically return to the
time mode.
5. Temperature and Humidity Detection:
•In any mode, press the MAX/MIN key to view last maximum and minimum ambient
temperature/humidity remembered in the system in real time.
•The interval between automatic detections of temperature and humidity is 60 seconds
•In the normal state, press the DOWN button to convert between Celsius temperature and
Fahrenheit temperature.
6. Weather Forecast :
Weather is divided into four levels: sunny, semi-sunny, cloudy, and rainy.
7. There are three comfort levels based on humidity: dry, comfortable, and humid. (Comfortable
here means, you’re not sweating, and it’s not too dry.)

•If humidity is less than 50 percent, it corresponds to the dry level, the icon is
•If temperature is between 20°C and 26°C, humidity is between 50 and 70 percent, it
corresponds to the comfortable level. It’s identified by the icon
•If humidity is more than 70 percent, it’s uncomfortably humid, and wet level, the icon is
8. RESET
Use a needle or a thin pen to press the reset button. The reset button is located on the back of
the housing.
III. Warnings
1. Keep away from the source of fire, direct sunlight, humidity, high temperatures, water, or
other liquid.
2. Do not operate at high temperature.
3. Do not immerse in water.
4. Do not subject it to strong impacts and do not throw it.
5. Do not drop, short-circuit, modify, disassemble, or puncture it.
6. Remove the batteries if you plan not to use the alarm clock during a long period.
7. Do not try to repair your alarm clock. All the repairs must be made by a qualified technician.
IV. Safe instructions for battery
•Never mix alkaline, standard (carbon-zinc) and rechargeable (nickel hydride).
•Don’t mix new and used batteries.
•Don’t attempt to recharge non-rechargeable batteries.
•Remove used batteries.
•Never short the power supply terminals.
•Always use the recommended or equivalent battery types.
•Always pay attention to battery polarity.
WARNING: You should not dispose of this device with your household waste. A selective
collection system for this type of product is implemented by your local authorities. Please
contact your local authorities to find out how and where collection takes place. These
restrictions apply because electrical and electronic devices contain dangerous substances
that have harmful effects on the environment or on human health and must be recycled.
This symbol indicates that electrical and electronic devices are collected selectively. The
symbol shows a waste container crossed out with an X symbol.
Imported by EML- Prodis, 1 rue de Rome 93110 Rosny-sous-Bois, France/ Marketed by
EUROtops Versand GmbH, Elisabeth-Selbert-Str.3, D-40764 LANGENFELD, Germany/ Made in
P.R.C.
This manual suits for next models
1
Table of contents
Popular Weather Station manuals by other brands
Smartro
Smartro SC93 instruction manual

Oregon Scientific
Oregon Scientific EB313HGN user manual
La Crosse Technology
La Crosse Technology WS-1517U instruction manual
La Crosse Technology
La Crosse Technology 308-1425C manual

Auriol
Auriol Z30398 Operation manual

Auriol
Auriol 283582 Operation and safety notes
